Captains of the Damned Guide & Commendations | Sea of Thieves
Welcome to the Sea of Thieves, a Pirate’s Life, Season 3 update! This is THE guide to the third Tall Tale of the series, Captains of the Damned. If you don’t want any spoilers you best minimize this page now or forever hold your grog. This guide holds EVERY hidden commendation location, so you can rest assured knowing you won’t miss a thing.
Captains of the Damned Tall Tale Guide
Beginning The Tale
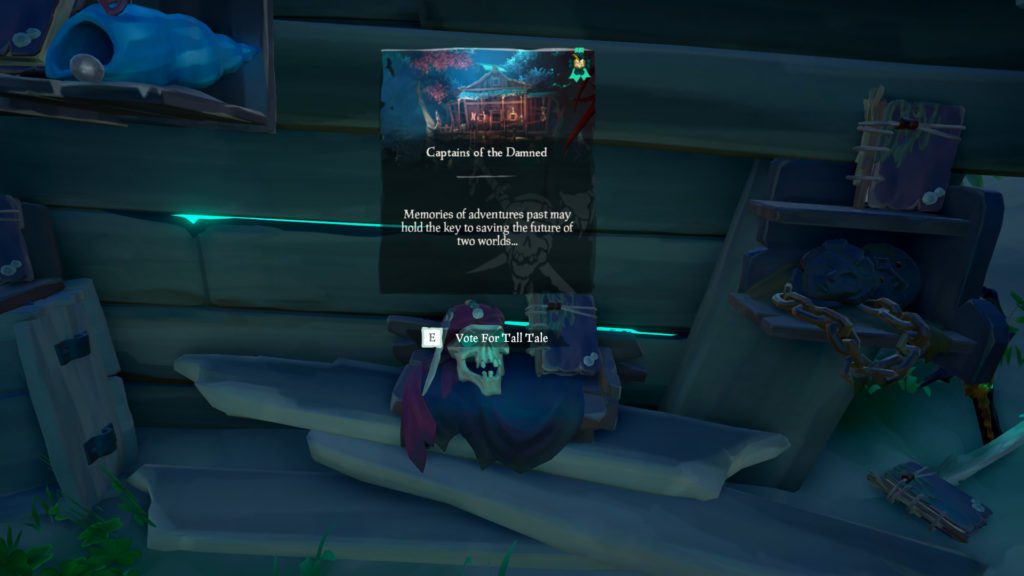
To begin, you need to vote for the Captains of the Damned Tall Tale at the Castaways camp at any Outpost. Once your crew has voted, you can enjoy the beautiful storyline that has been set up for you. Just like the first Tall Tale, Captains of the Damned Tall Tale is in a solo instance, so you won’t be running into any unwanted trouble. Sail into the portal once it opens and enjoy your trip to the Sea of the Damned.
Captains of the Damned - Part 1
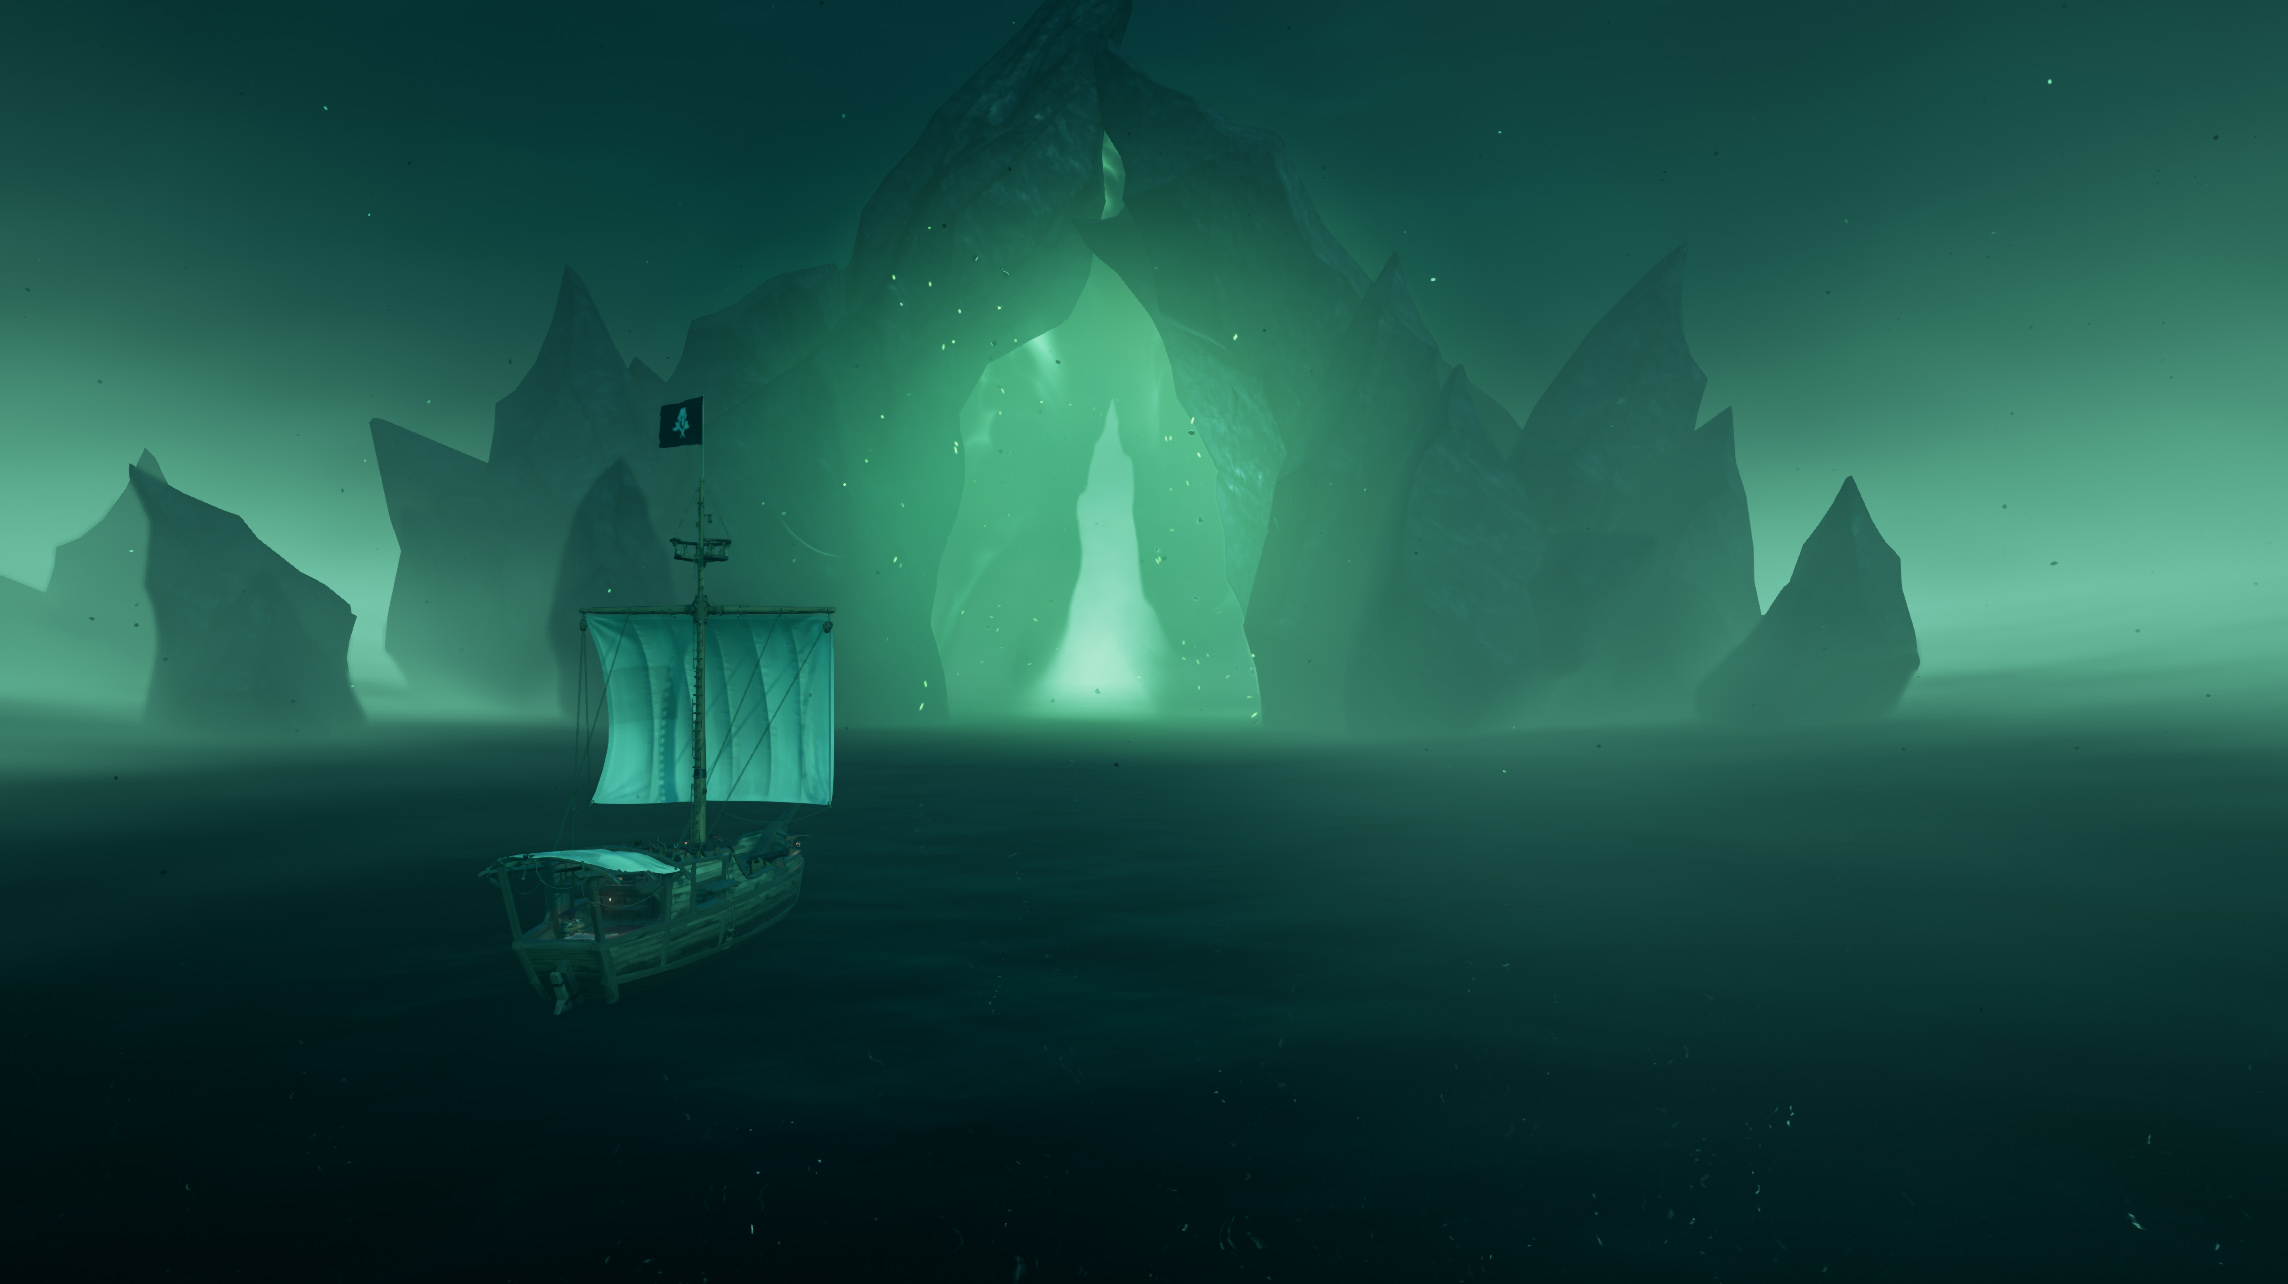
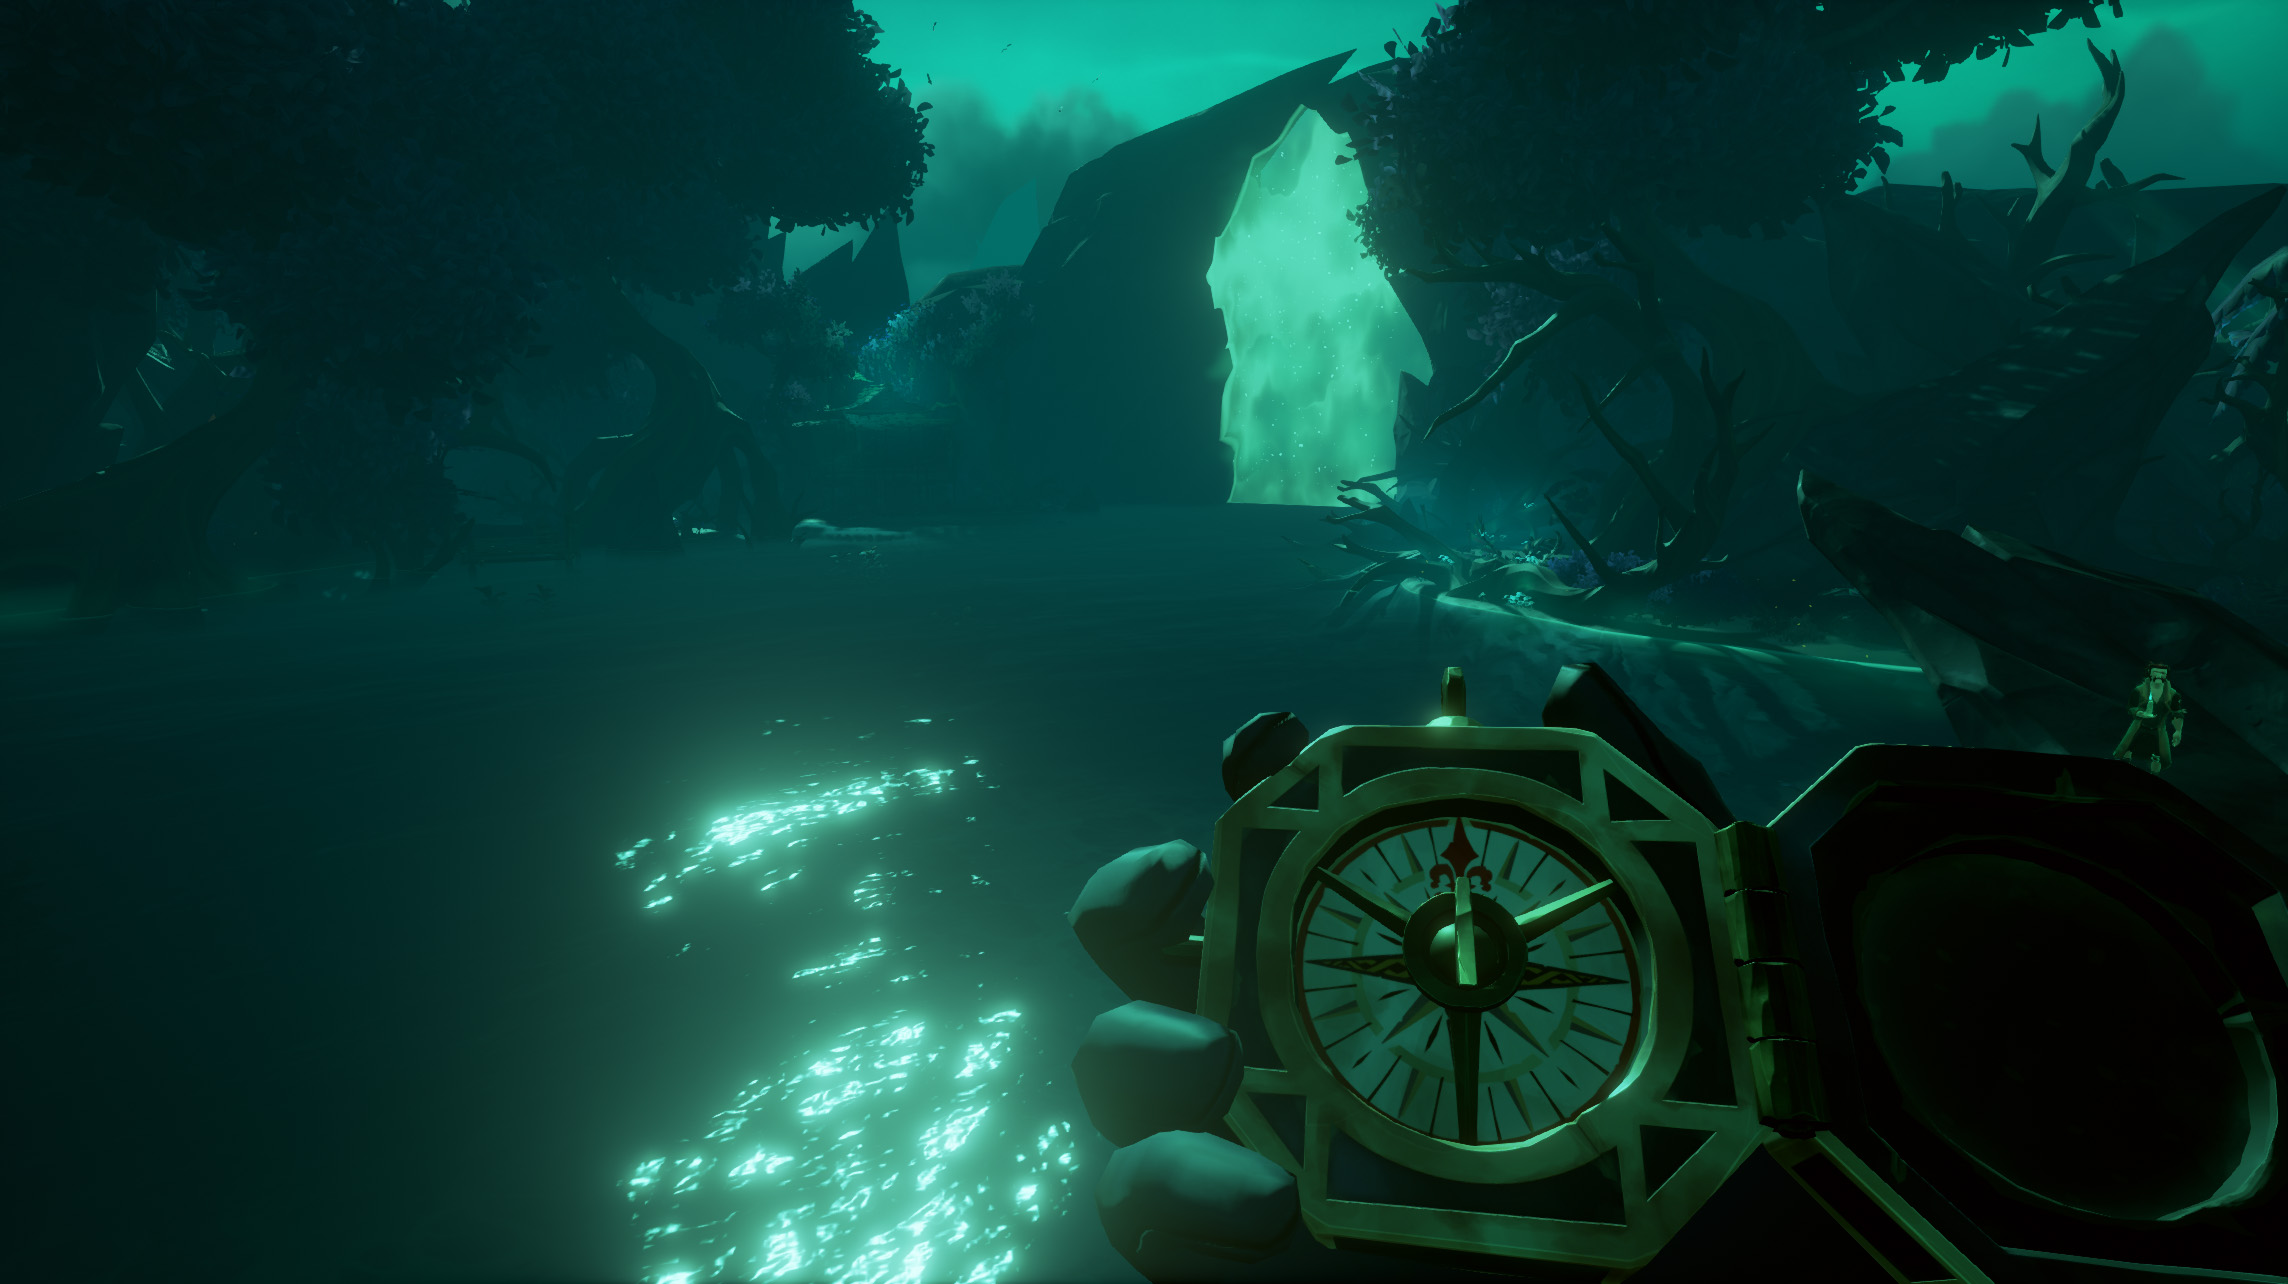
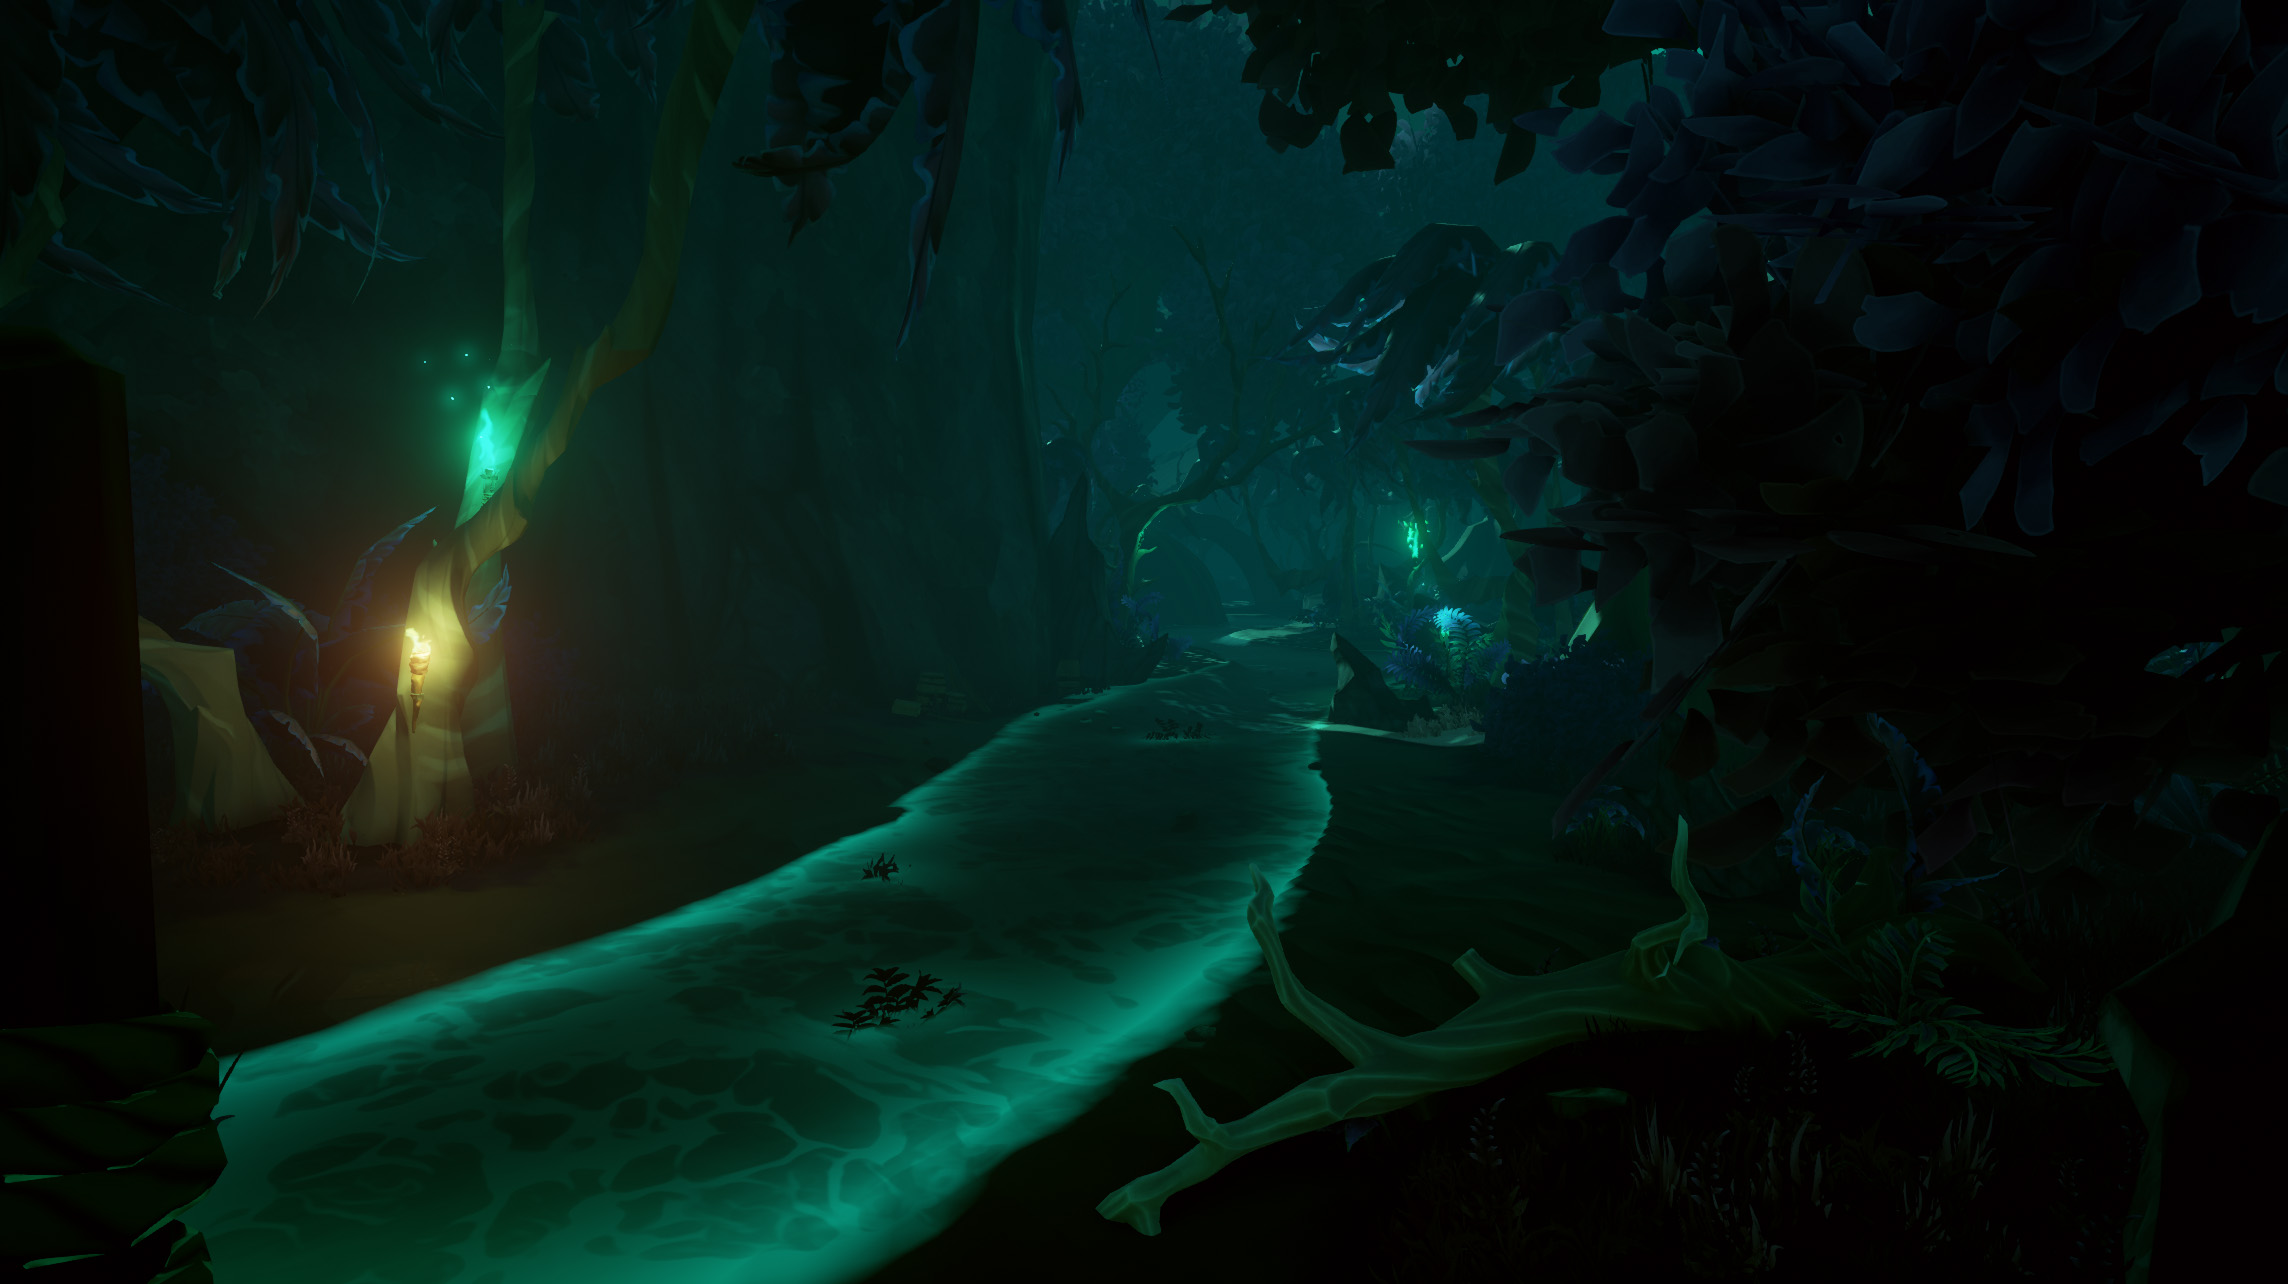
Once you enter the Tall Tale and reach The Whispering Bayou, follow Jack’s compass in your quest inventory and use your boat to navigate the river. You’ll want to keep your boat with you throughout this Tall Tale as it’ll make travel faster for you. Following Jack’s compass will lead you to the end of the Bayou where you should park your ship in front of a big green wall.
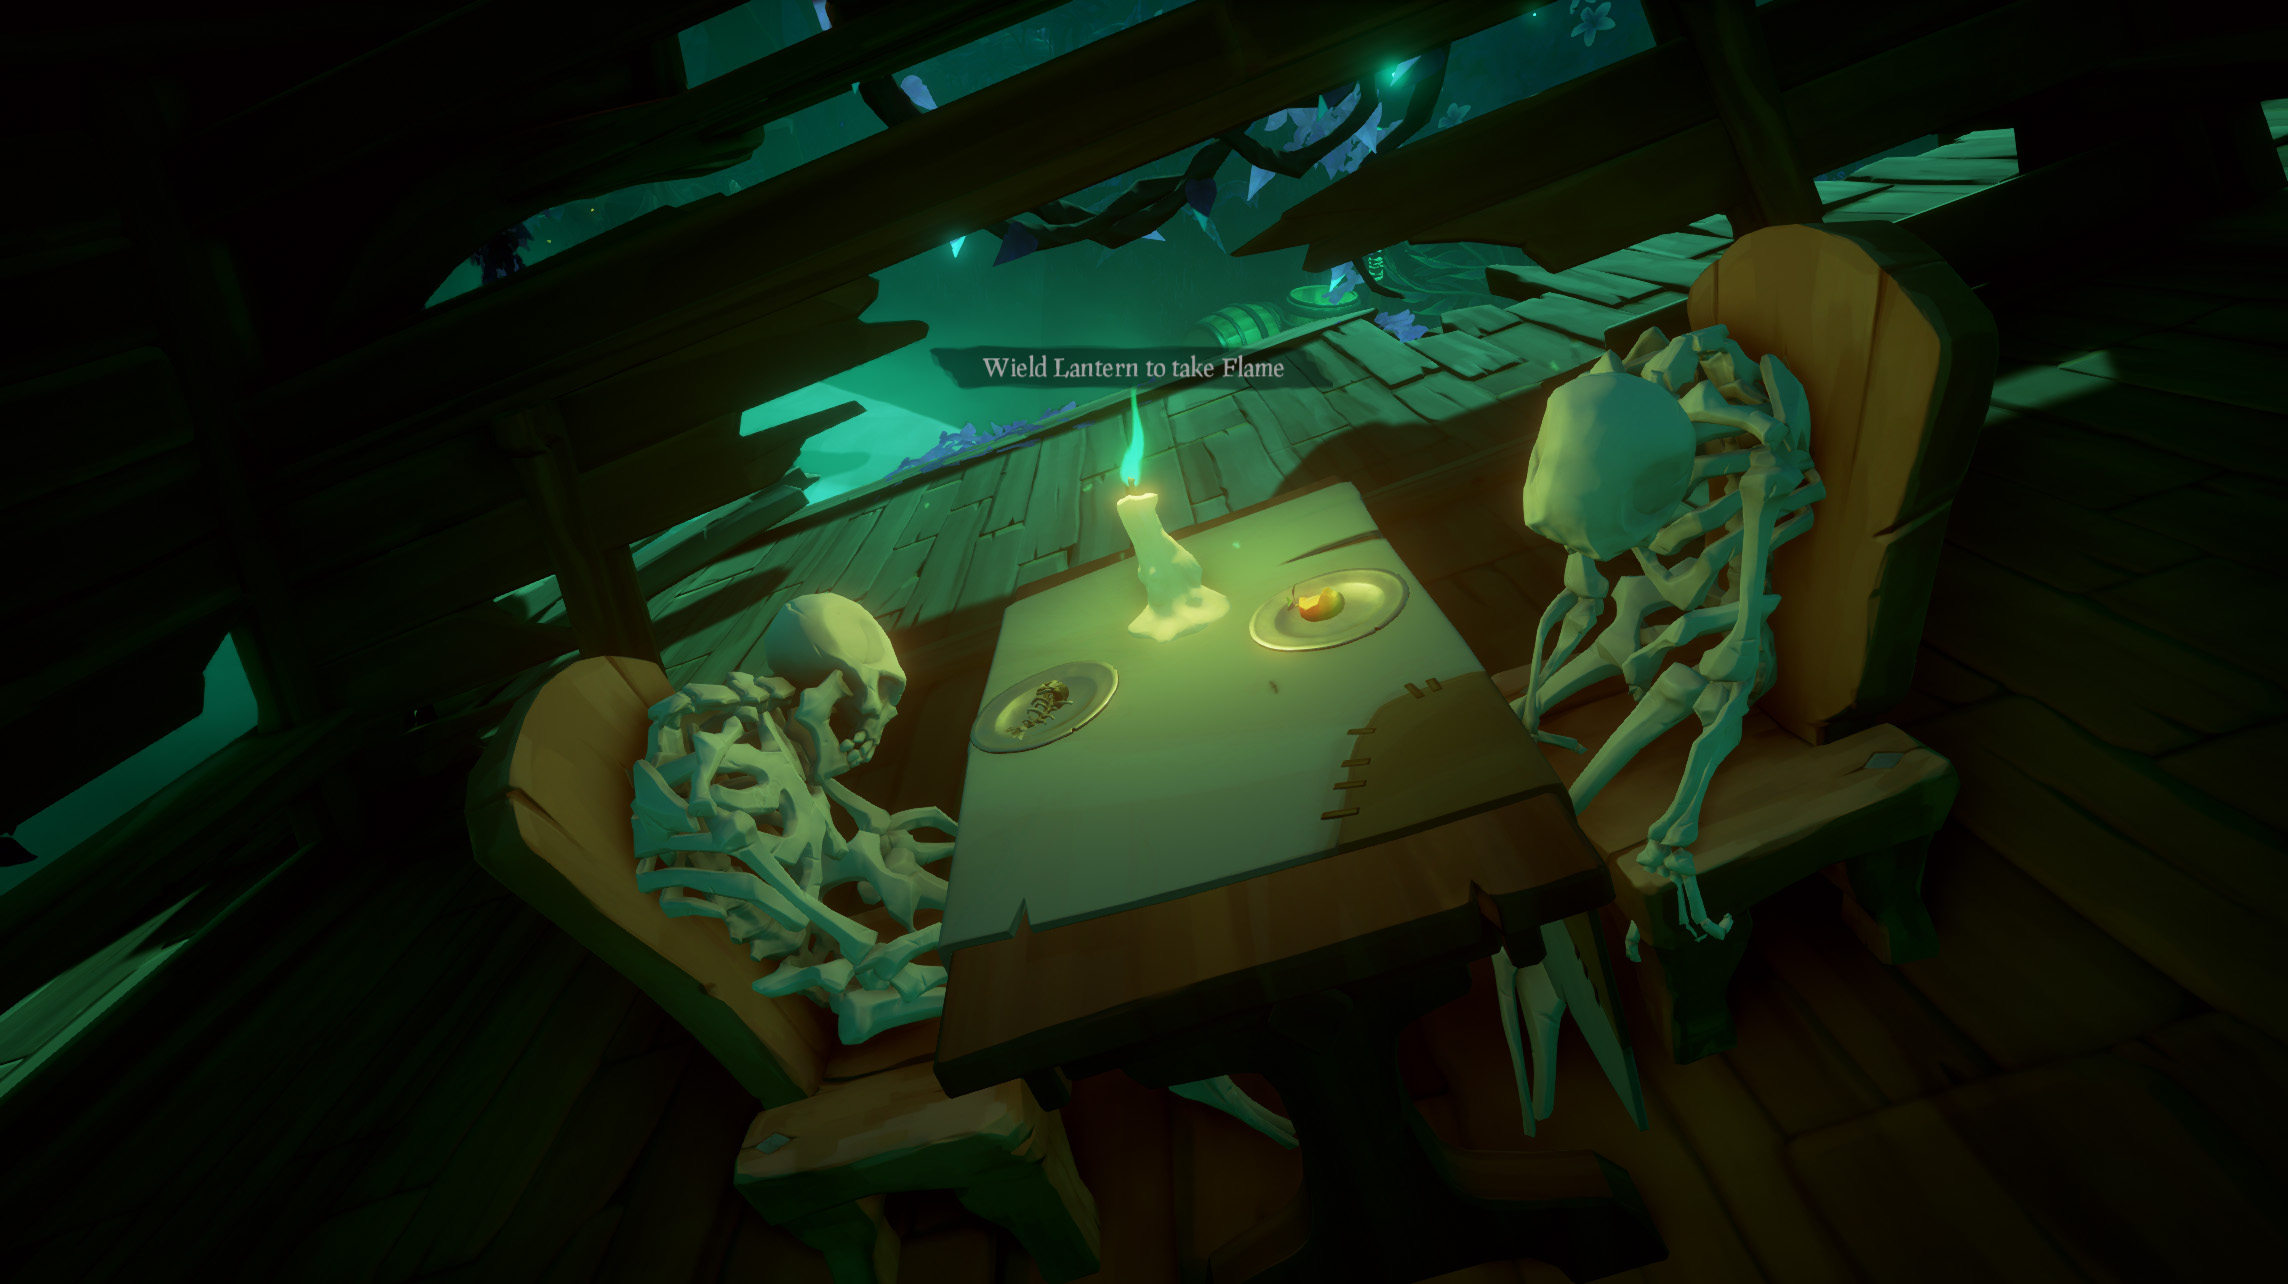
Don’t worry about exploring the Bayou until you get the flame in your lantern, as you can’t unlock anything until you get it first. To find the Flame of Souls, hop off your boat and head to the right (Northwest). Again, the compass will show you the way if needed. Follow this path until you reach the shipwreck of the Blue Bayou and see “Fragments of the Past” on your screen.
Make your way inside the Blue Bayou wreckage and find the 2 skeletons at the table. Use your lantern here to take the green candle flame and acquire the Flame of Souls. Now you can begin unlocking all of the secrets in this area.
Exit the ship and look around until you find a rowboat, this will be your exploration vessel for the remainder of your time in the Whispering Bayou. Follow the river out and back to your boat, which you should have left at the big green wall.
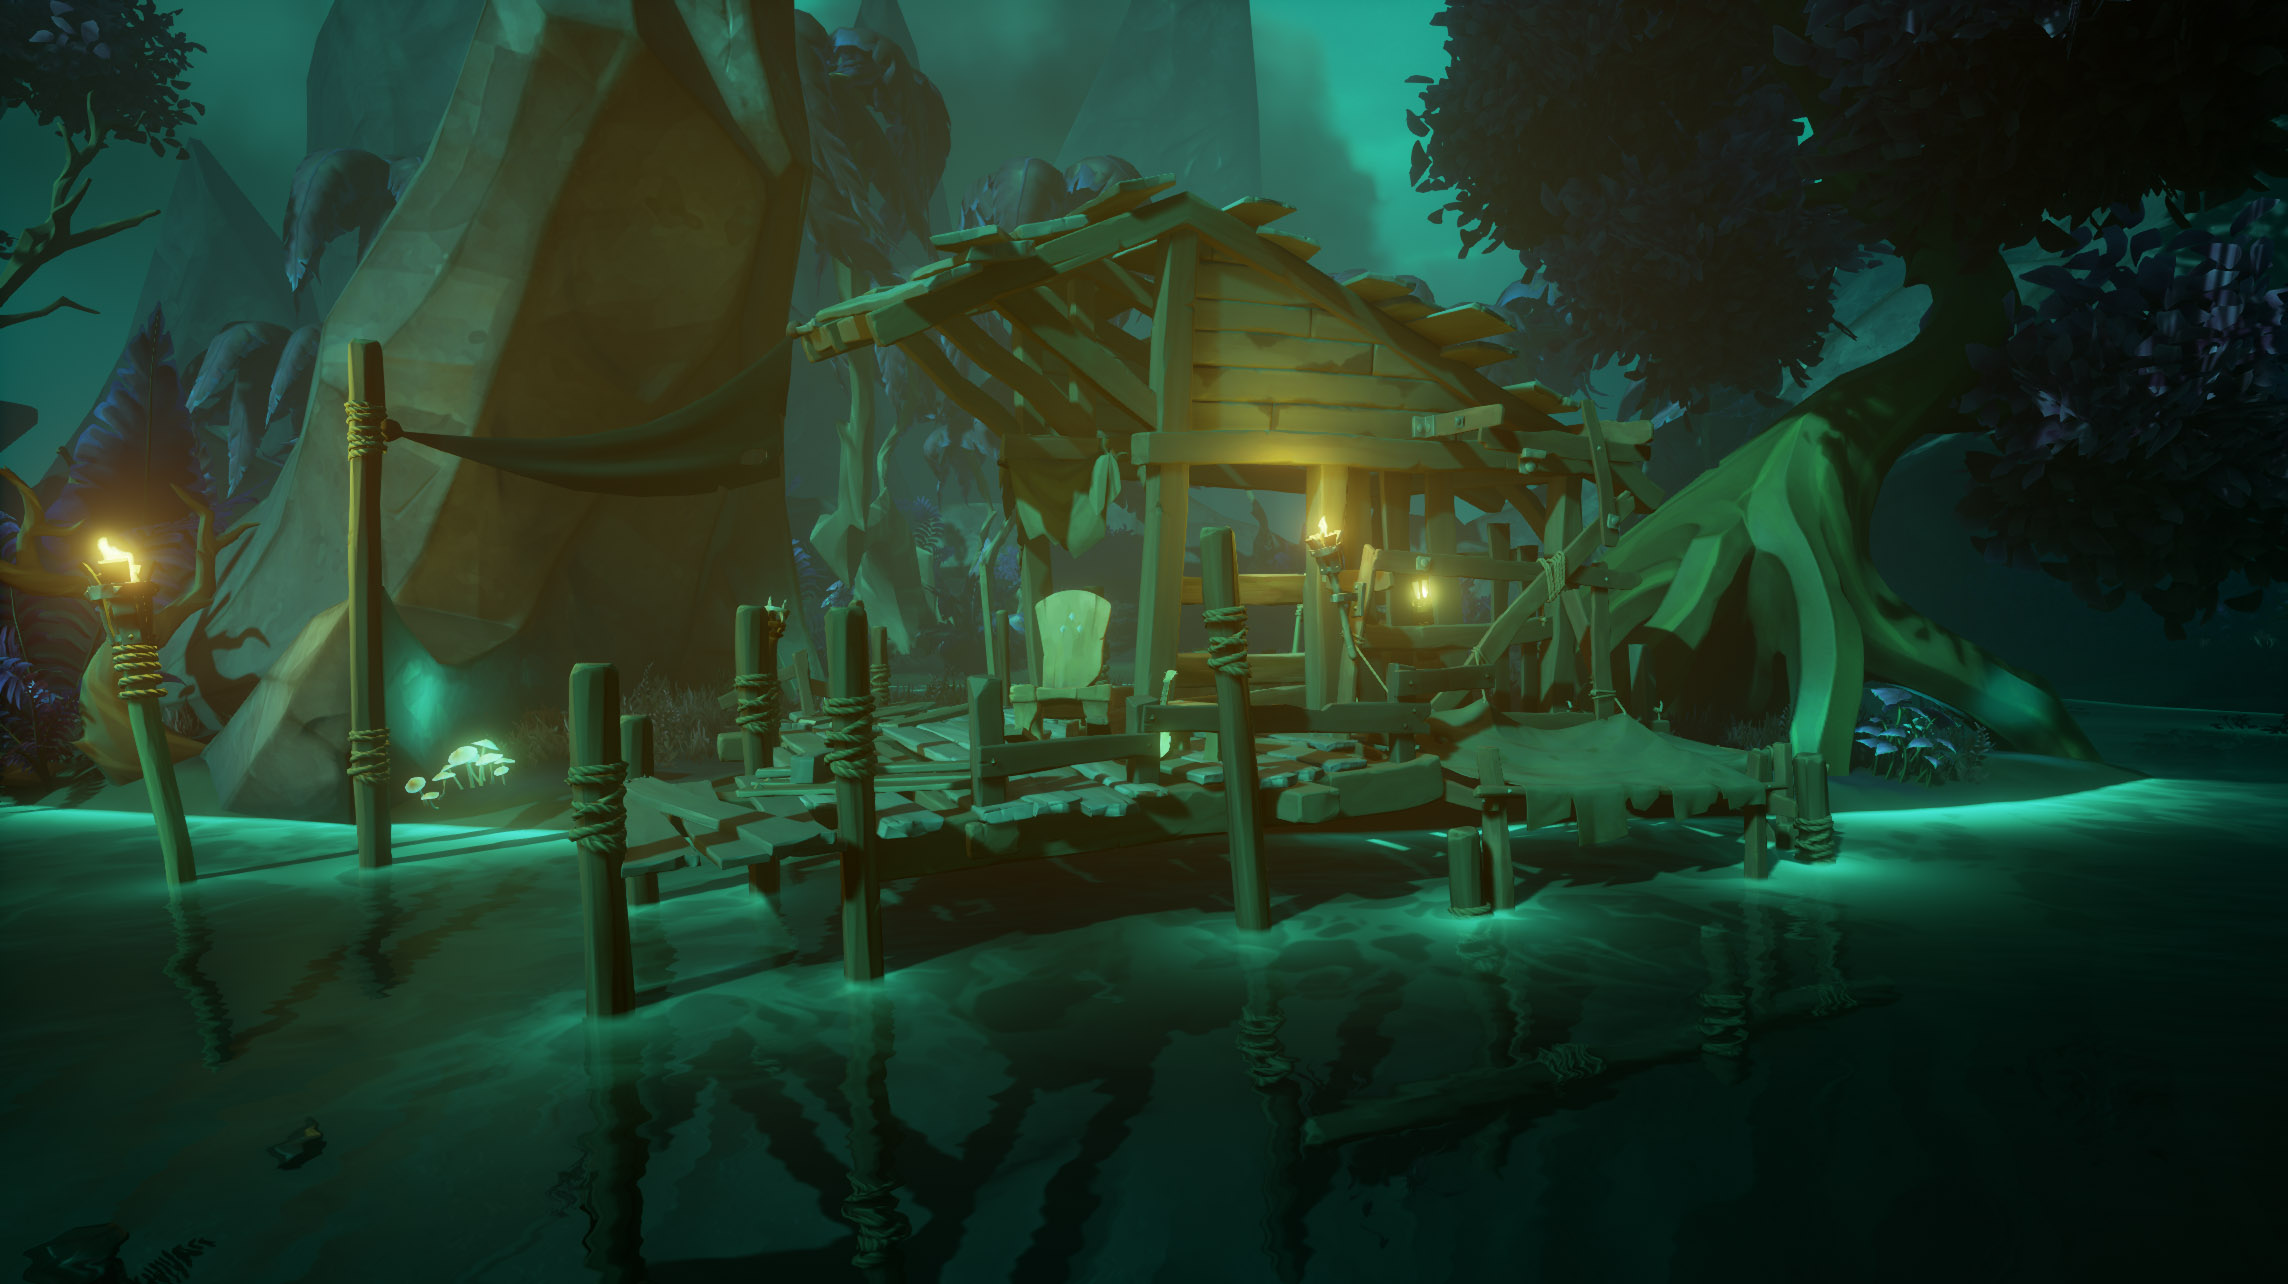
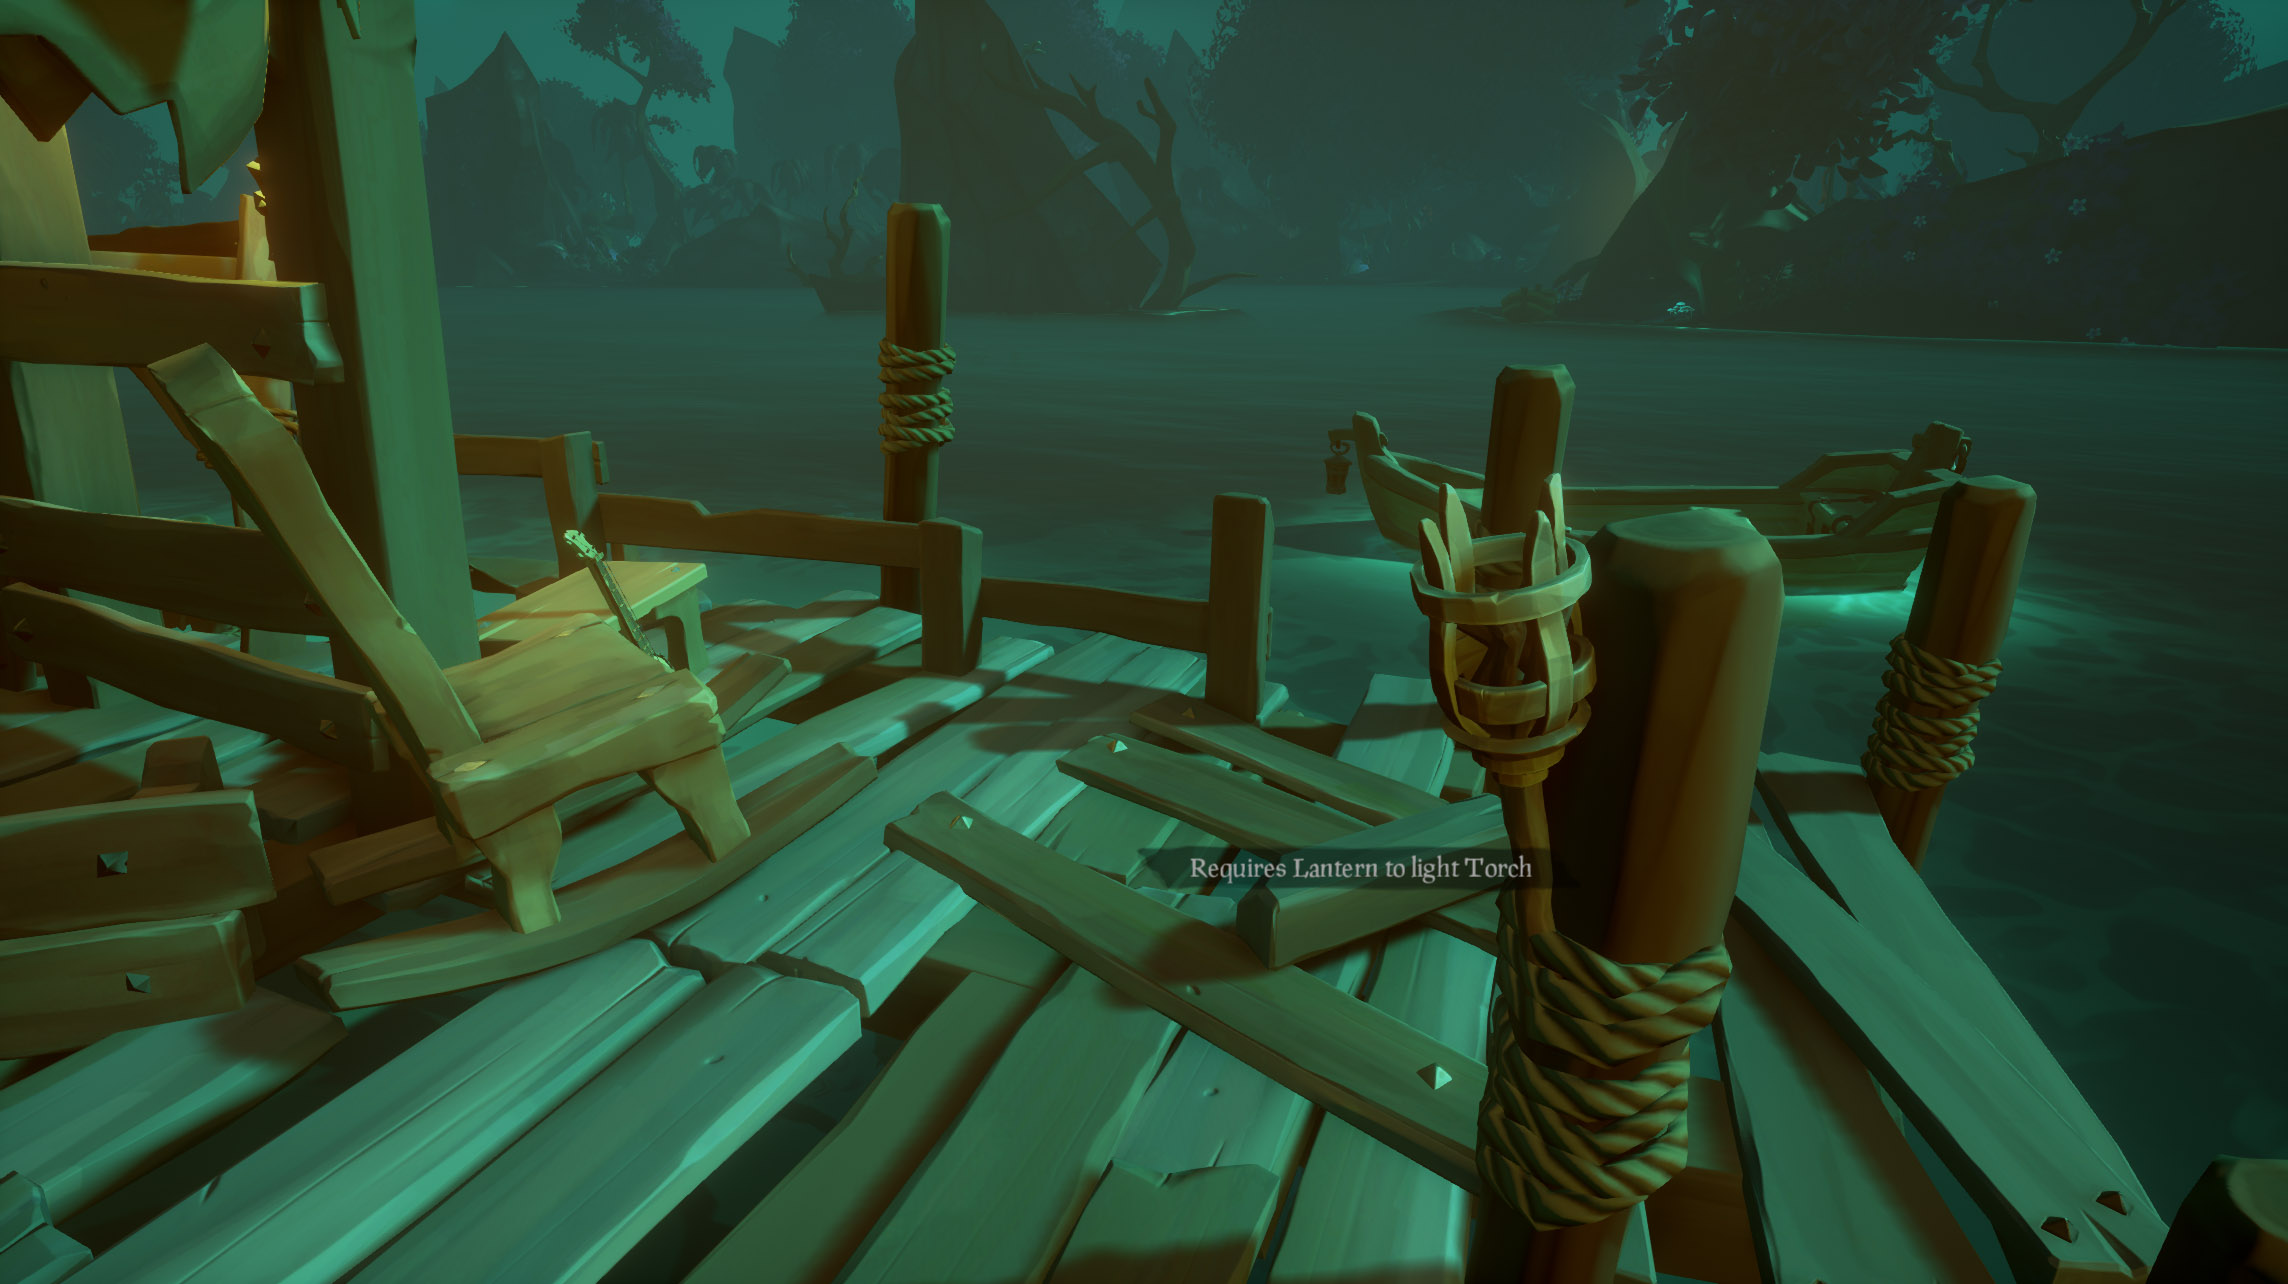
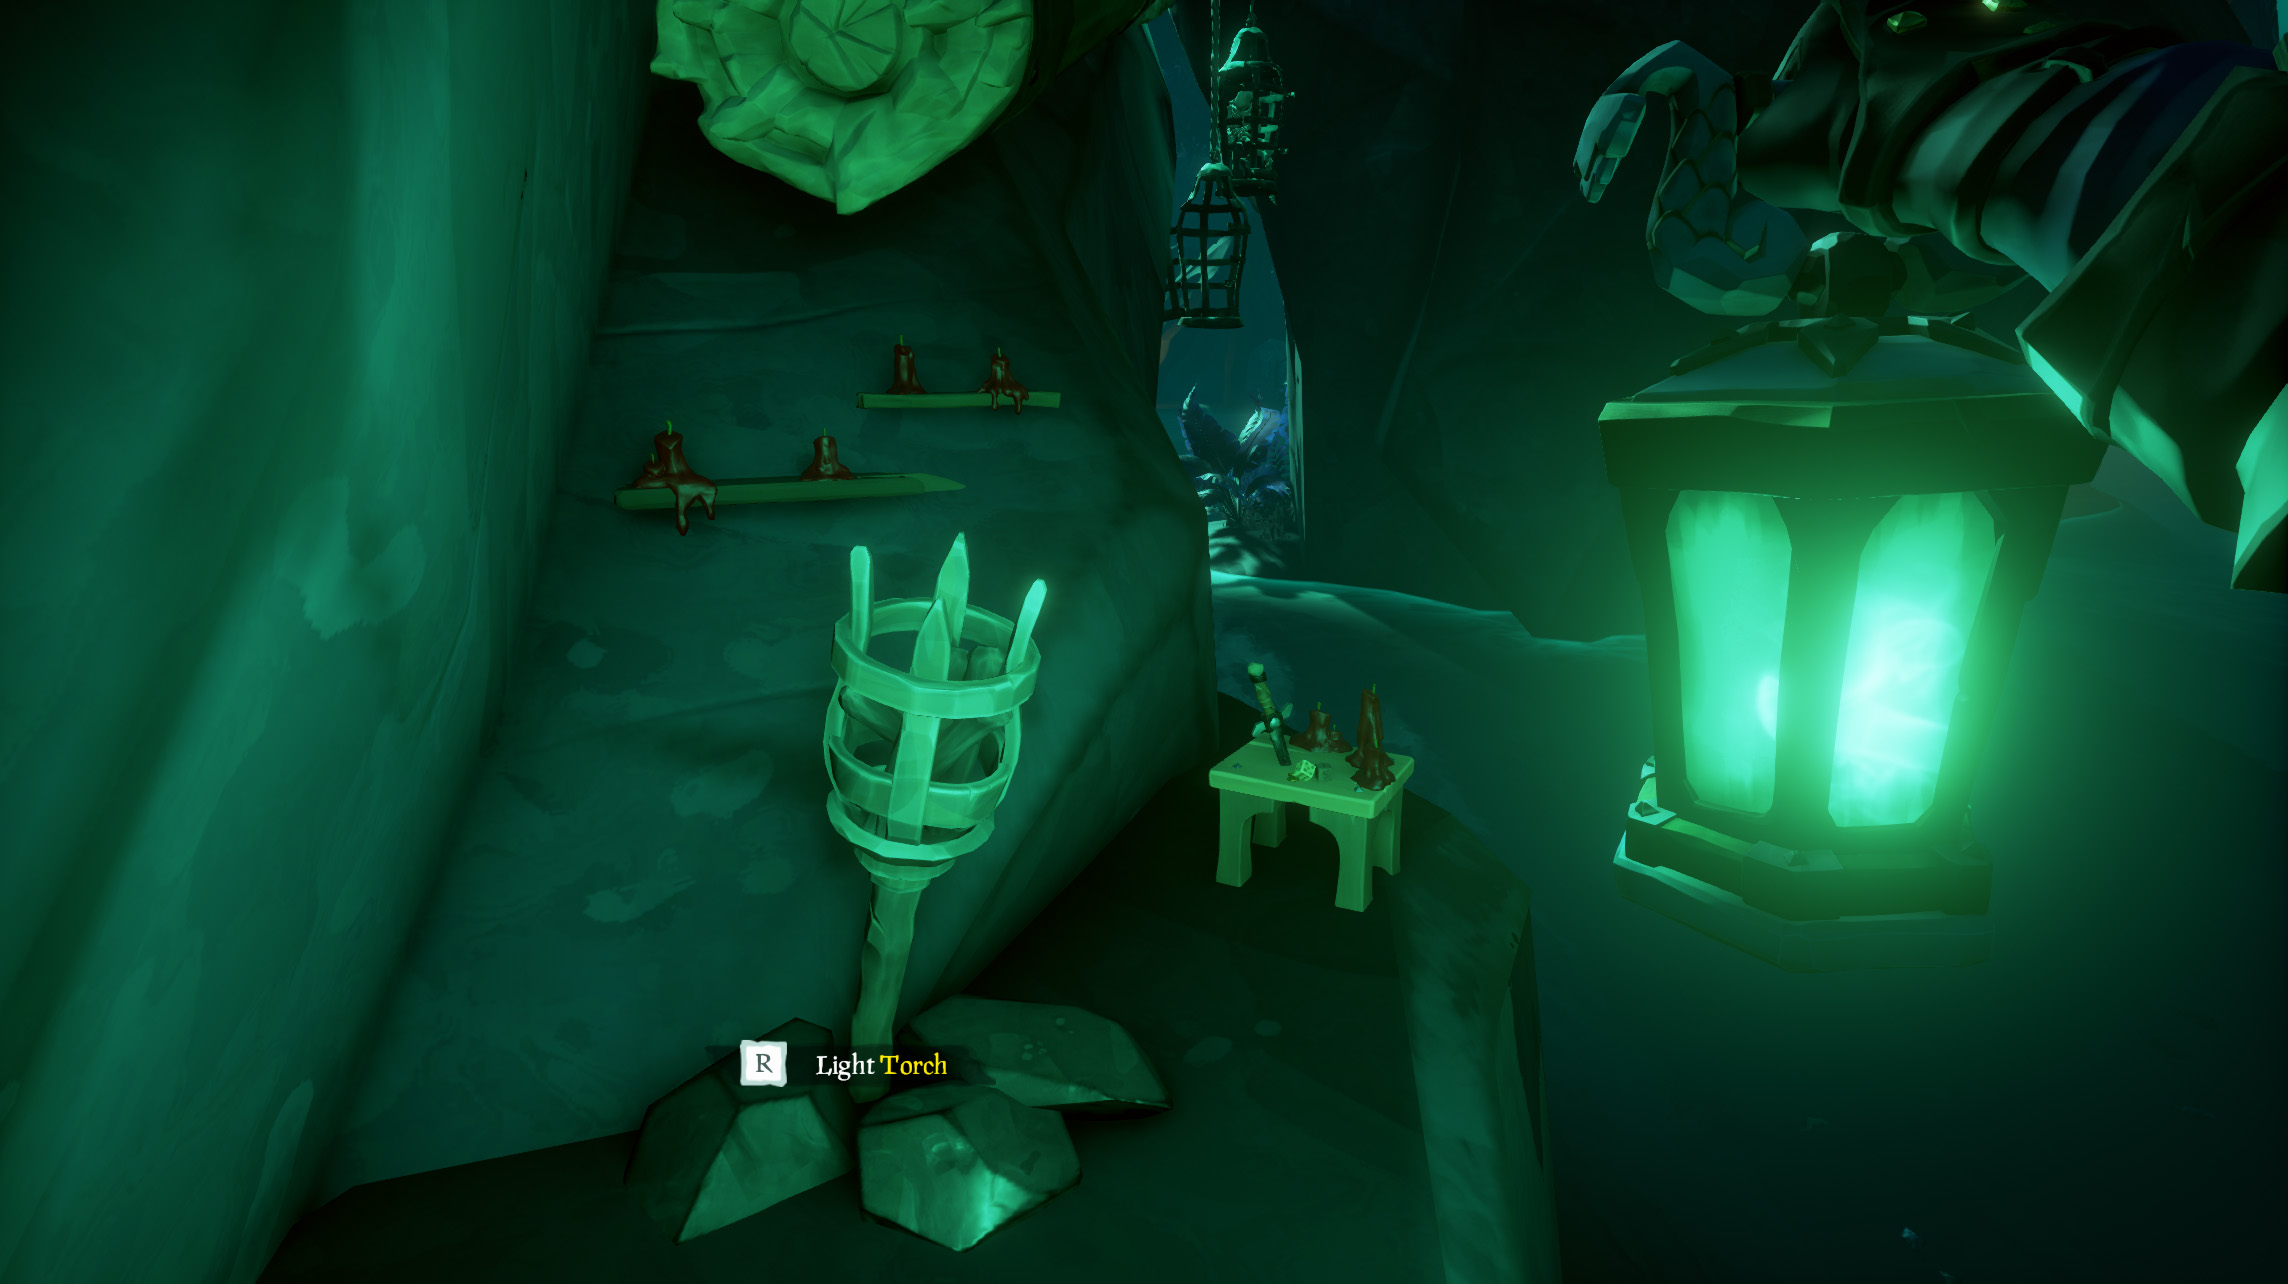
From your ship you’ll want to row north (use your normal compass, not Jack’s) until you find a cabin on the shore. You’ll know it’s the right one if there is a rocking chair and banjo sitting out front. Light the torch.
Damned Journal #1
Light the torch that is behind and to the right of the rocking chair. Once lit, the book will appear next to the banjo.
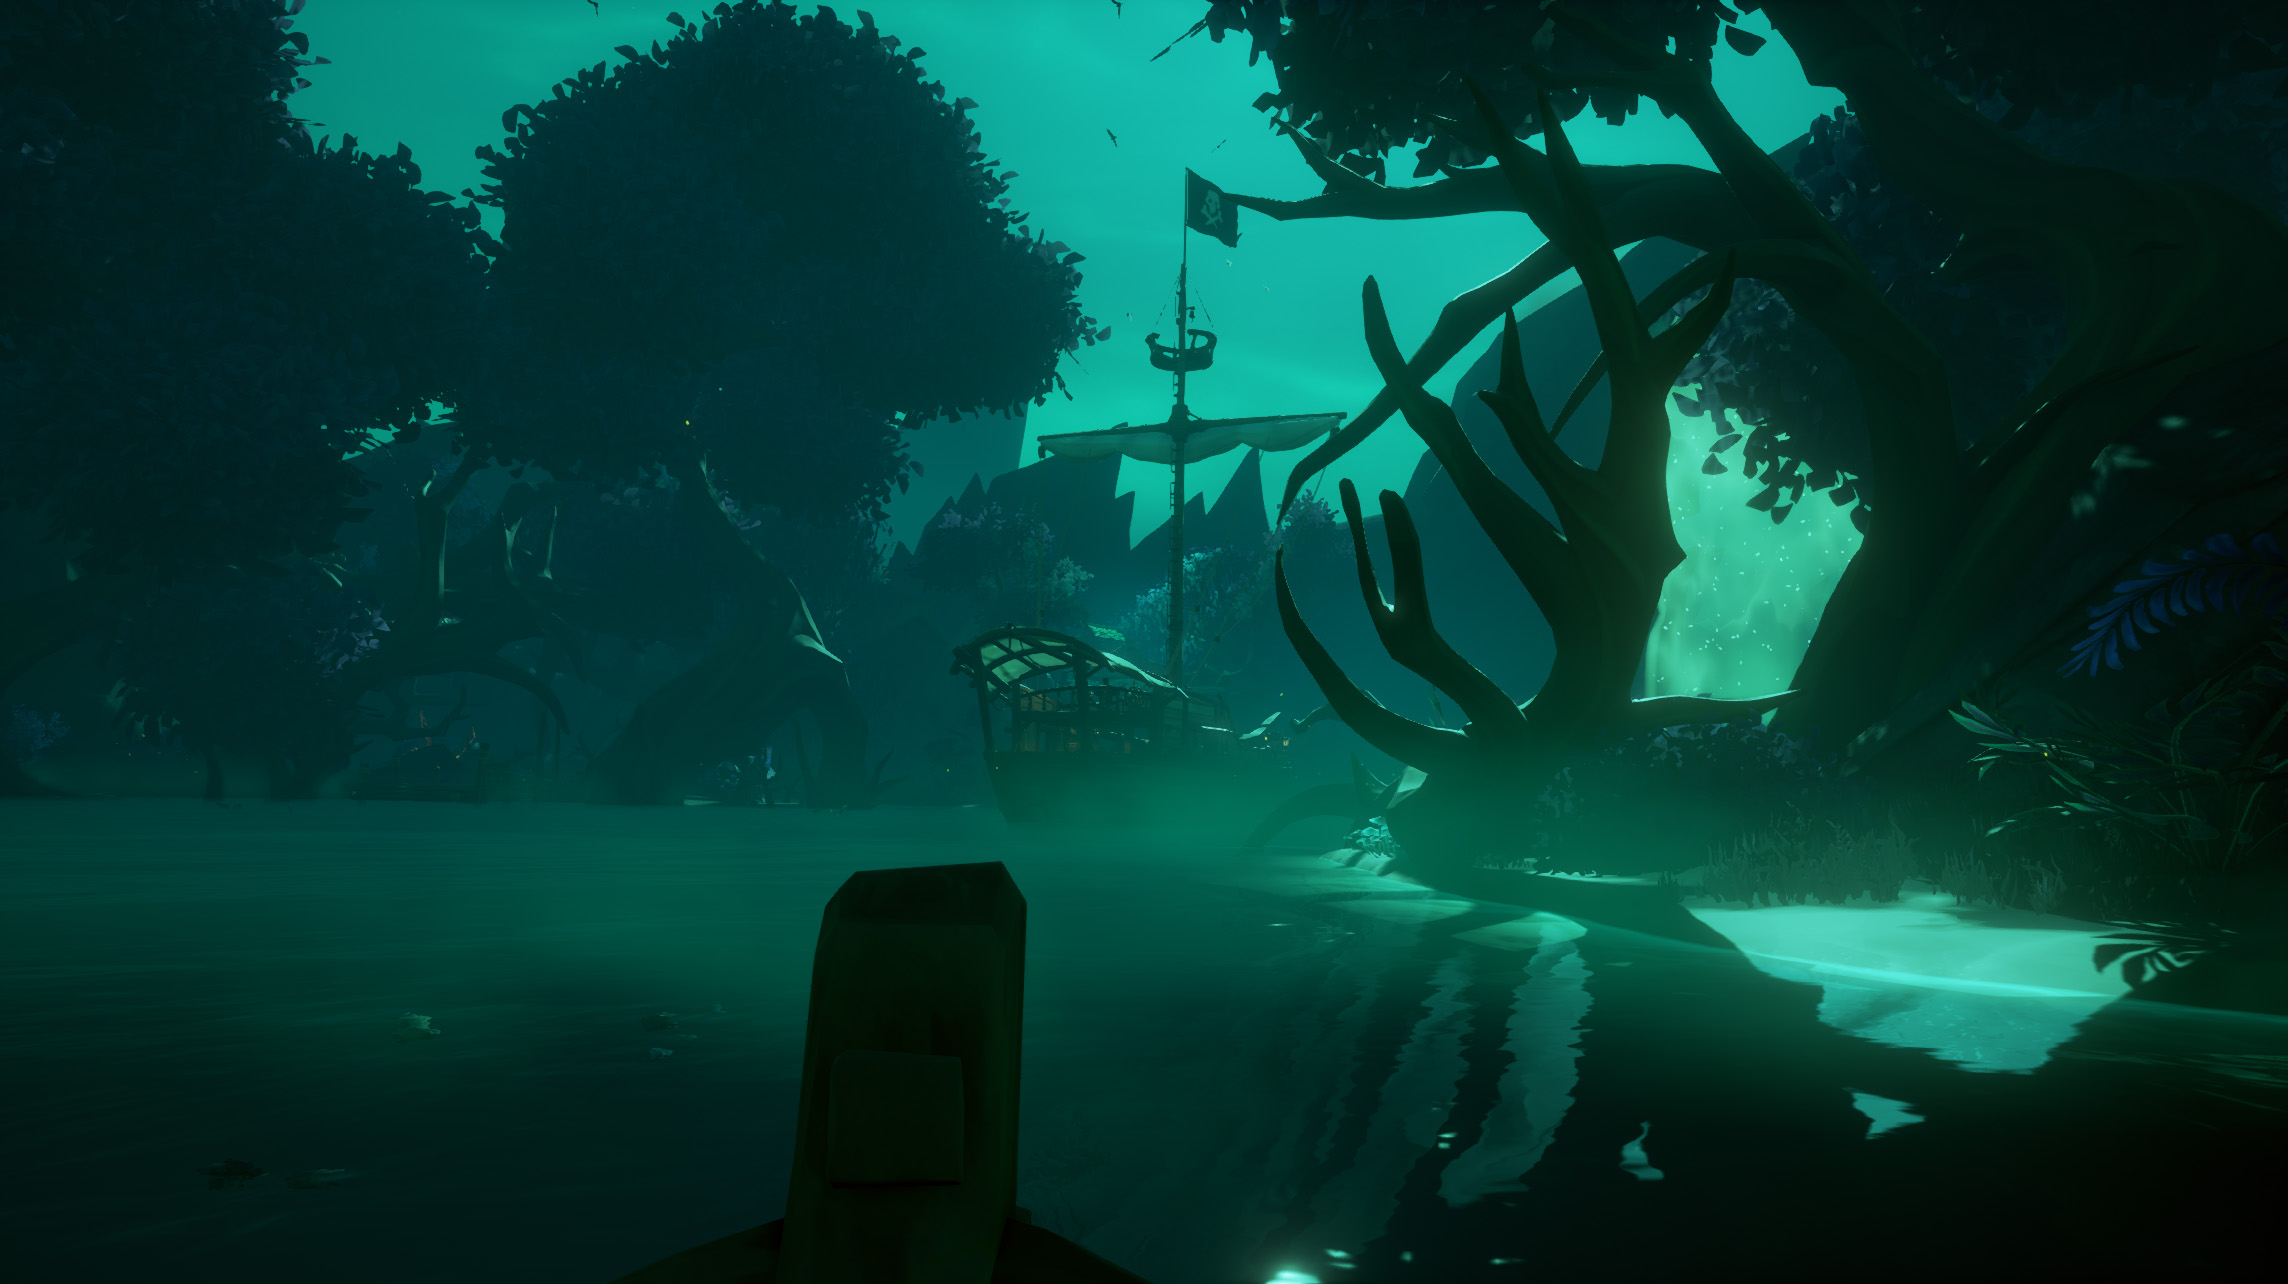
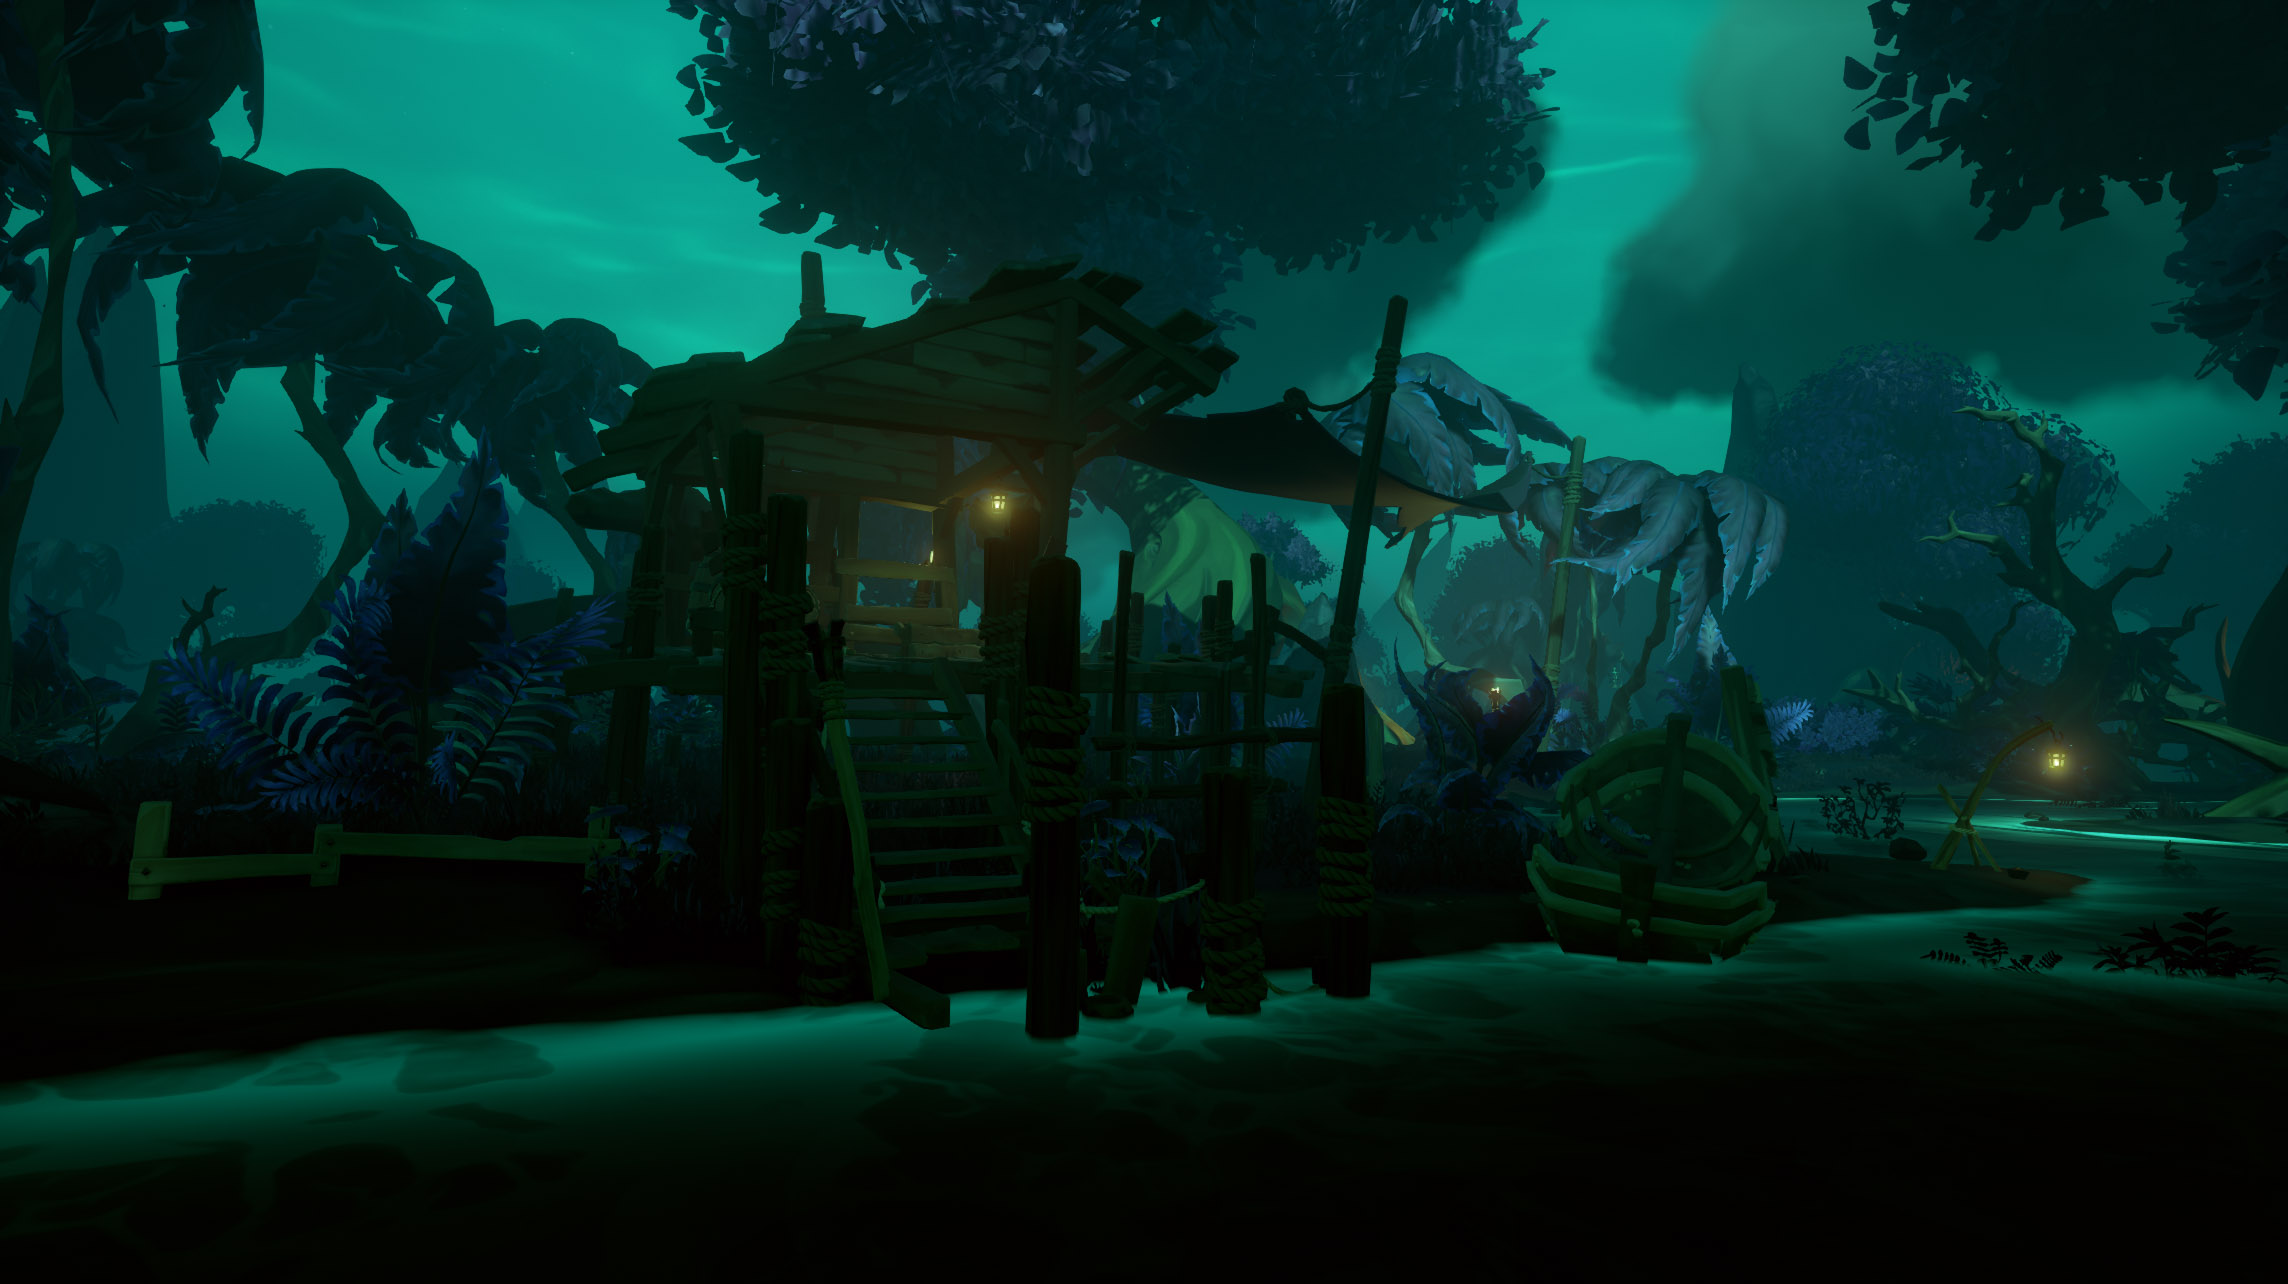
After you’ve read the first journal, get back in your rowboat and head east until you see a broken ship mast leaning against a rock. Hop out of your rowboat and walk upstream (Northeast) until you see this shack on your left.
Light the torch on the porch and then head back downstream following the newly lit trail of green torches. Once you’re back at your rowboat it’s time to go for a swim. Do your best cannonball into the water and swim towards the southwest.
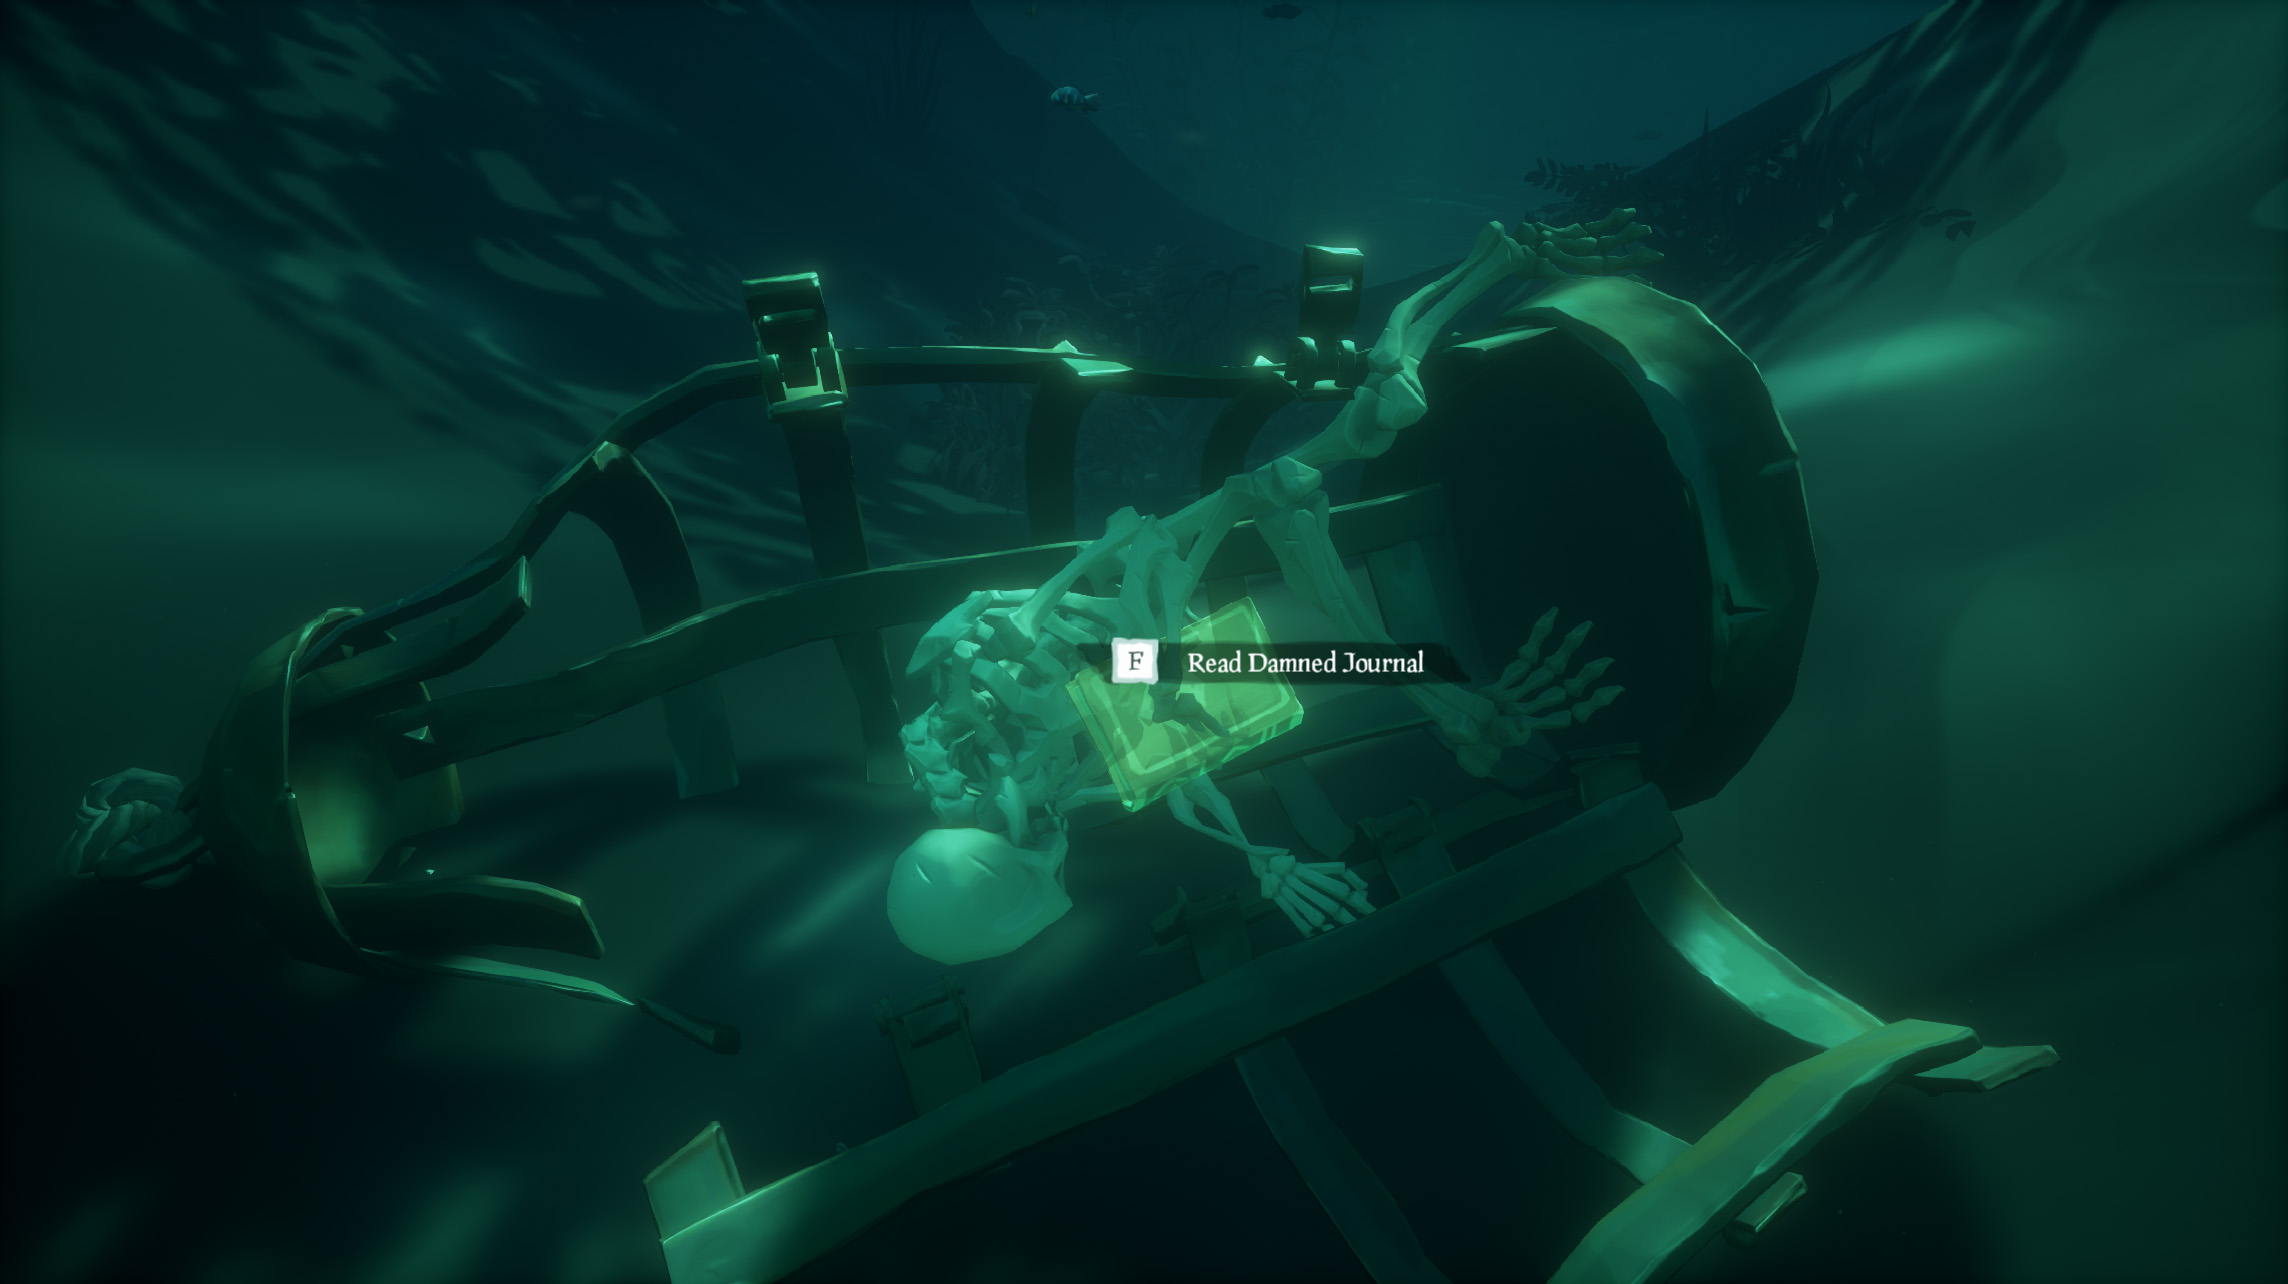
Damned Journal #2
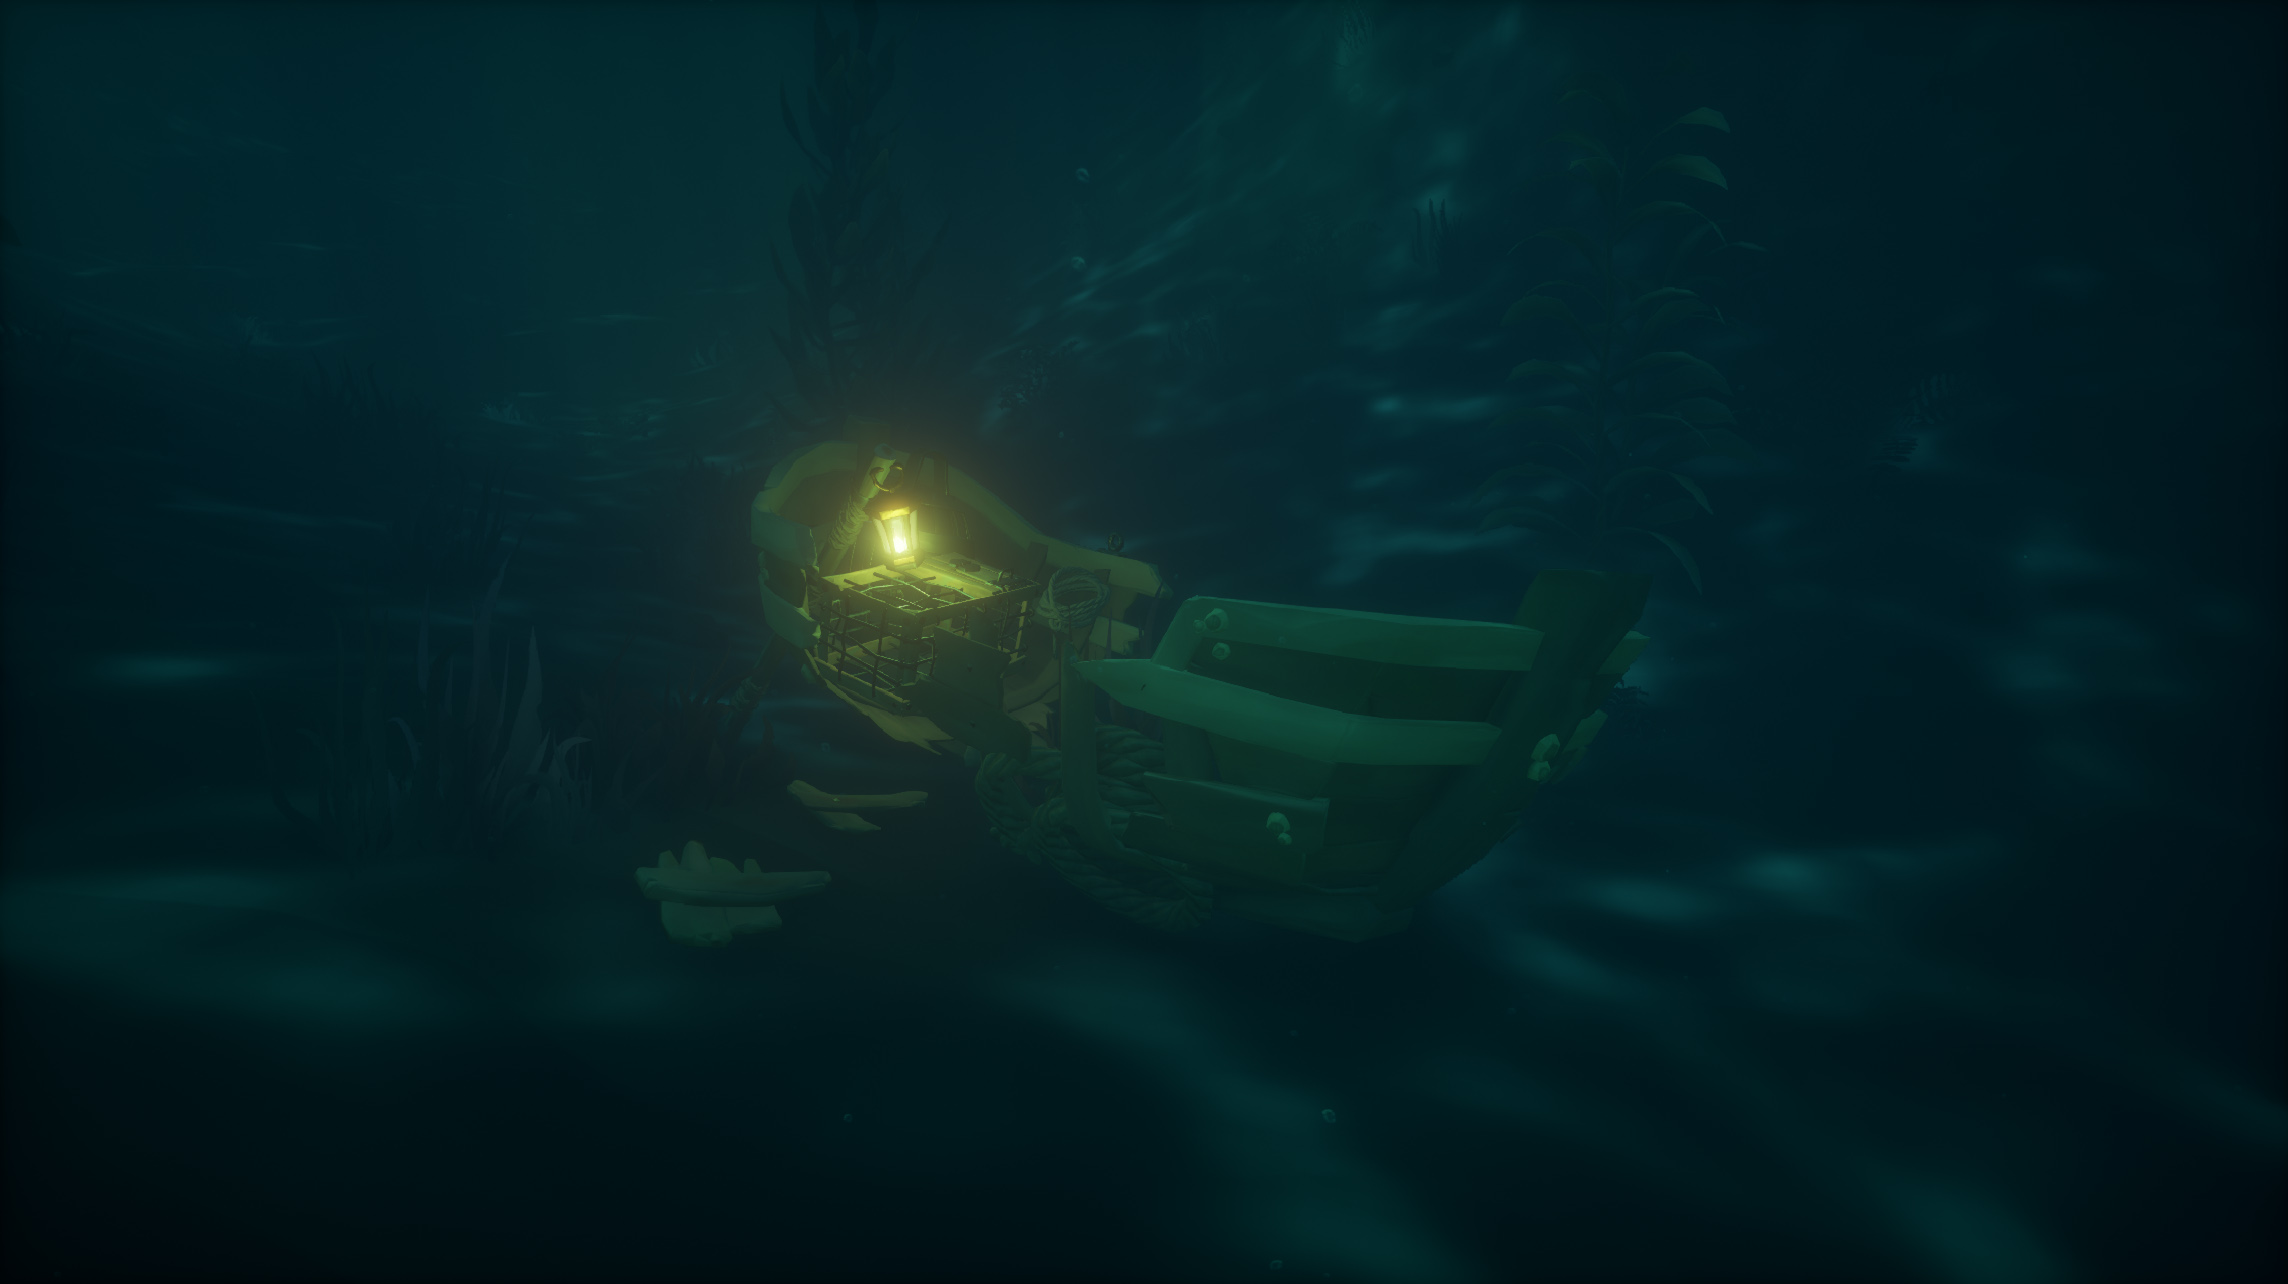
With a keen eye you’ll soon find a sunken rowboat with a lit lantern inside, as well as the second journal.
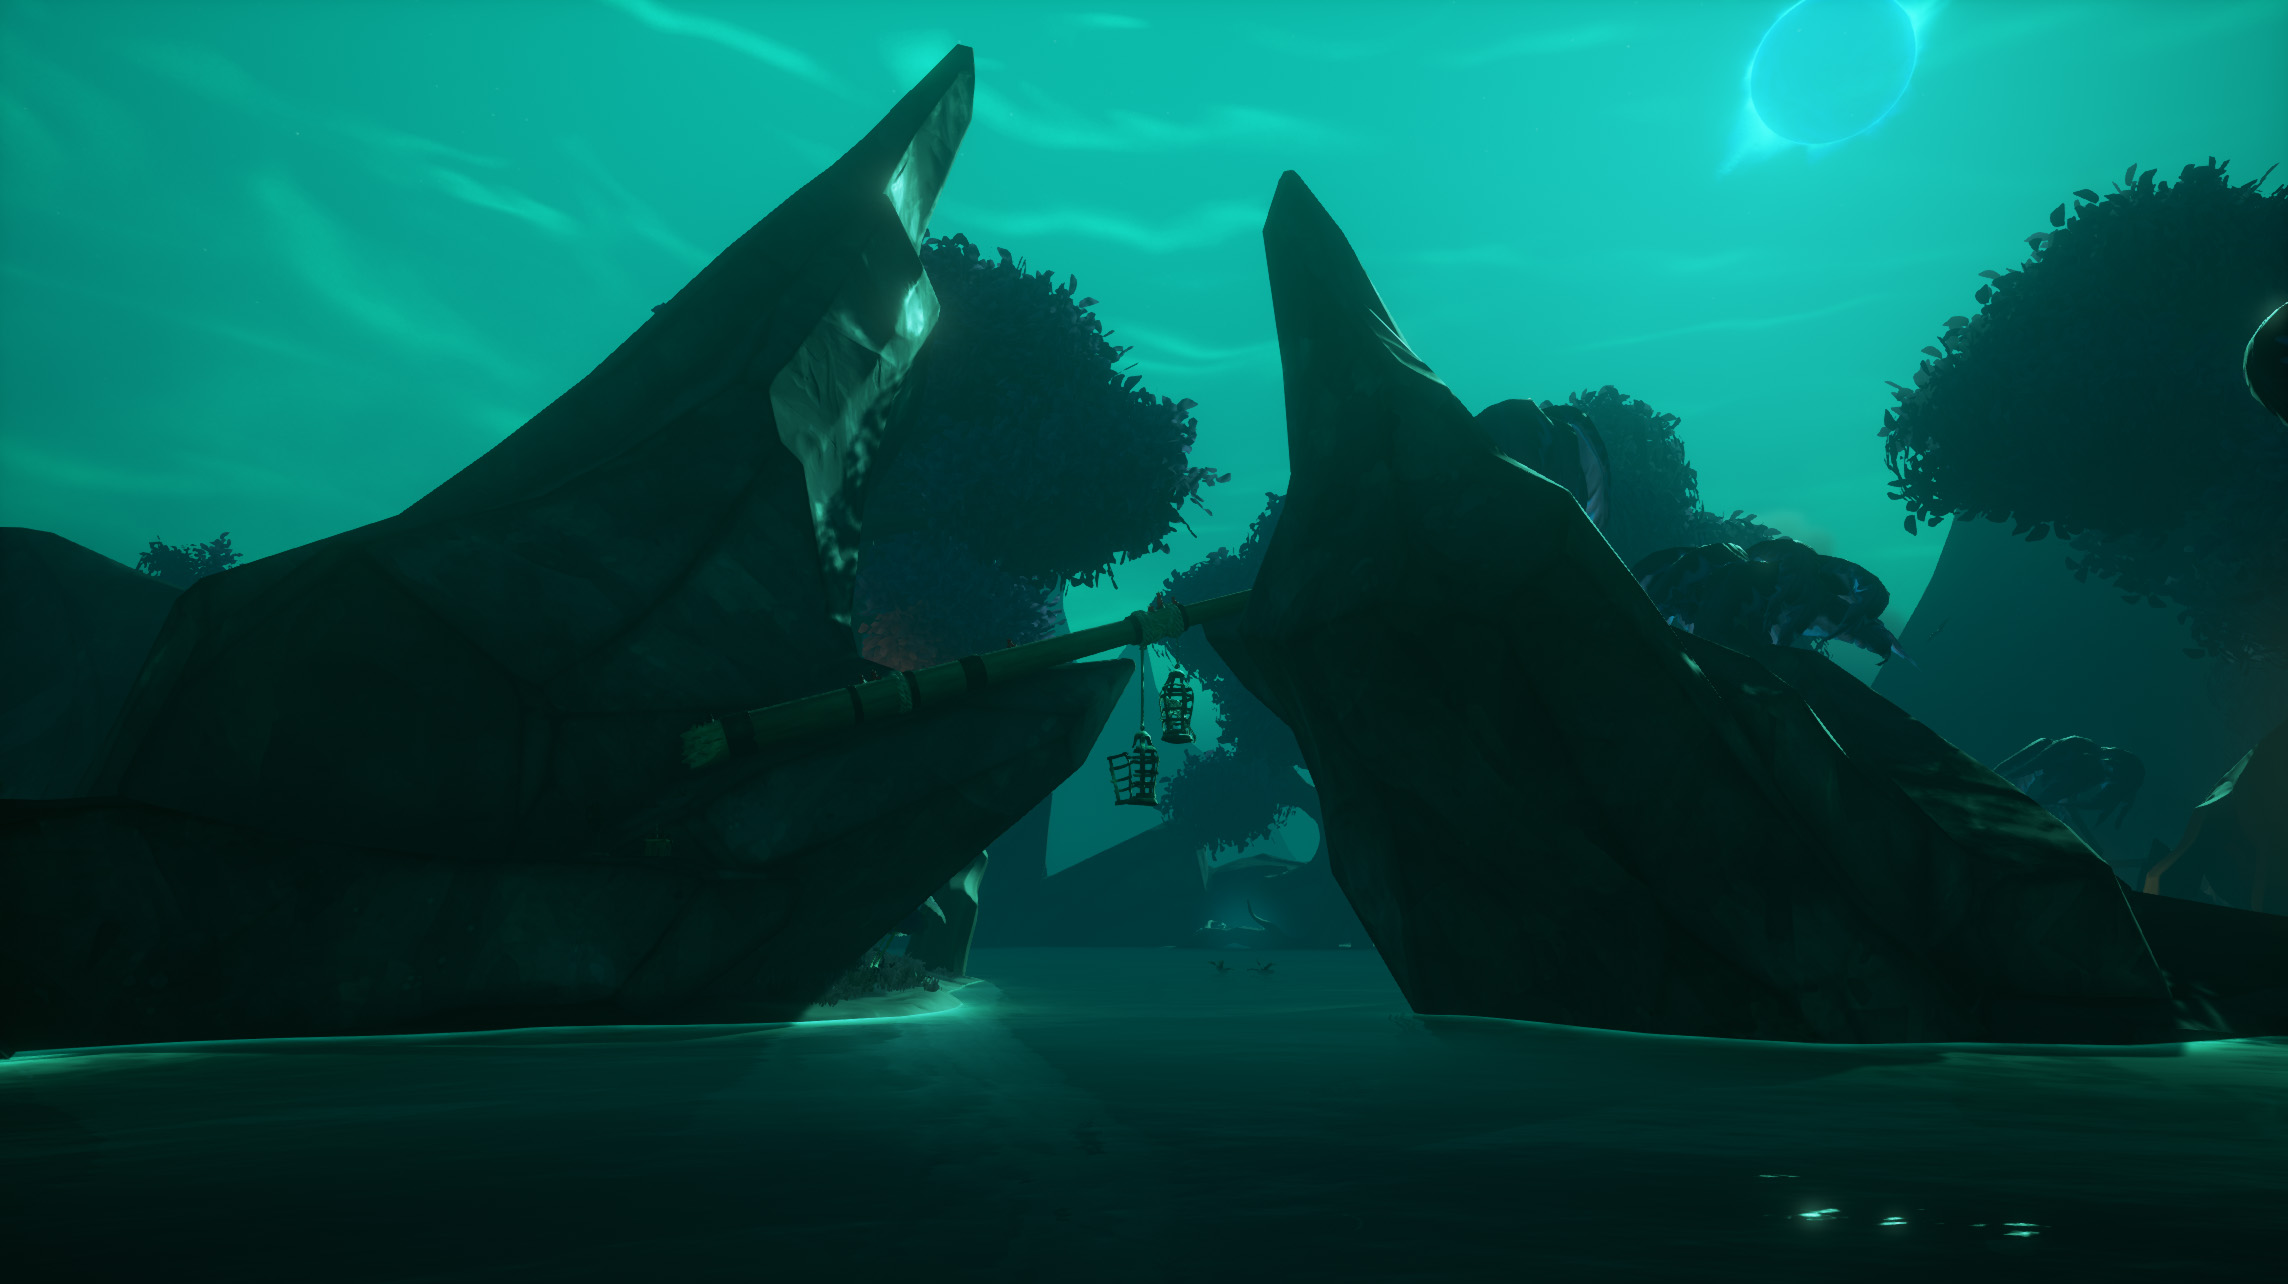
Climb back into your floating rowboat and turn north. Continue until you reach a large opening in the river. From here you’ll want to head northeast until you see two large rocks holding up a broken mast that has two cages hanging from it.
Dock your boat near the shack and hop onto the small island, you’ll find an ammo crate there, (which you’ll need if you wasted all your bullets) and with full ammo head South along the cliffs.
Climb the rocks until you’re at the base of the mast. Here you’ll see a torch that is begging to be lit. Share a bit of your flame, then shoot the thin part of the rope holding up the cage with the skeleton inside it to drop it into the water.
Damned Journal #3
Hope you’re not tired of swimming yet! Jump in after the cage and open it up to reveal the final journal in the Bayou.
Now that you’ve found all the secrets here it’s time to move along in the story. Using Jack’s compass, find your way back to your boat and more importantly the ominous shack sitting next to the portal that is blocking your way forward.
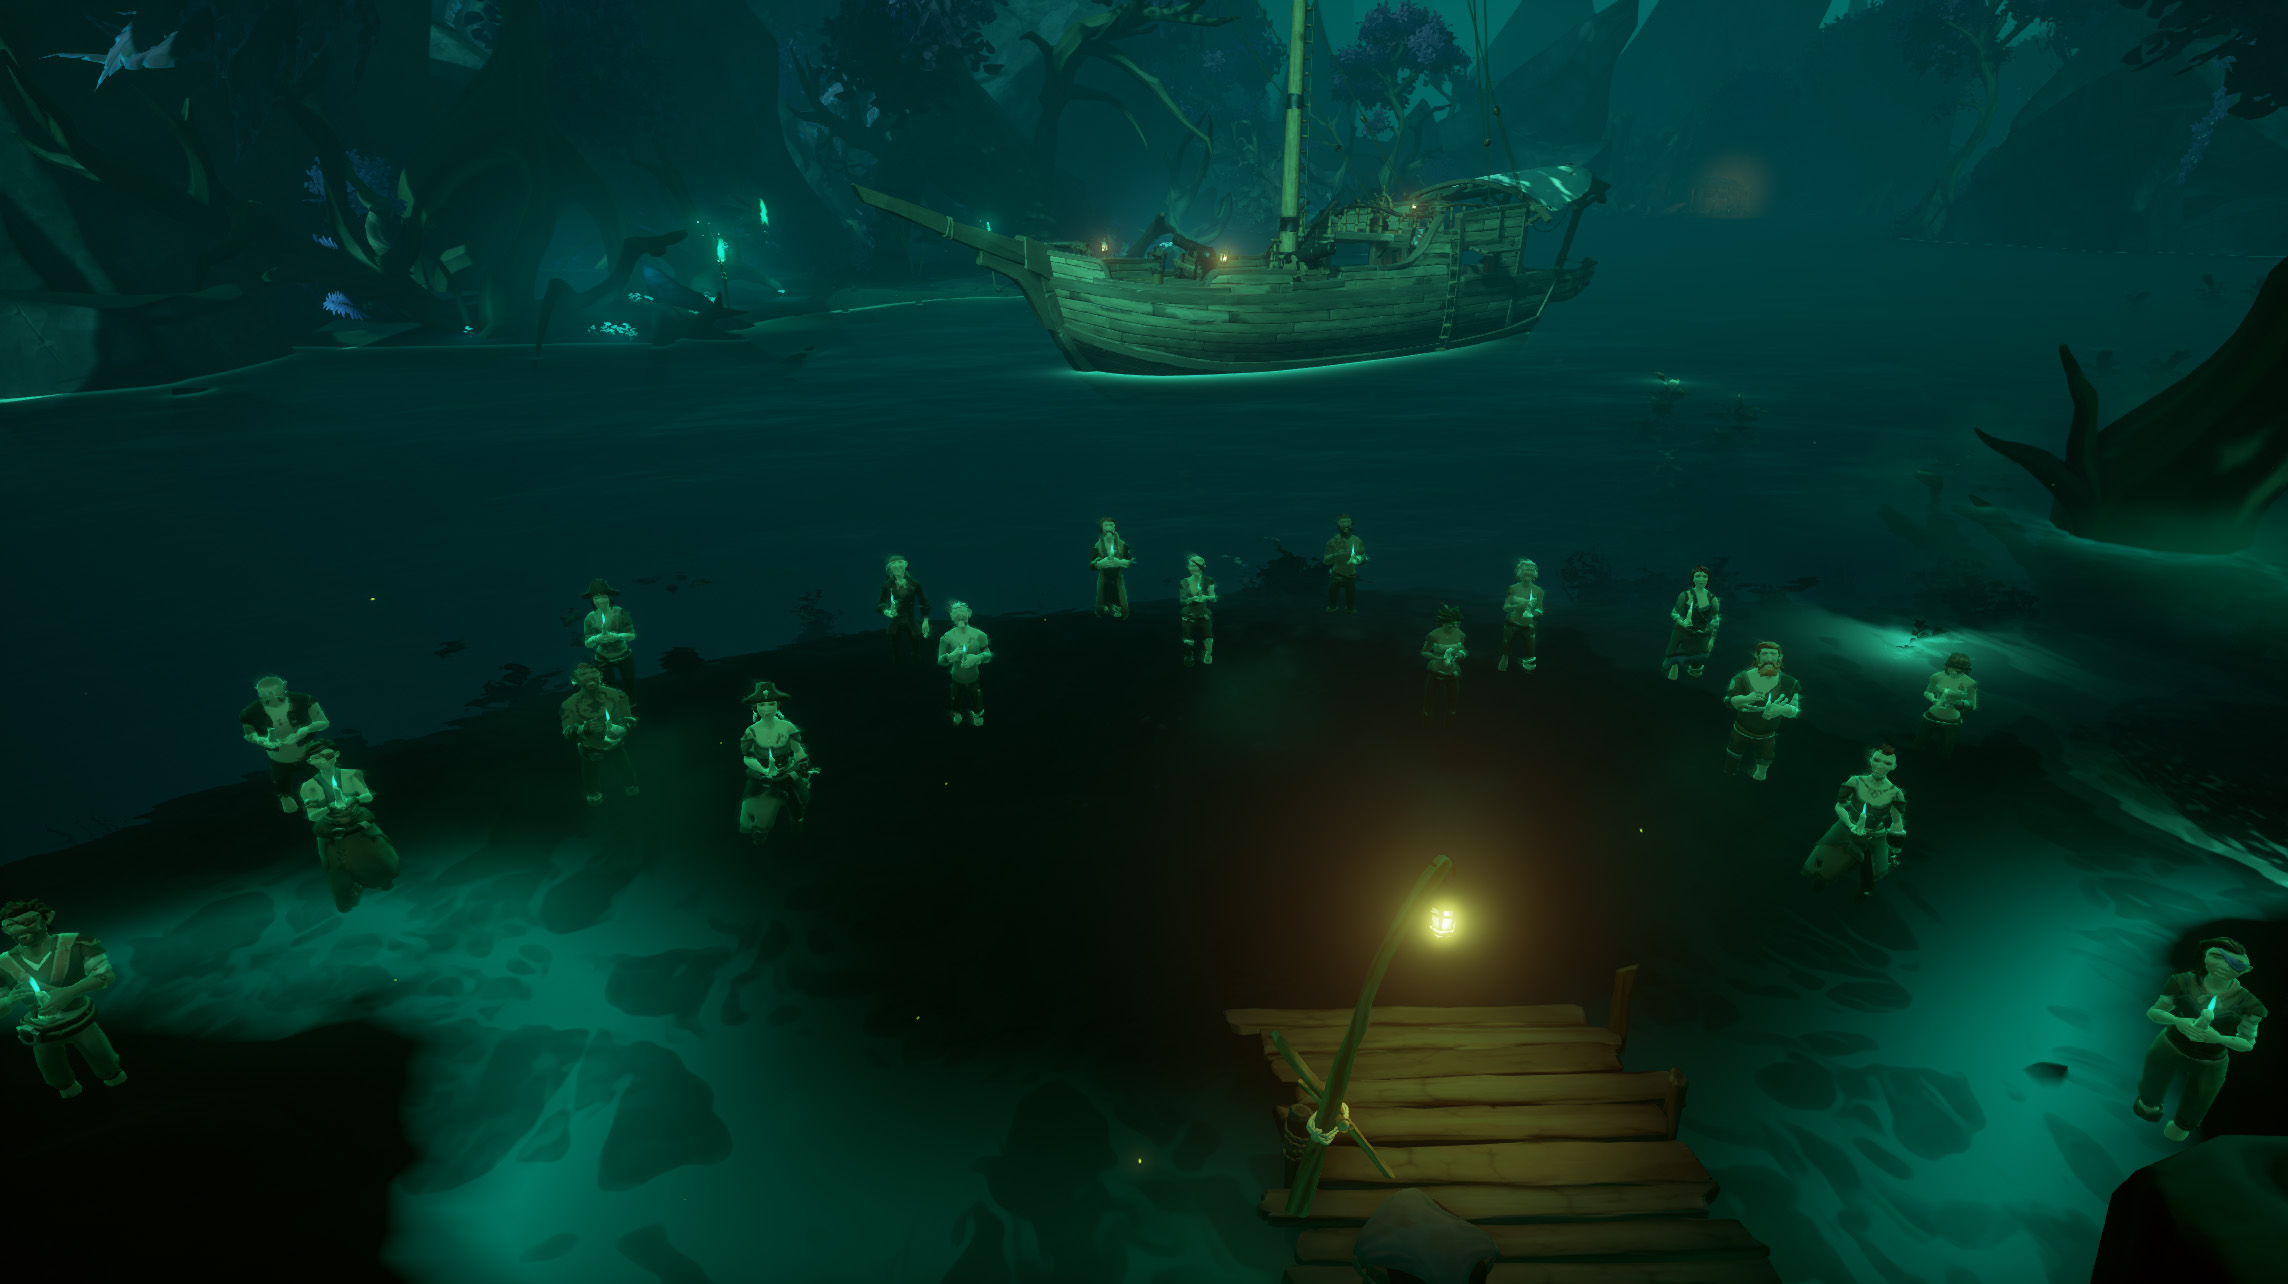
Climb the ladder up to the front porch of Tia Dalma’s shack and light the torches on either side of the front door. Once lit you’ll be surprised by the newly appeared ghosts behind you who are all holding candles.
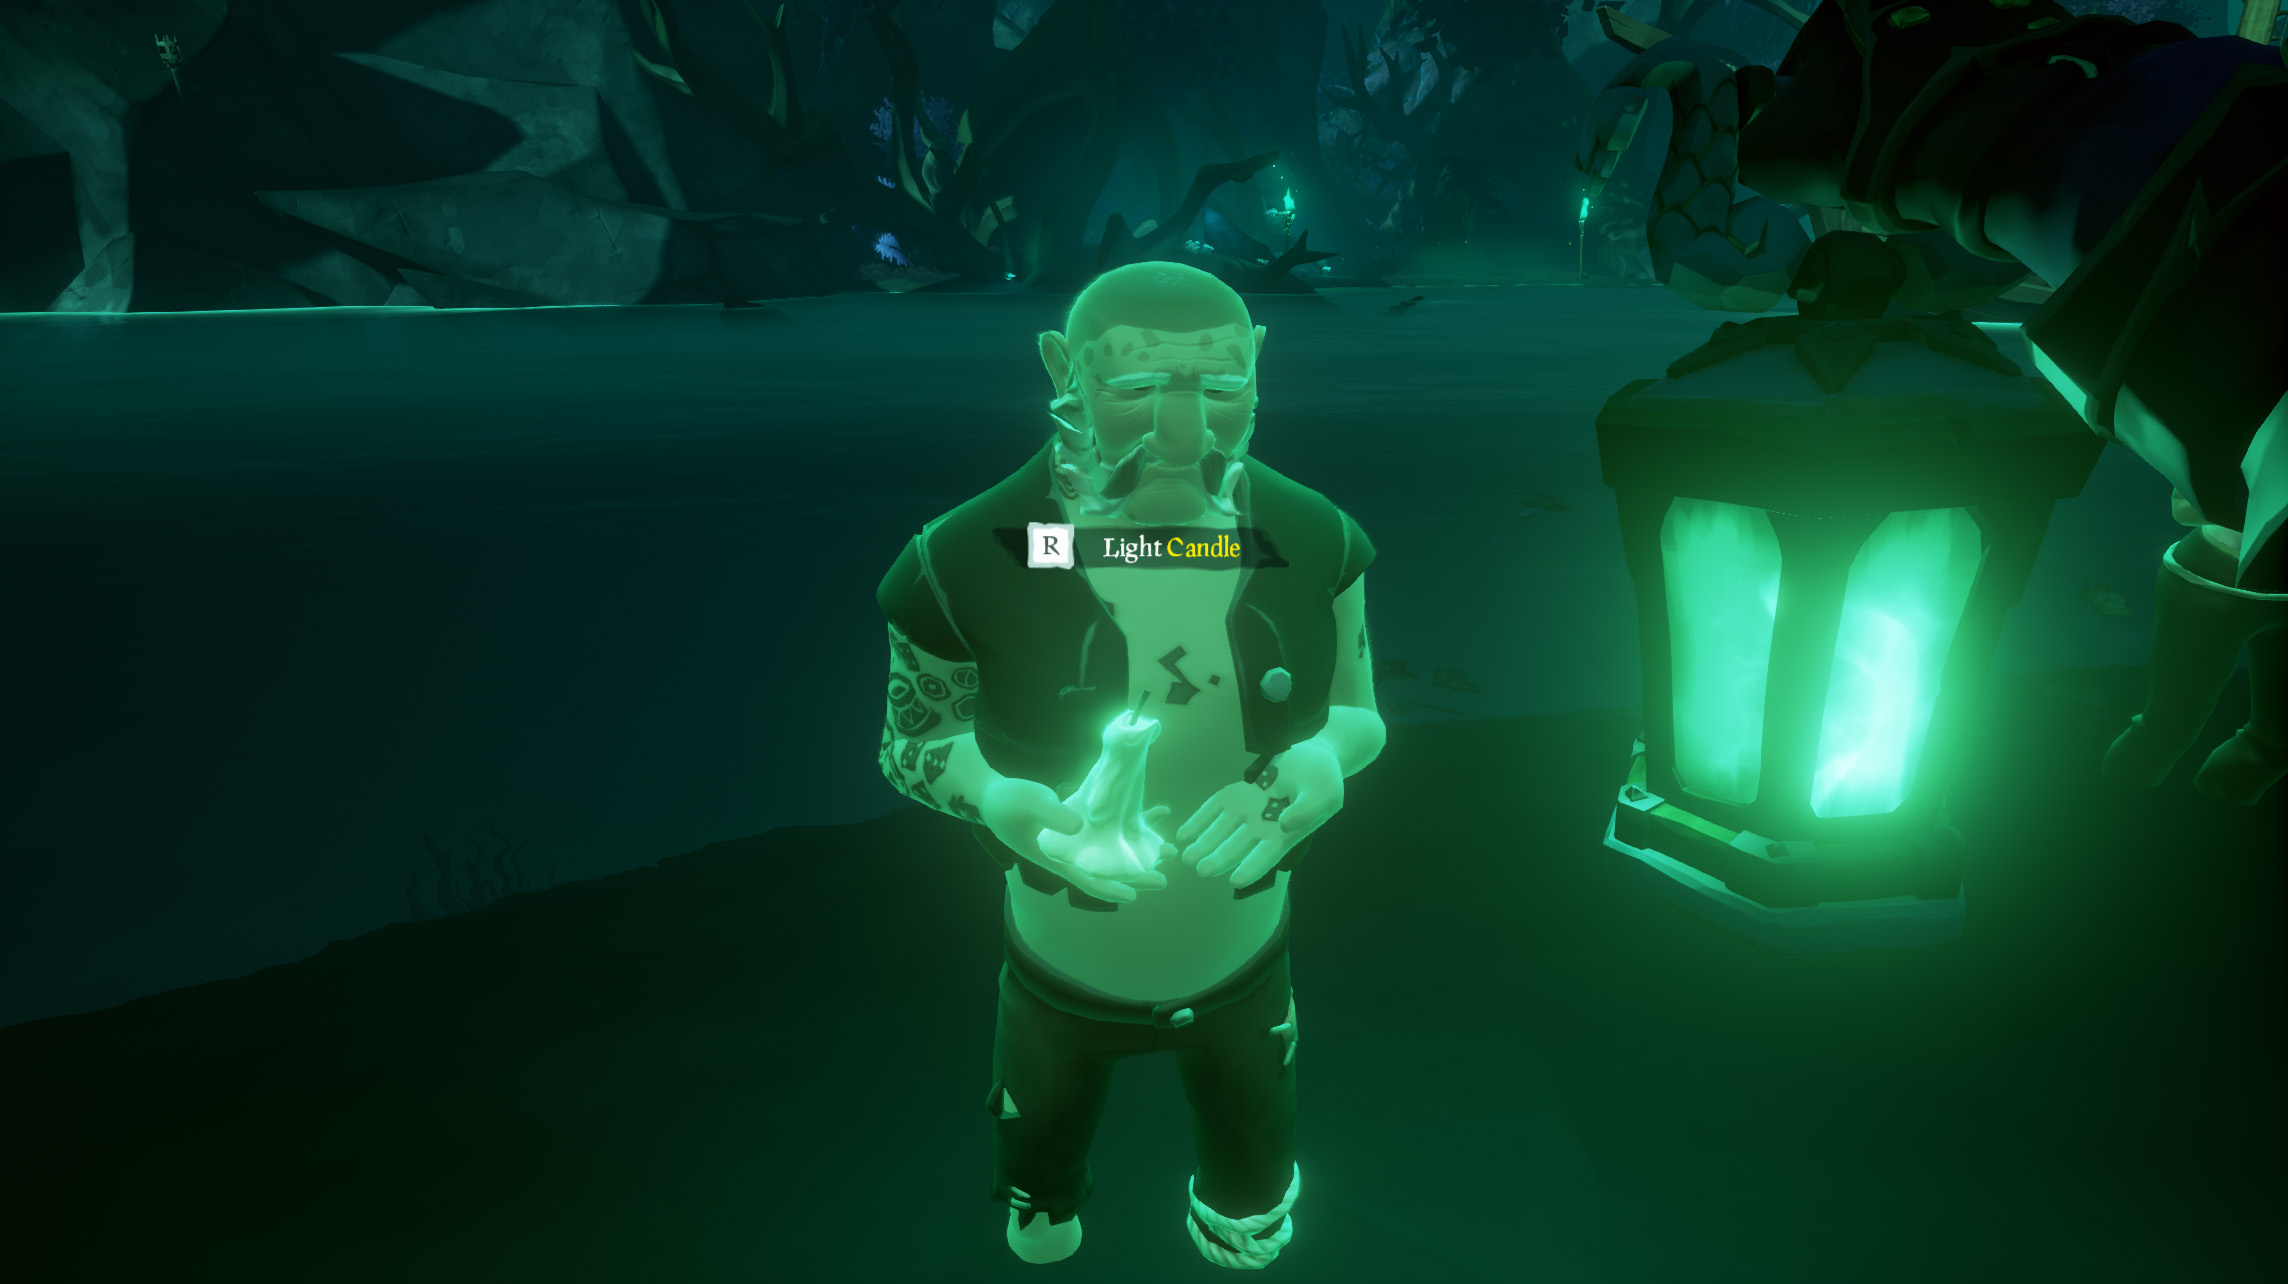
You’ll soon discover that not all ghosts are created equally, as three of our new visitors have unlit candles. Lucky for them, you’re a candle lighting expert. Search through the crowd and lend your expertise.
With the candles lit, and a little bit of enchanting from our favorite witch, the path will open and you can sail away to the second part of this Tall Tale.
Captains of the Damned - Part 2
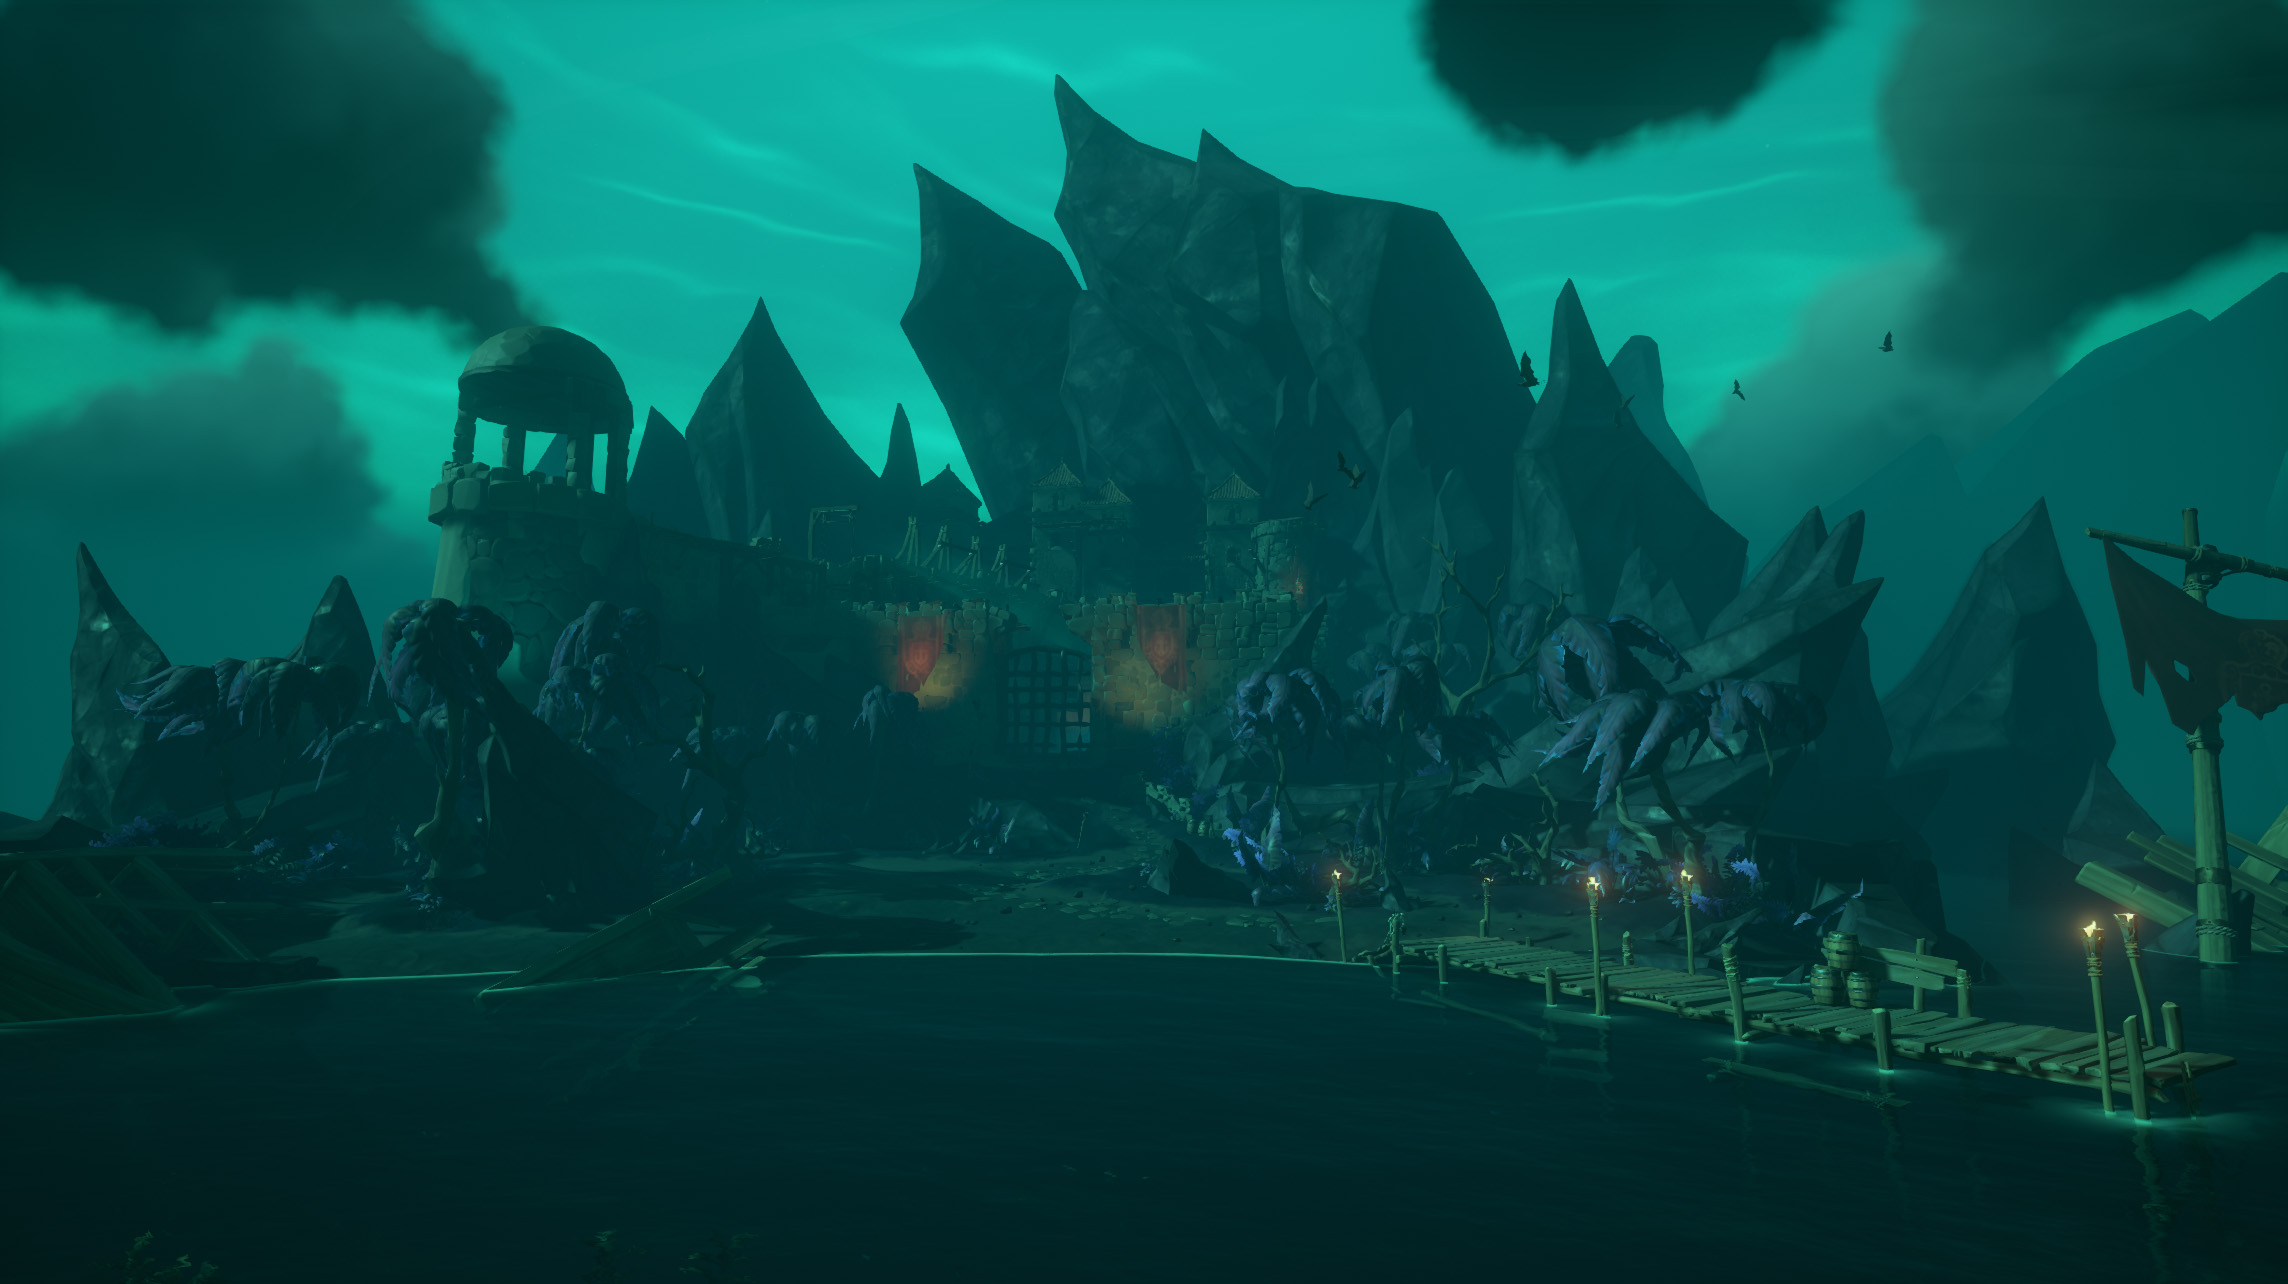
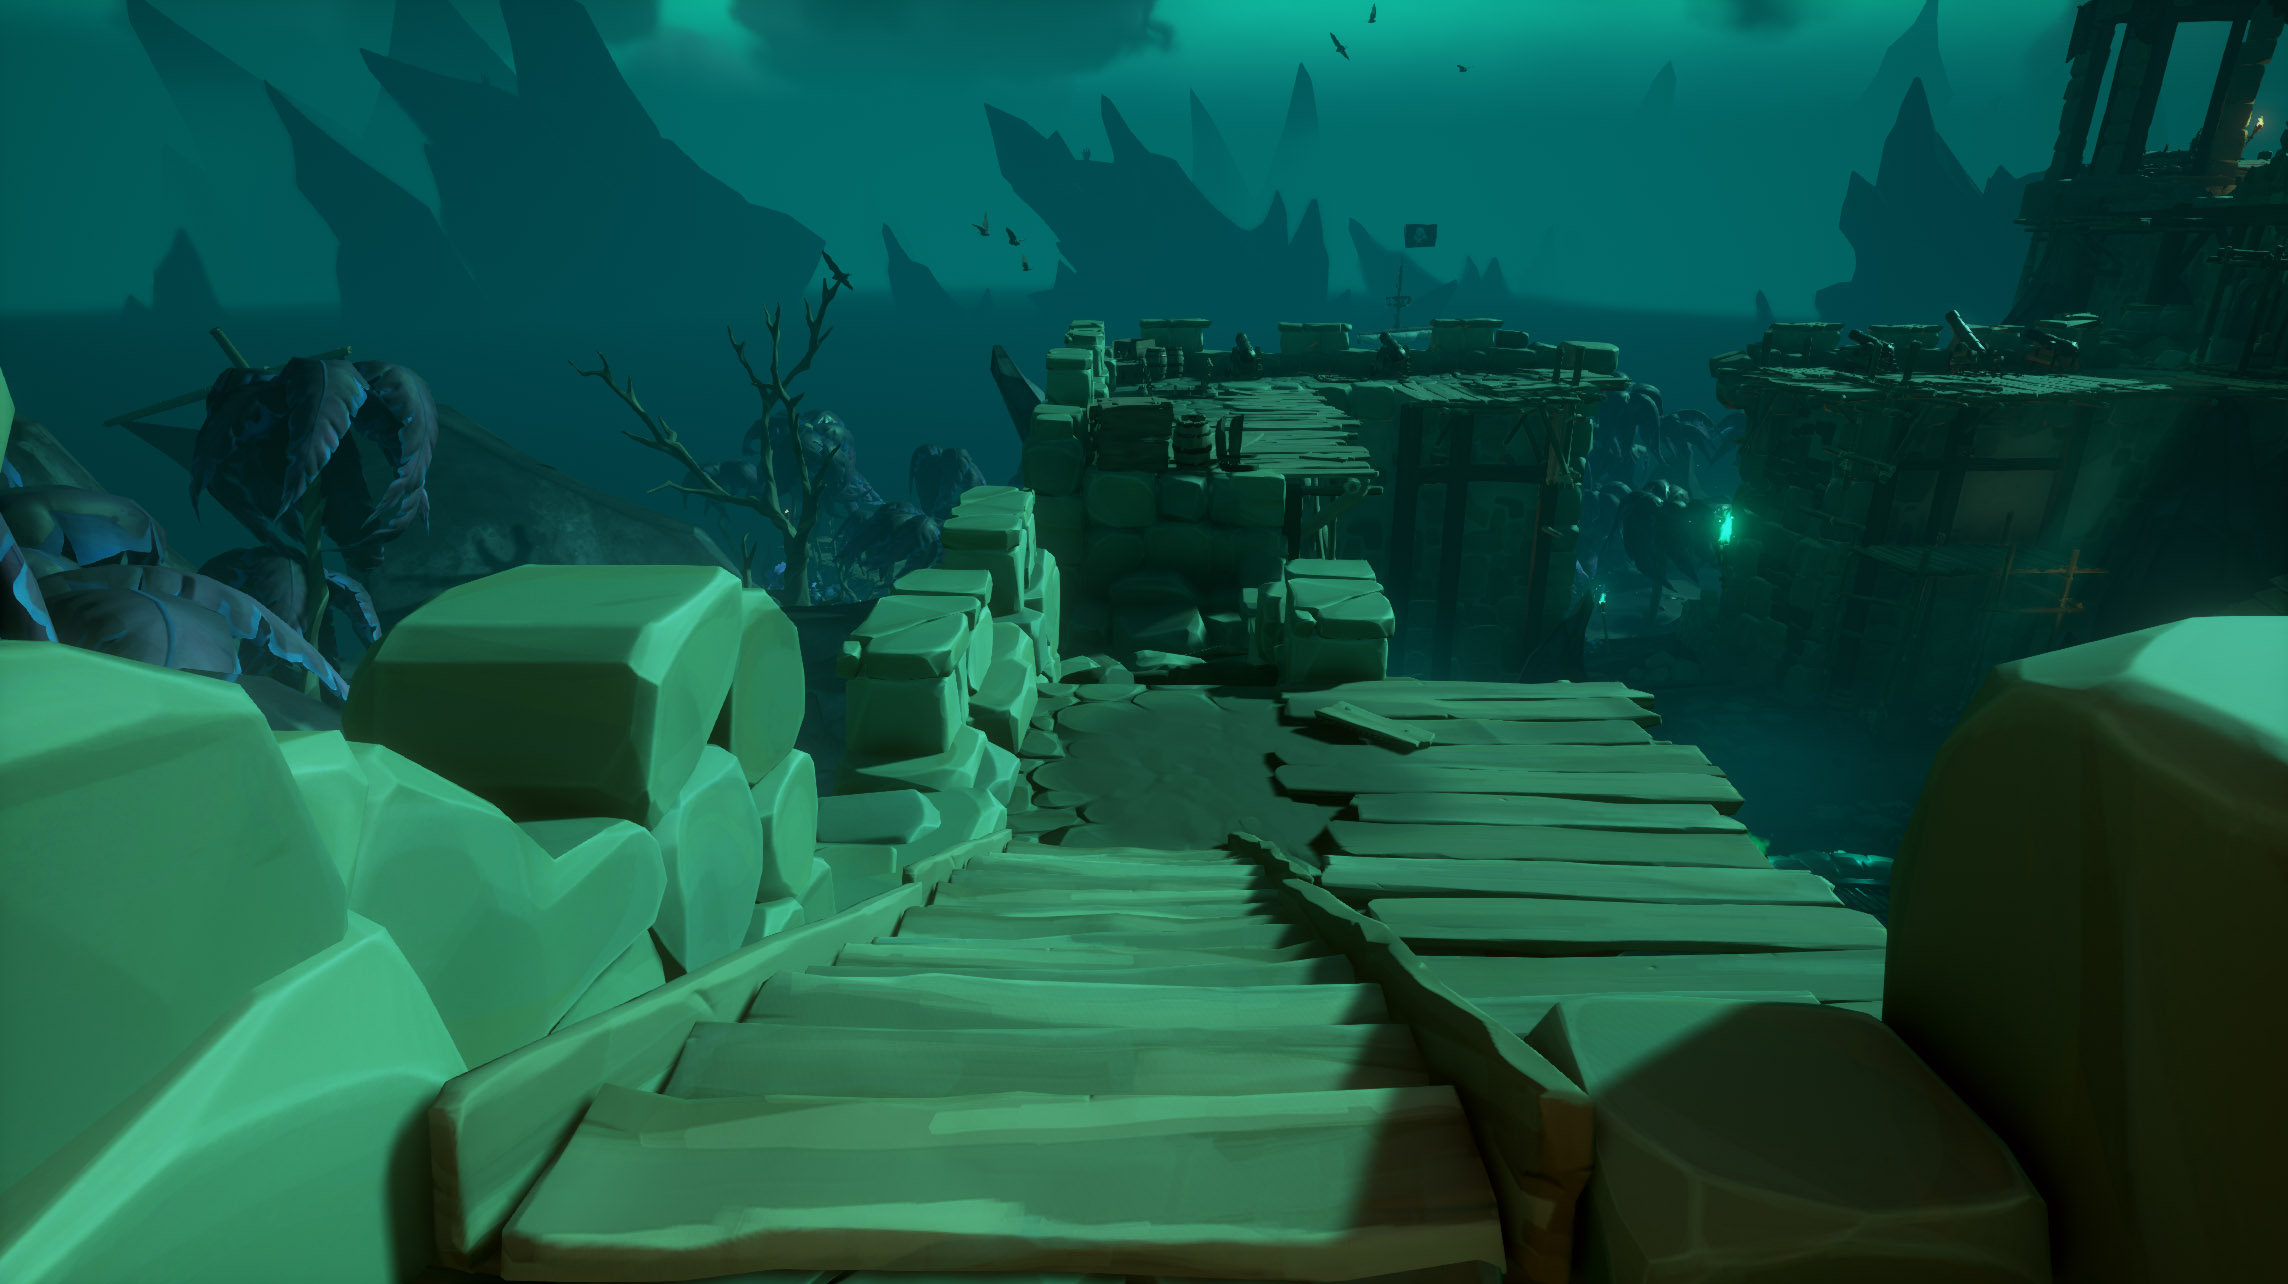
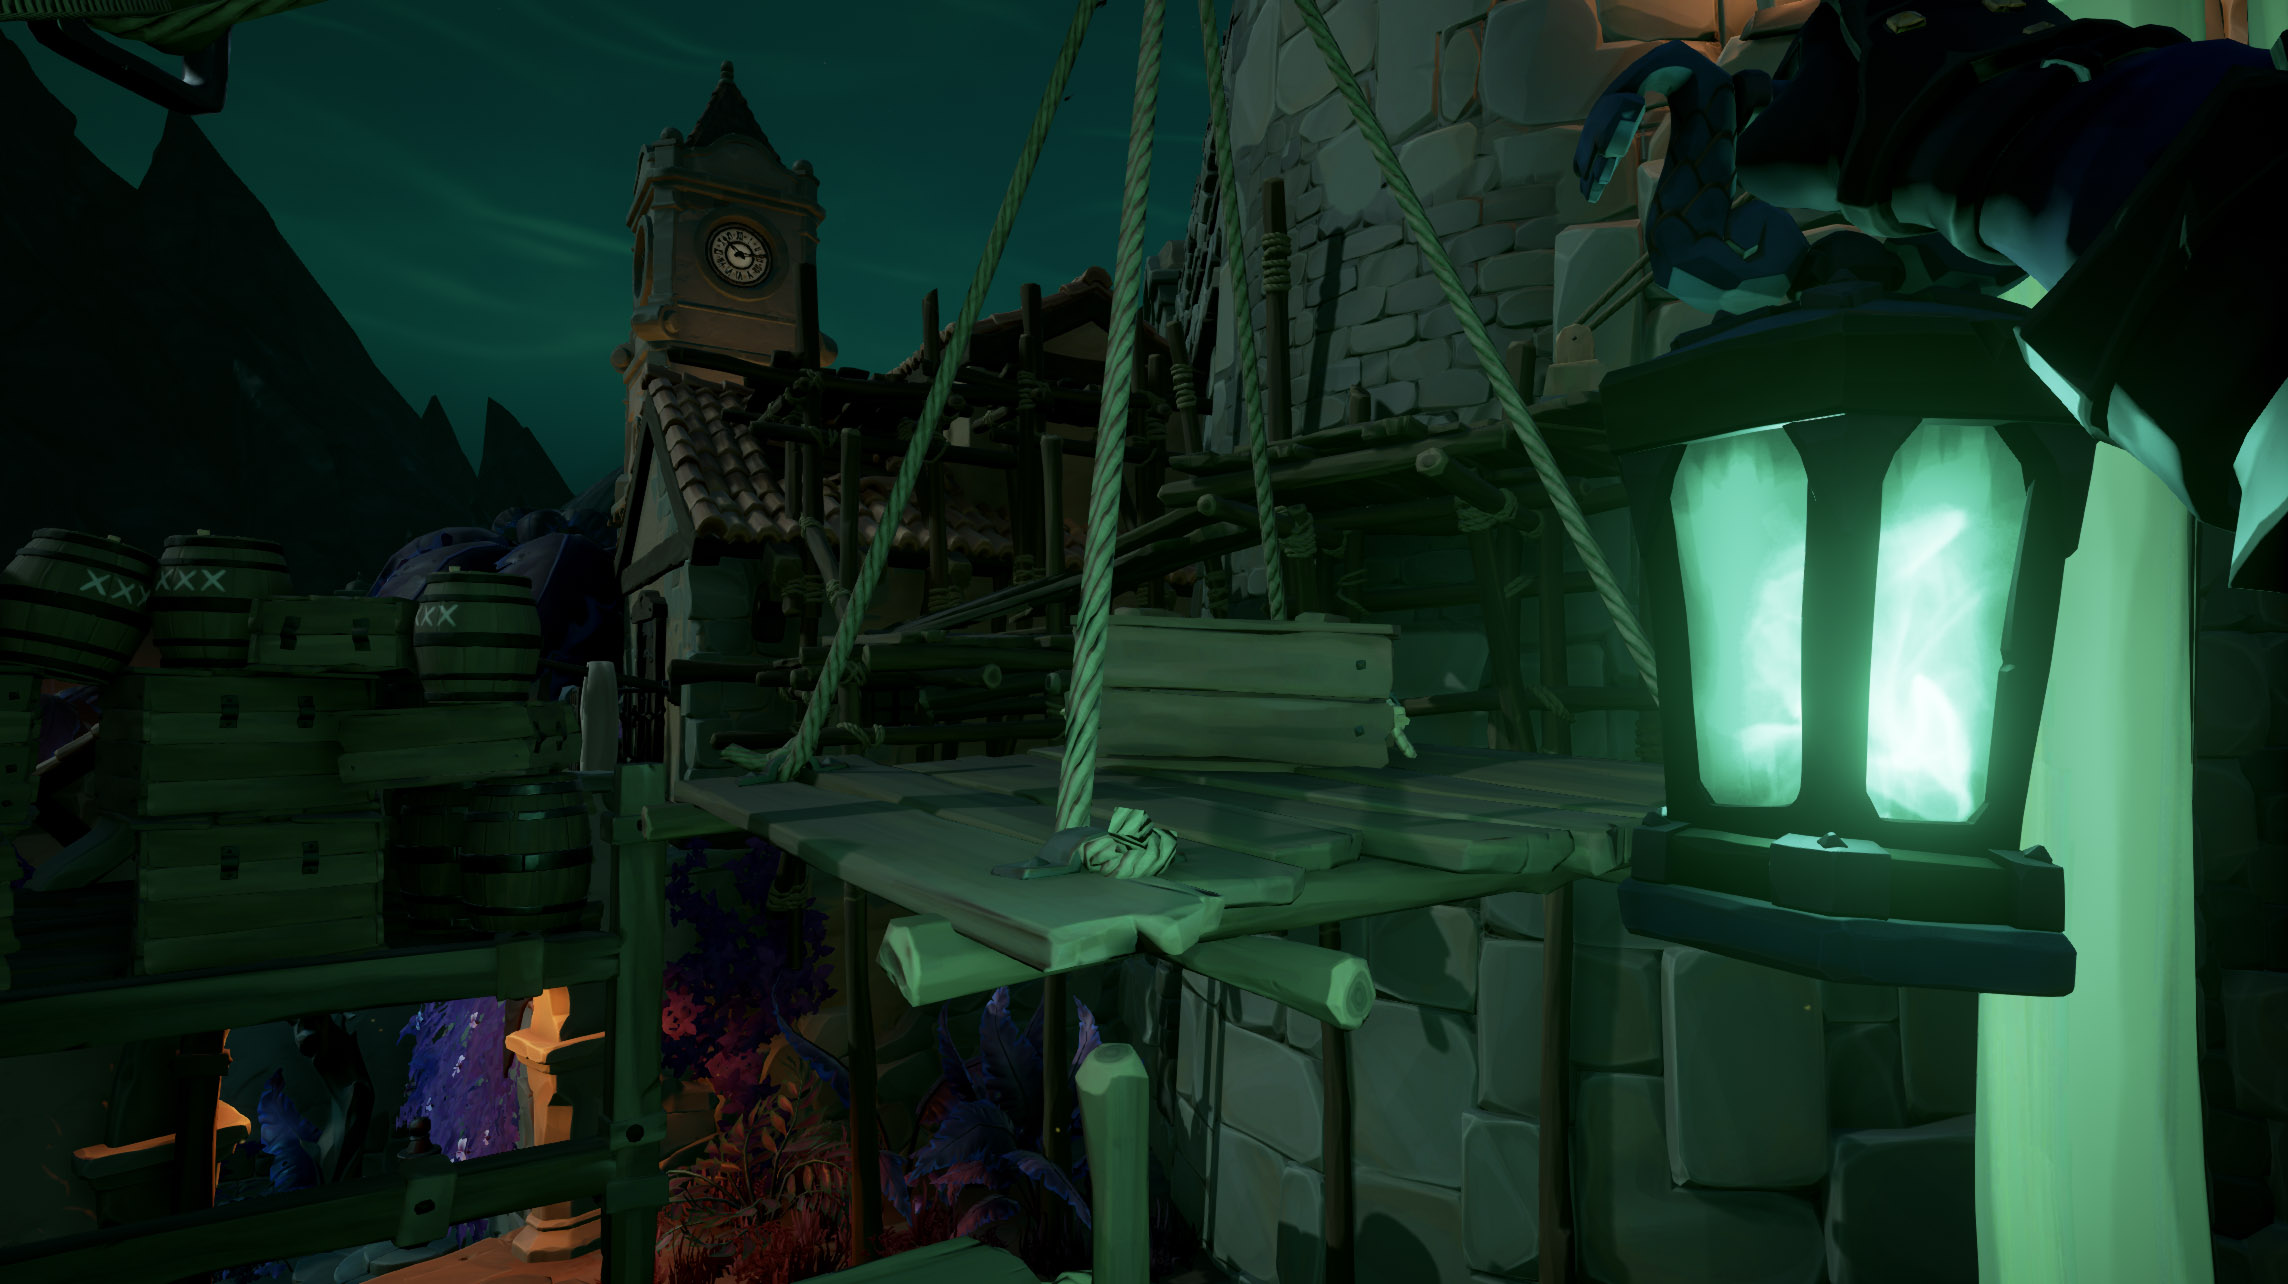
With Jack’s compass always leading the way you’ll soon find yourself sailing towards the busted up Fort of Lost Souls.
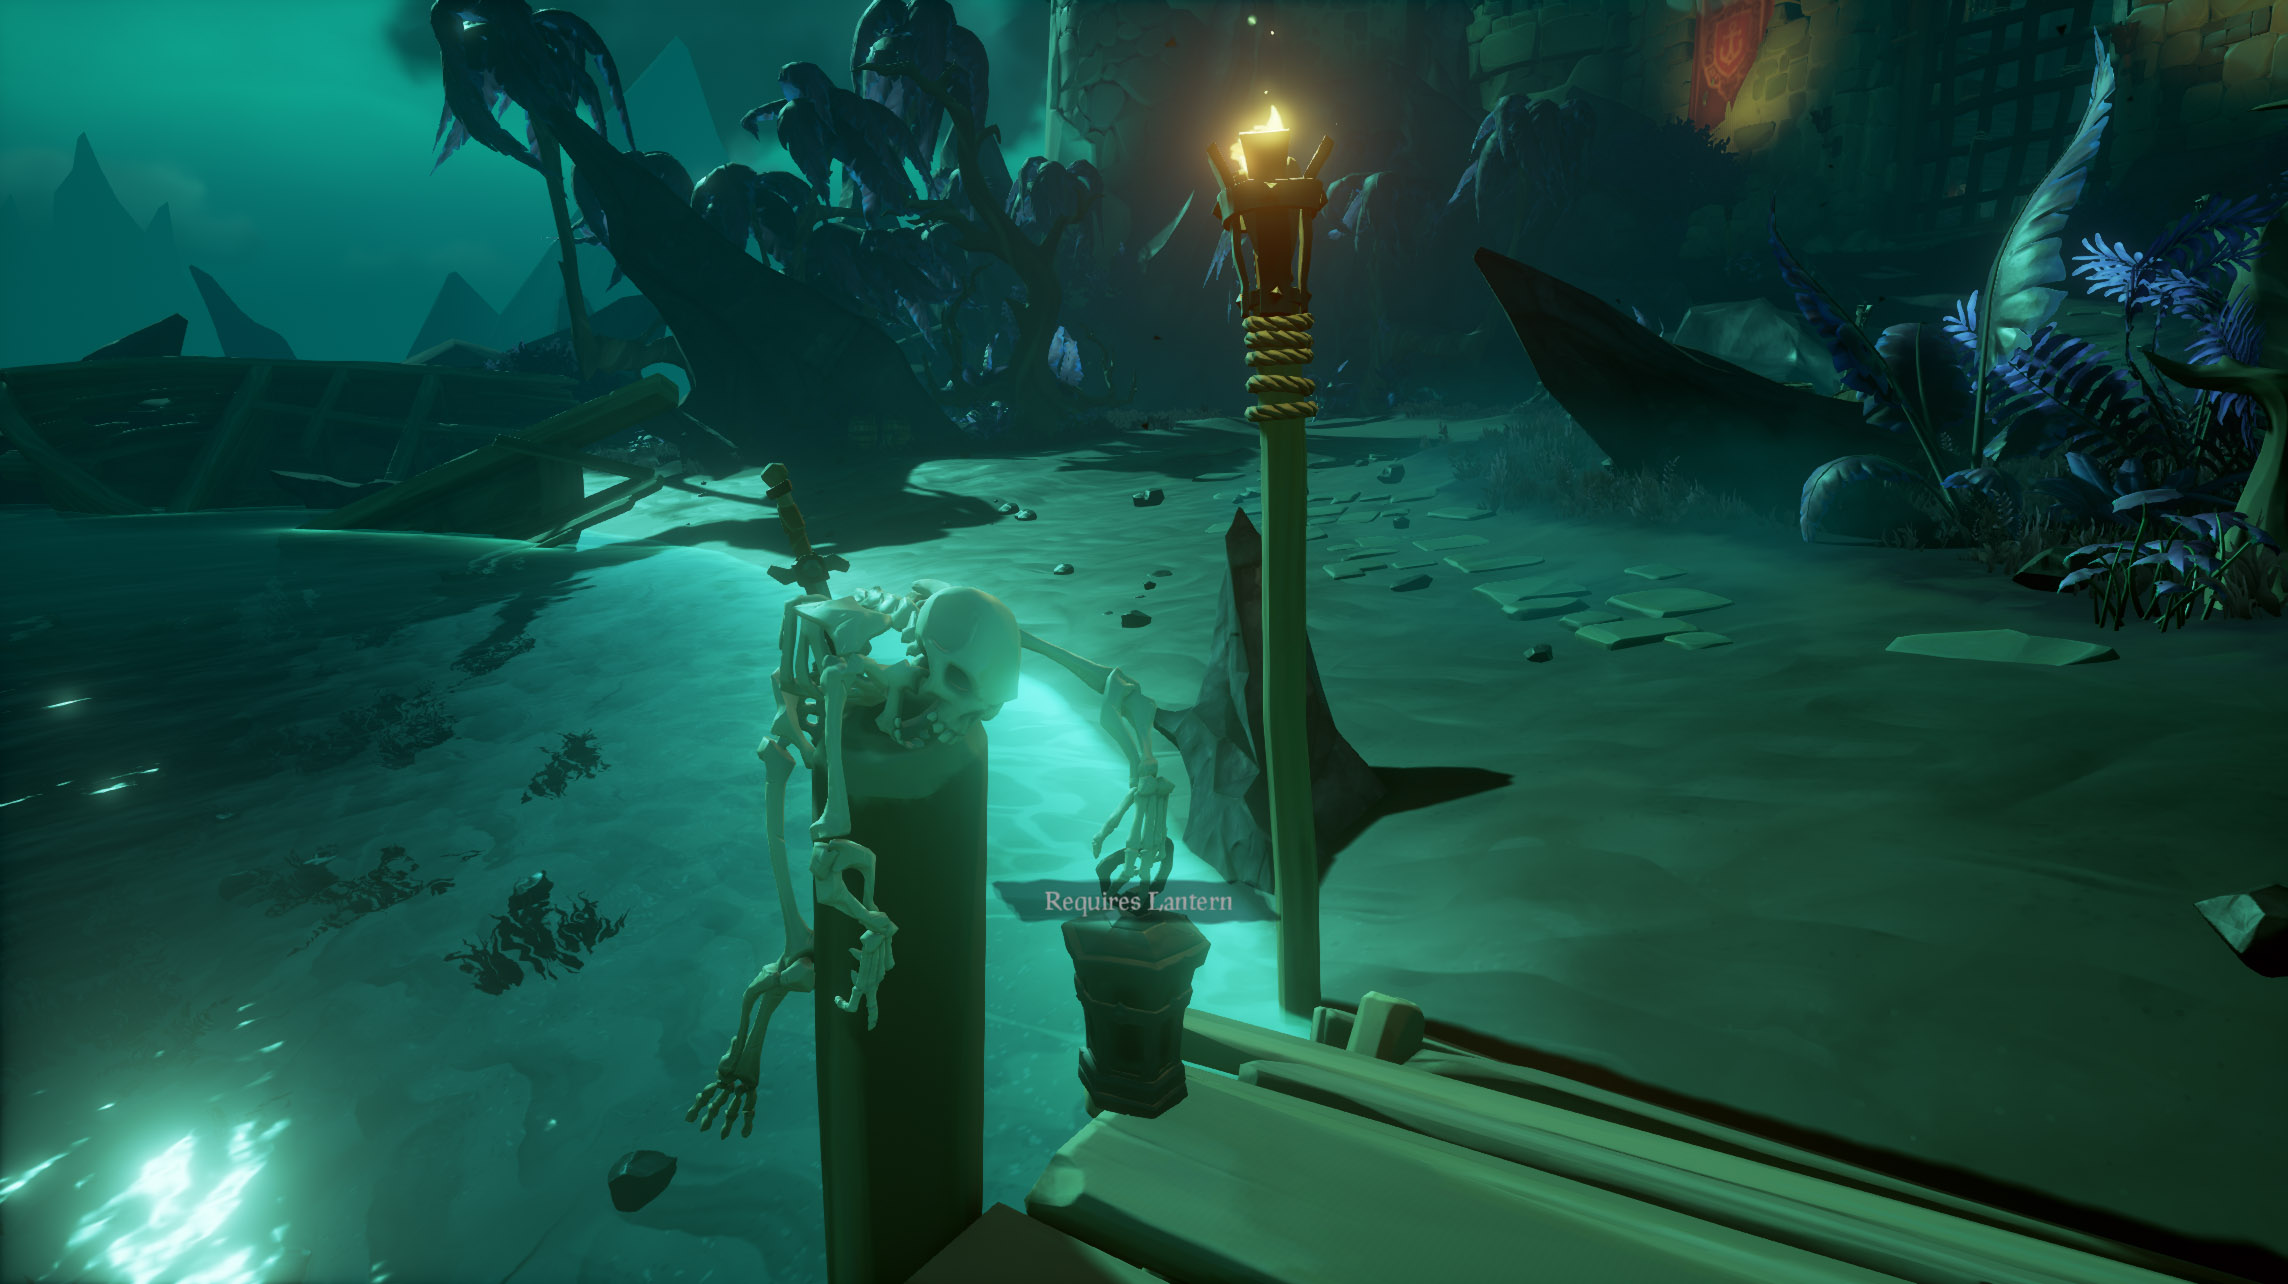
Park your ship as nicely as you wish and then search the docks for the welcoming party. You’ll need to pay a boarding fee of one flame of souls to enter.
Hint: Pay the skeleton holding a lantern.
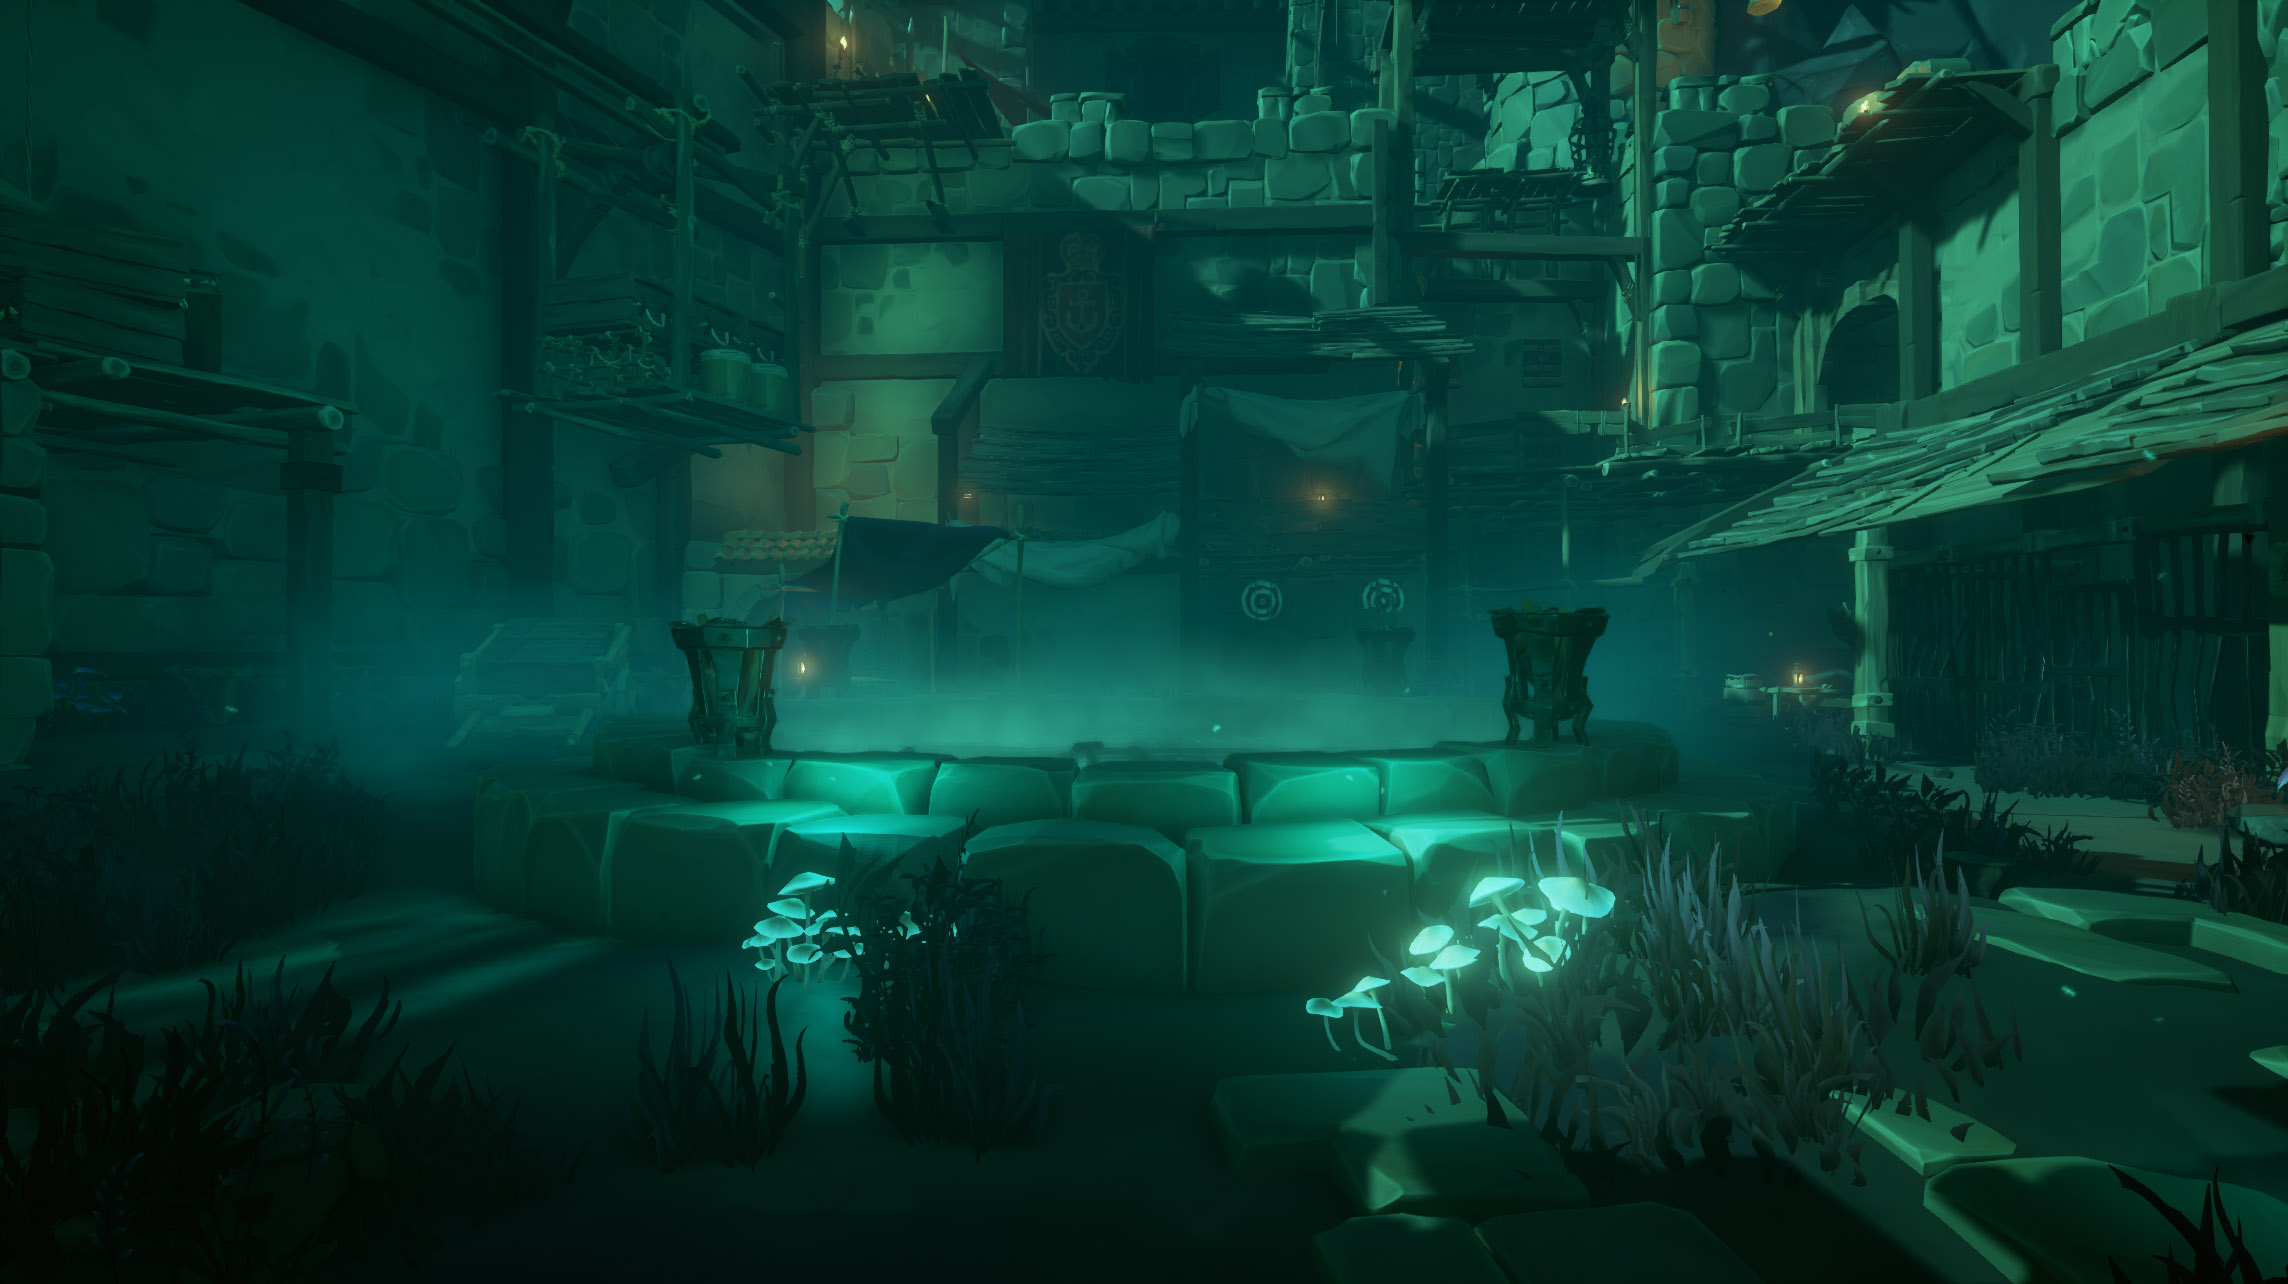
After you’ve lit the skeleton’s lantern, a chain of fires will light your path leading to the gate of the fort, and then the gate will open. Go inside to find four braziers sitting in the middle of the courtyard waiting for you to light them.
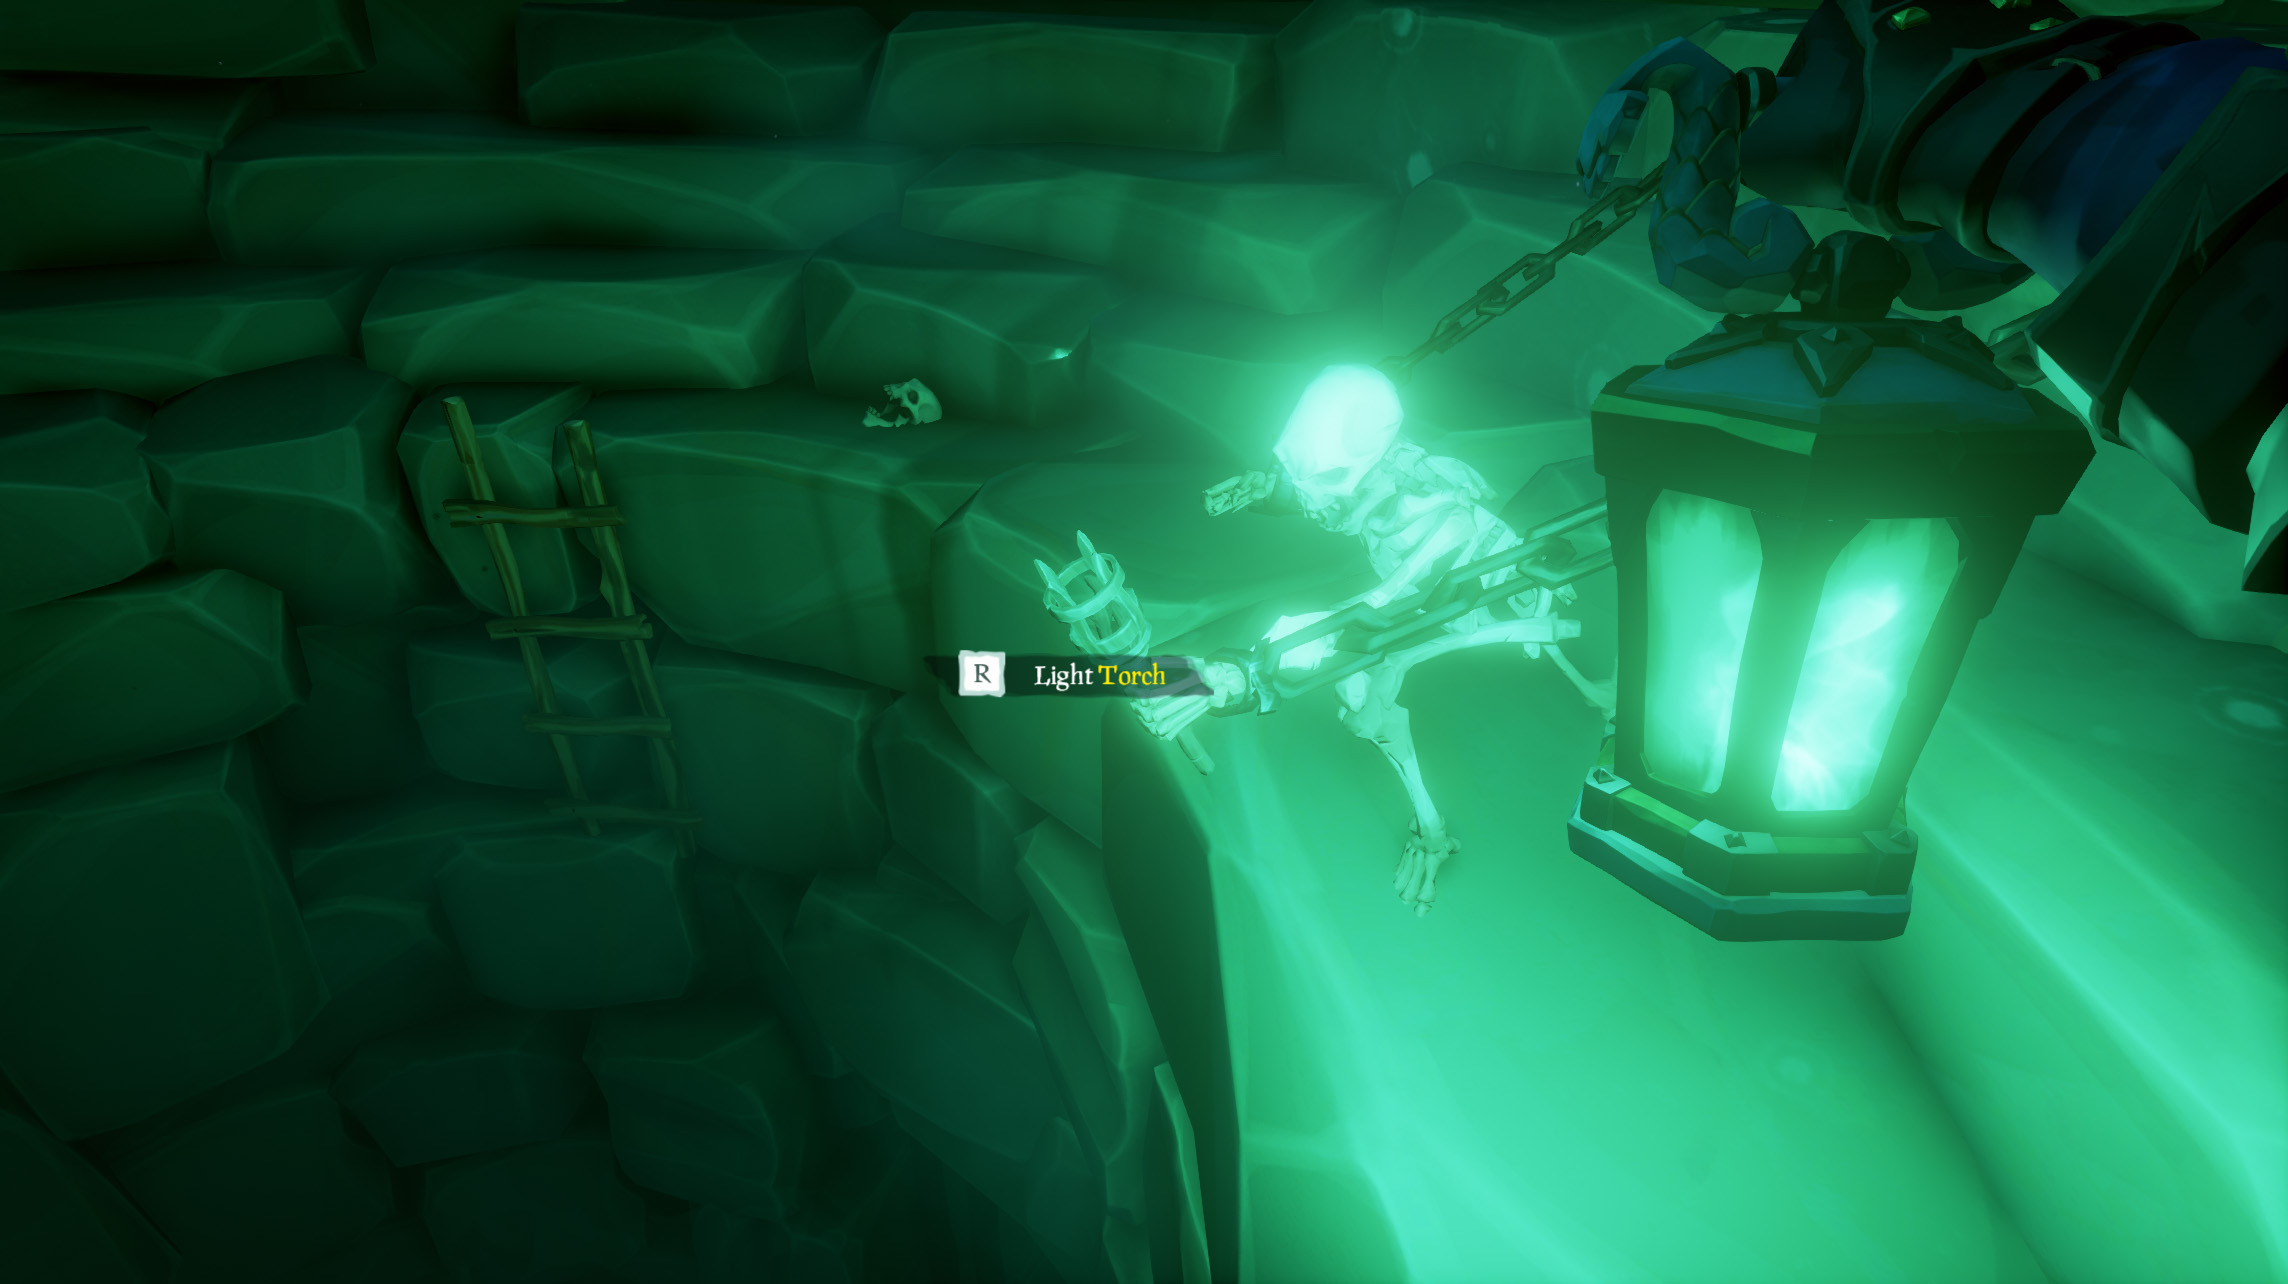
After lighting the braziers, descend into the well, then swim up and climb up the ladder to find another skeleton holding a torch.
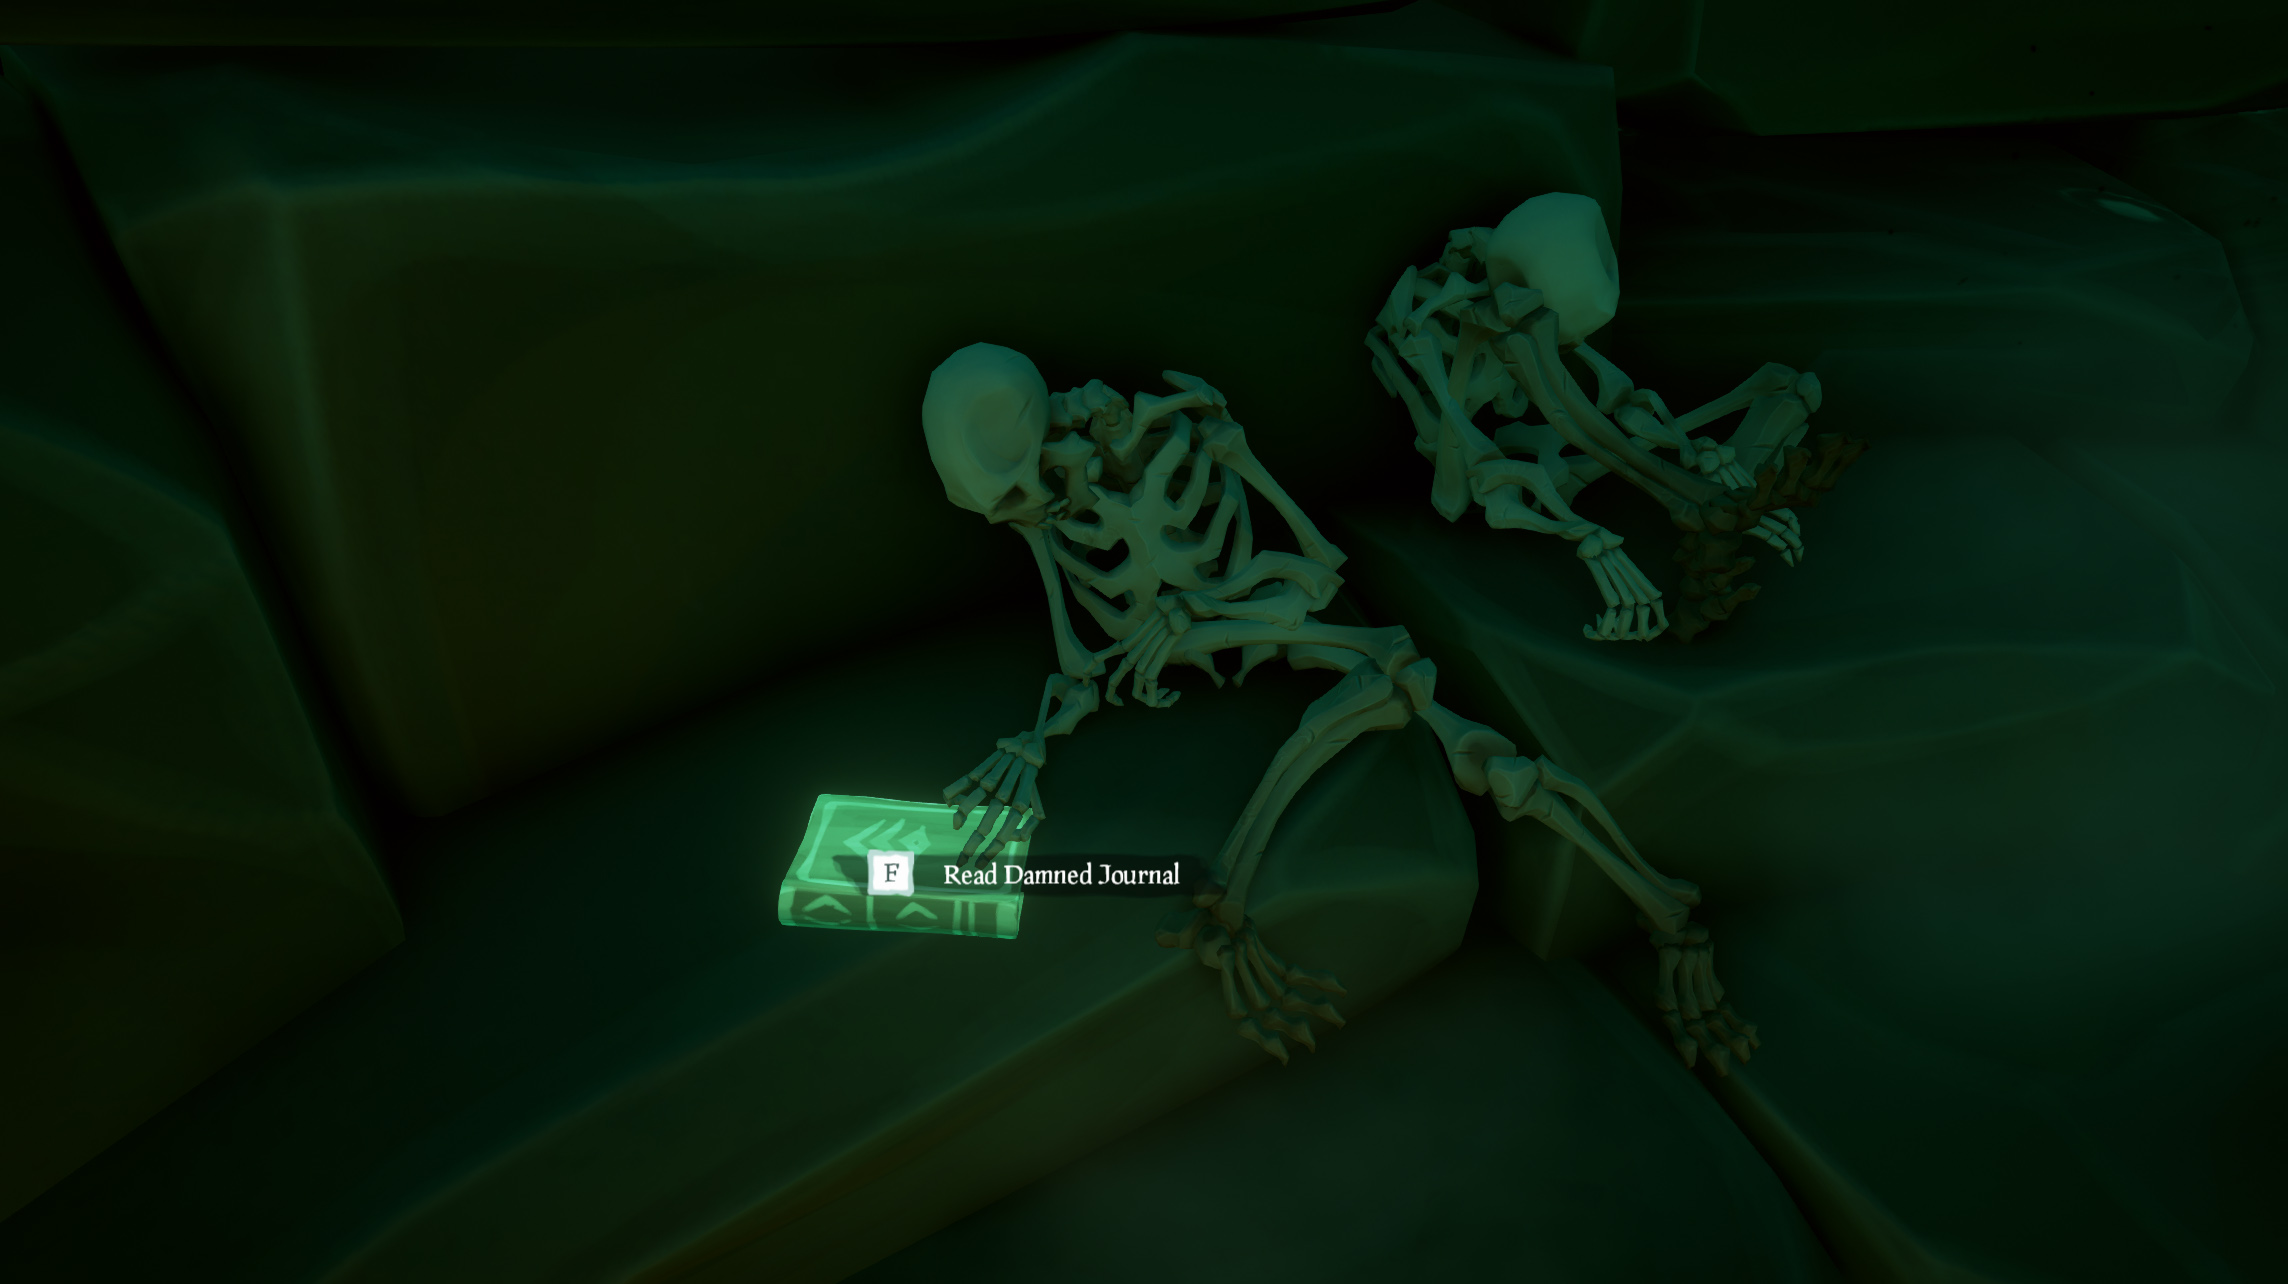
Damned Journal #4
Light the torch and the fourth journal will appear on the other side of the well.
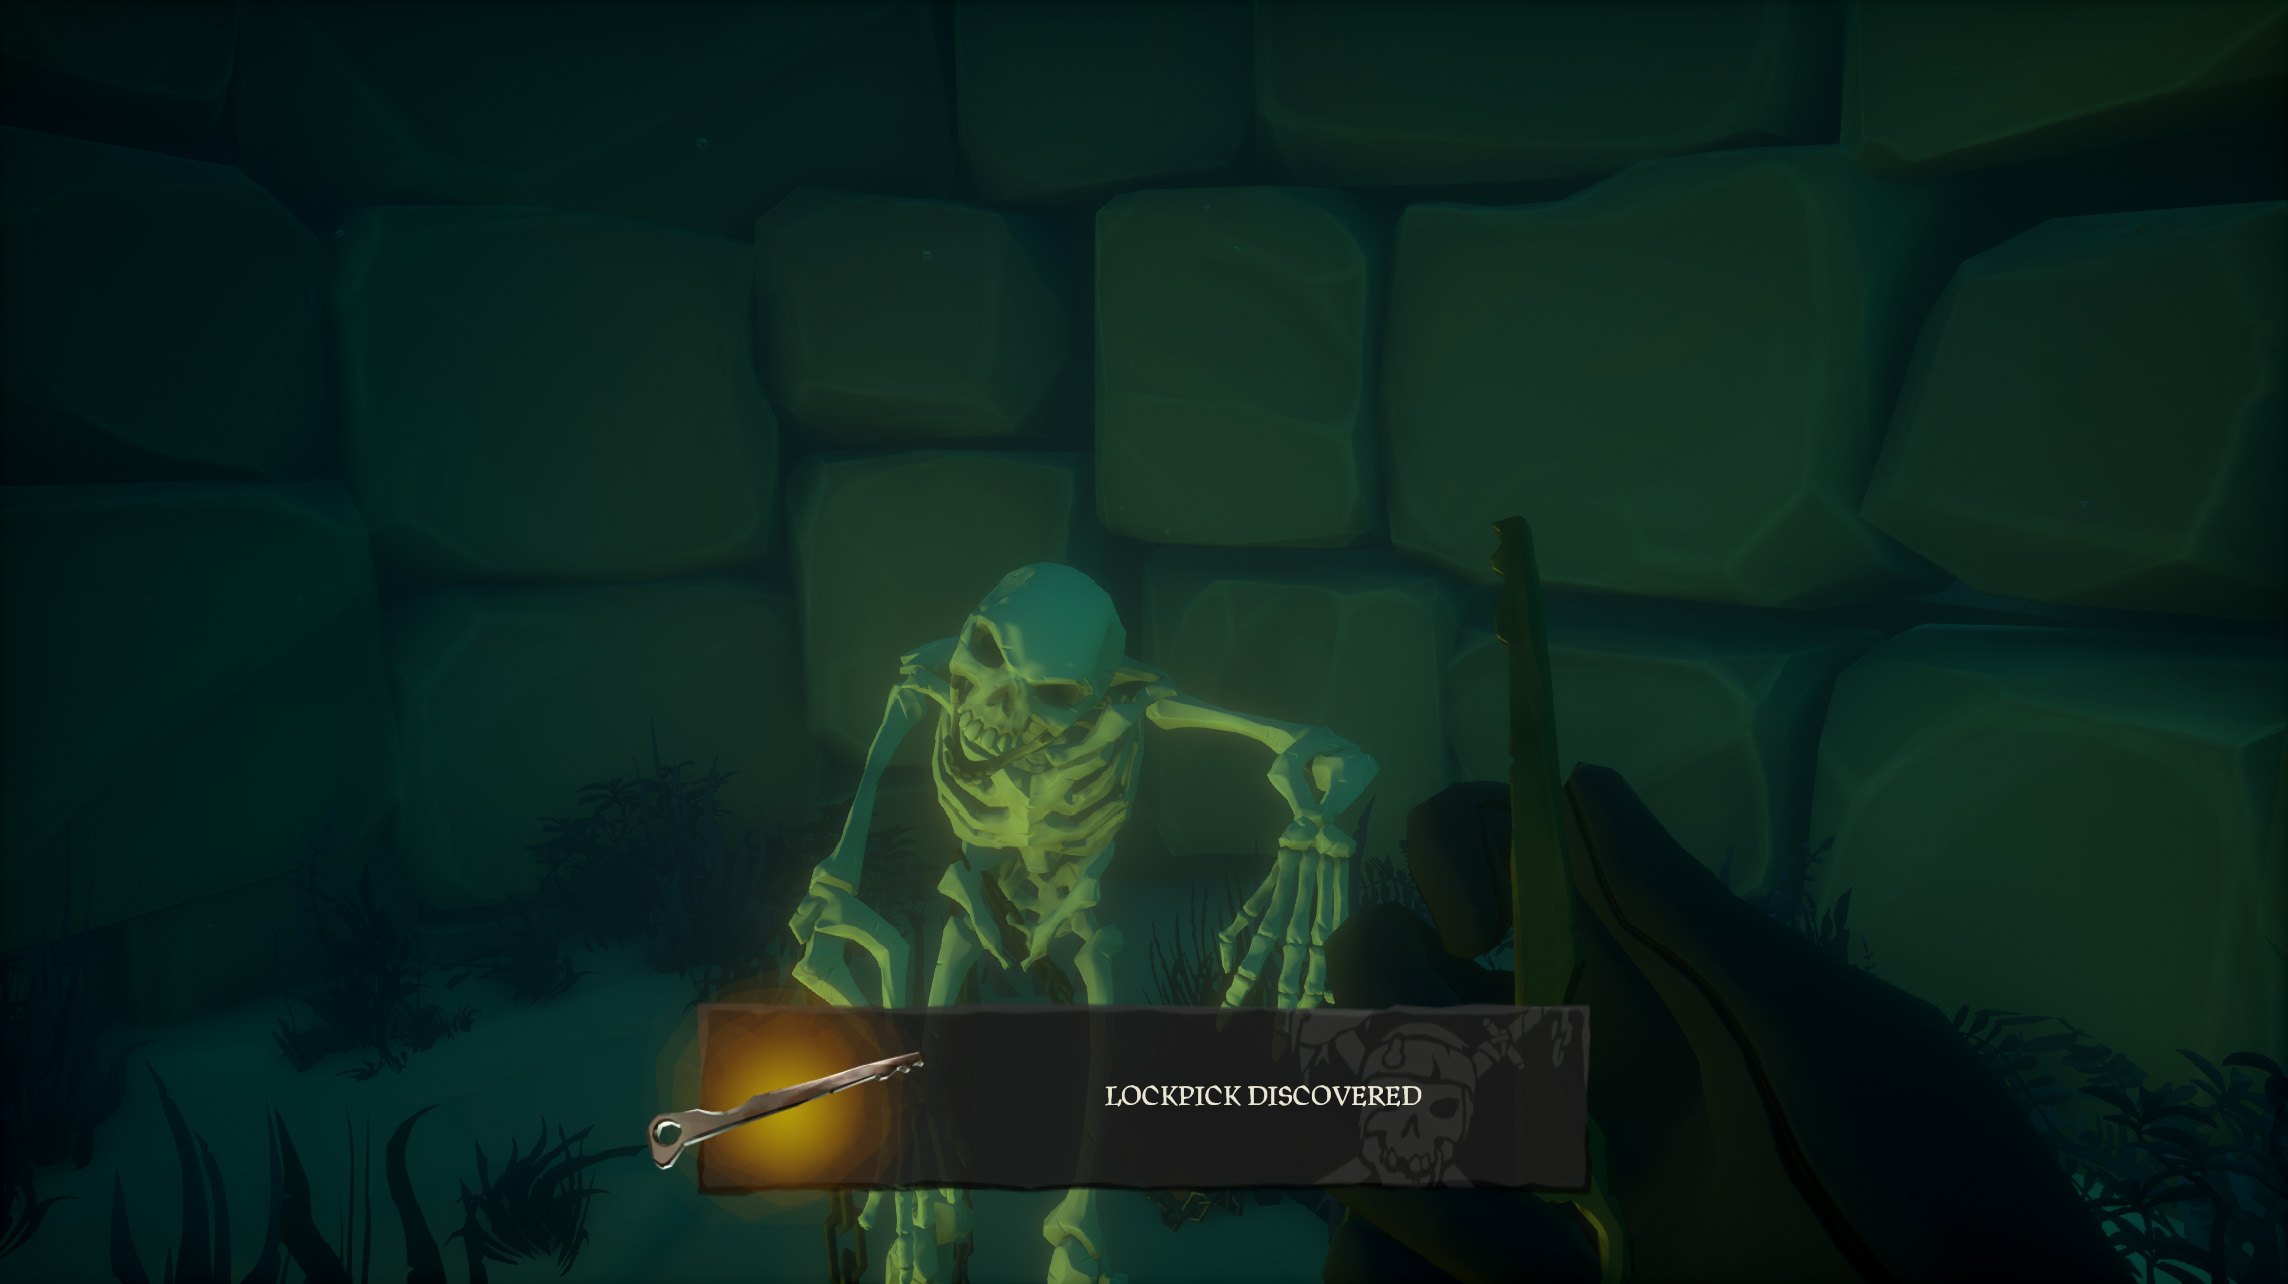
Now it’s time for more swimming. Dive to the bottom of the well and snatch the lockpick from the hand of the chained down skeleton. Next you’ll need to escape the well. Swim half way up until you see a hole in the wall of the well. Swim through until you reach the top, then use your lockpick on the door nearby.
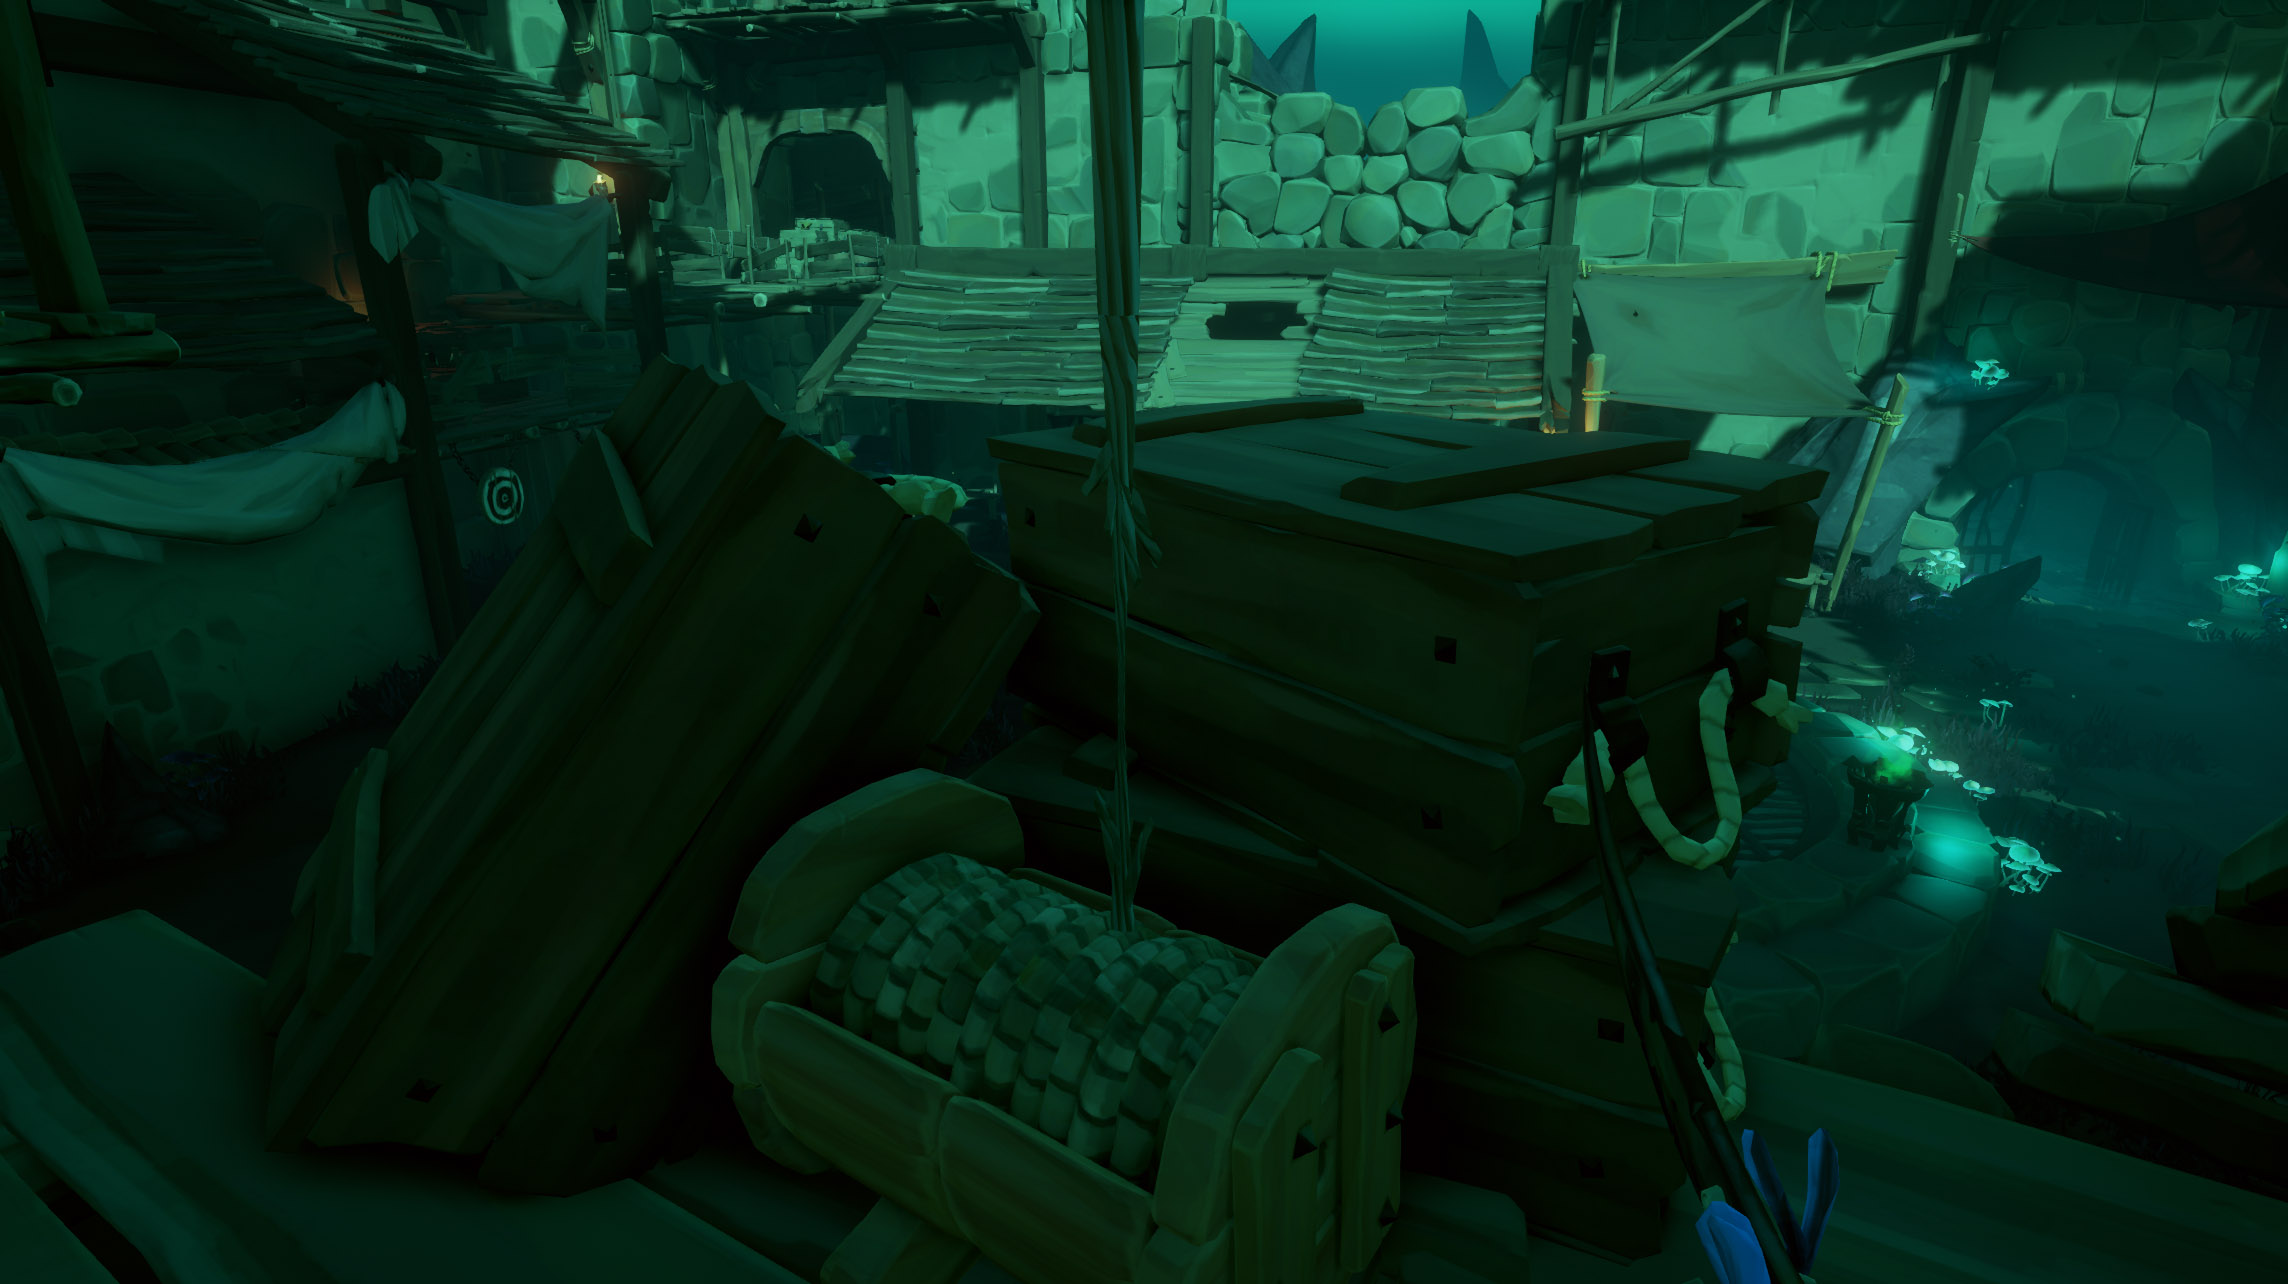
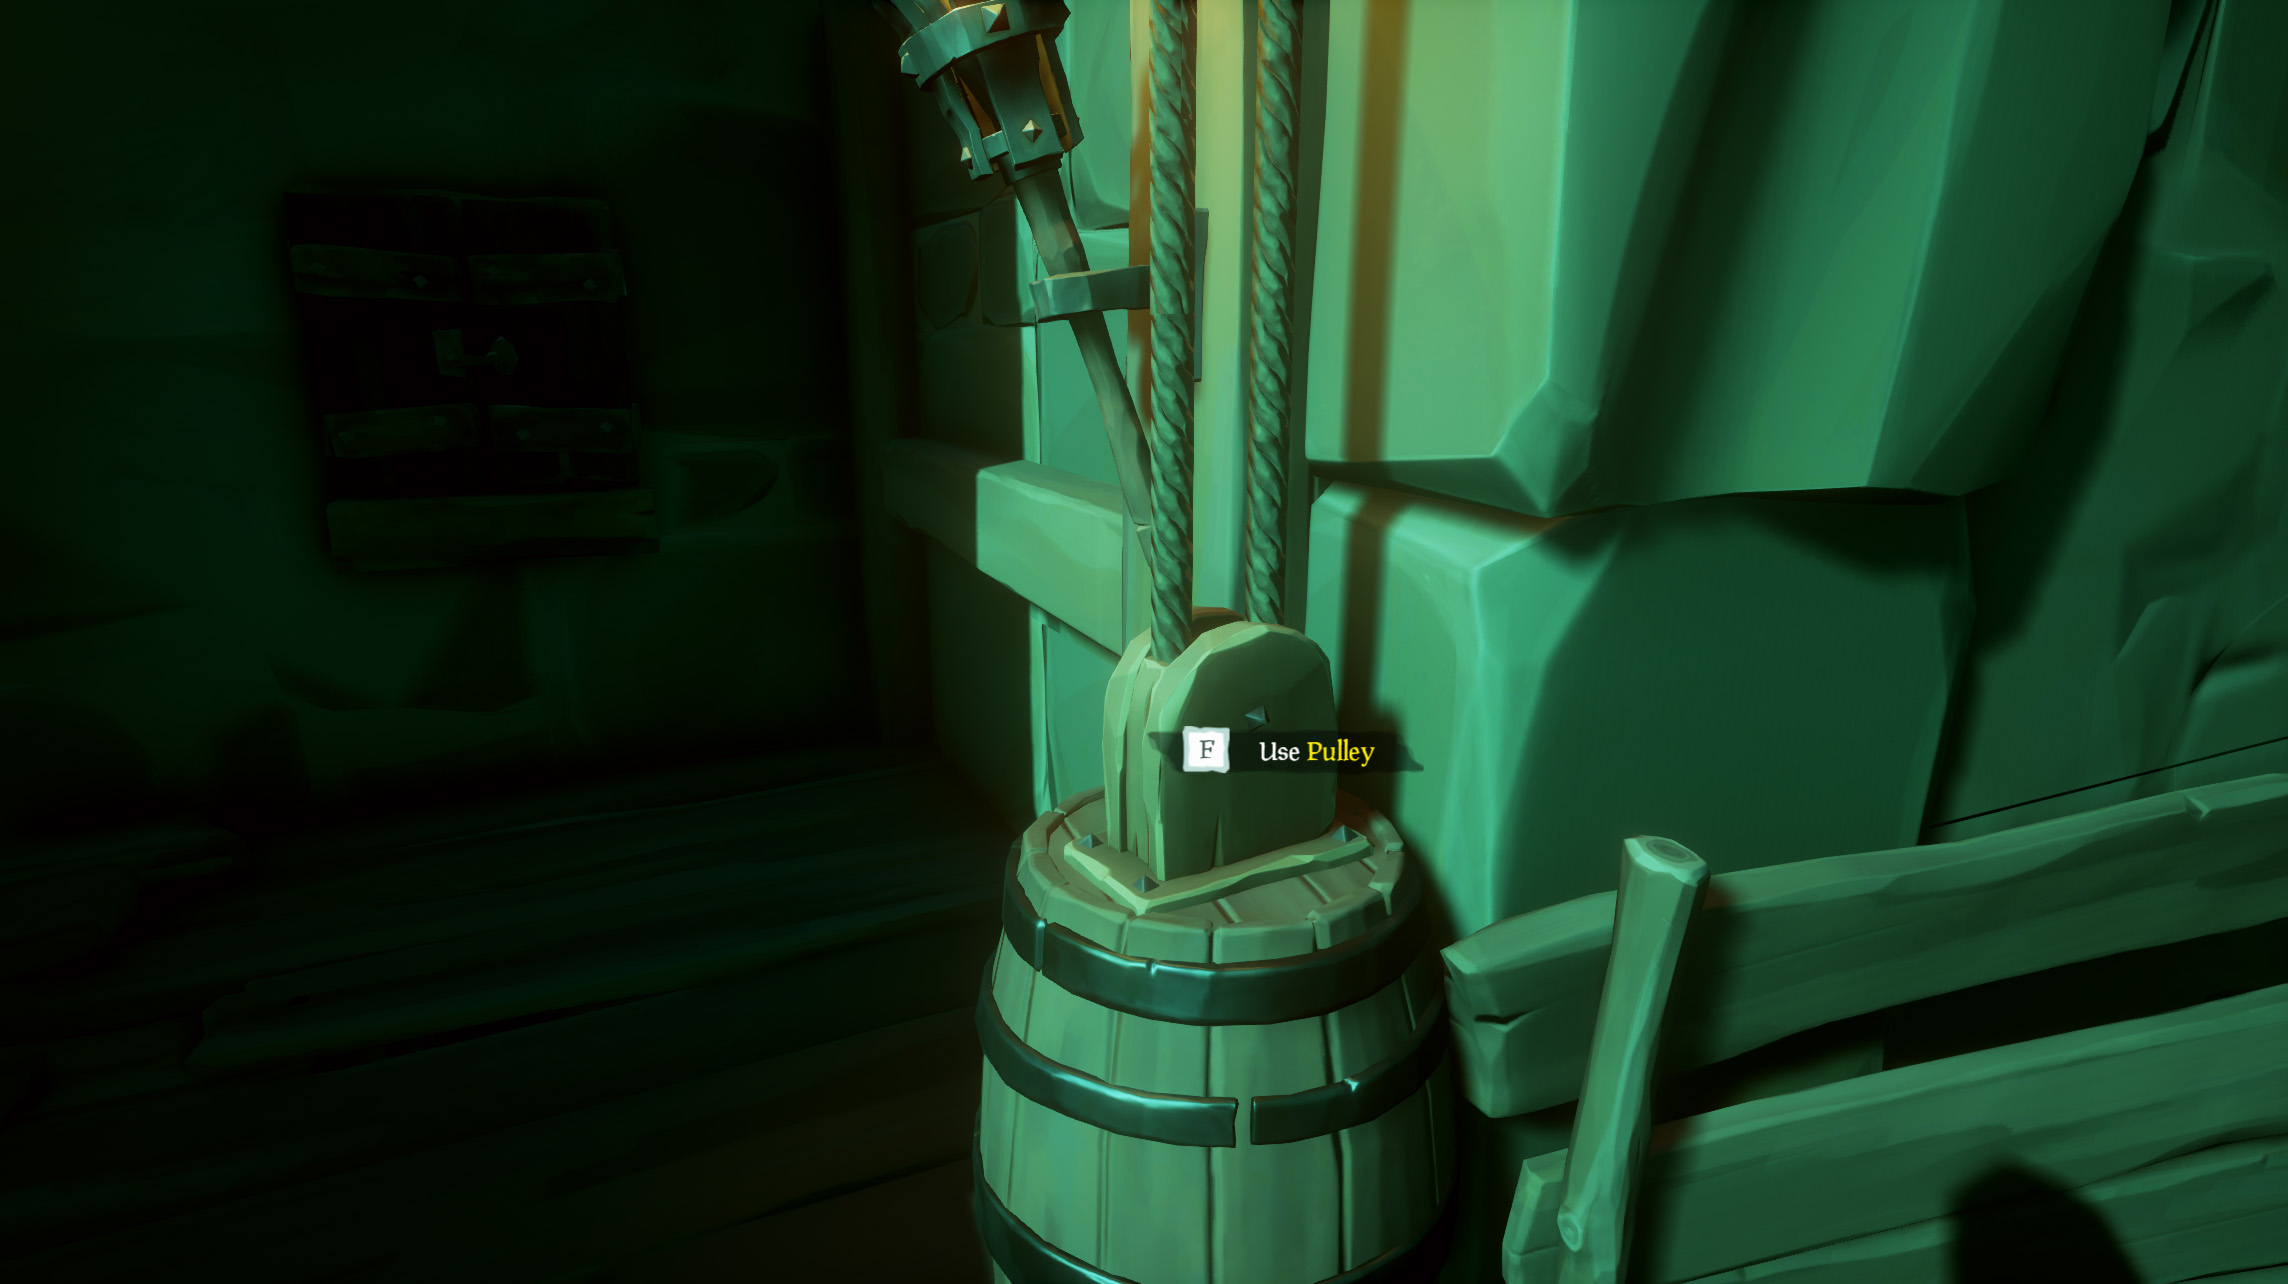
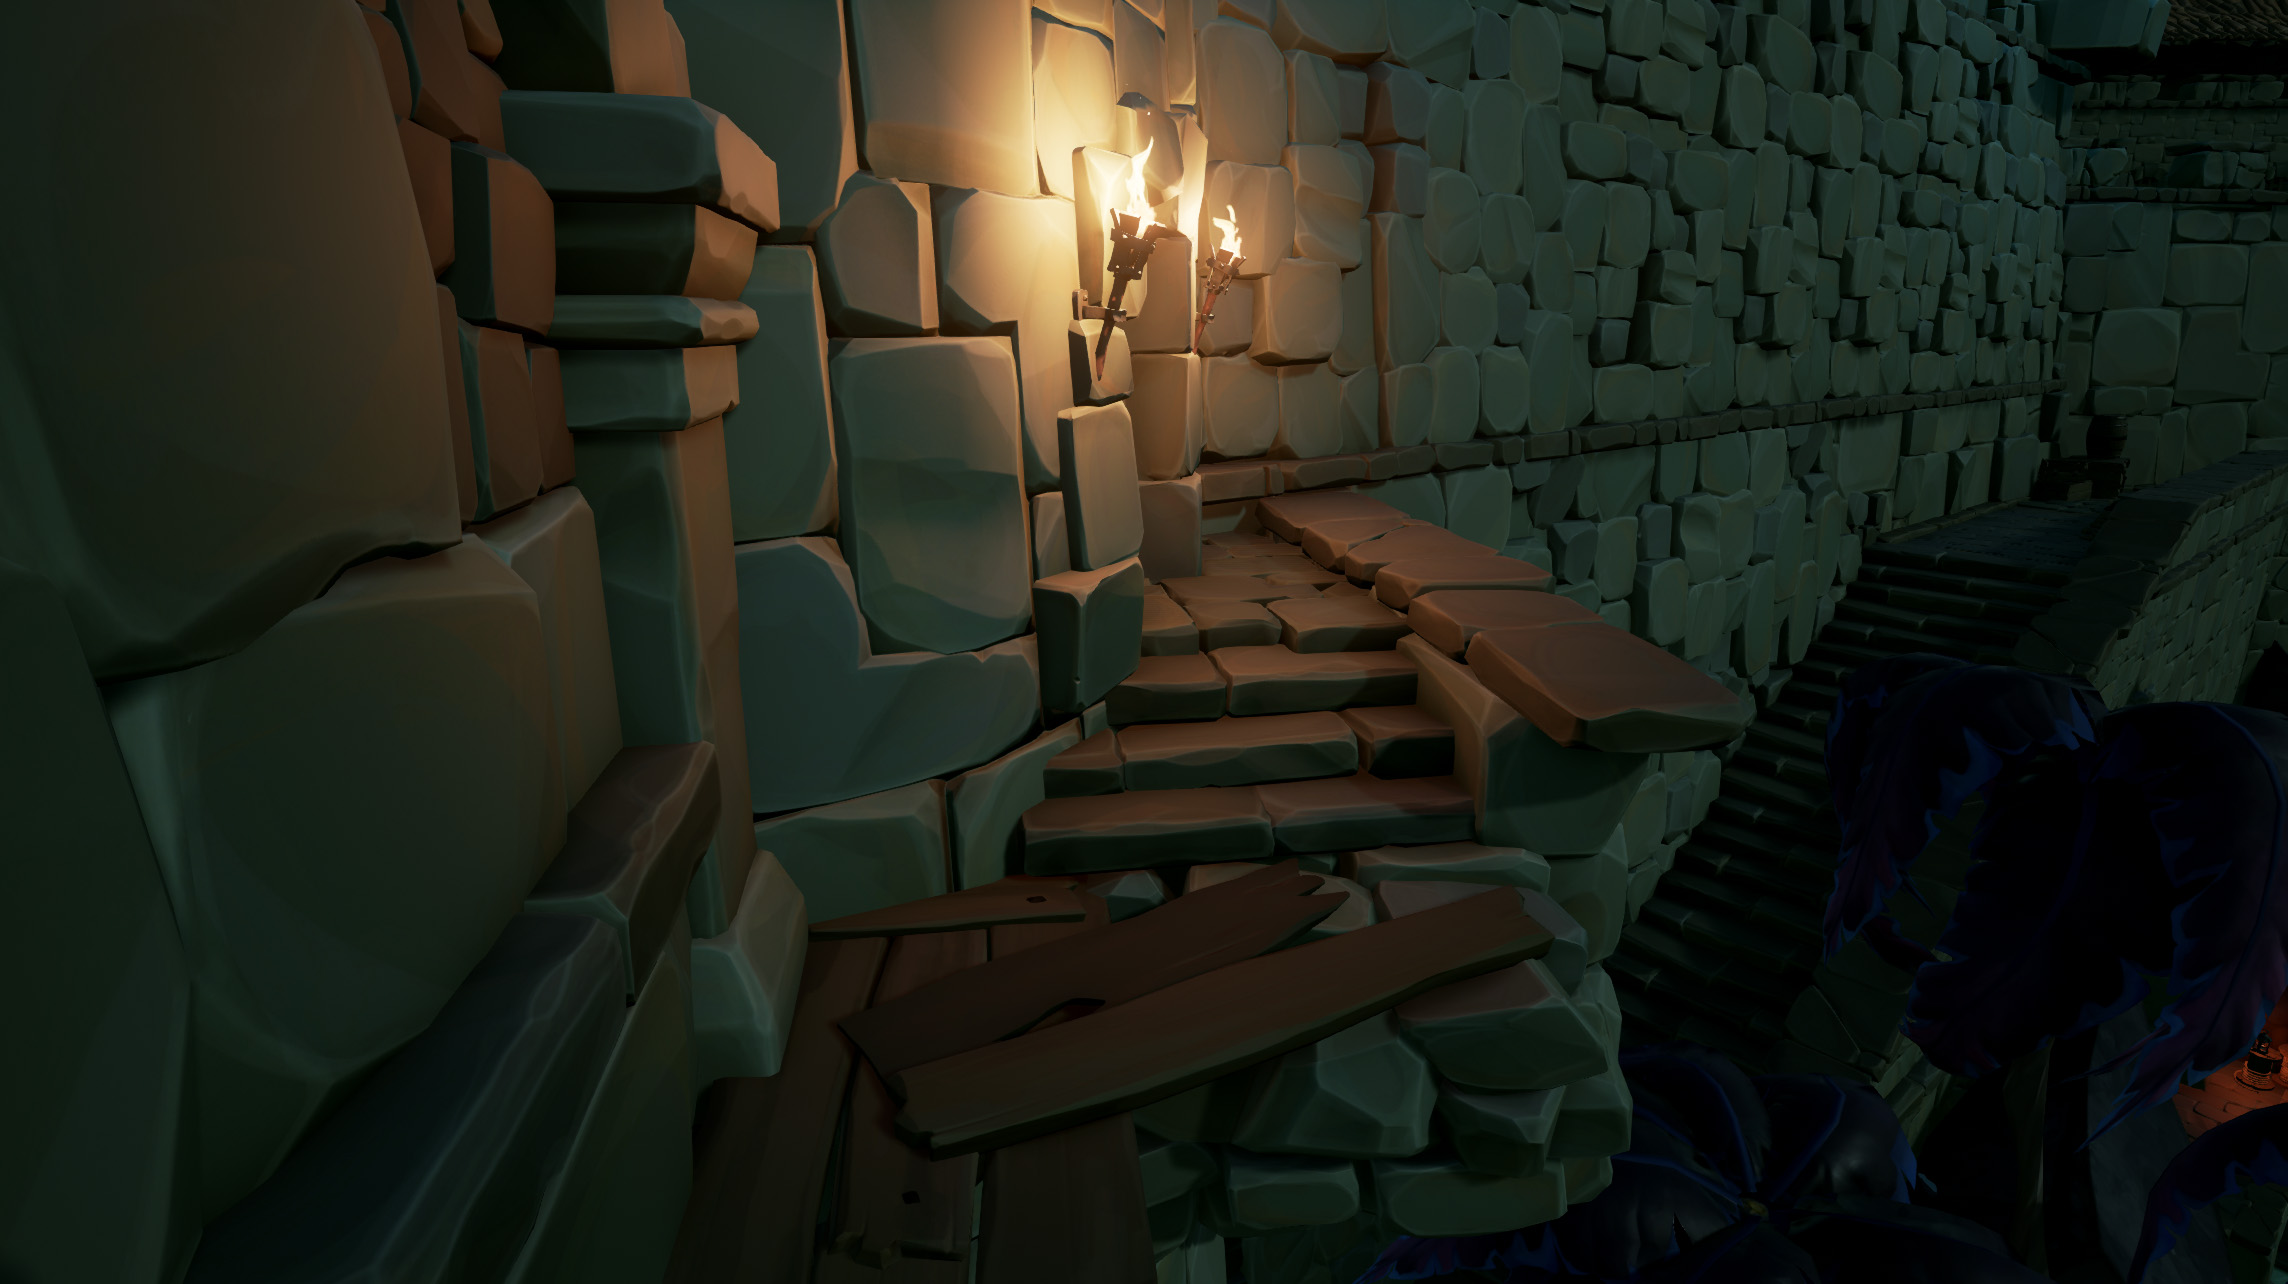
Continue straight across the courtyard to the next doorway. Here you’ll need to use your lockpick again, this time it will break after unlocking the door. Use the ladder to reach a pulley that is holding up some cargo. Cut the rope to drop the cargo which will create a path to the next area.
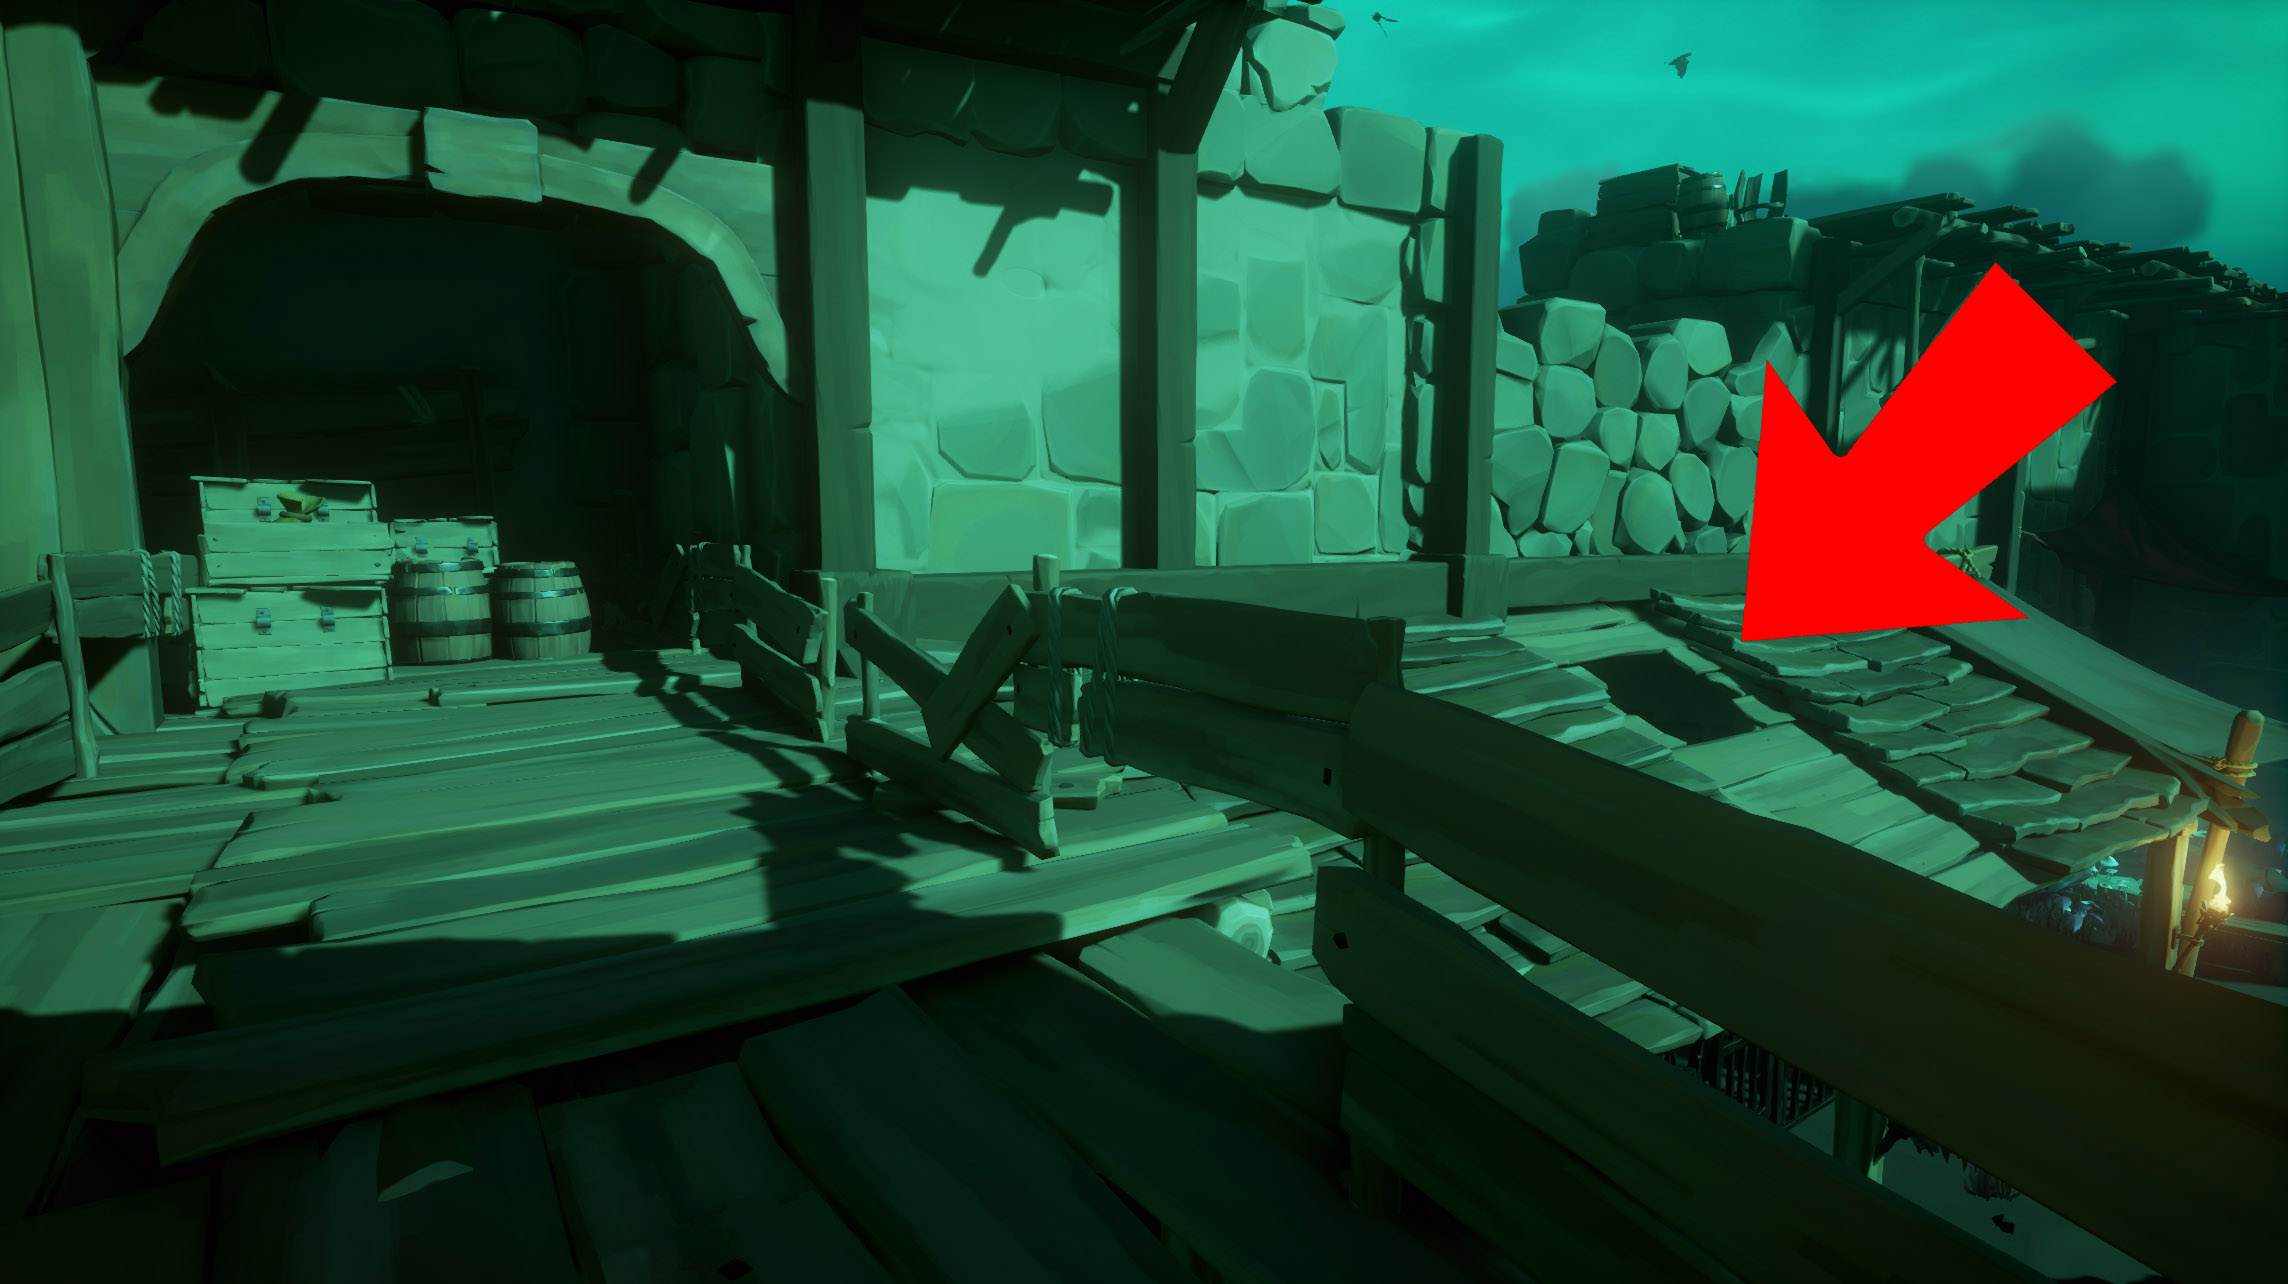
With a hop and a skip, make your way across to the other side of the wall where you can run up the steps. At the top you’ll notice a suspicious hole in the roof to the right. Jump into that hole to find your final secret. Now before you go saying “Hey, you tricked me into throwing myself in jail,” I did.
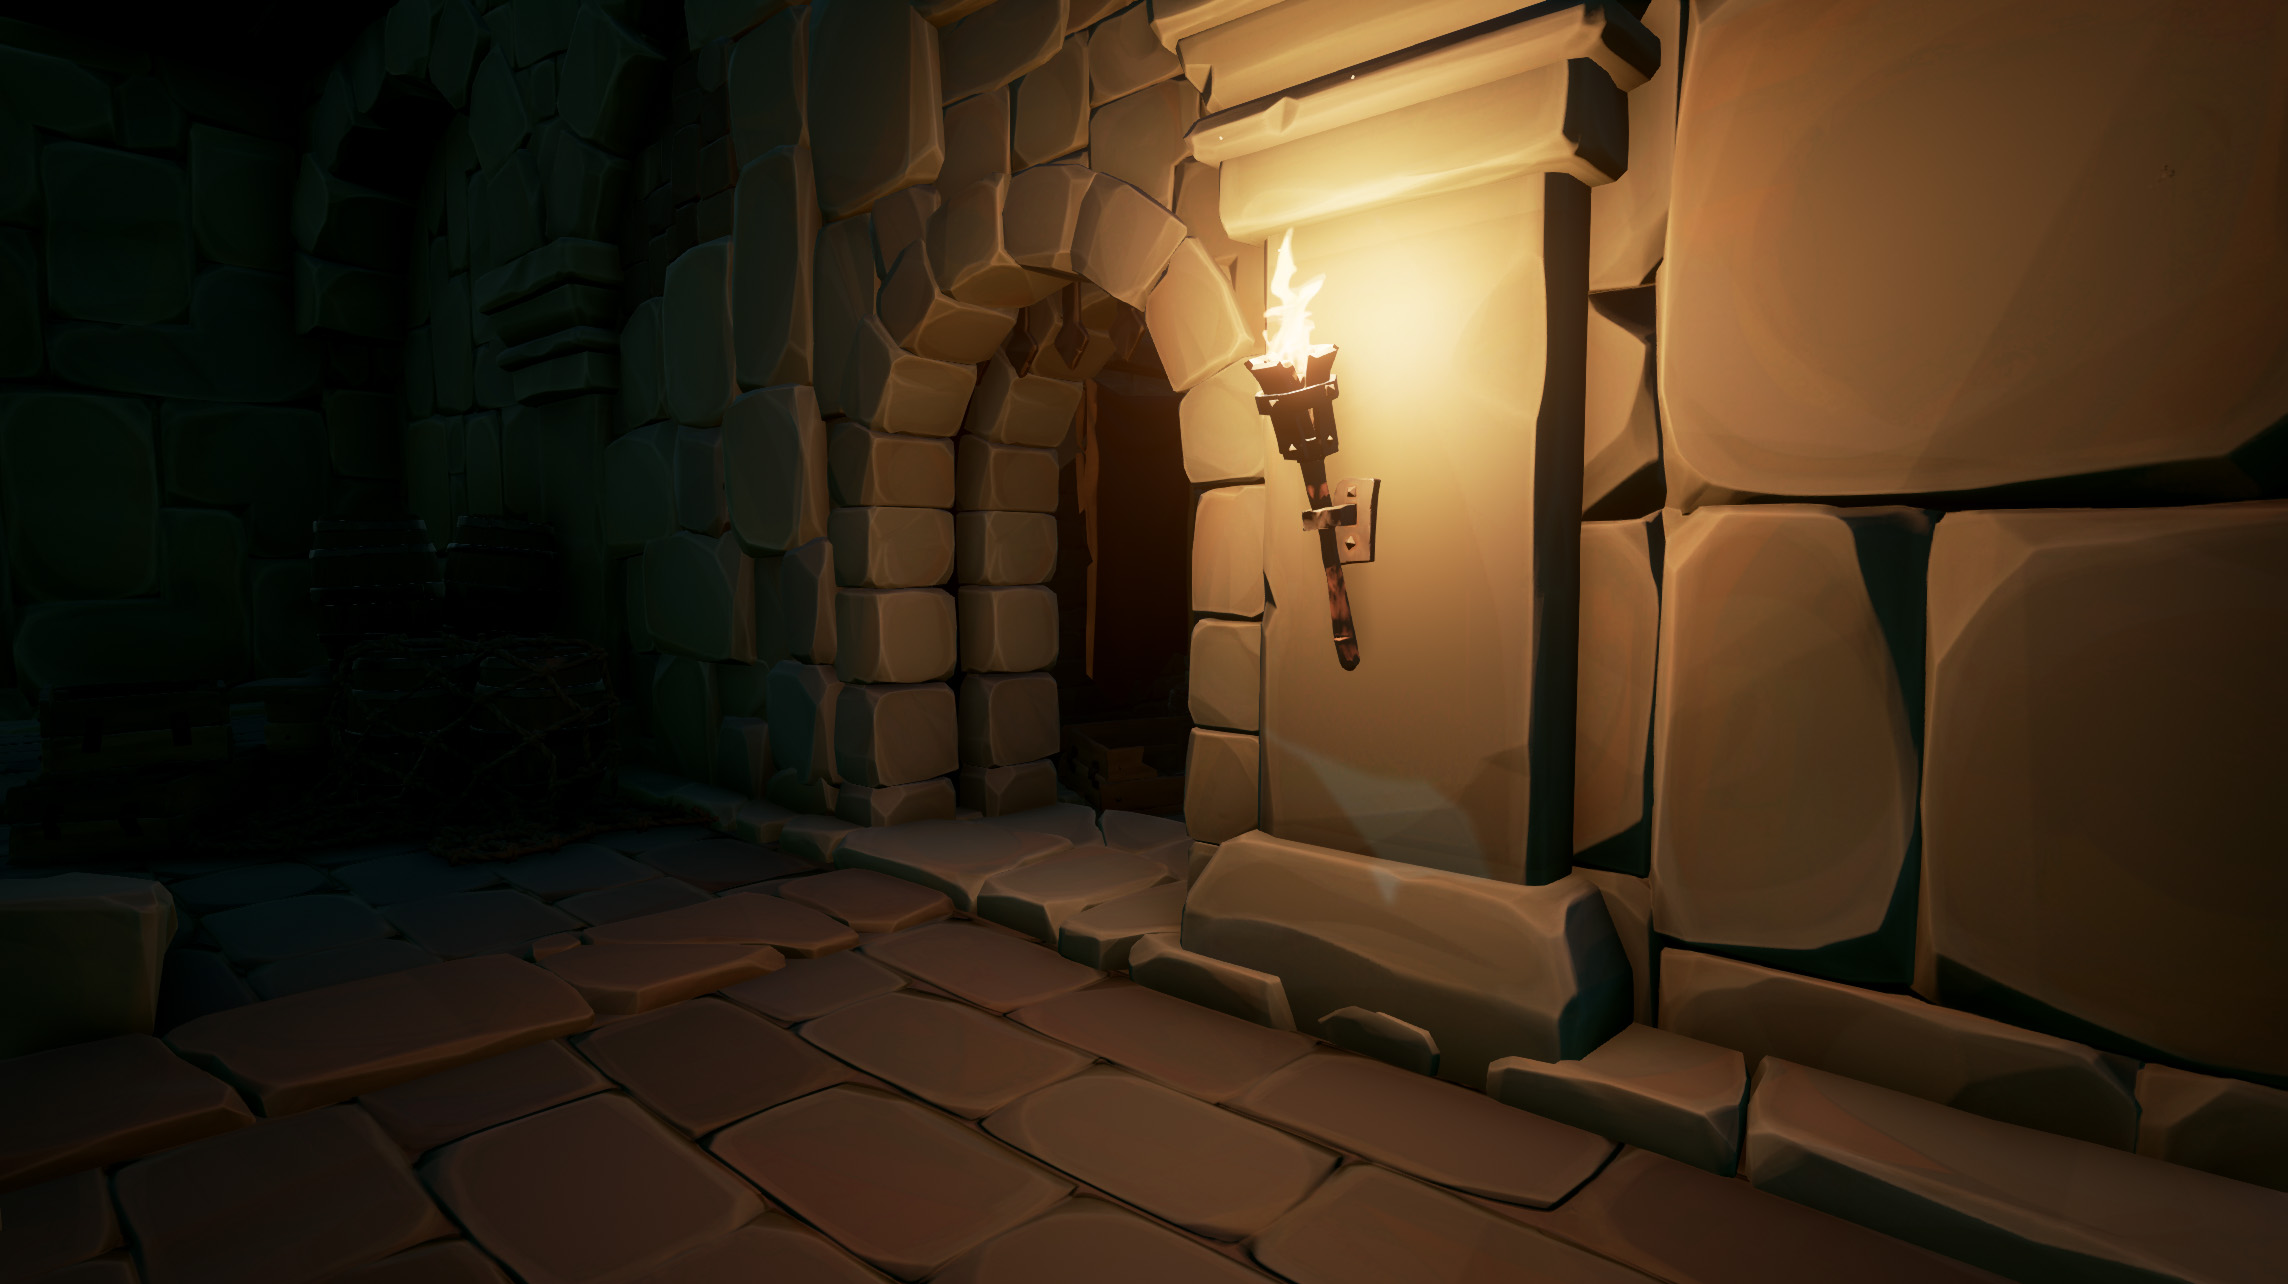
Damned Journal #4
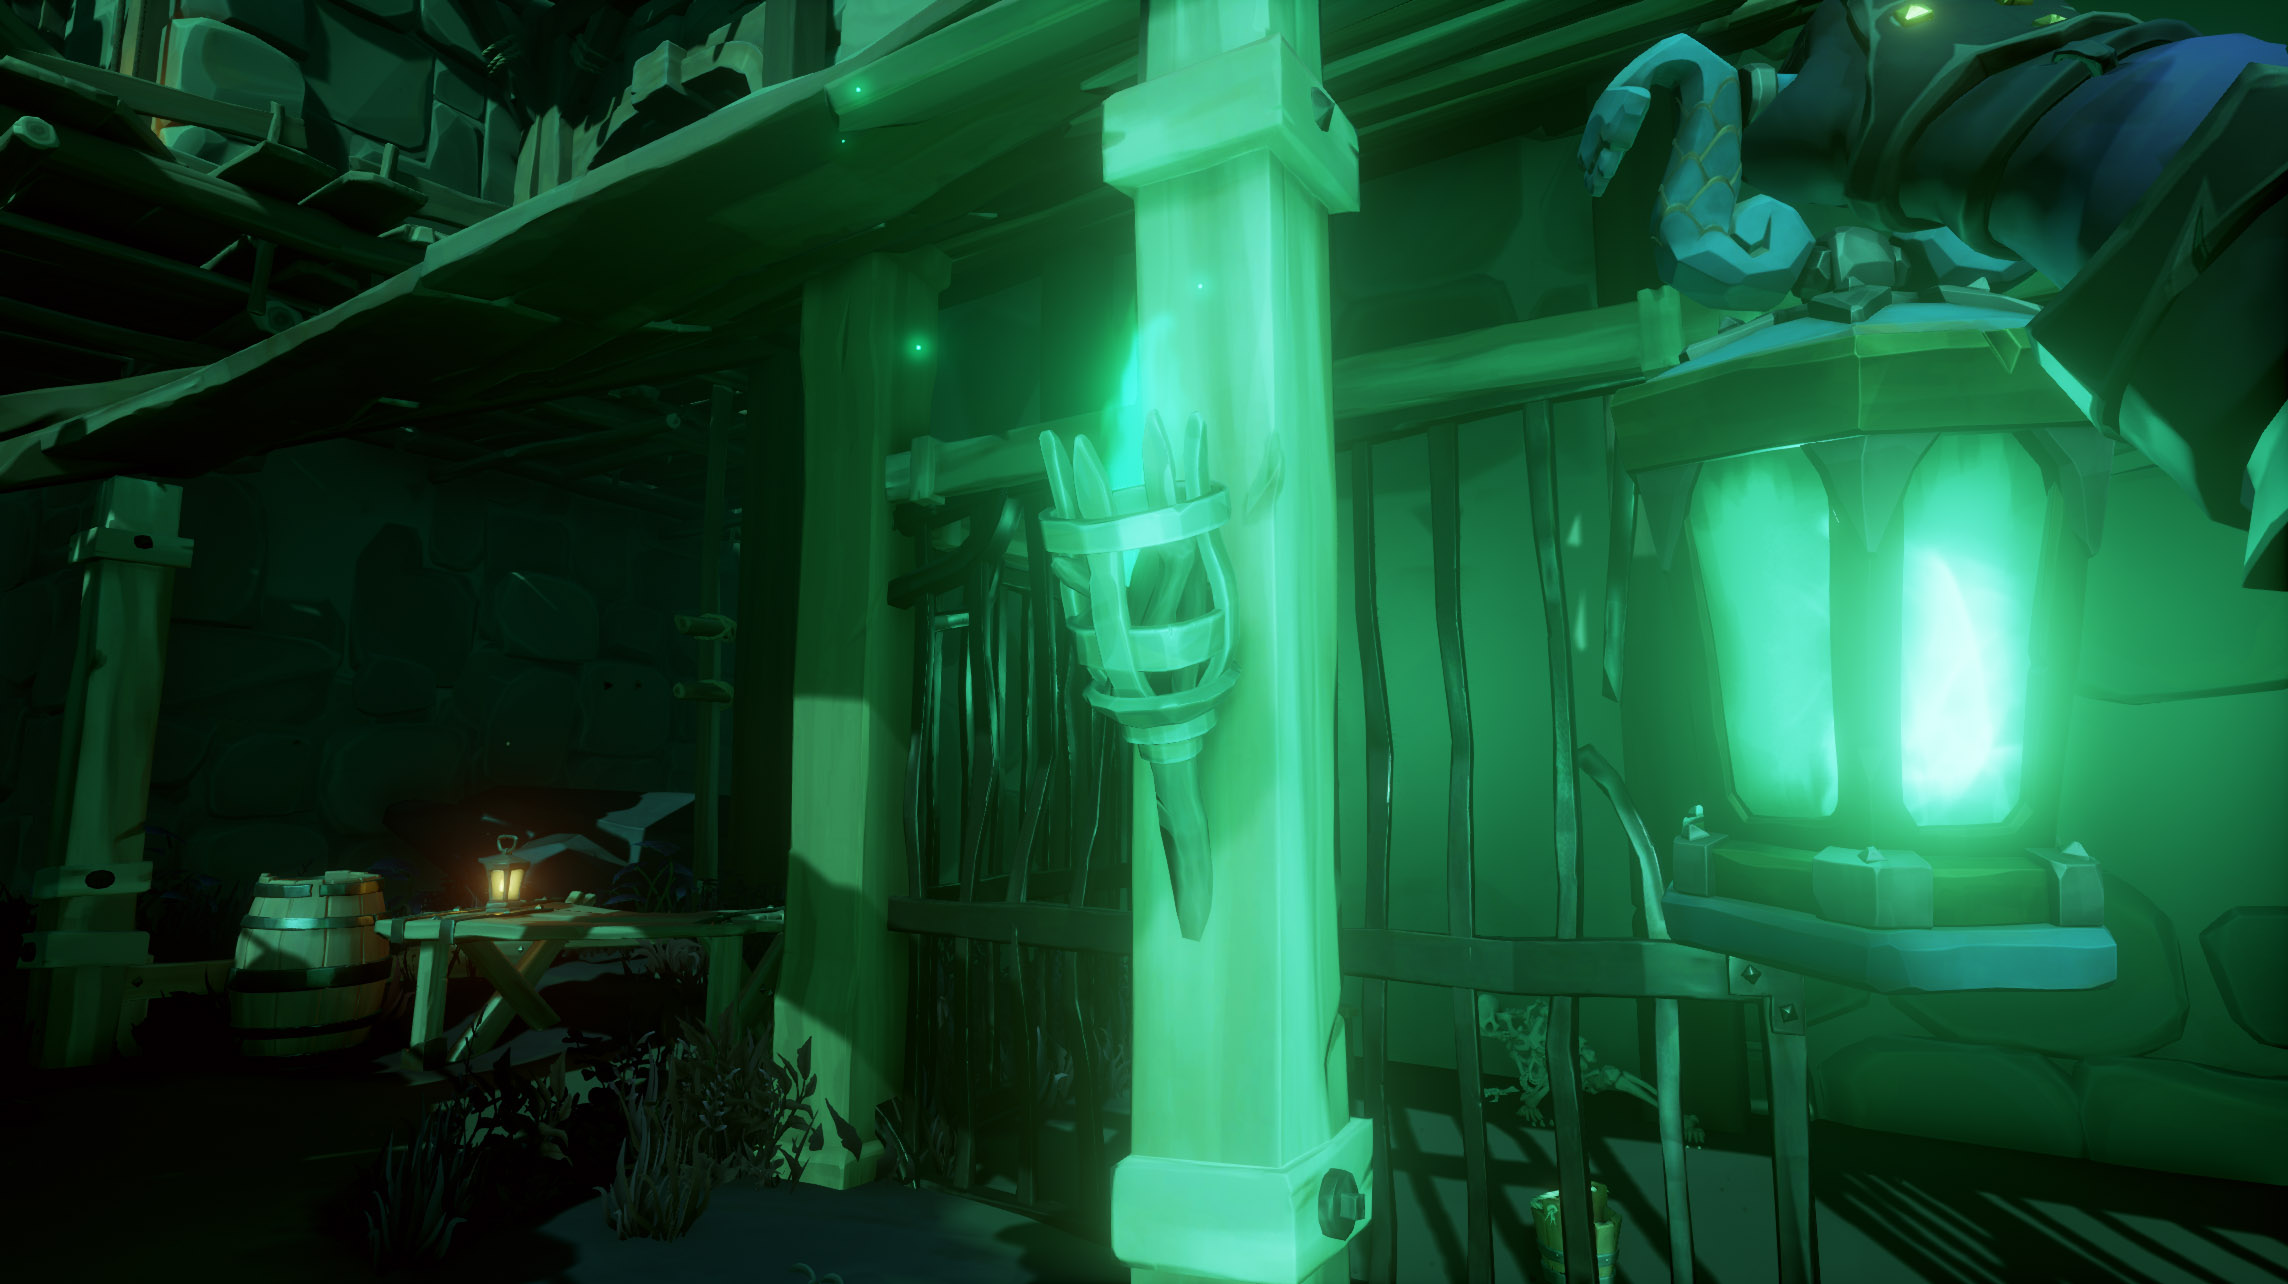
Lucky for you this door unlocks from the inside, so open it and then light the torch on the post in front of the cell. Once lit, the book will appear inside the cell by the skeleton’s hands.
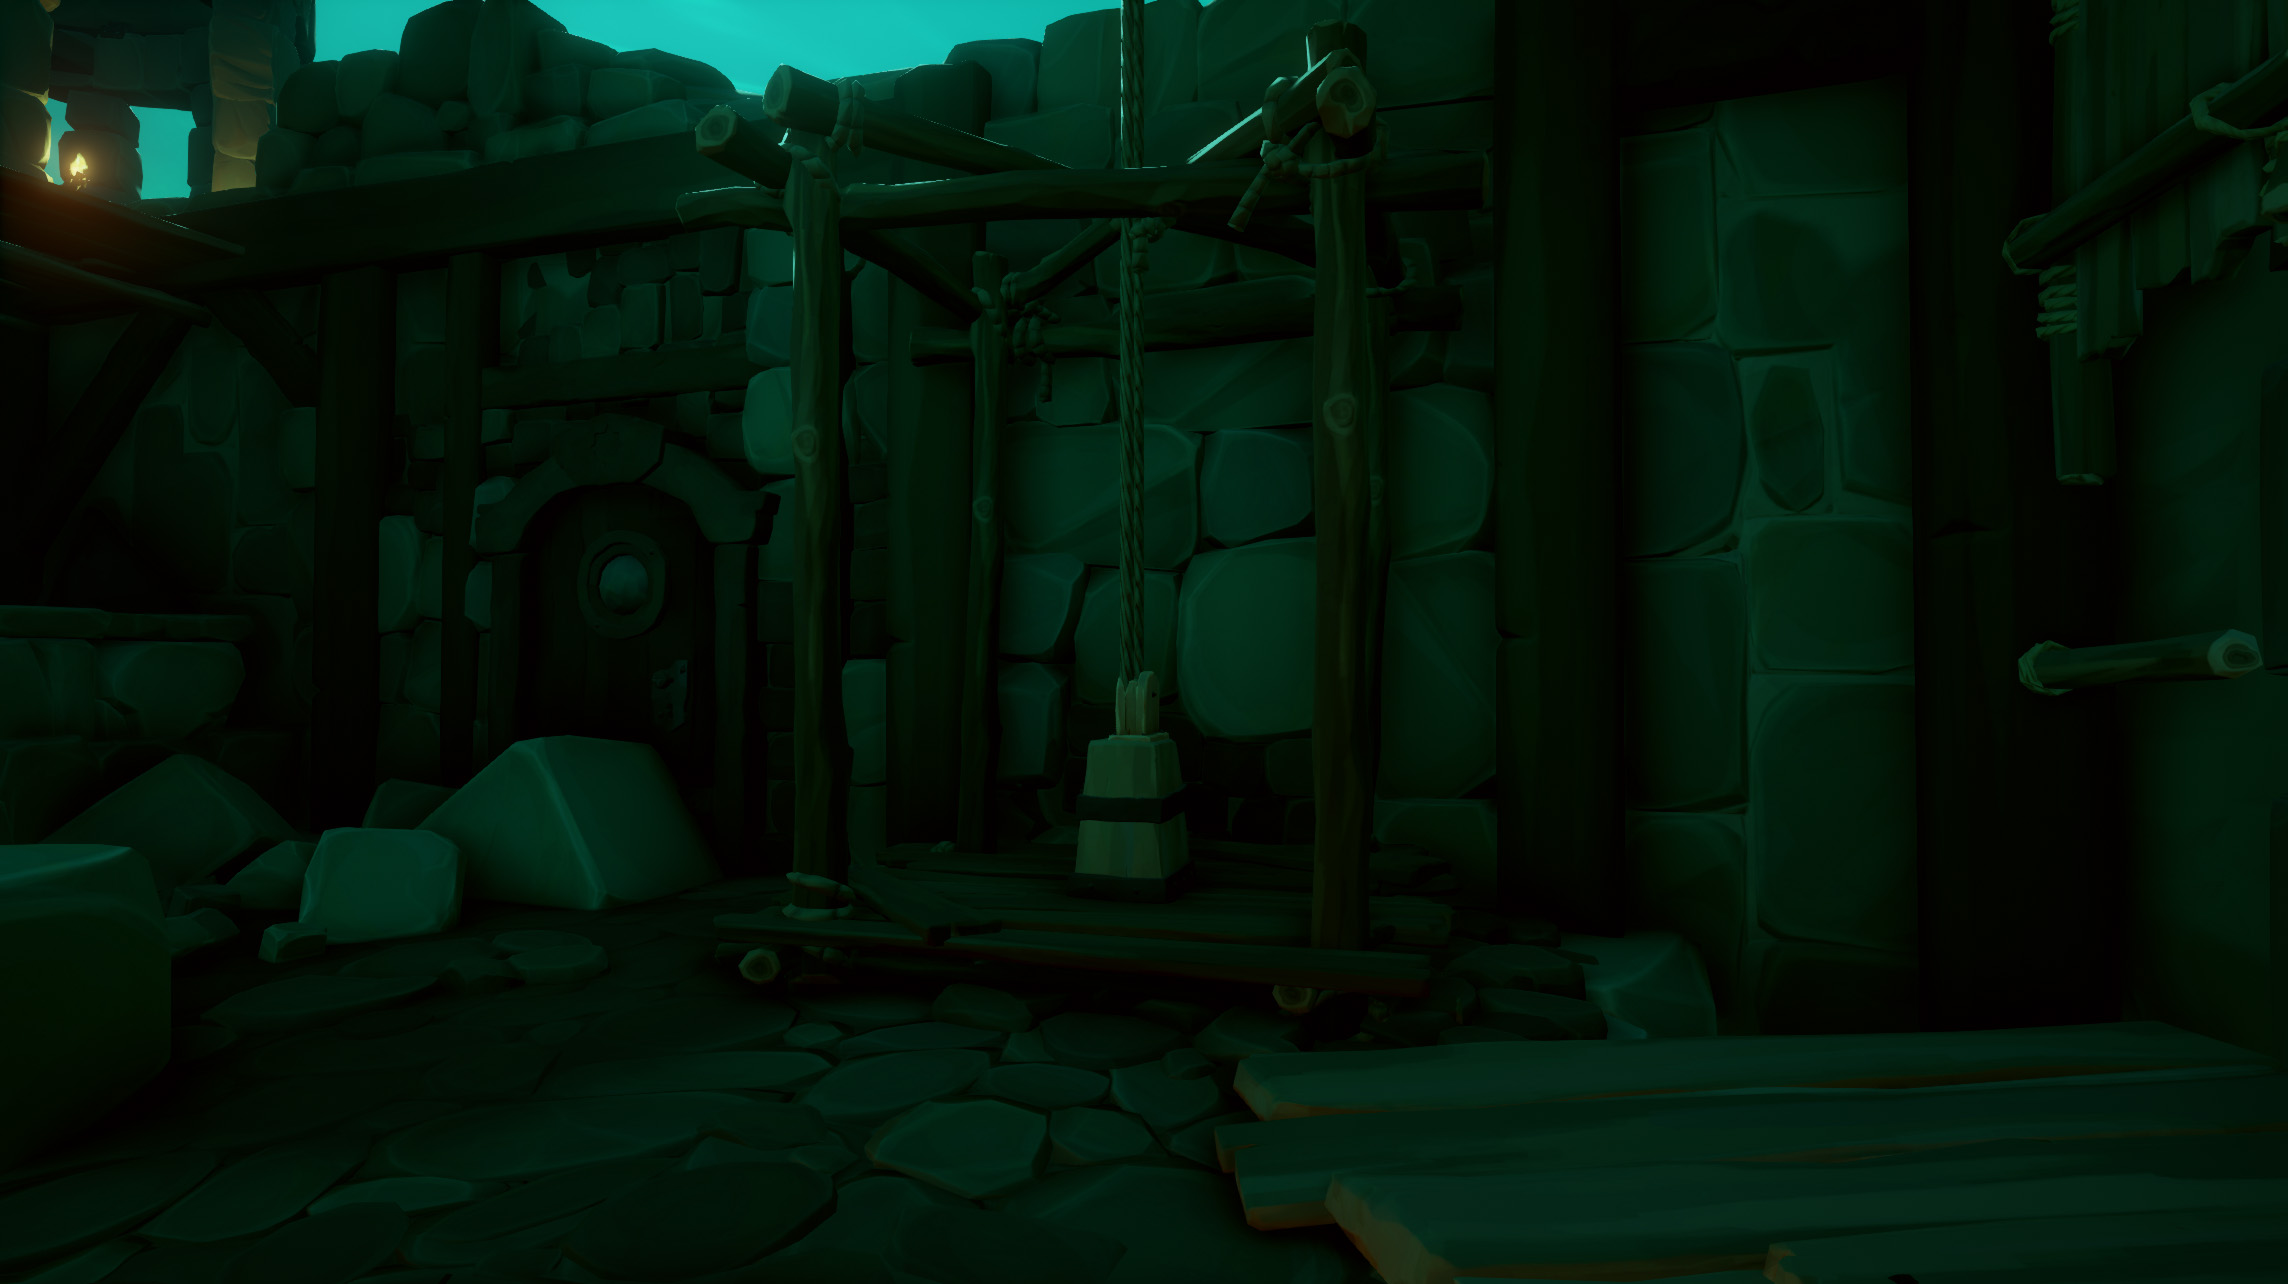
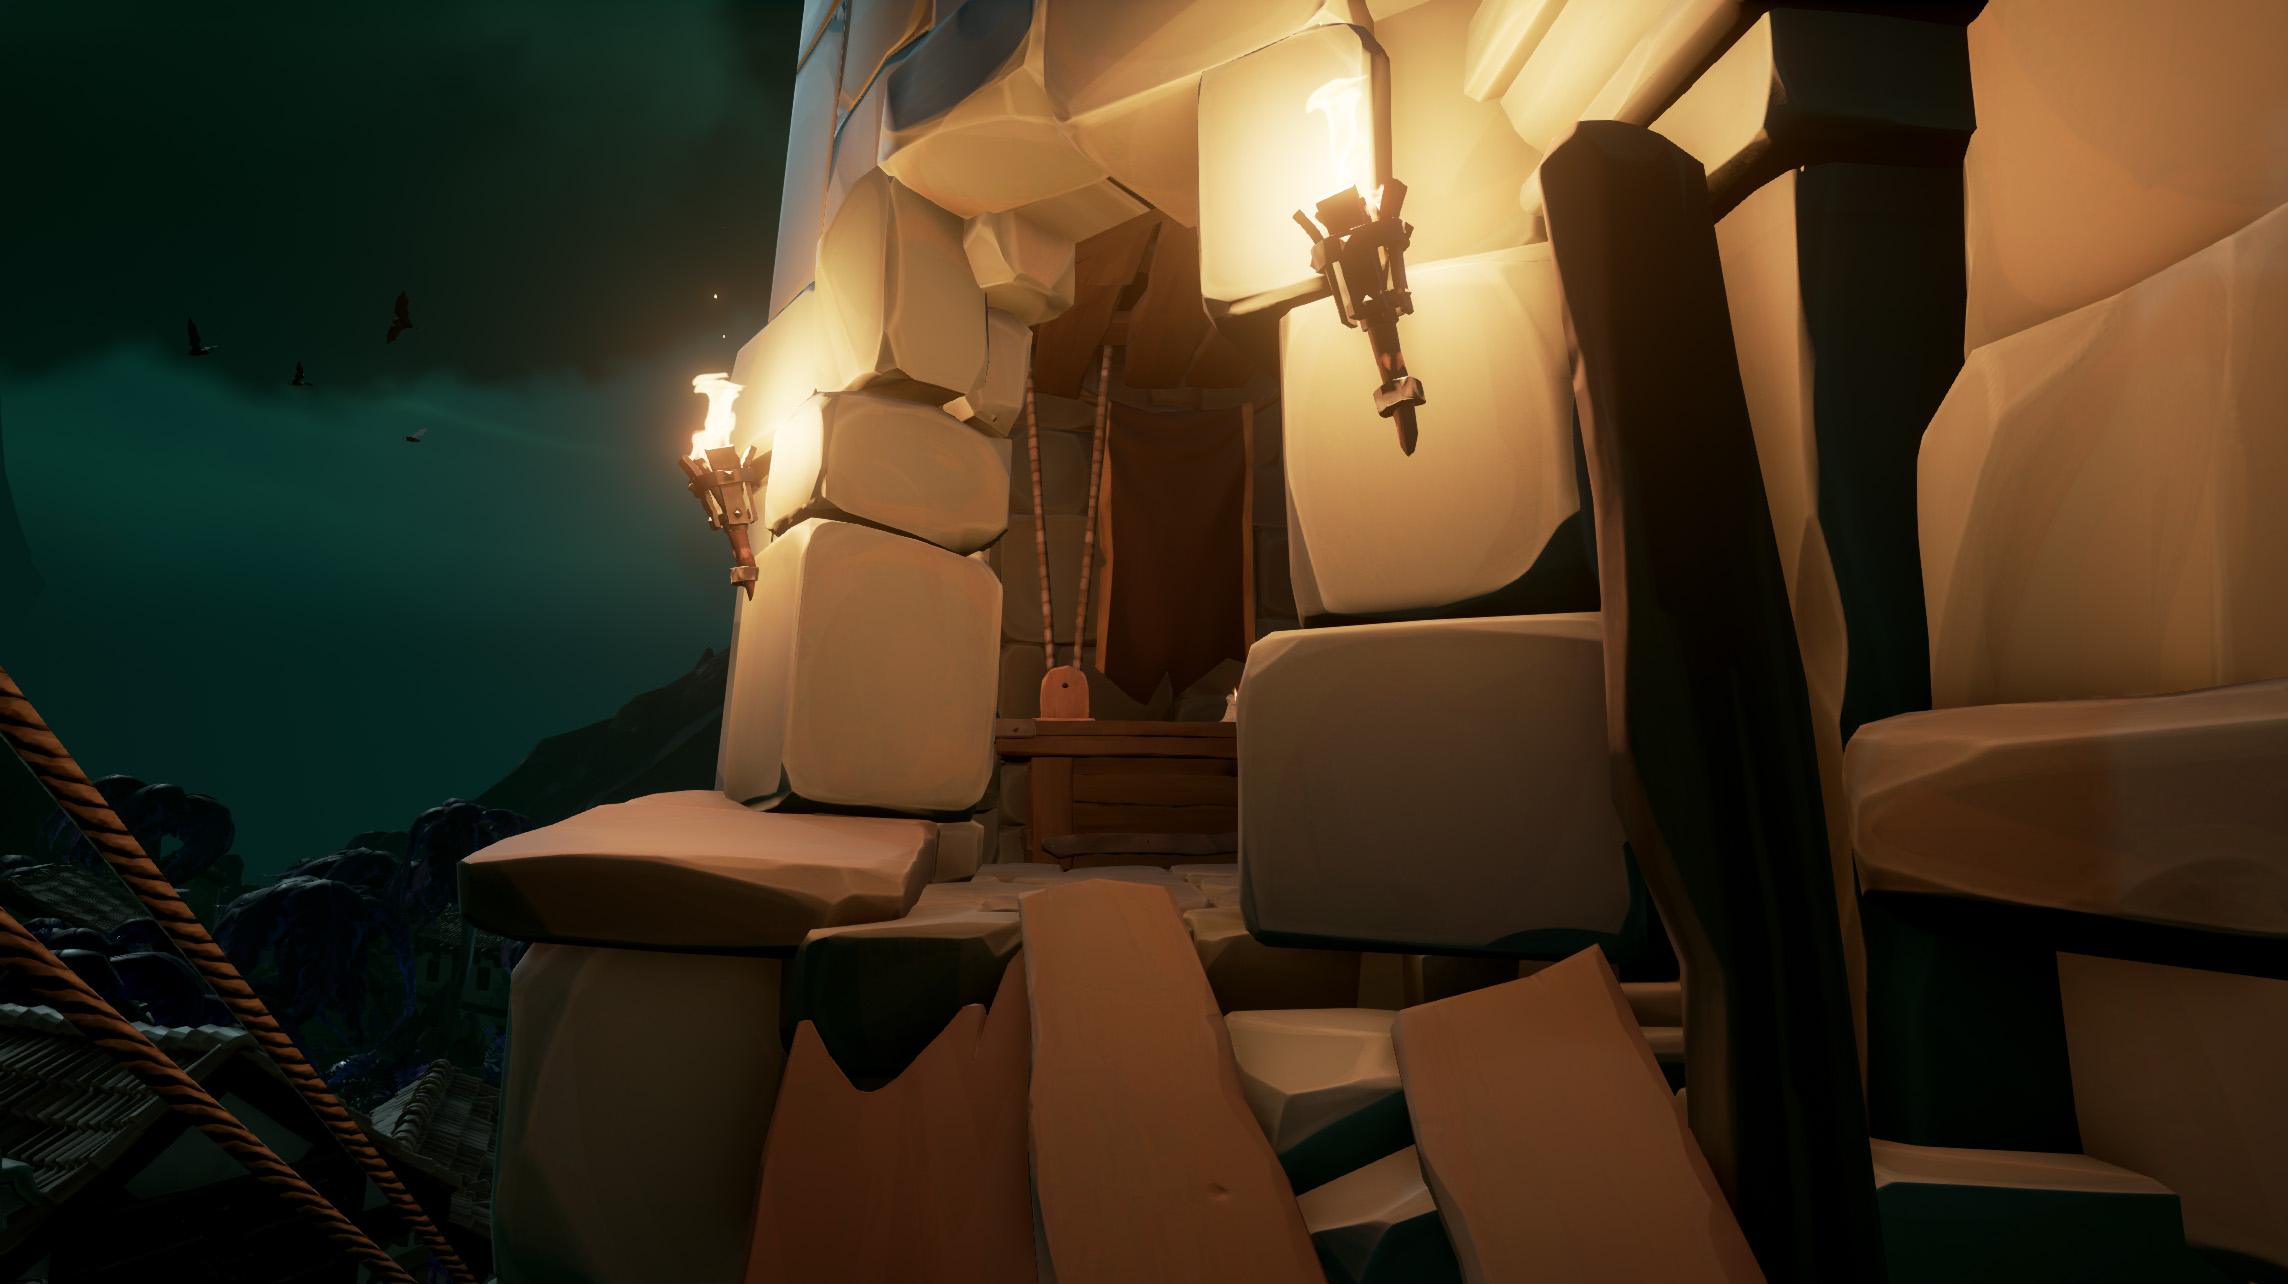
Make your way back to the cargo crates and jump over the wall again. This time turn left at the top of the stairs and use the pulley to move the cages and create an elevator. If you have more than one person they can take the first cage up as you pull your cage down. Then hop in and let gravity take you up.
Once up top, exit the cage and turn around towards the busted wall. Walk down the path and make your way around the outside of the wall by jumping across the cages, using them as lily pads. Next, head up the ladder to arrive at the front of the castle wall.
Leap across the cap that was once the front gate where you’ll locate a much more practical elevator. Step on the platform and use the pully to pull yourself up.
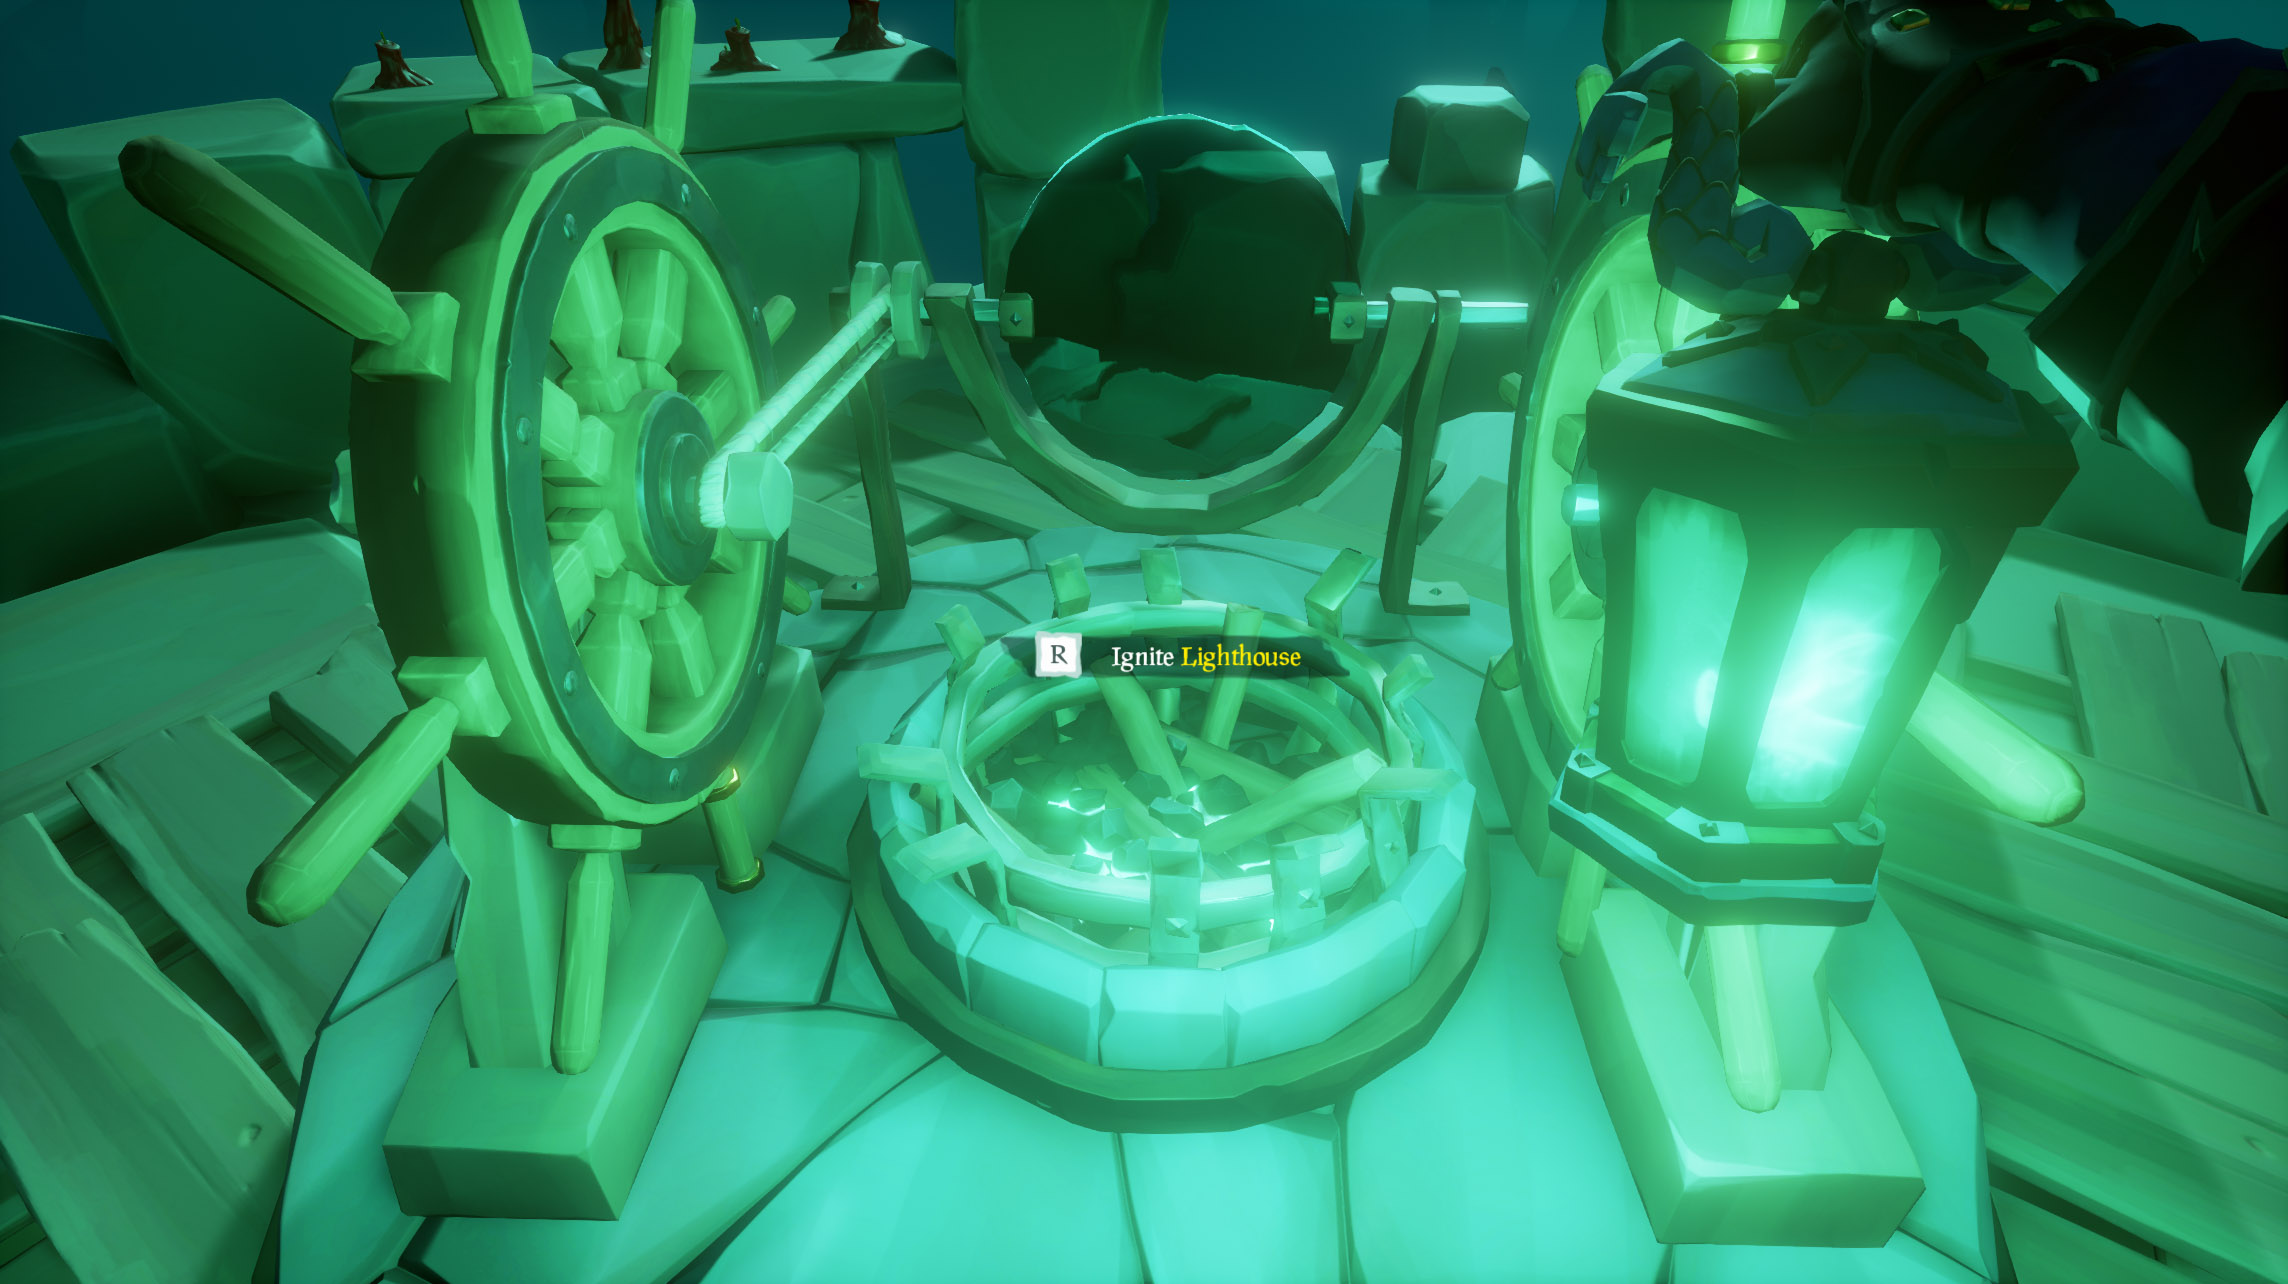
At the top of this fortress you will find a familiar sight, a Lighthouse! Light the brazier and move the light around to light all five braziers in the distance on the cliffs.
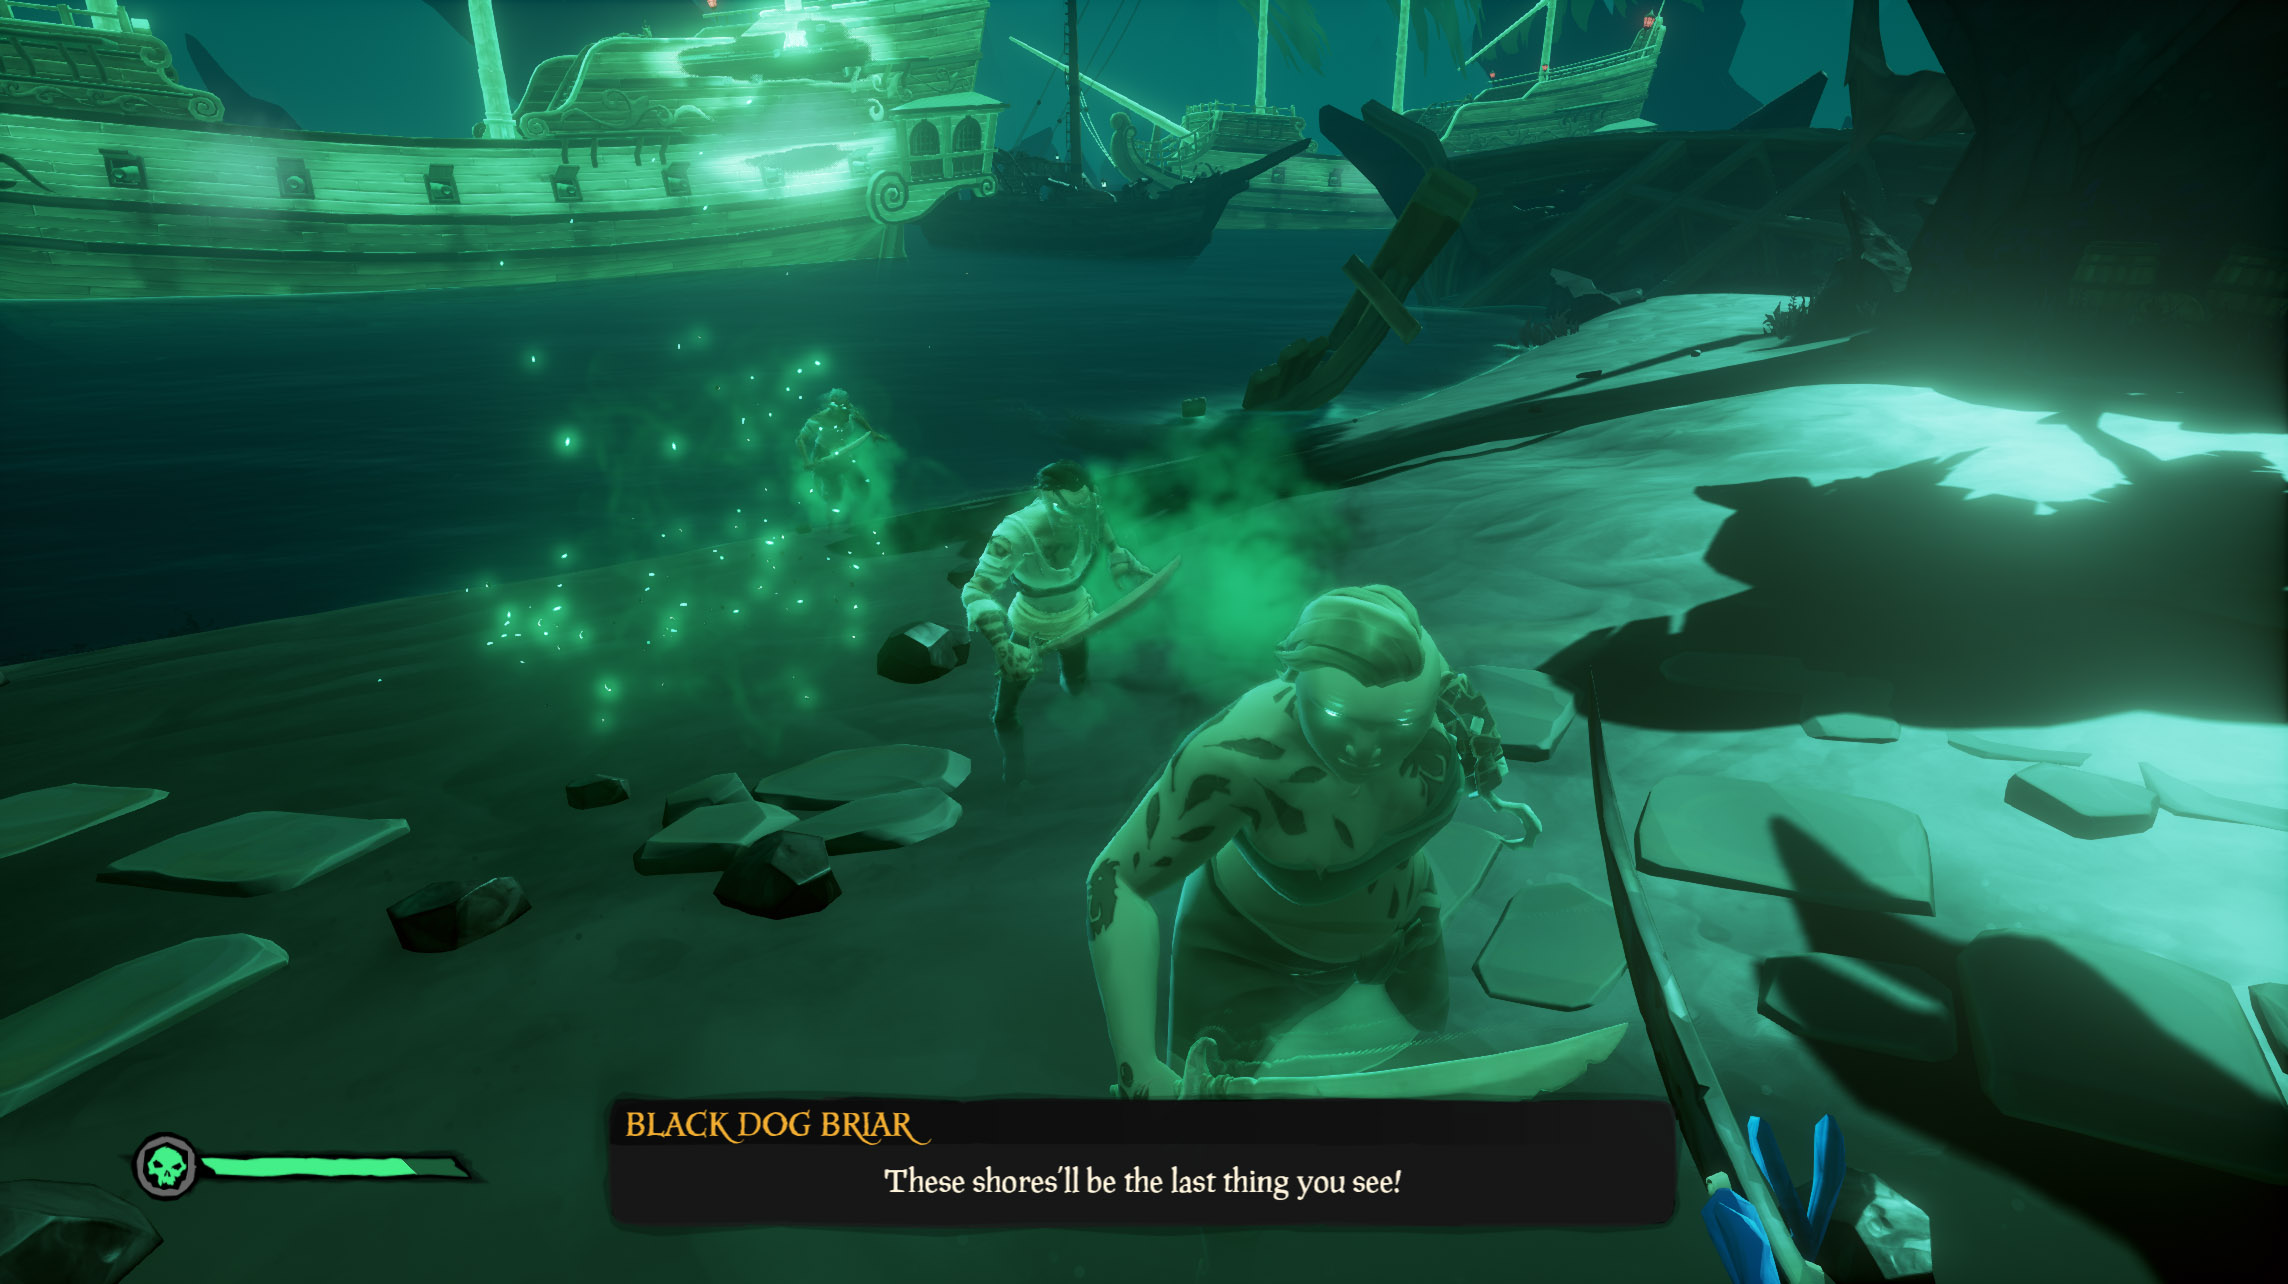
With all five braziers lit you will notice that your actions have summoned a fleet of cursed pirates. Make your way (gently) to the ground and prepare to fight. There are several barrels in this area FULL of delicious pirate fruits that you can use to stay alive.
Fight off the invasion and send Captain Barbossa’s right hand man, Black Dog Briar, to more ghostly pastures. With the invasion repelled, hop back on your ship and use Jack’s compass to lead the way forward
Captains of the Damned - Part 3
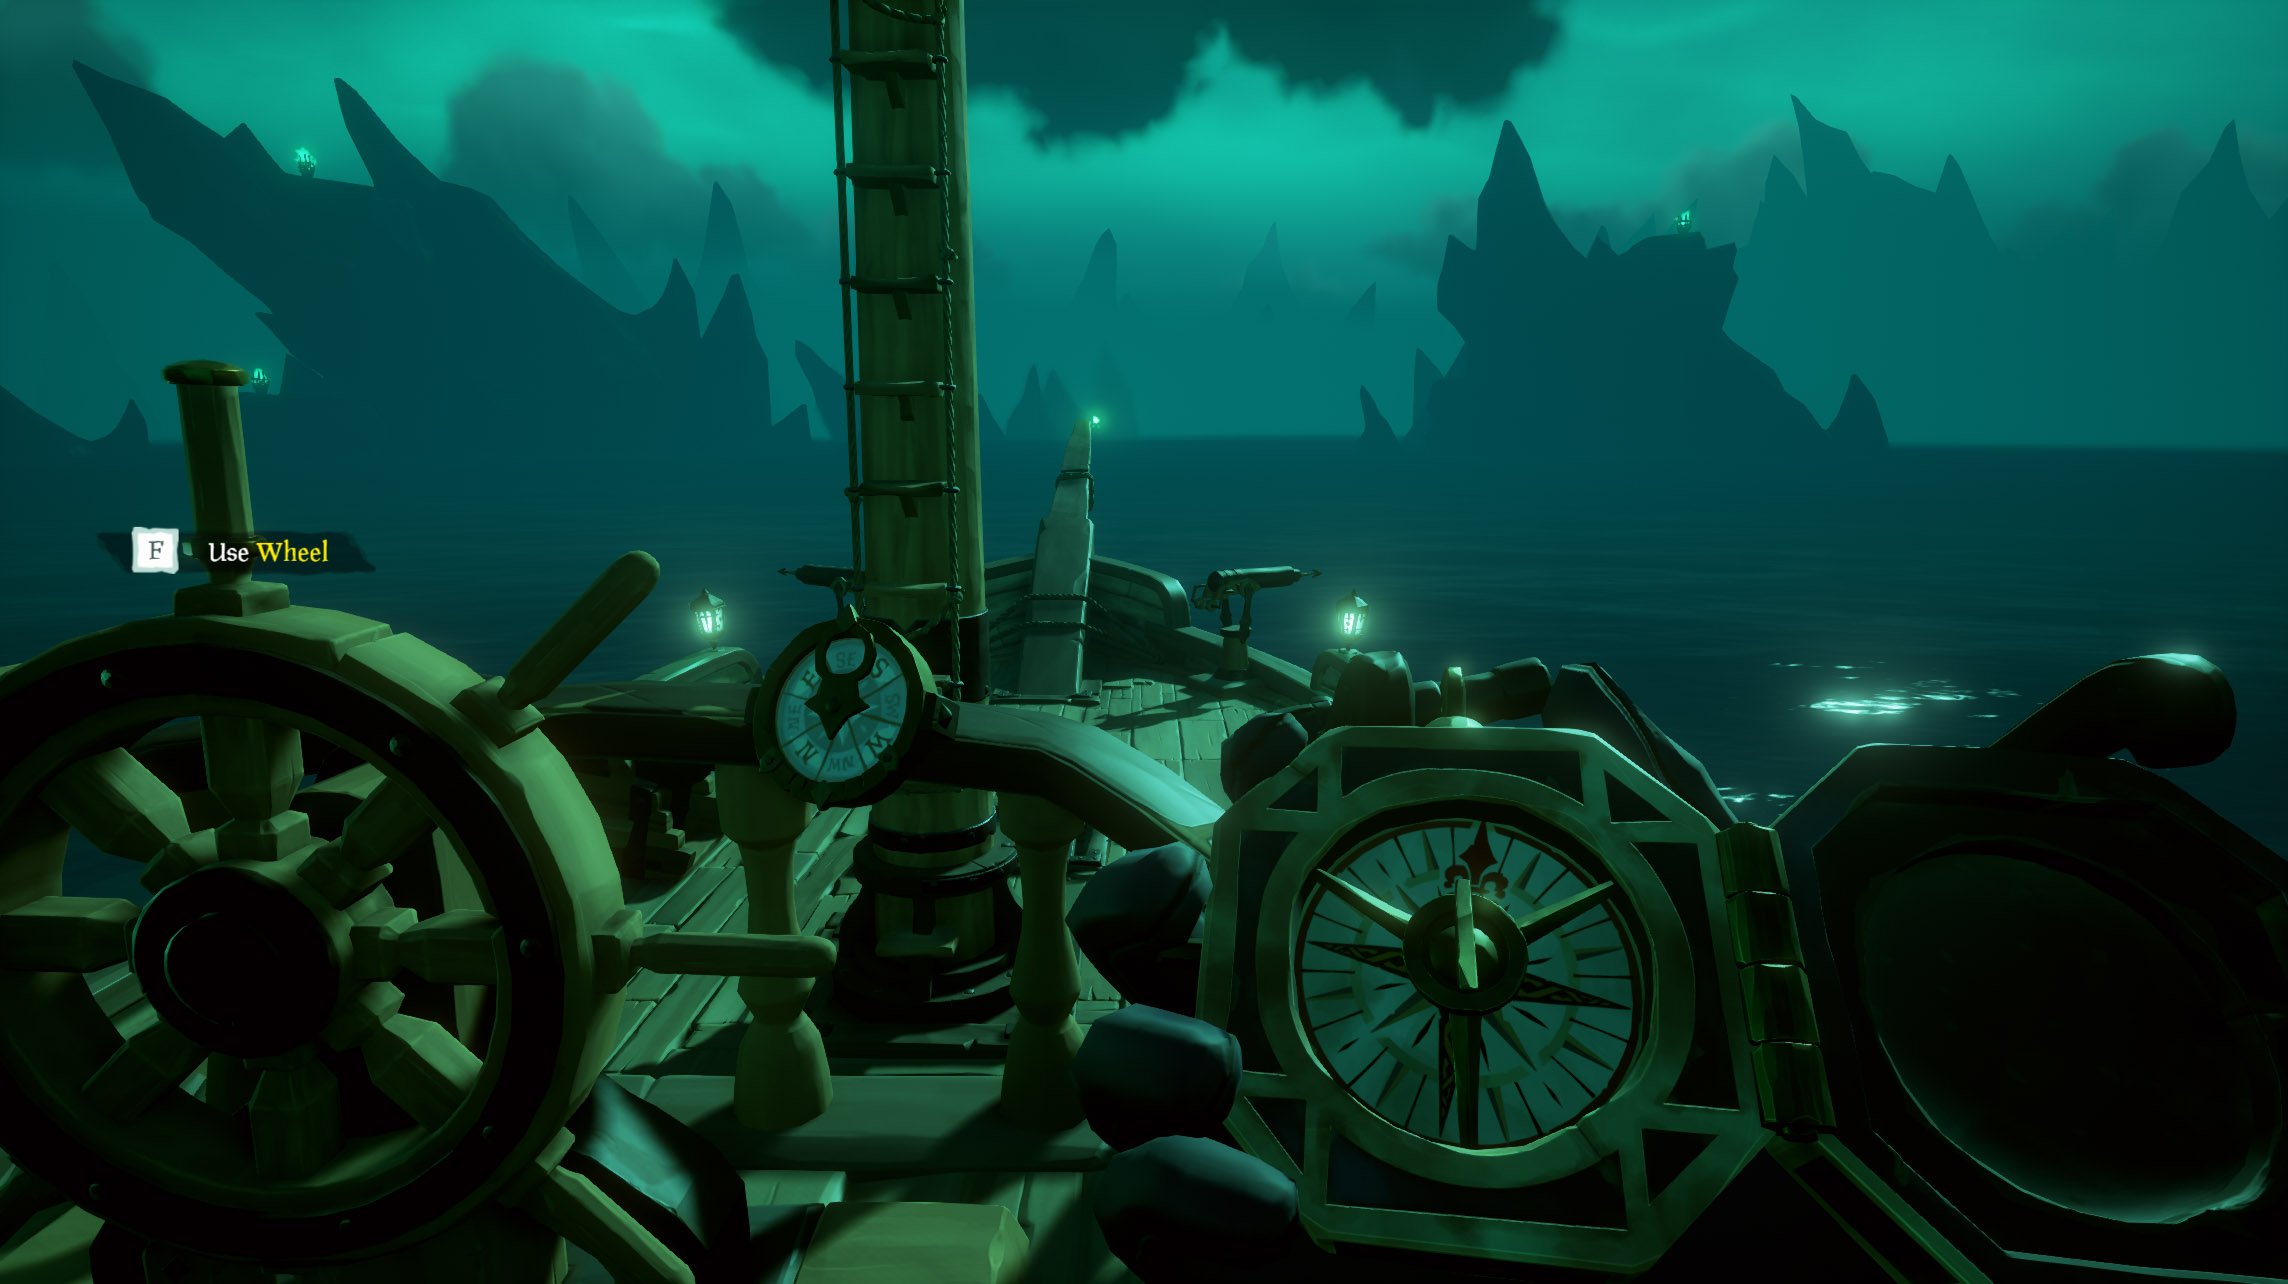
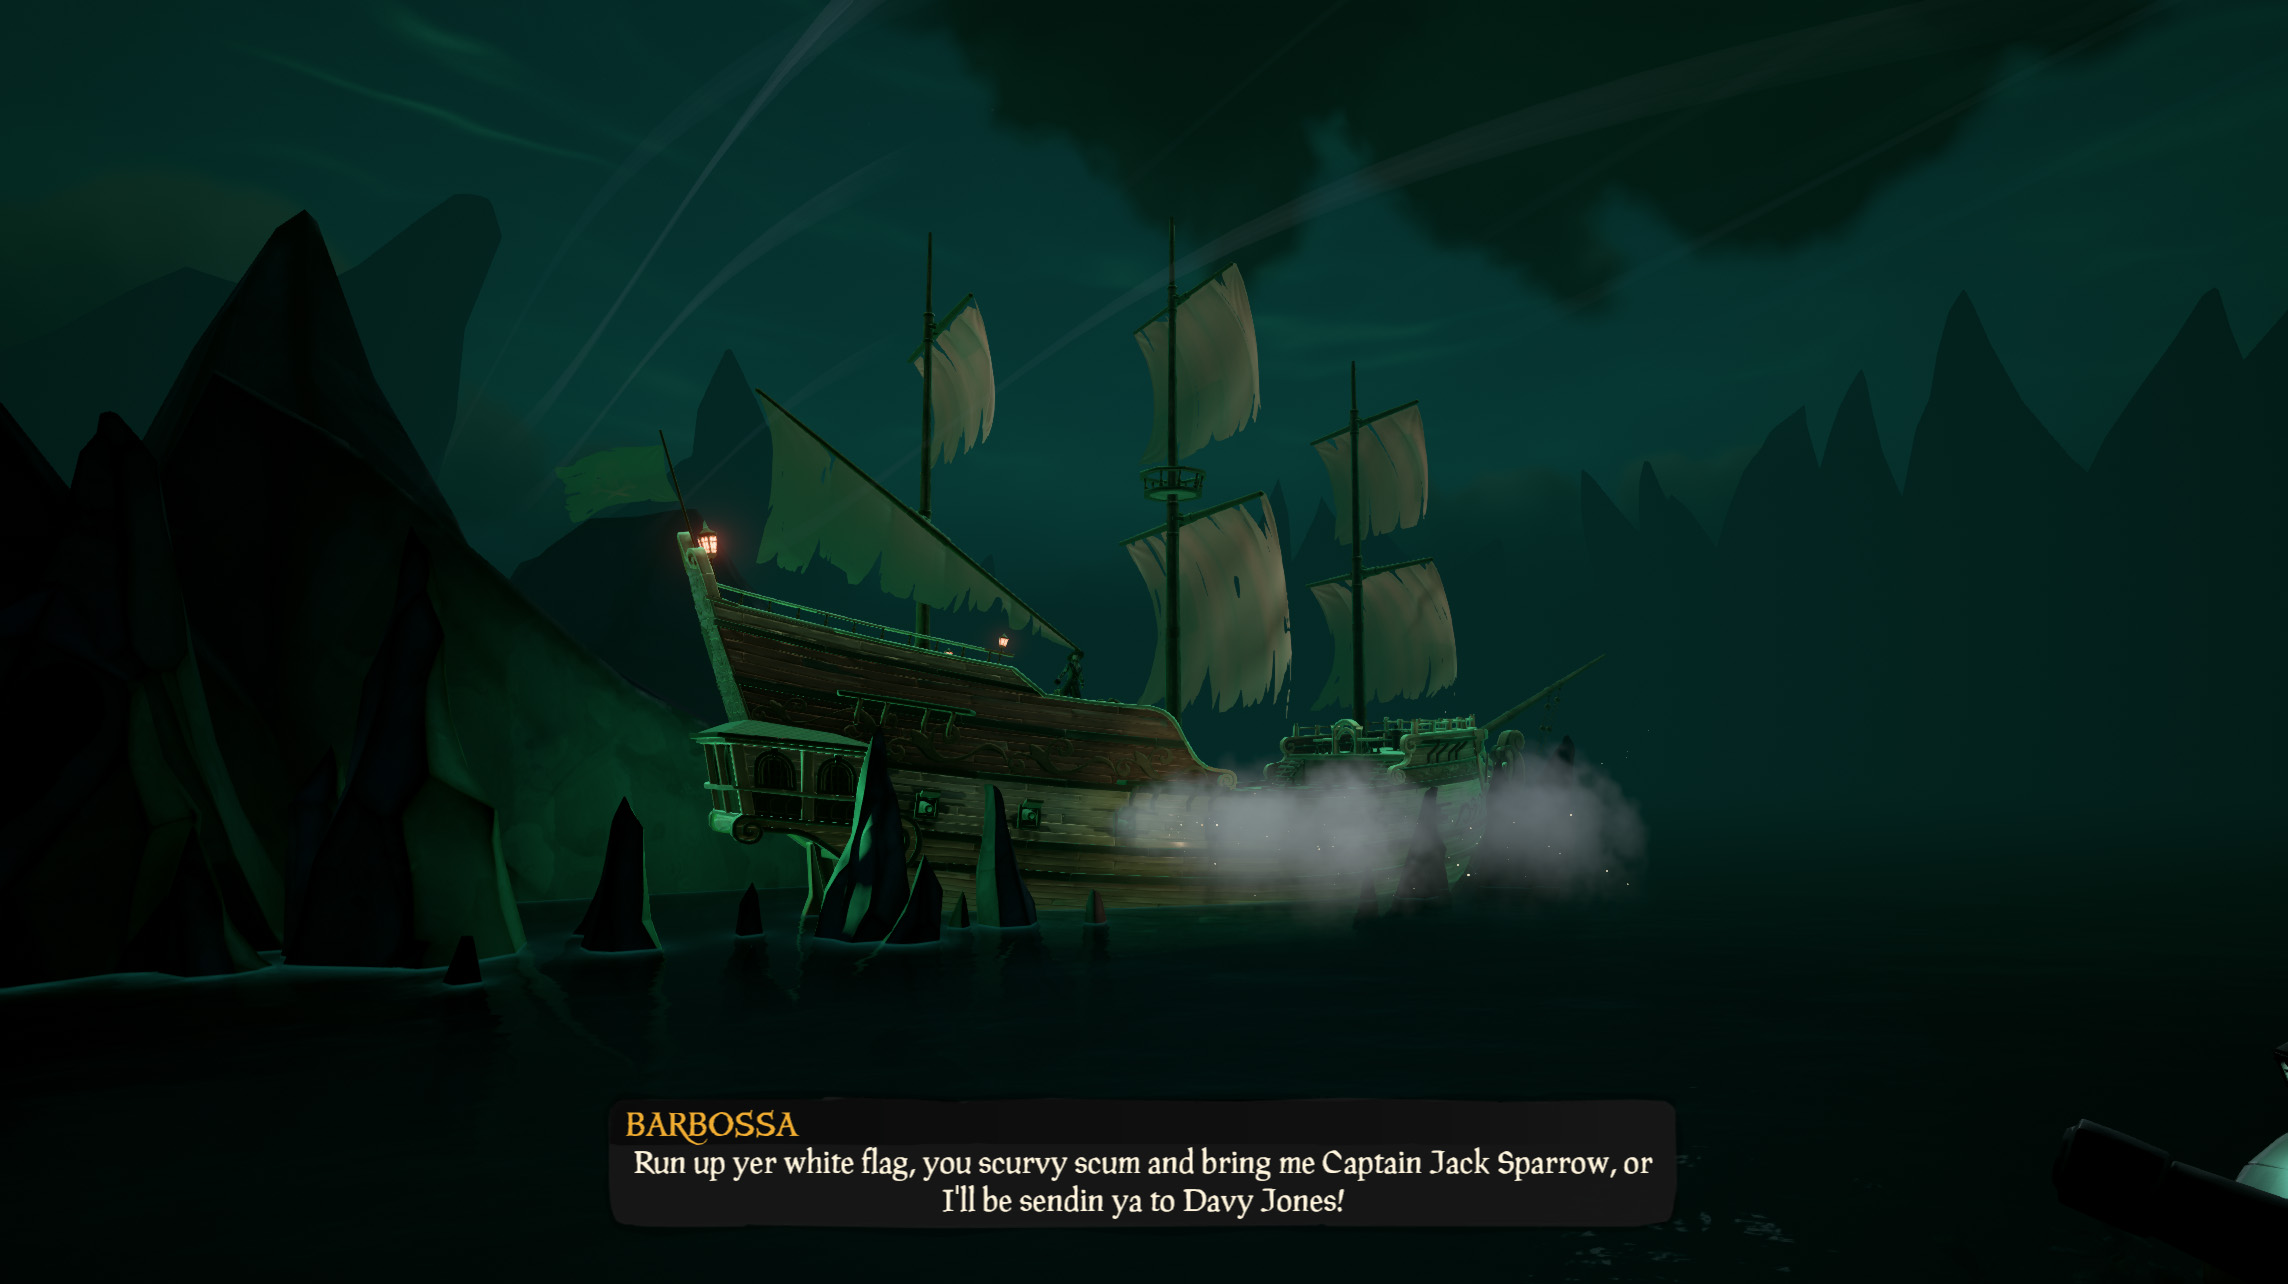
Once you’ve sailed through that cave that no ship captain would EVER want to sail through, you’ll find yourself being welcomed by Captain Barbossa himself! Well, more like his cannons. Lucky for your ship they aren’t interested in shooting at you.
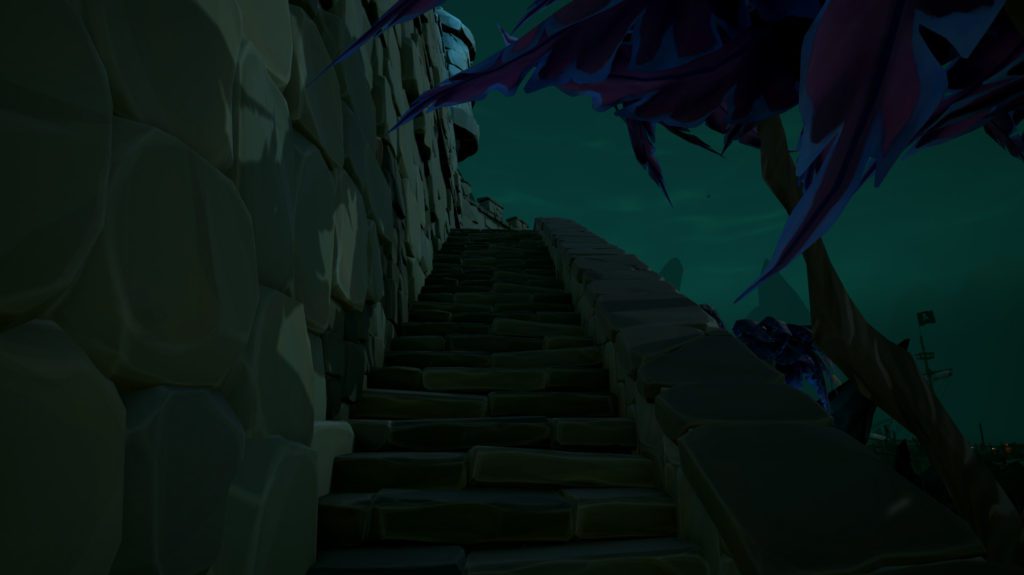
You’ve safely arrived at Isla Tesoro, the bread and butter of this Tall Tale. The MAJORITY of the hidden commendations are right here, so make sure you follow this next part closely. Leave your ship and make your way up the stone steps by the docks here.
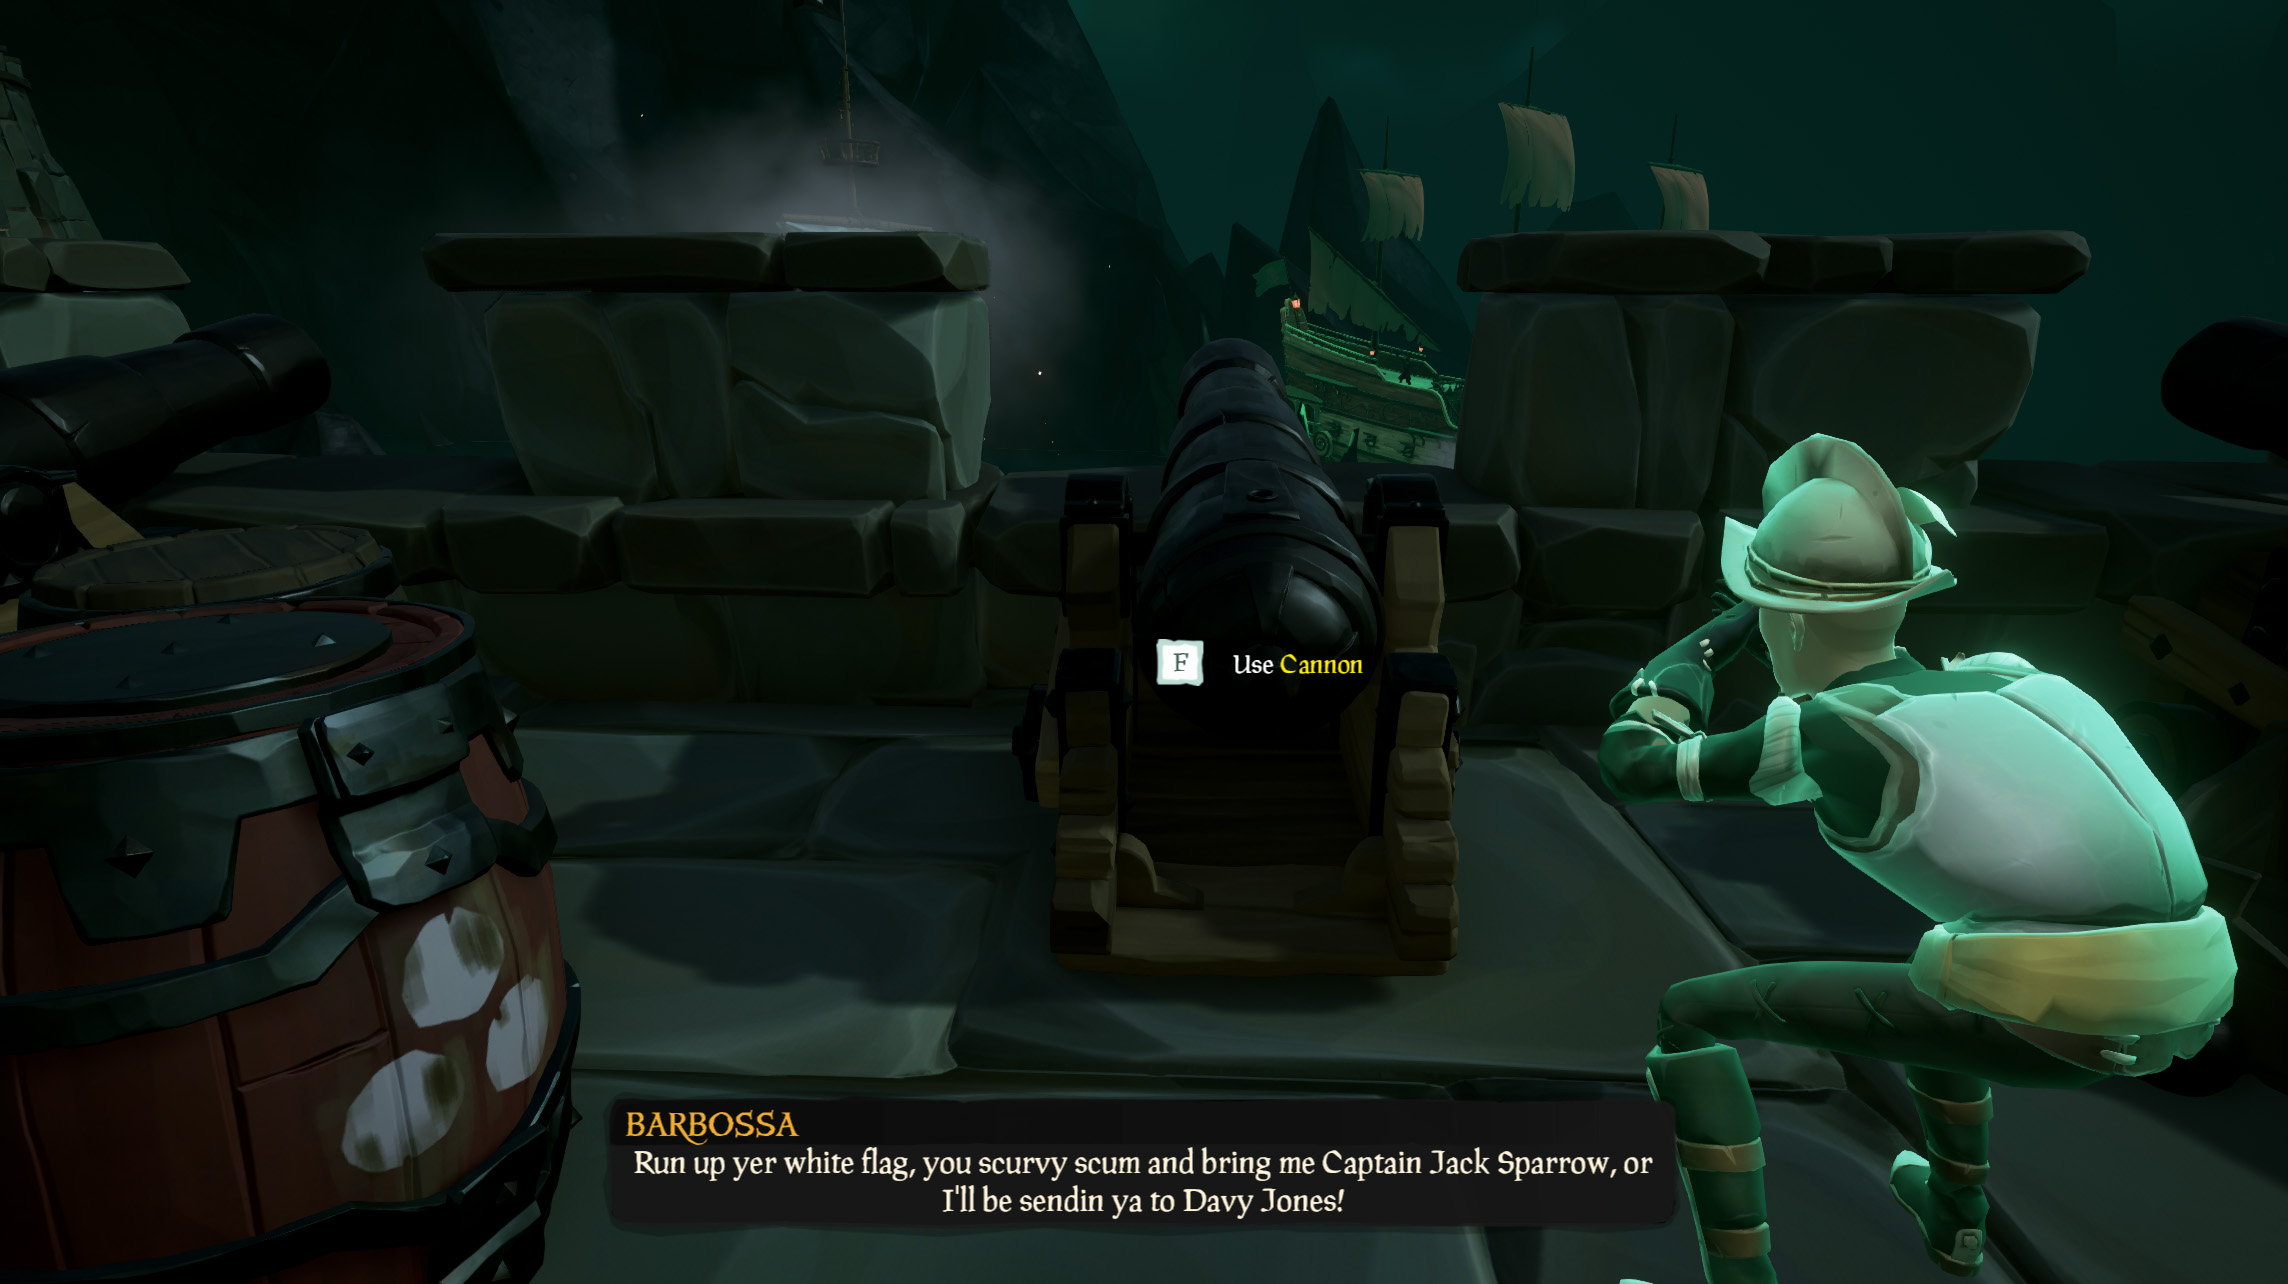
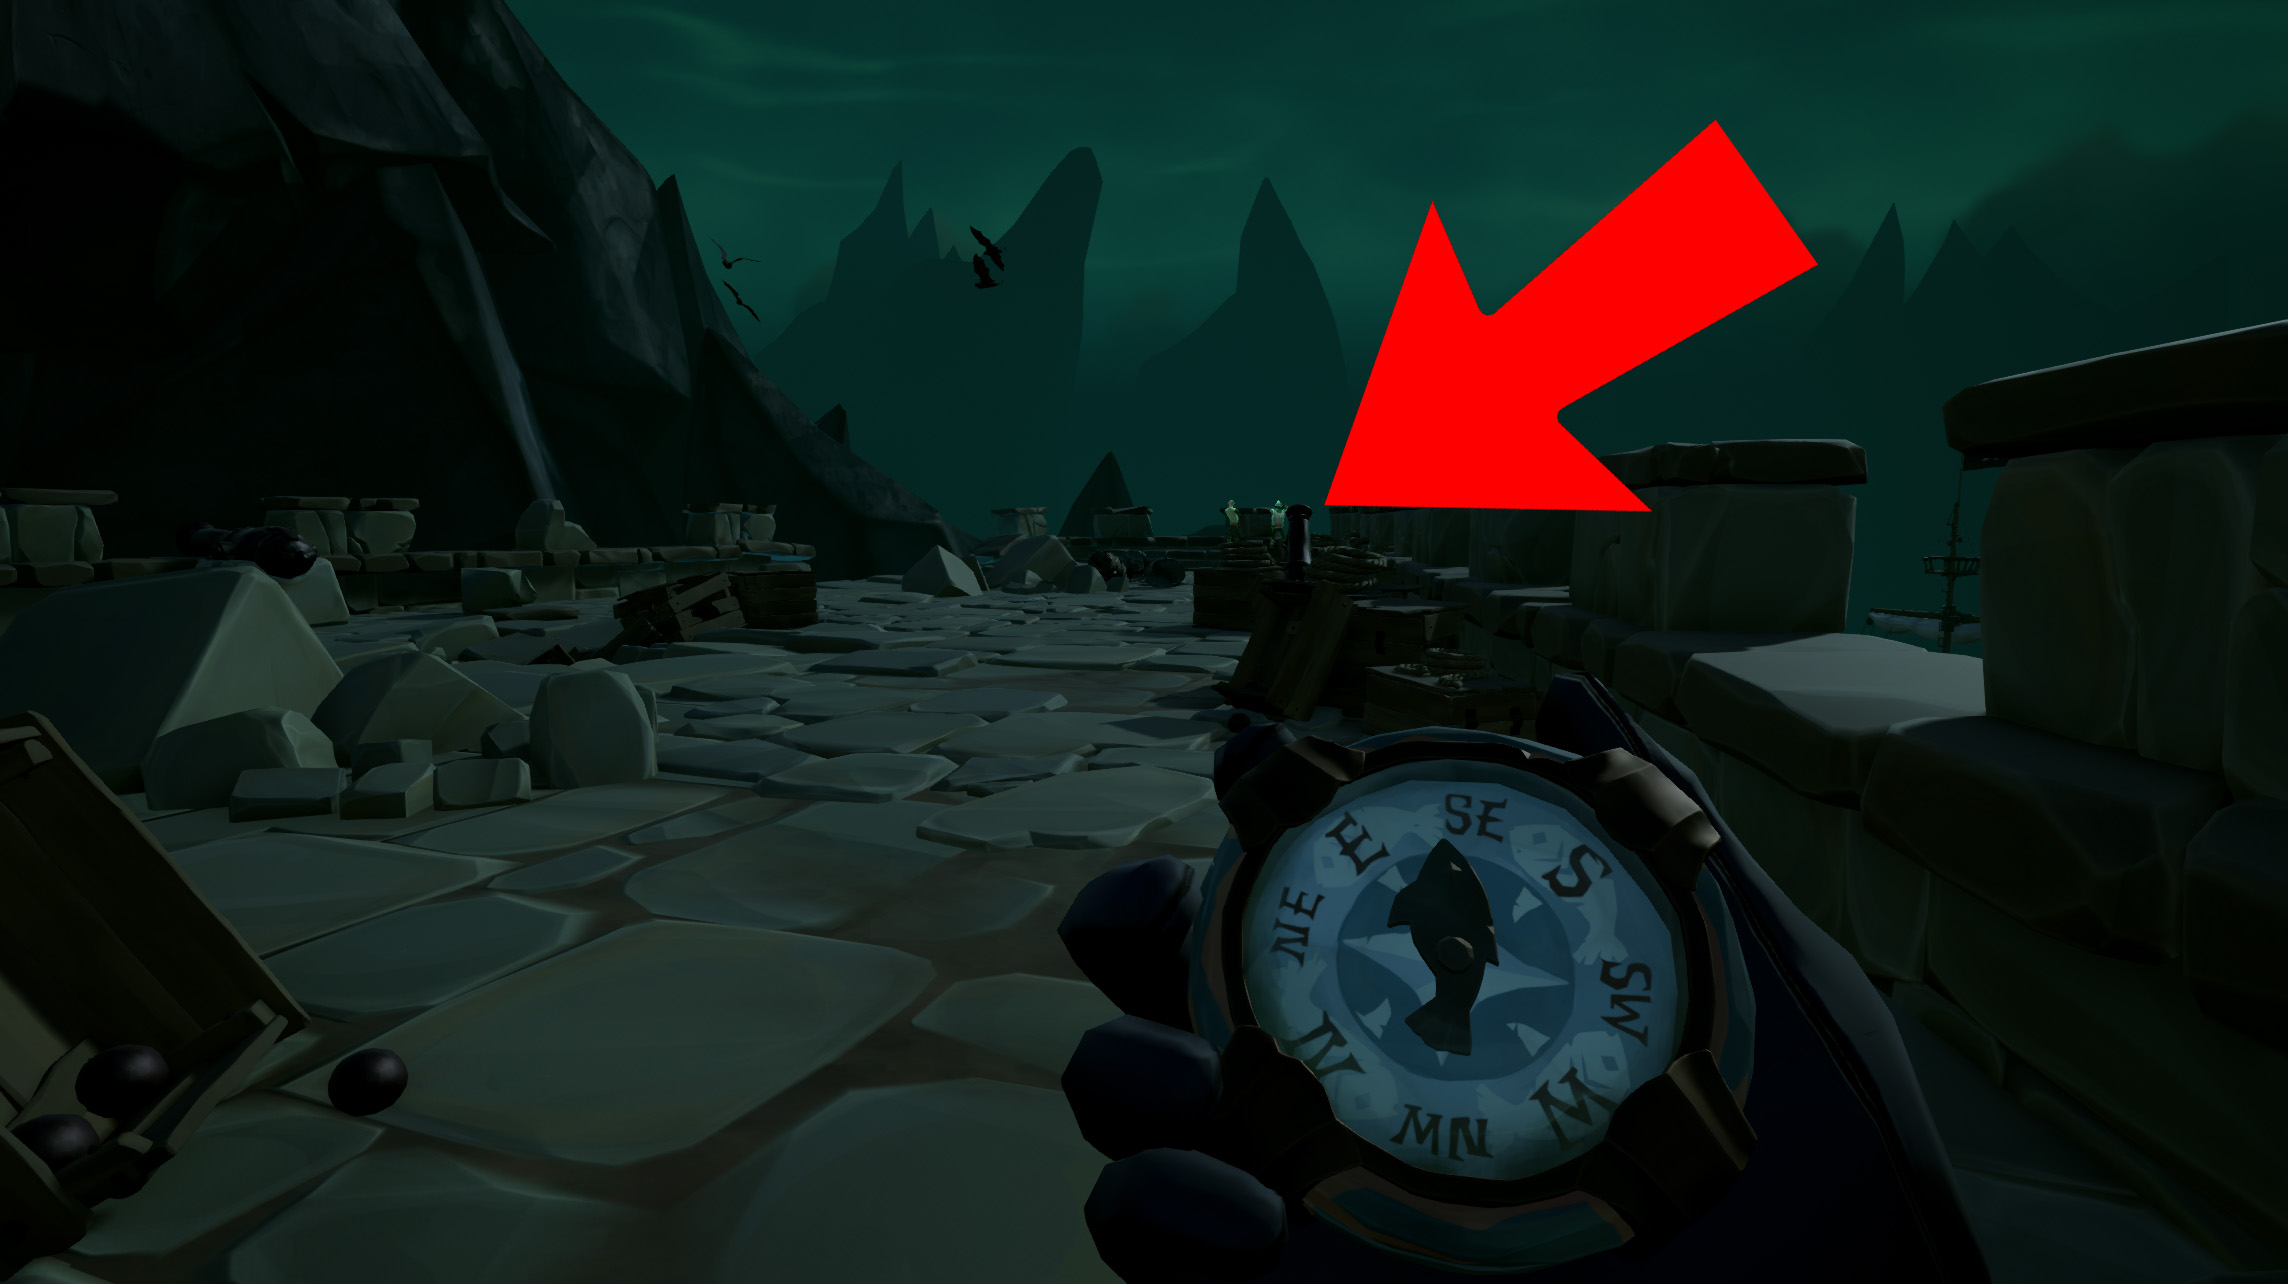
Once you’re on solid ground, you’ll want to head up the steps to join the ghostly Spaniards in their sorry attempt to repel Captain Barbossa. Hop on the available cannon and fire a shot into the hull of the Wicked Wench to earn the “Strike Yer Colours” commendation.
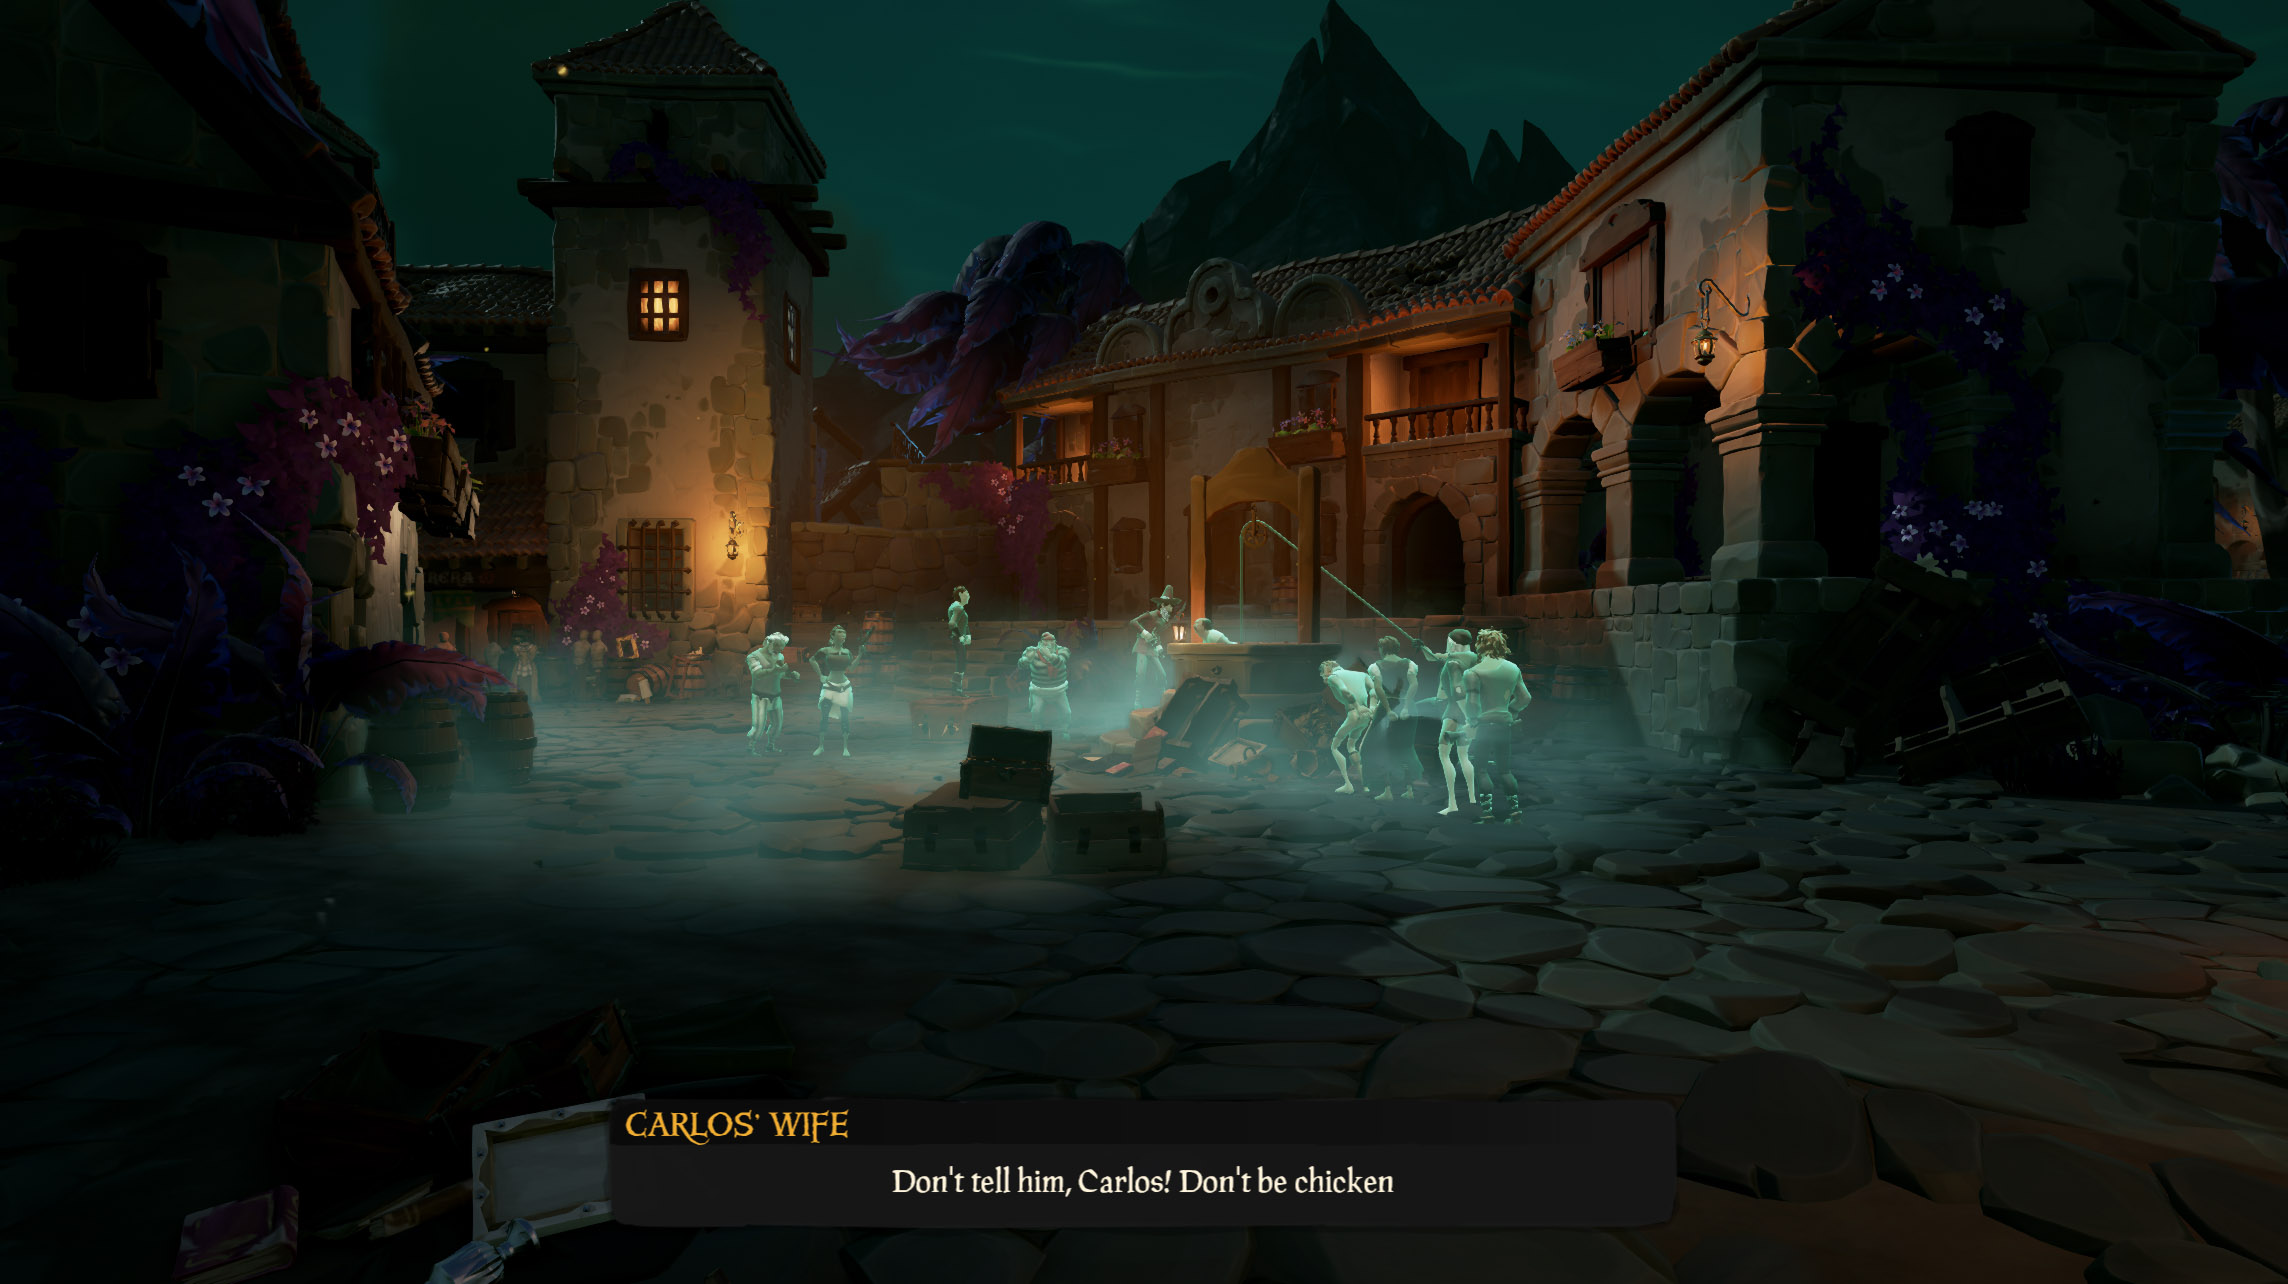
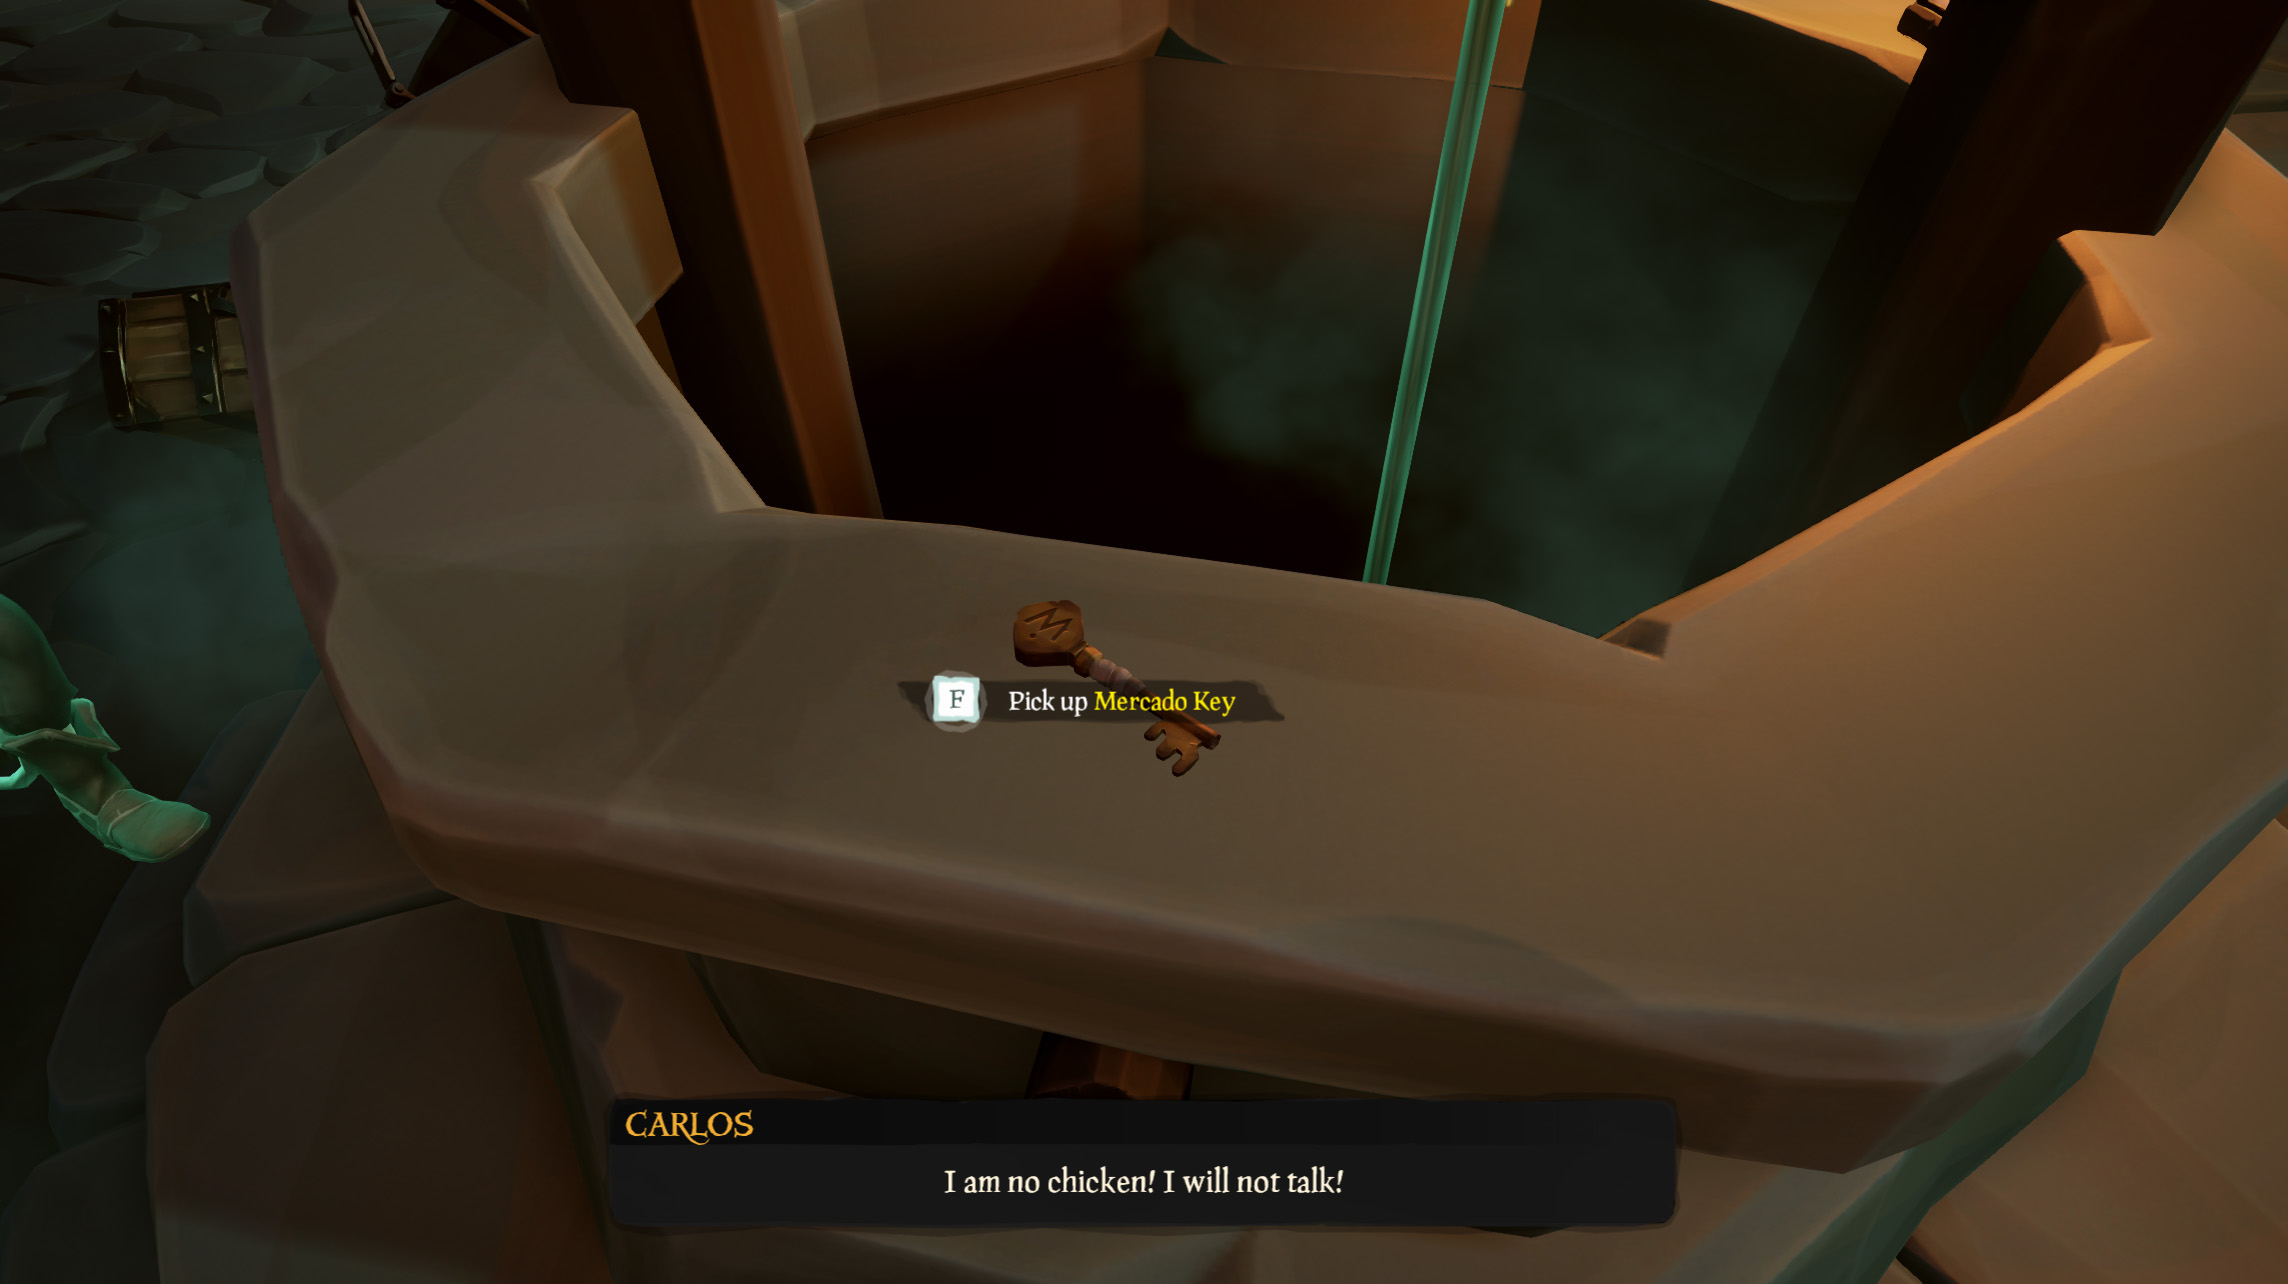
Now that we got that out of the way, head back down the stairs and into the town. You’ll soon see a crowd of ghosts interrogating their poor mayor, Carlos. Check the back of the well for the Mercado Key and leave them to their business.
We’ll be holding onto this key for a while, safe keeping and all that, so make sure if you have to put it down you pick it up before you move along. If only your pirate pockets had room for these kinds of key items…
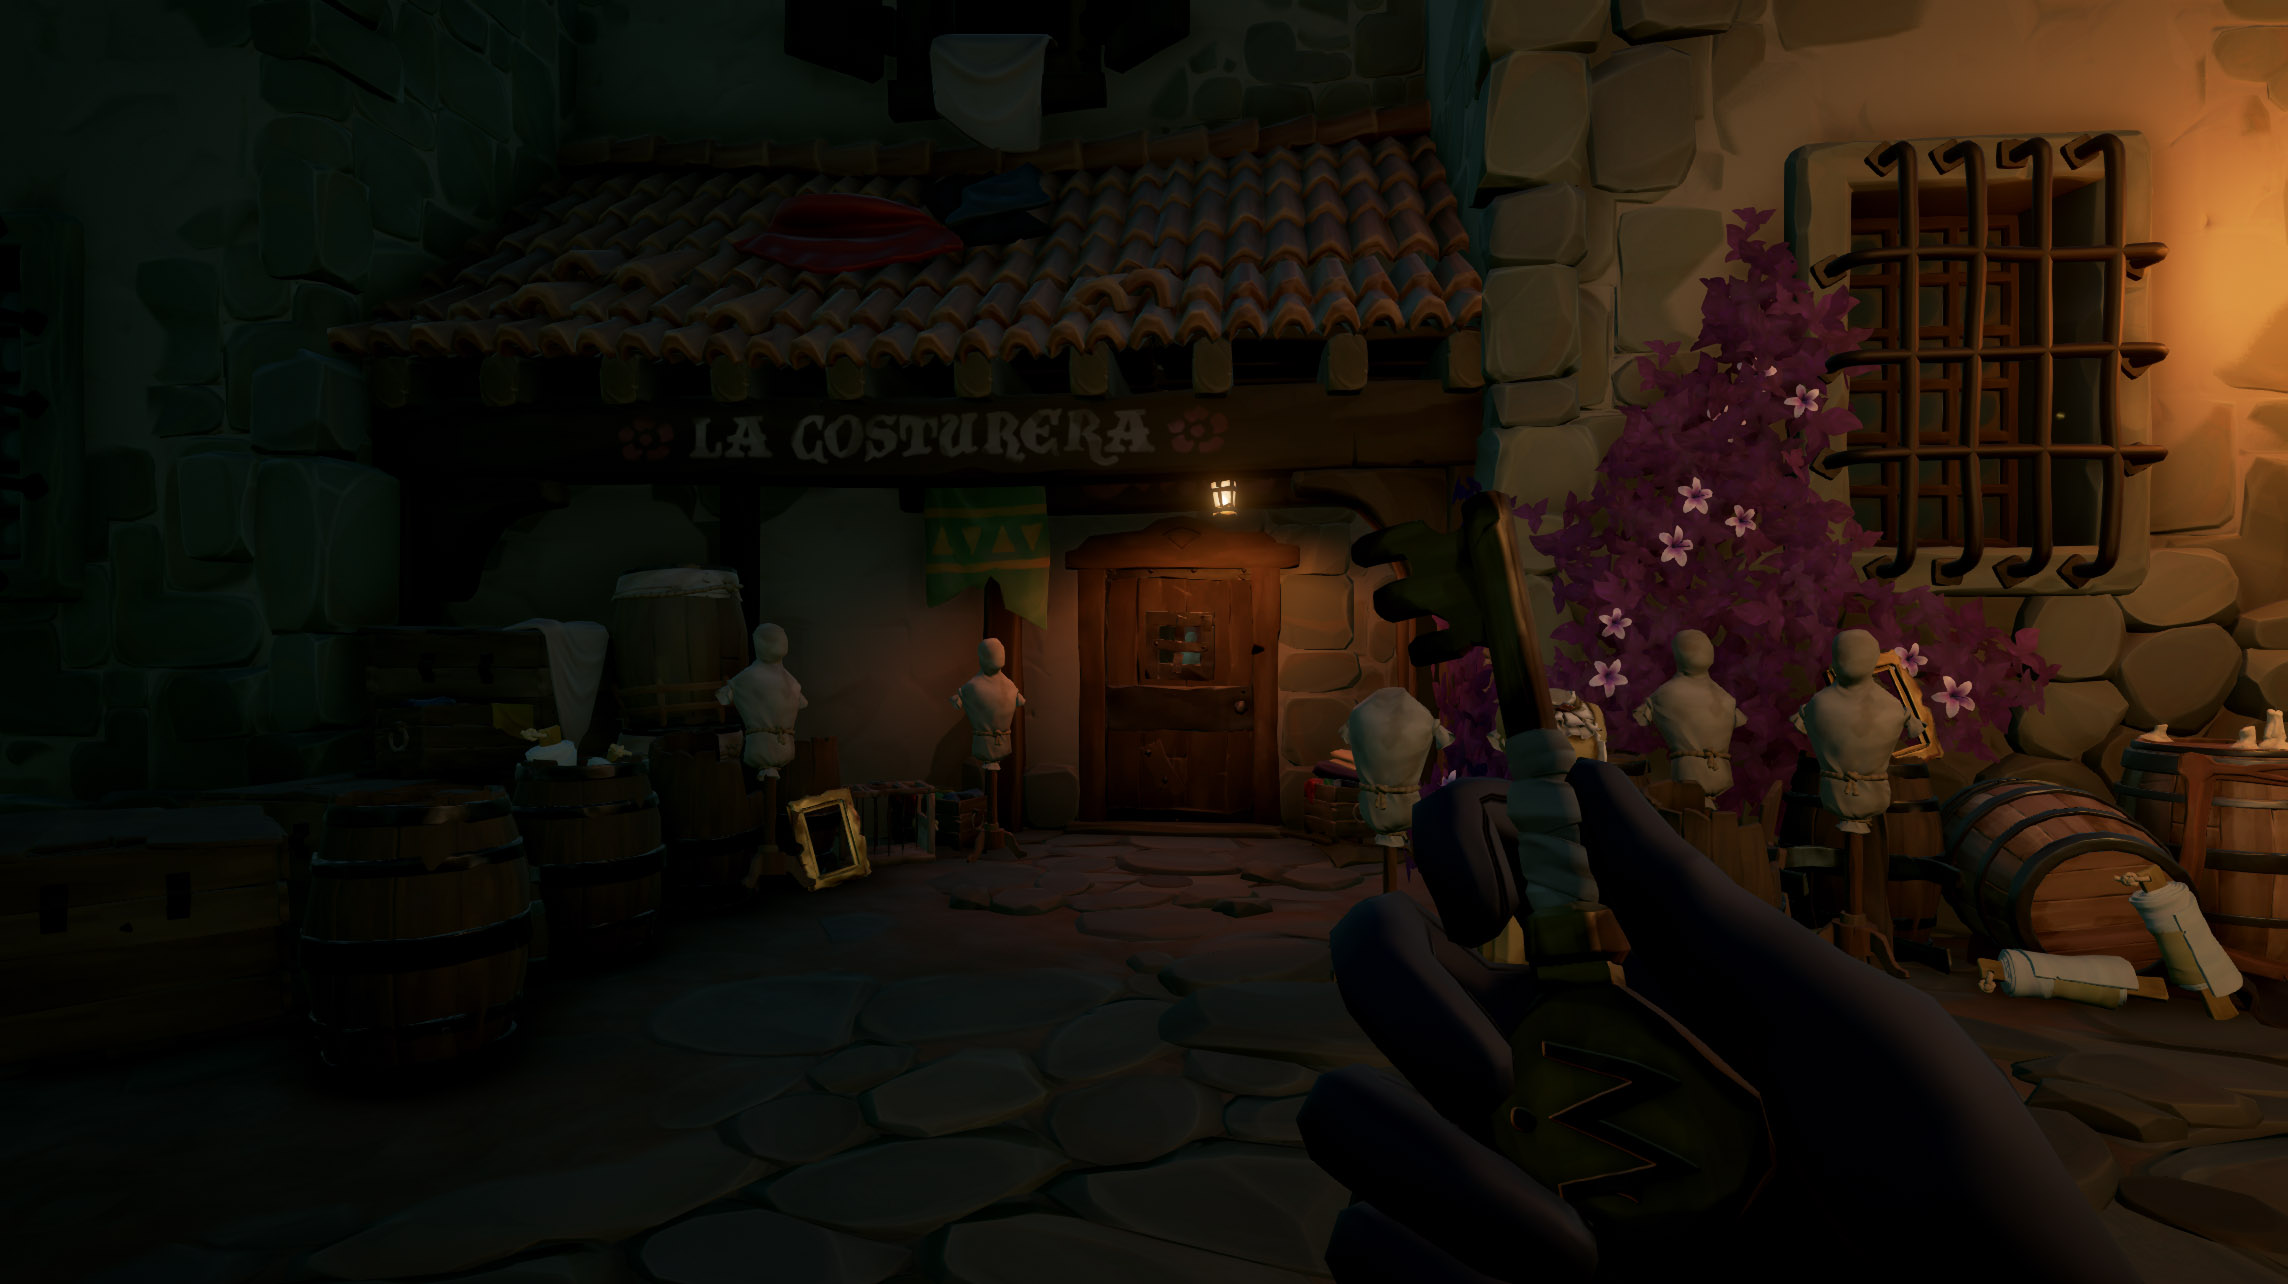
With the Mercado Key in hand you’ll want to head over to La Costurera (The Seamstress) and go inside. This door is NOT locked so you’ll still be bringing the key with you.
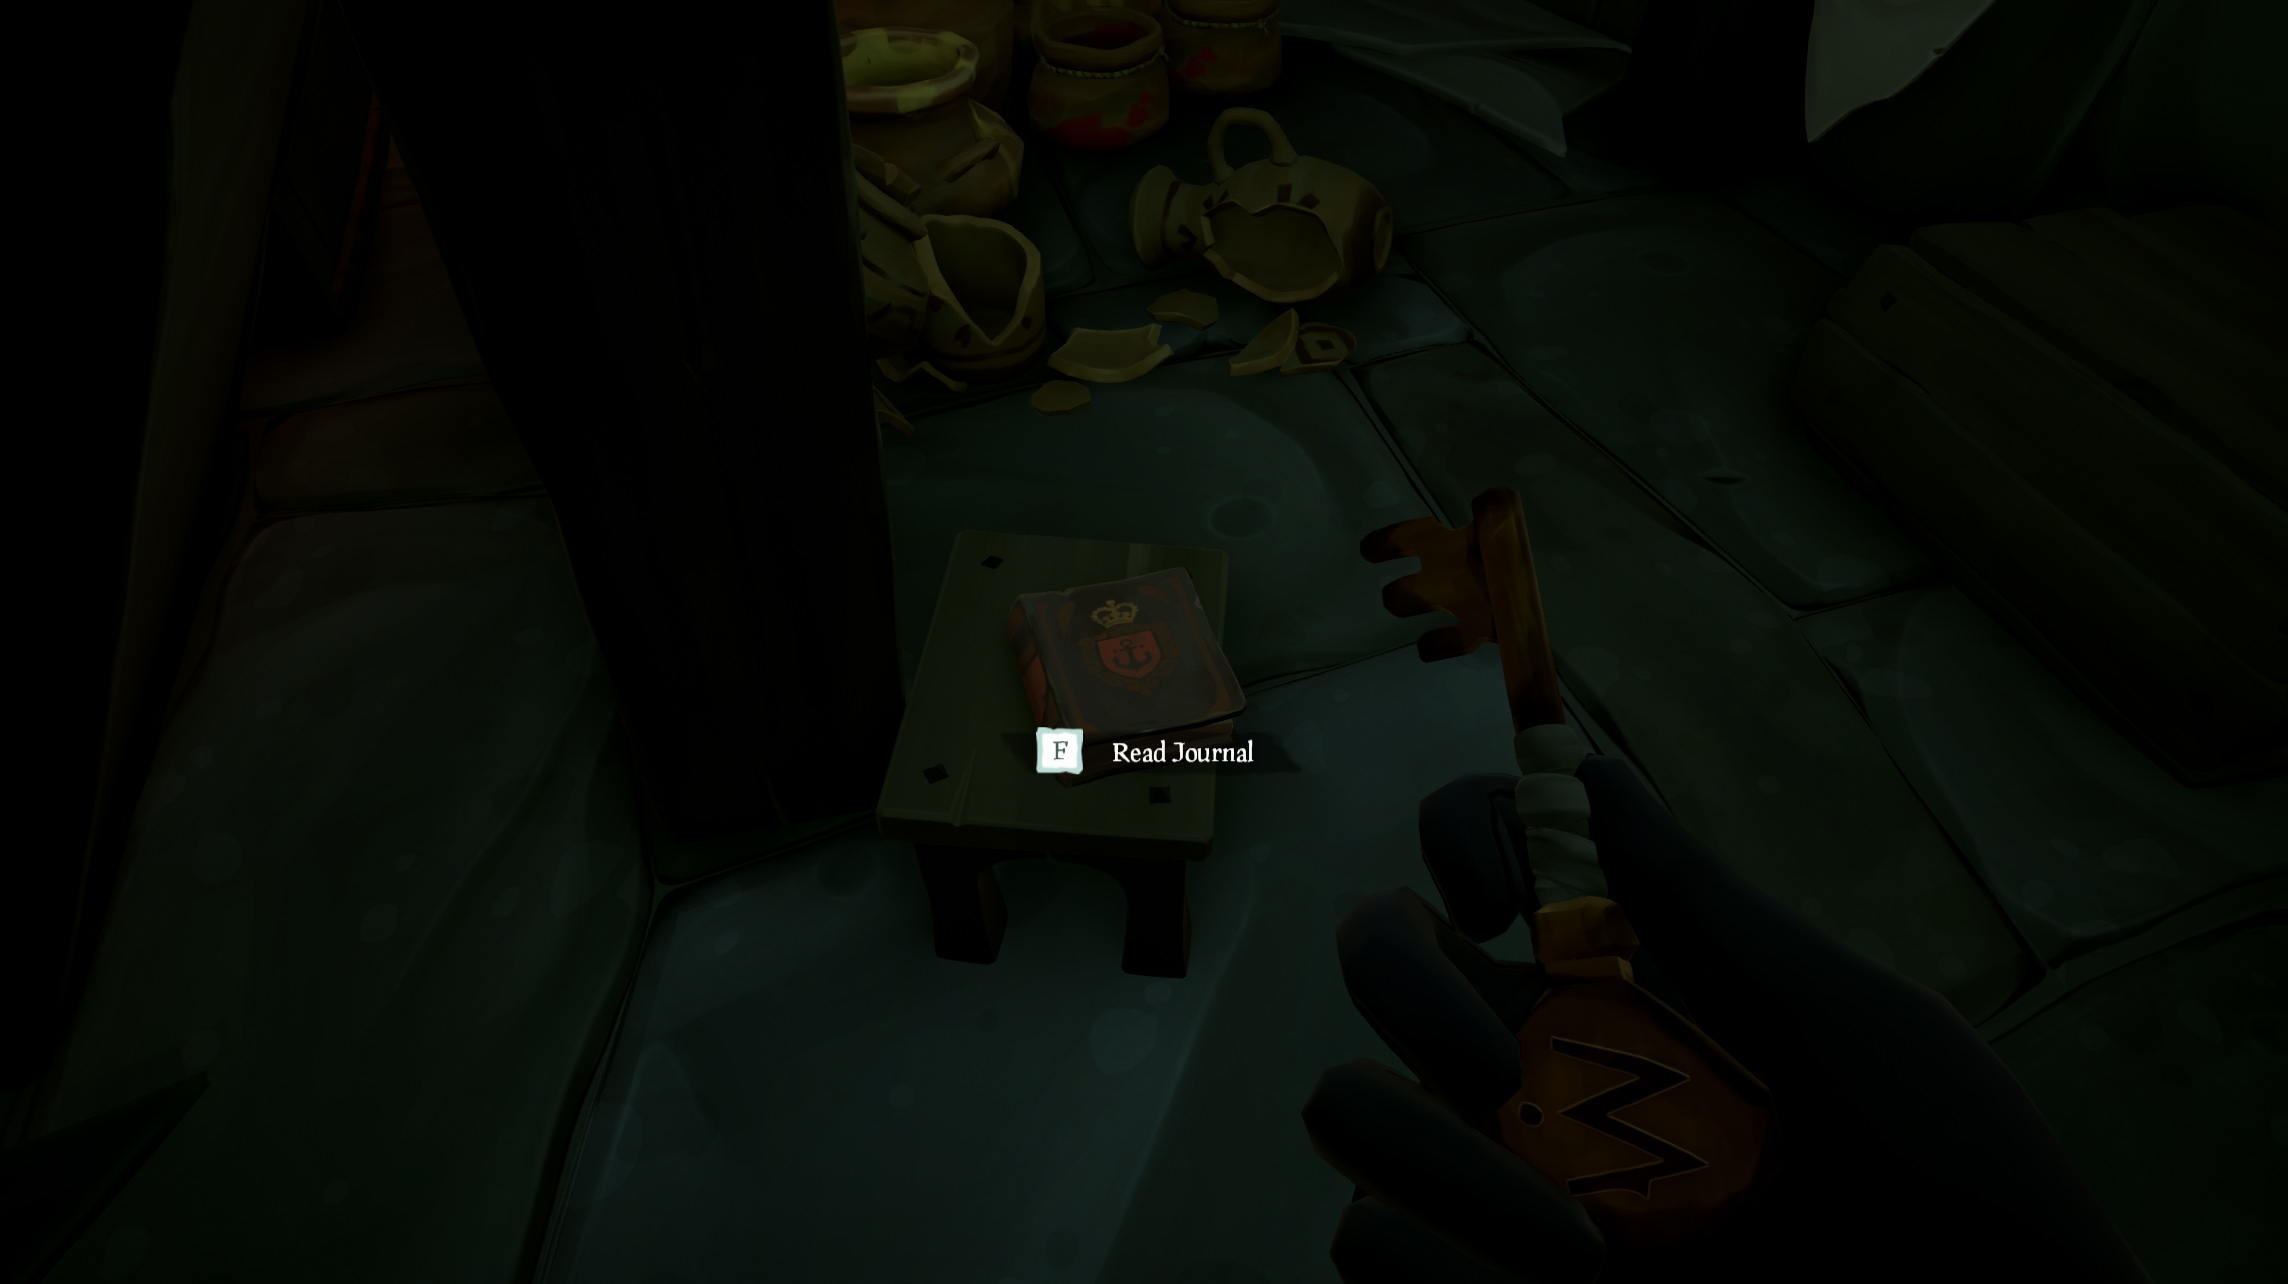
Townsfolk's Journal #1
Once in the shop, turn left and the first journal is sitting on the stool.
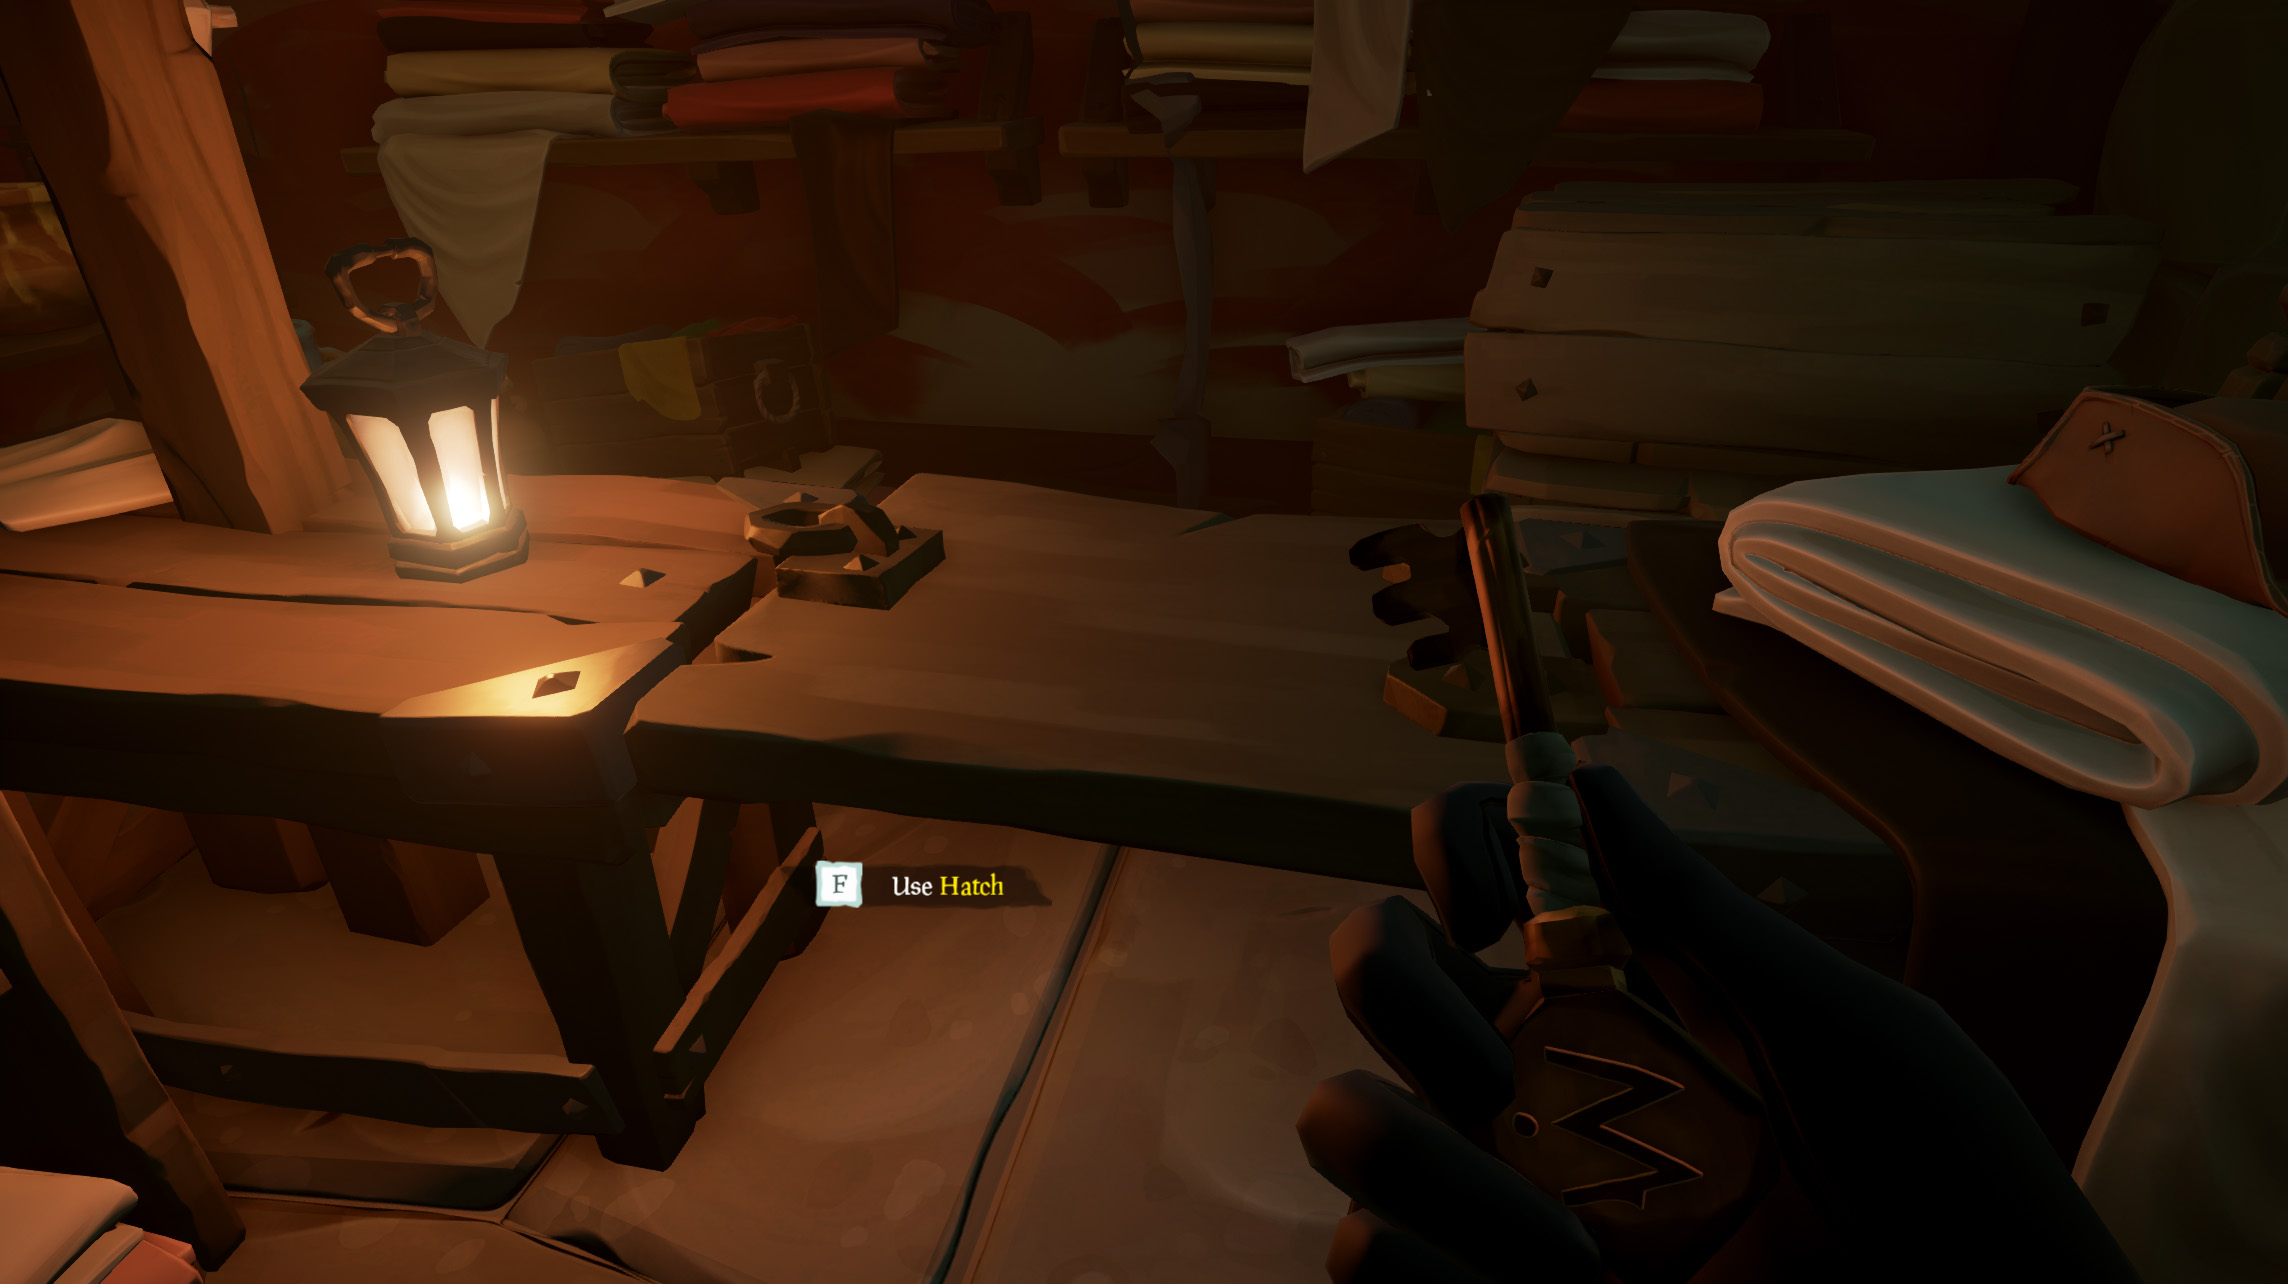
After reading the journal, turn around and interact with the latch to lift the divider. Head out the back door, cross the bridge, and begin the long jog through town.
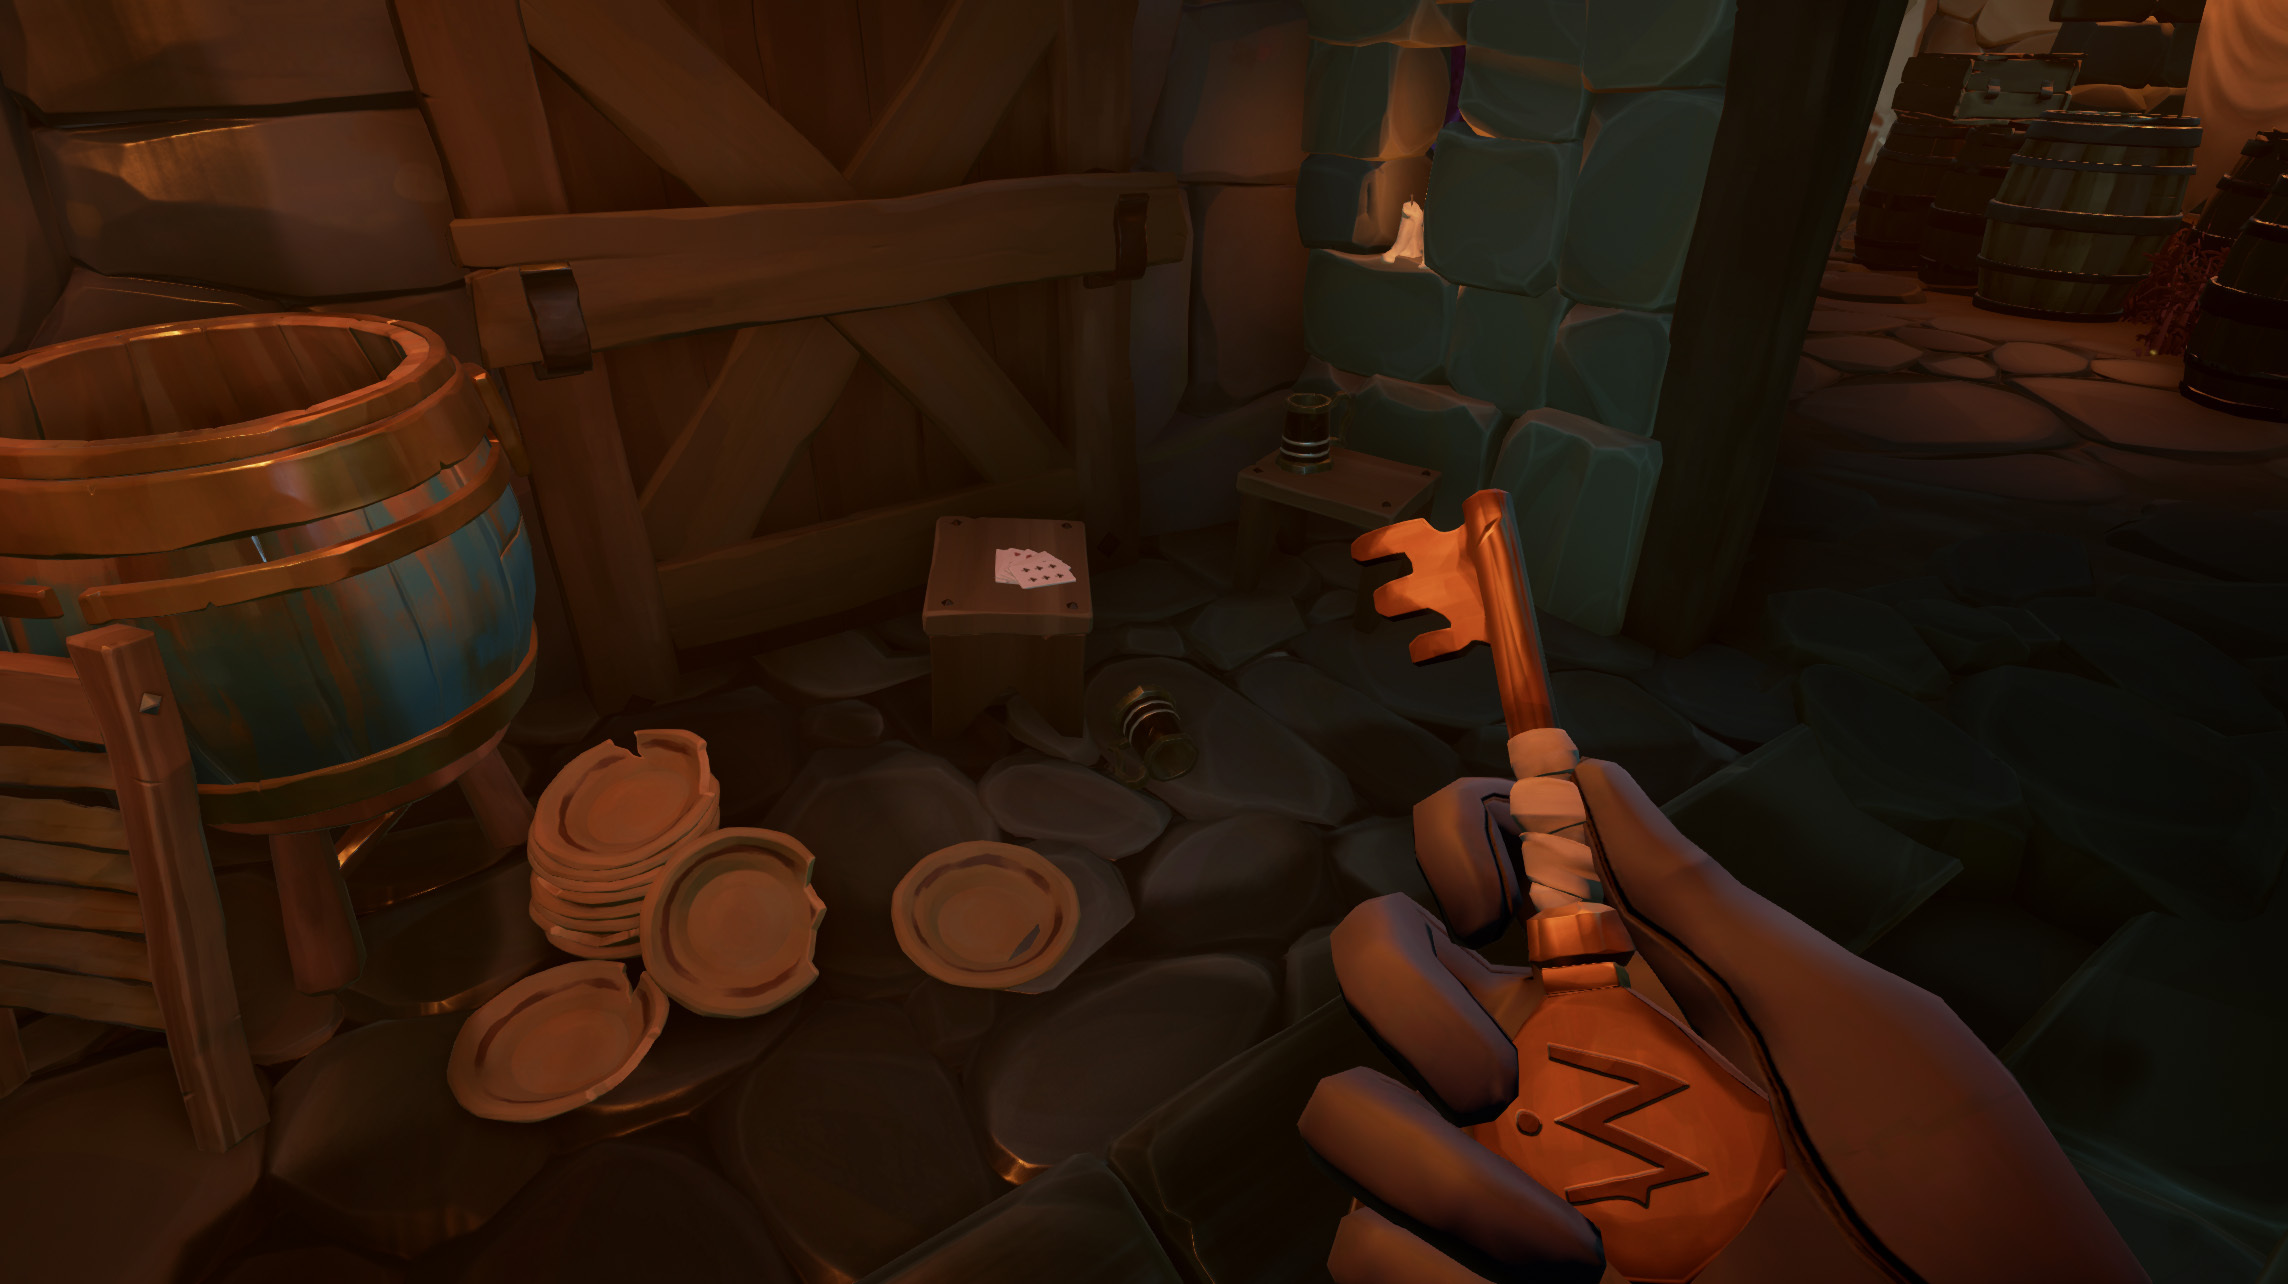
Continue past the Taberna and the Cervecería. Head up the steps and continue following the path through the town until you come upon a small room with some empty mugs and playing cards on a table.
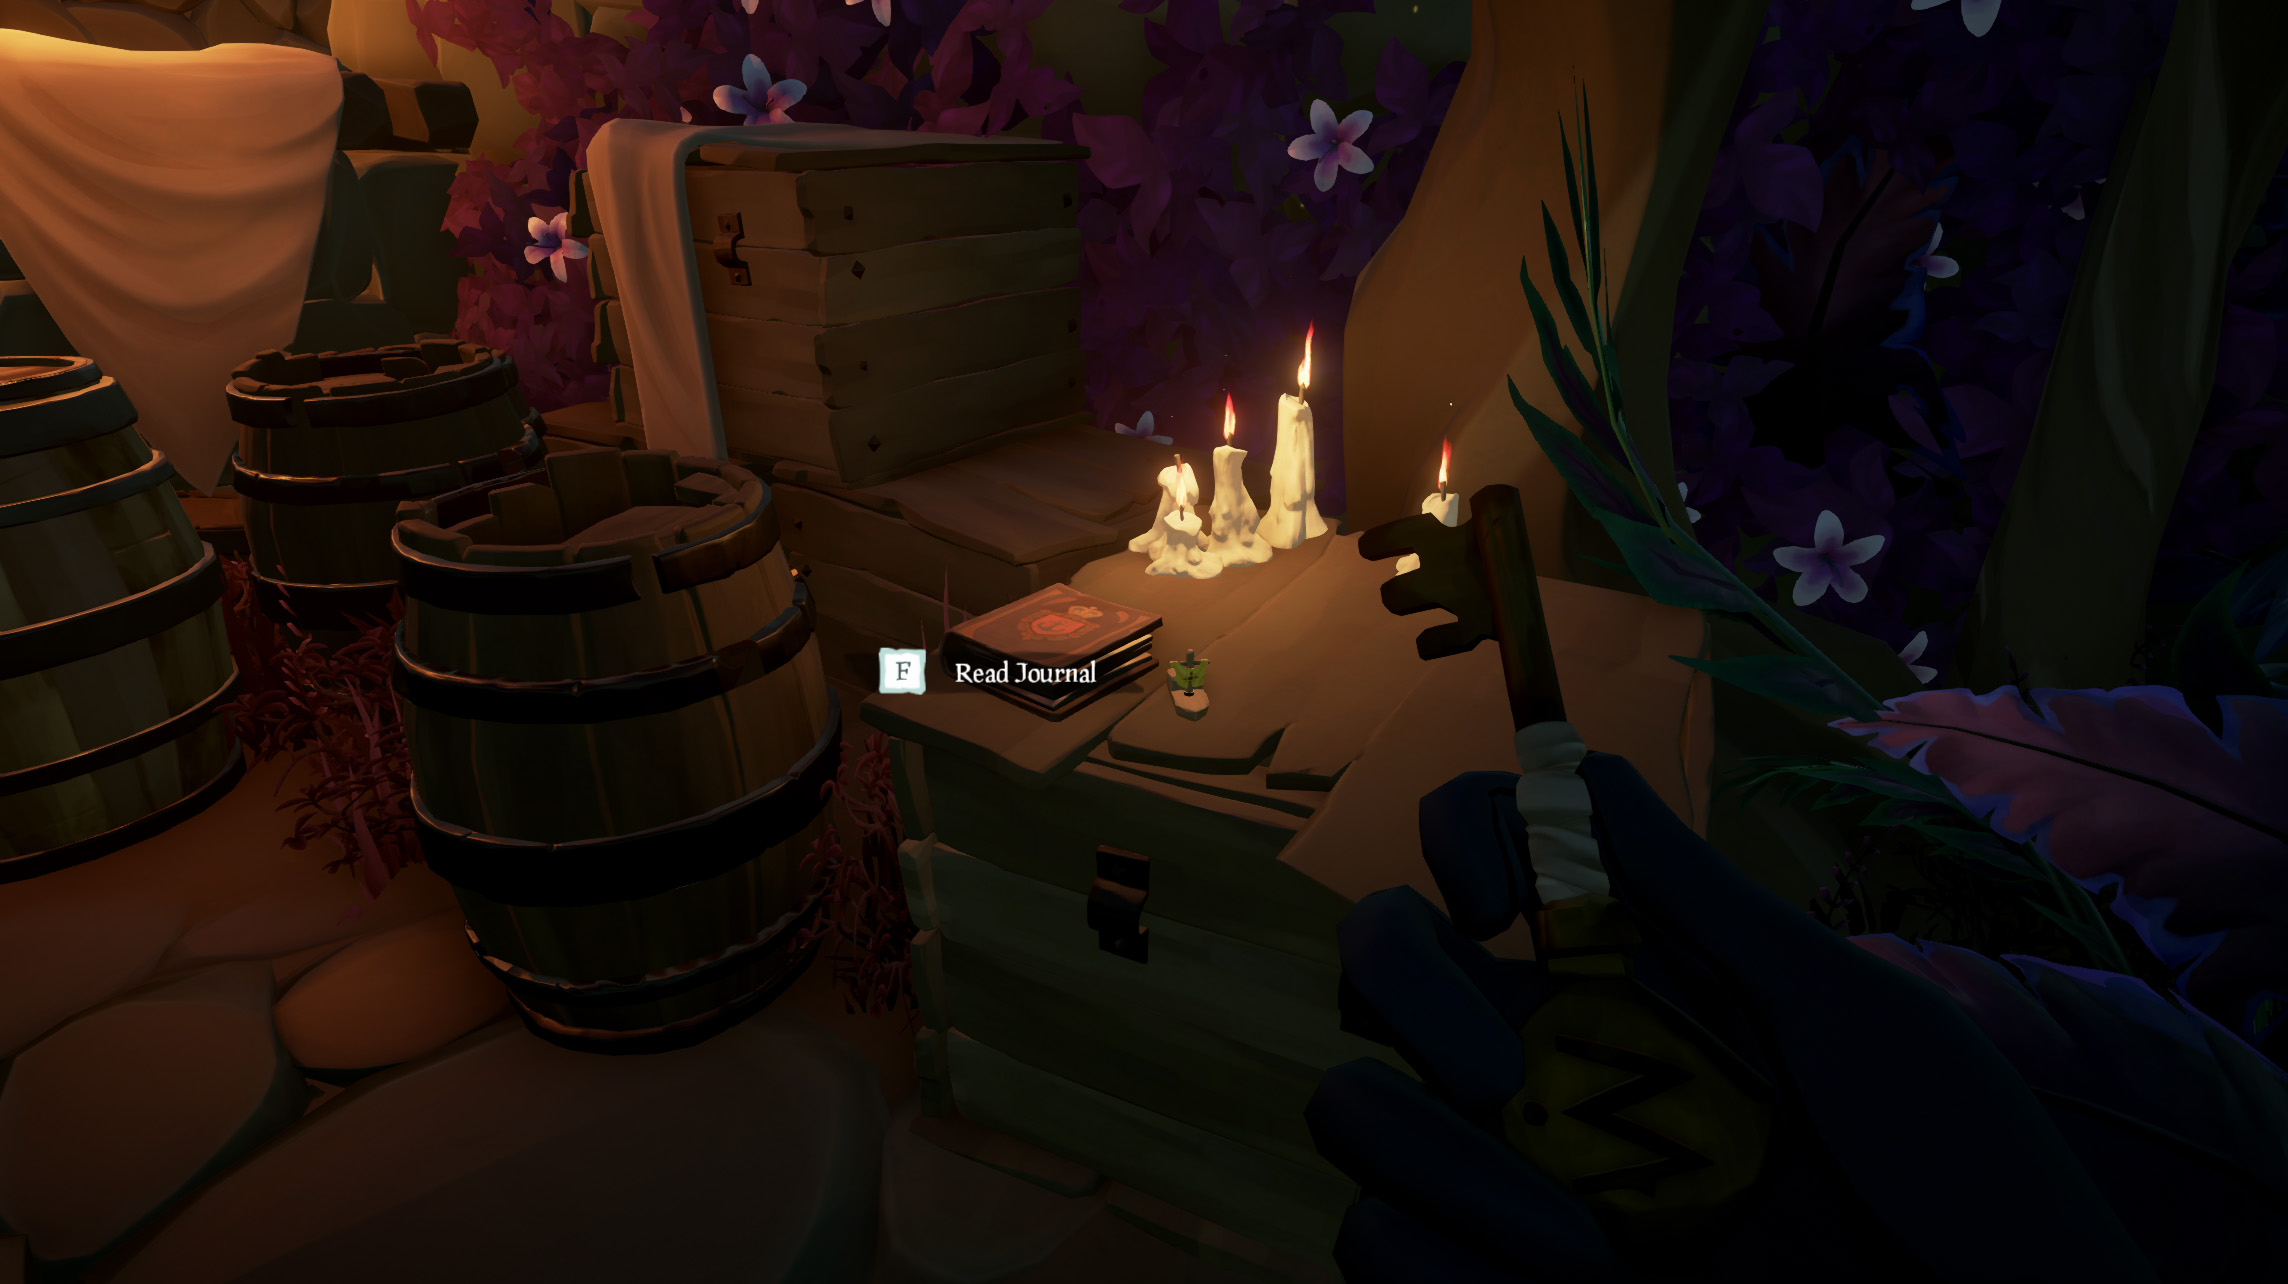
Townsfolk's Journal #2
The second journal is just out the door to the right, sitting in front of five candles.
Head up the stairs where you’ll hear an Auctioneer, and soon the Mercado building will come into view. Head around to the right side of the building where you’ll finally find the door the Mercado Key unlocks.
Once open, head upstairs and go to the crate up against the wall. You’ll want to close the lid to reveal a hidden note. Reading the note will tell you to light the torch outside the window Light it, then leave the house.
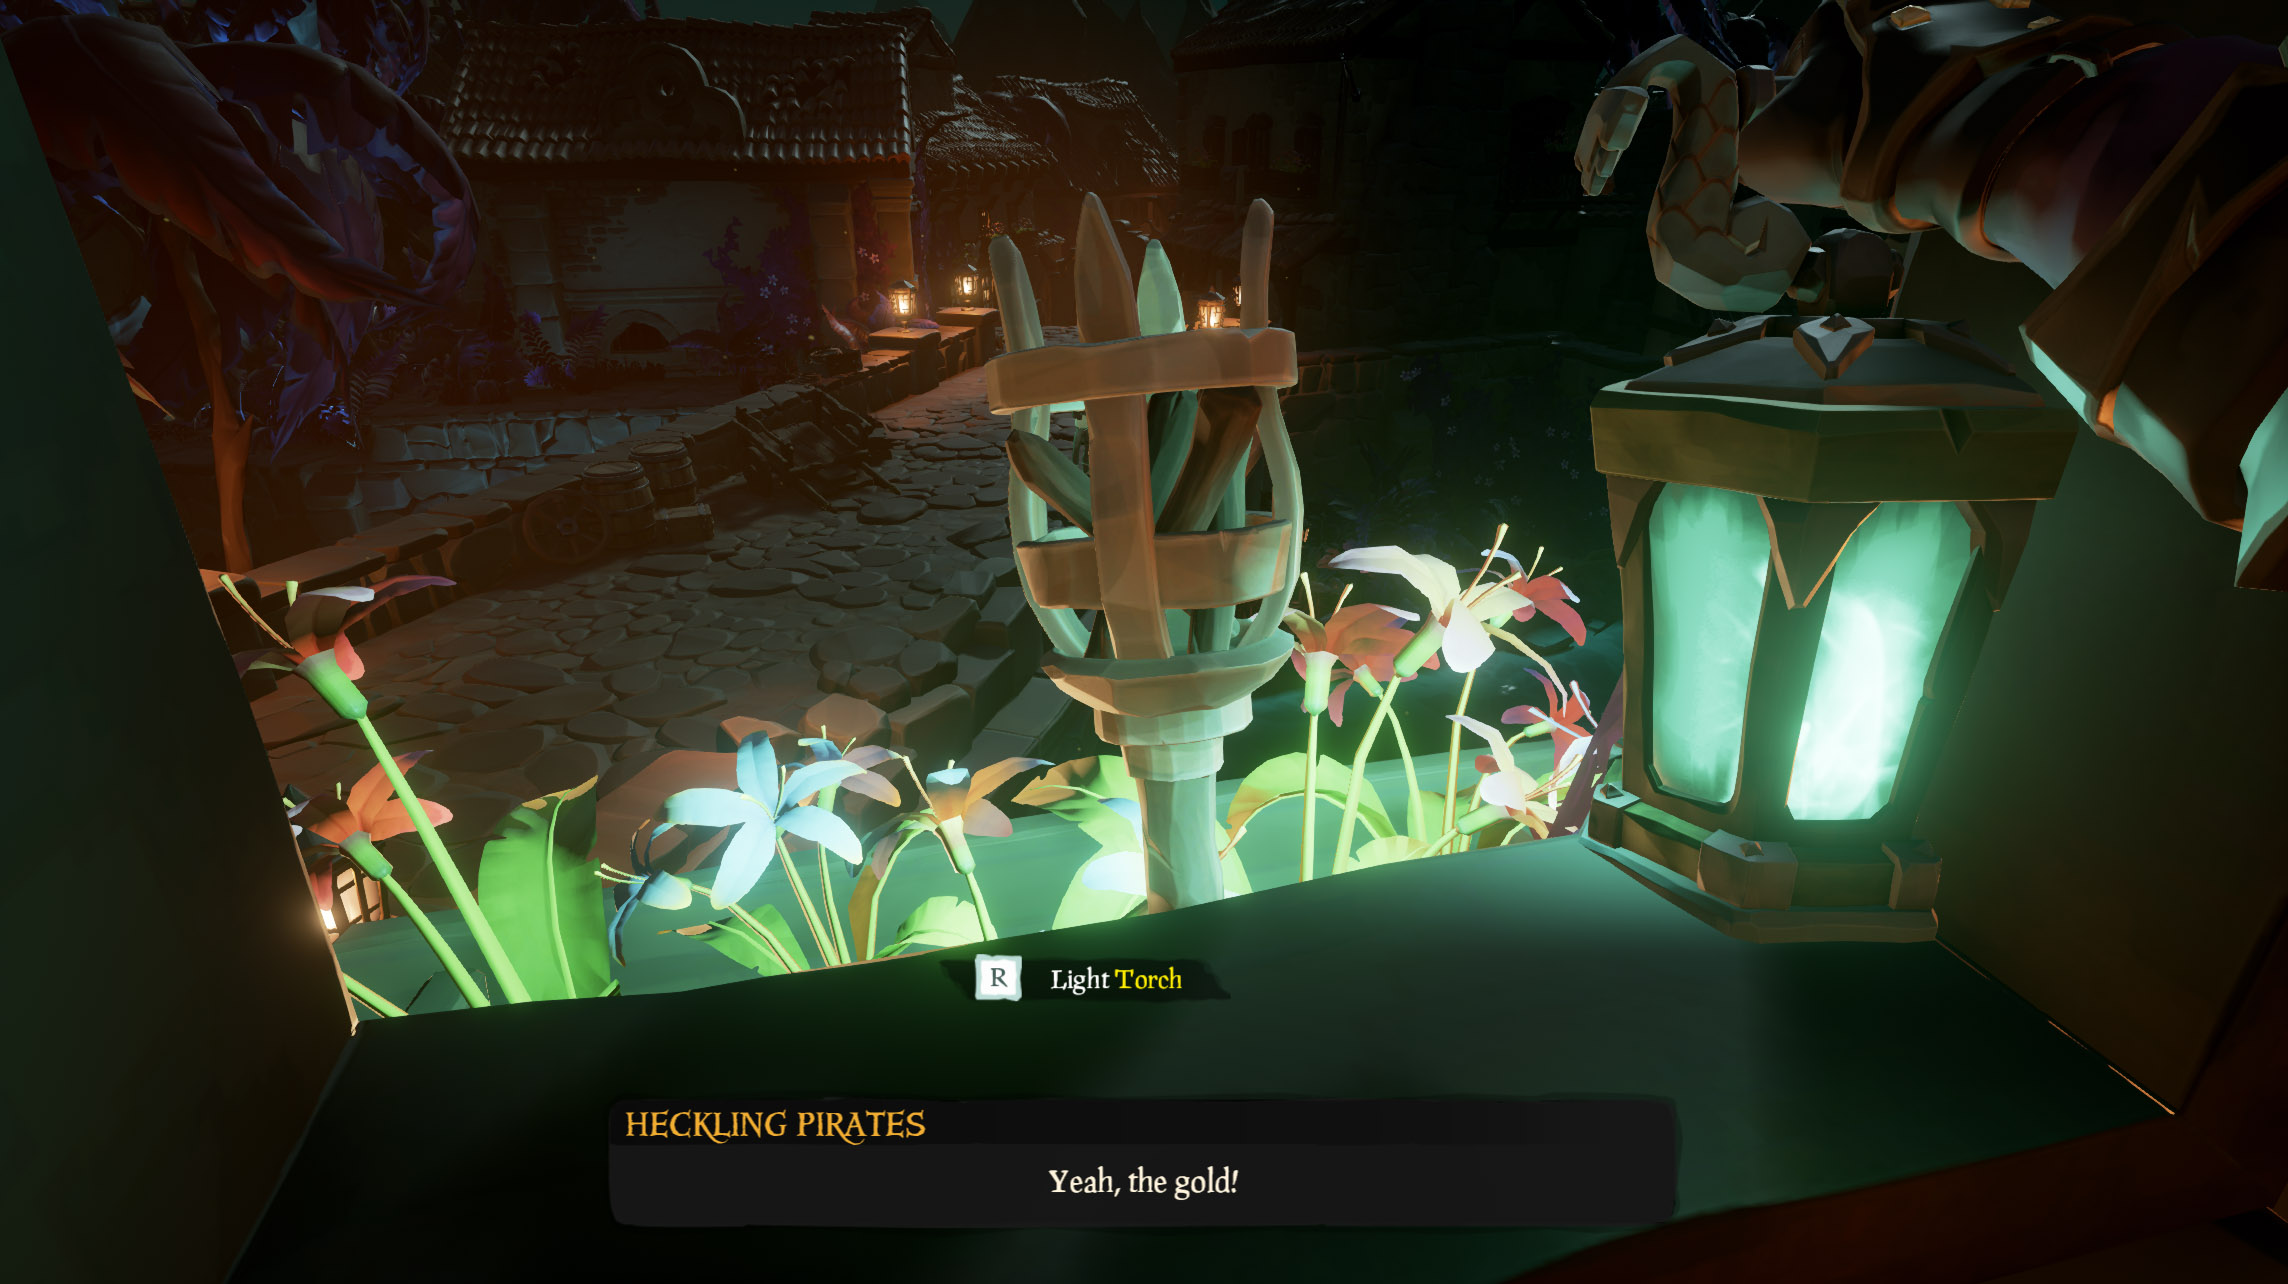
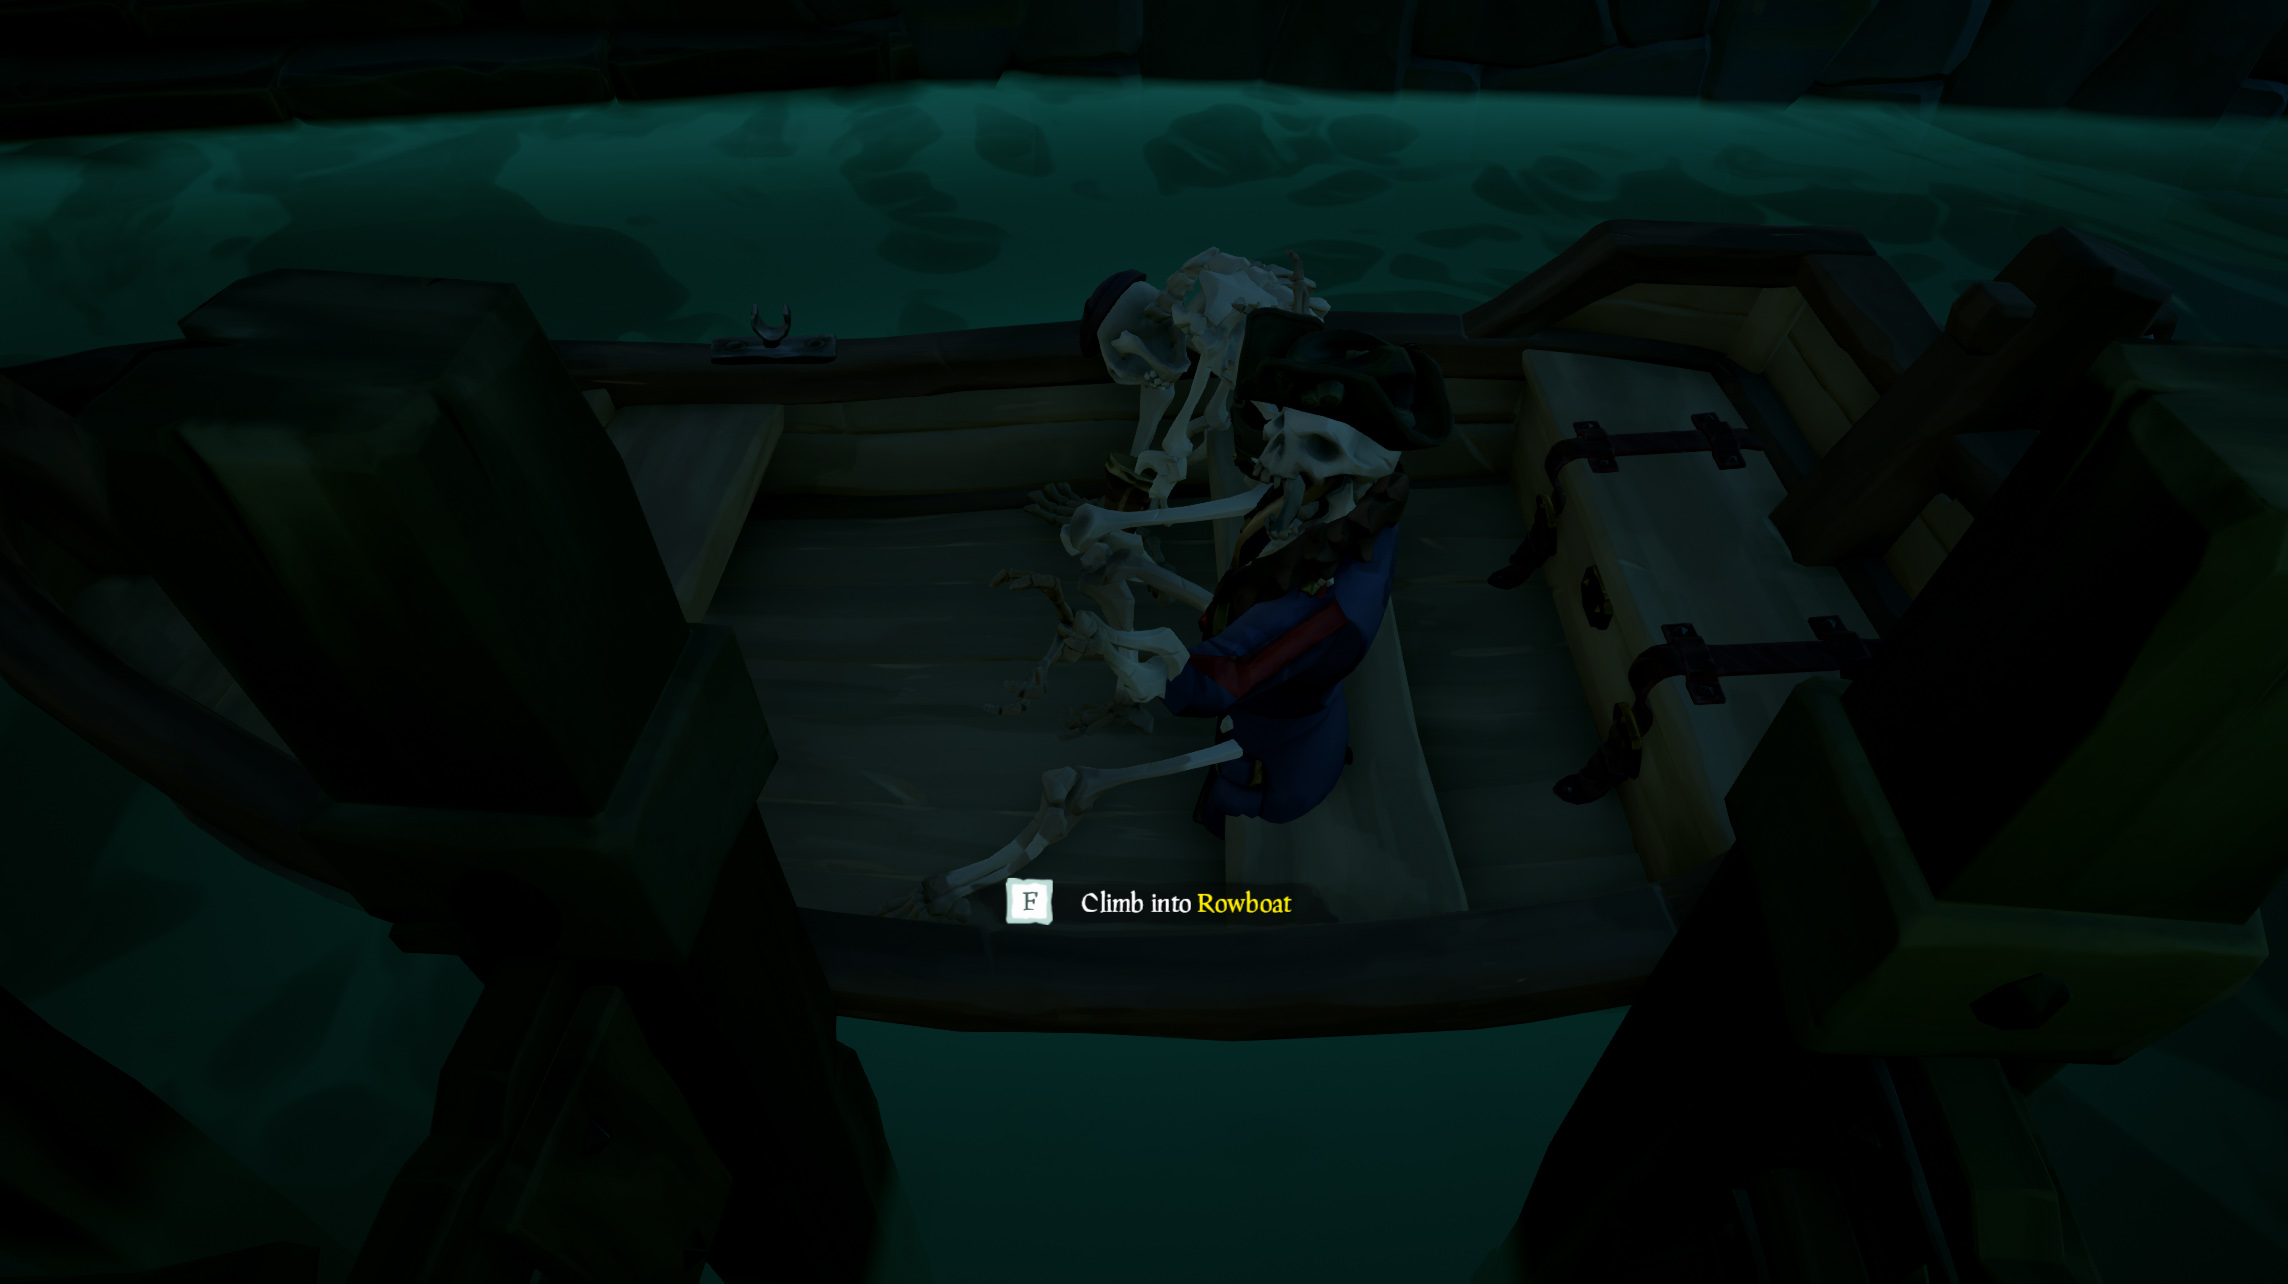
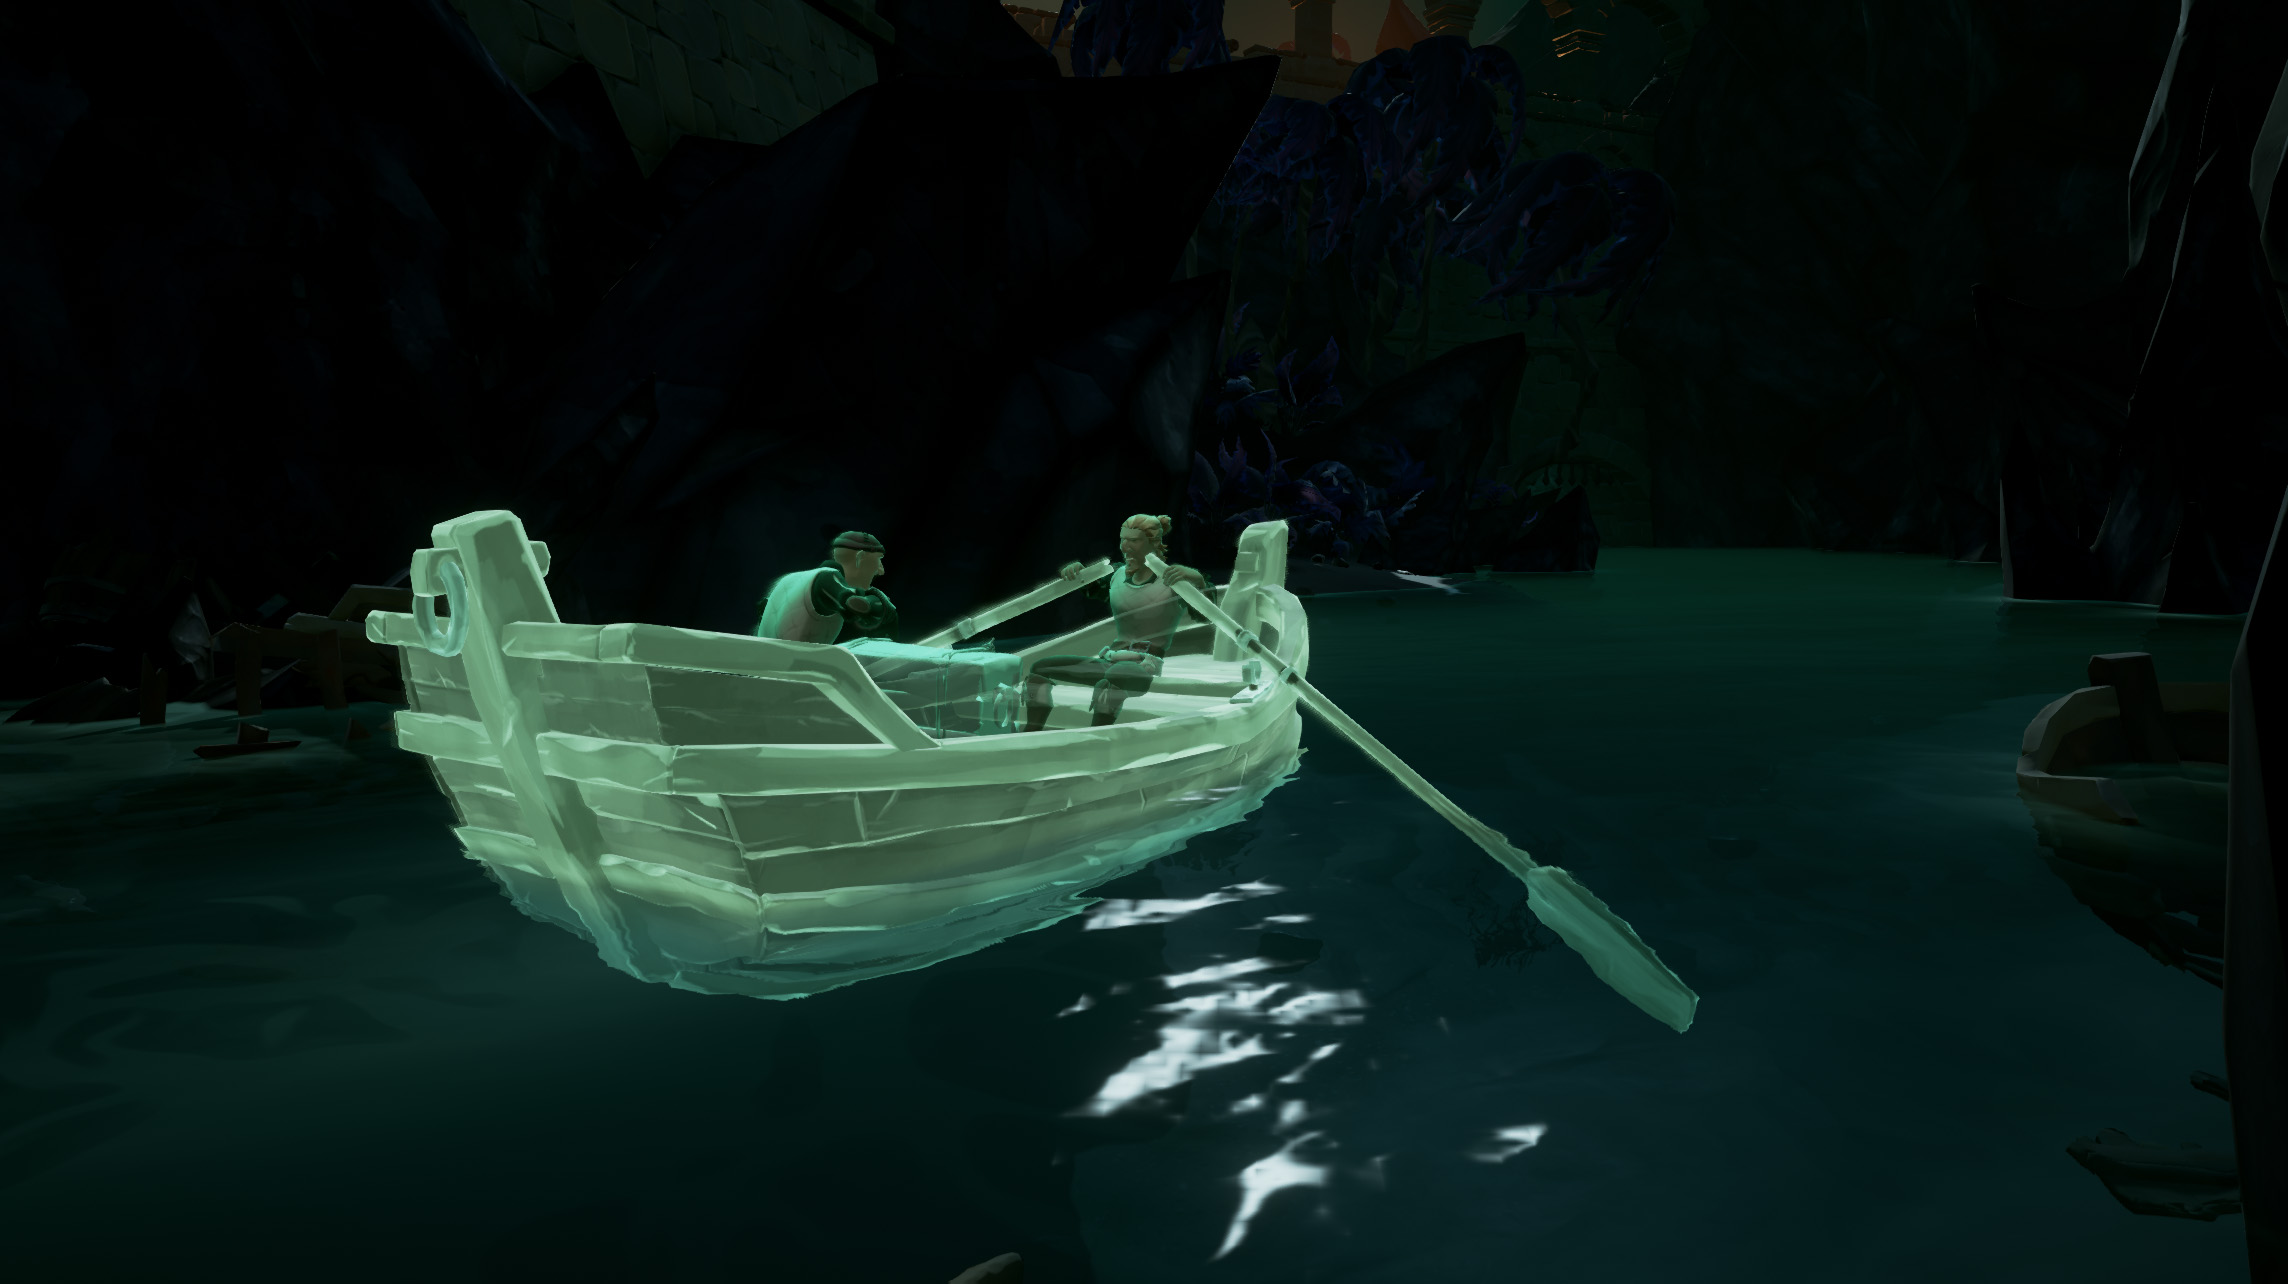
Follow the newly lit green torches past the Auctioneer to the docks where your true Disney adventure begins. Commandeer the rowboat with the skeletons and begin rowing the boat down the river.
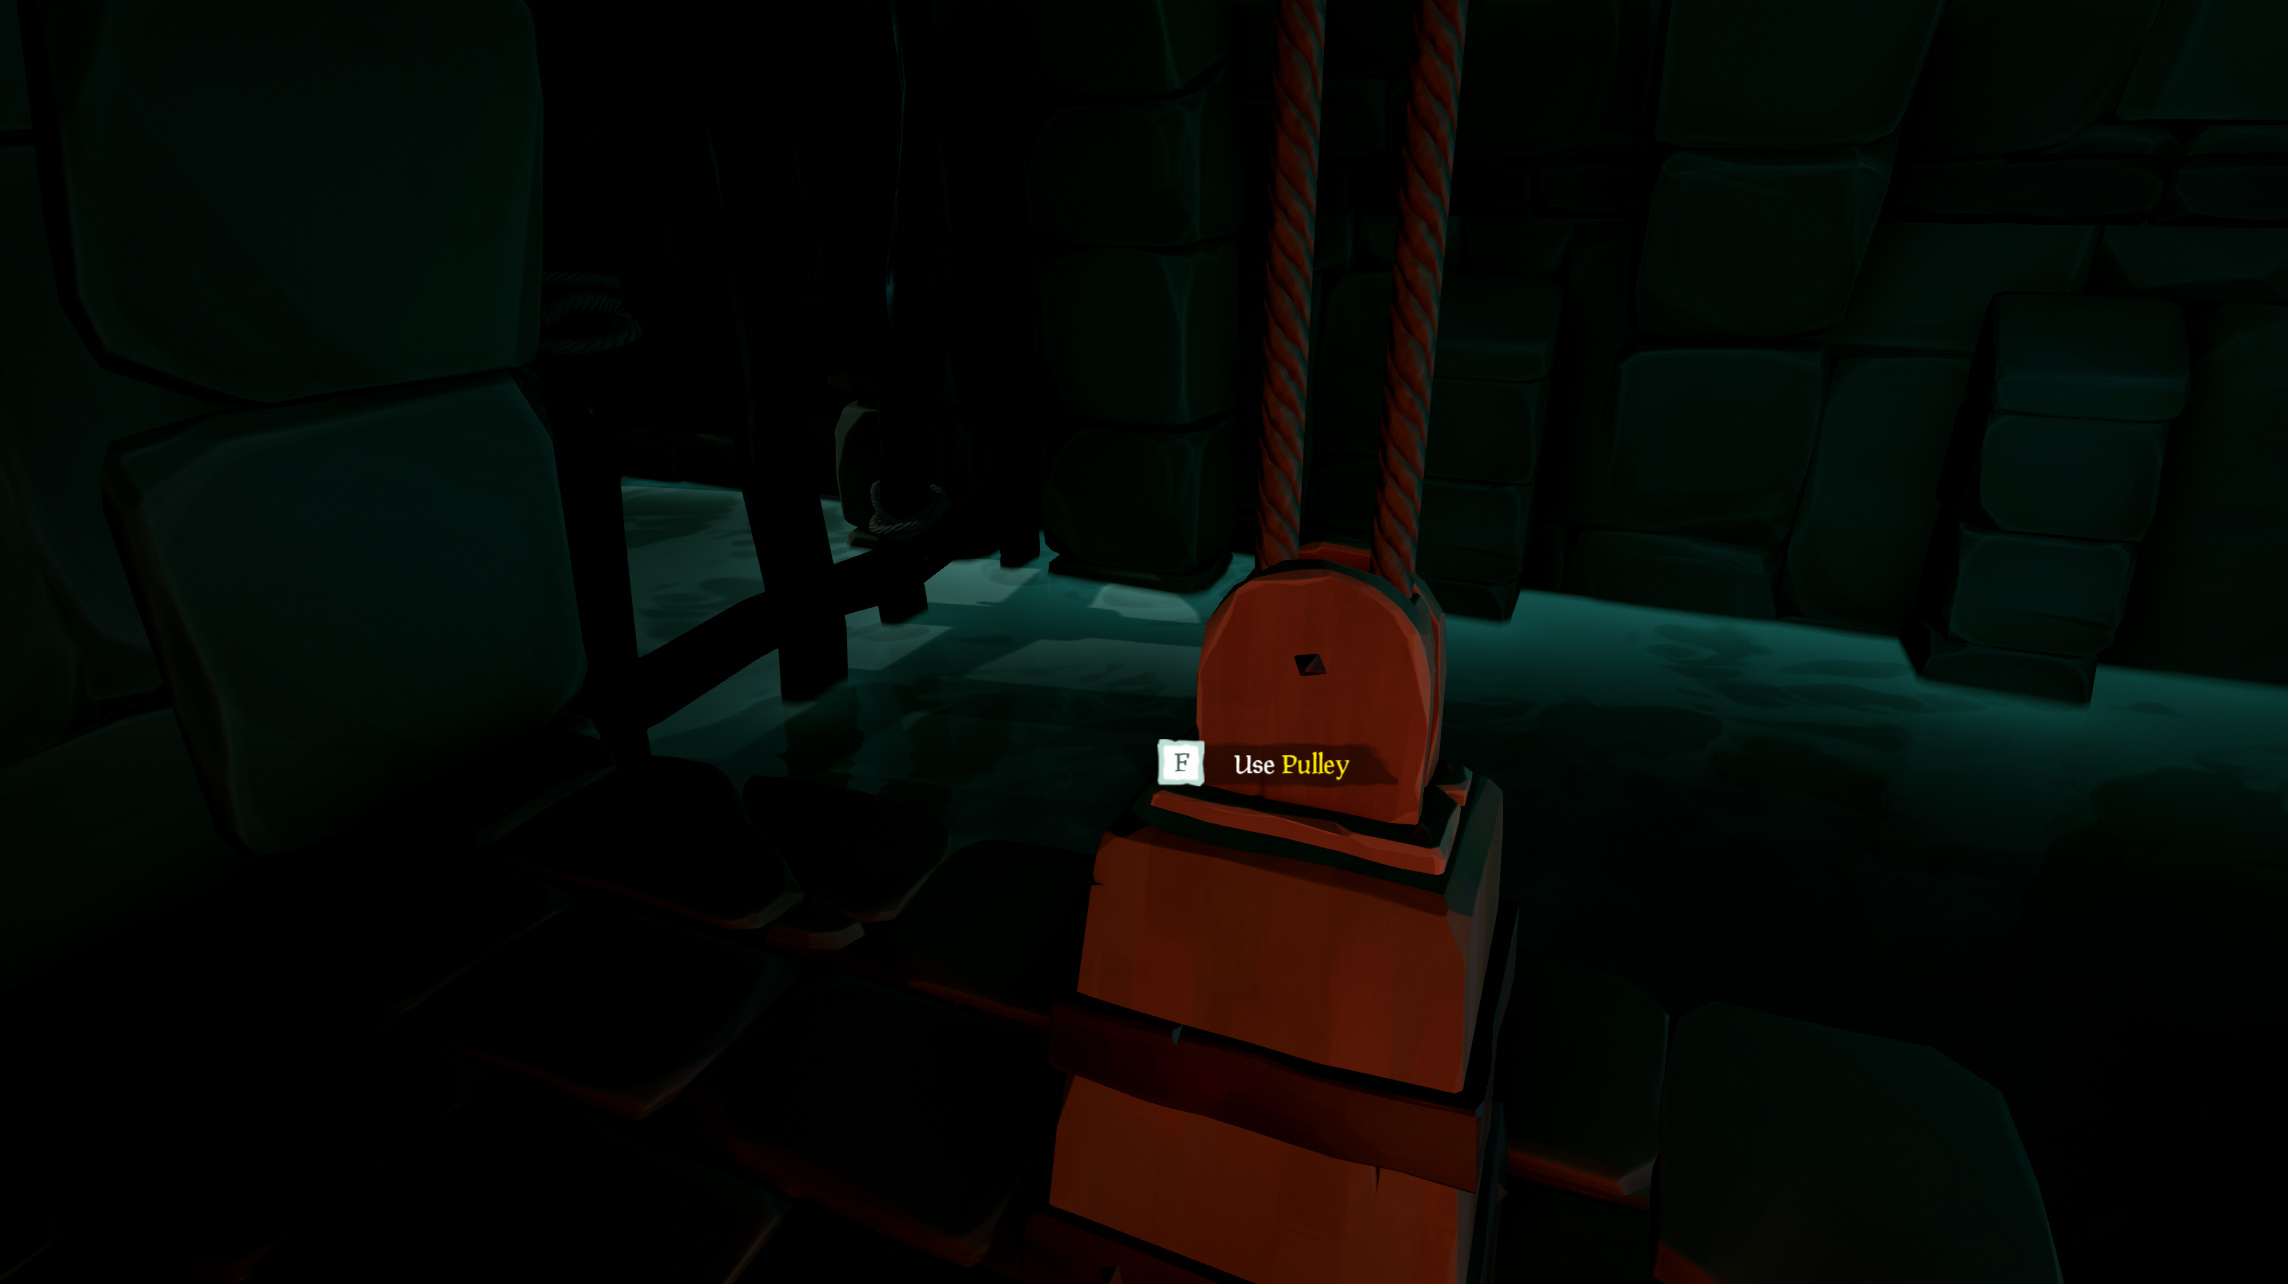
Once you’ve row row rowed your boat gently down the stream (following the ghostly rowboat that appears) you’ll come to a gate blocking the river and your path forward. Hop off the boat and head through the passageway to the other side. There, use the pulley to open the gate.
Townsfolk's Journal #3
After you’ve opened the gate, hop back on your boat and you’ll come upon a shoot out between two groups of ghostly goons. Exit the boat and head to the platform on the left to read the third journal.
With the journal read, return to your rowboat and continue down the river enjoying the ride in front of you. On the other side of the tunnel the ghostly rowboat will appear again. Follow it to see where they dock their boat.
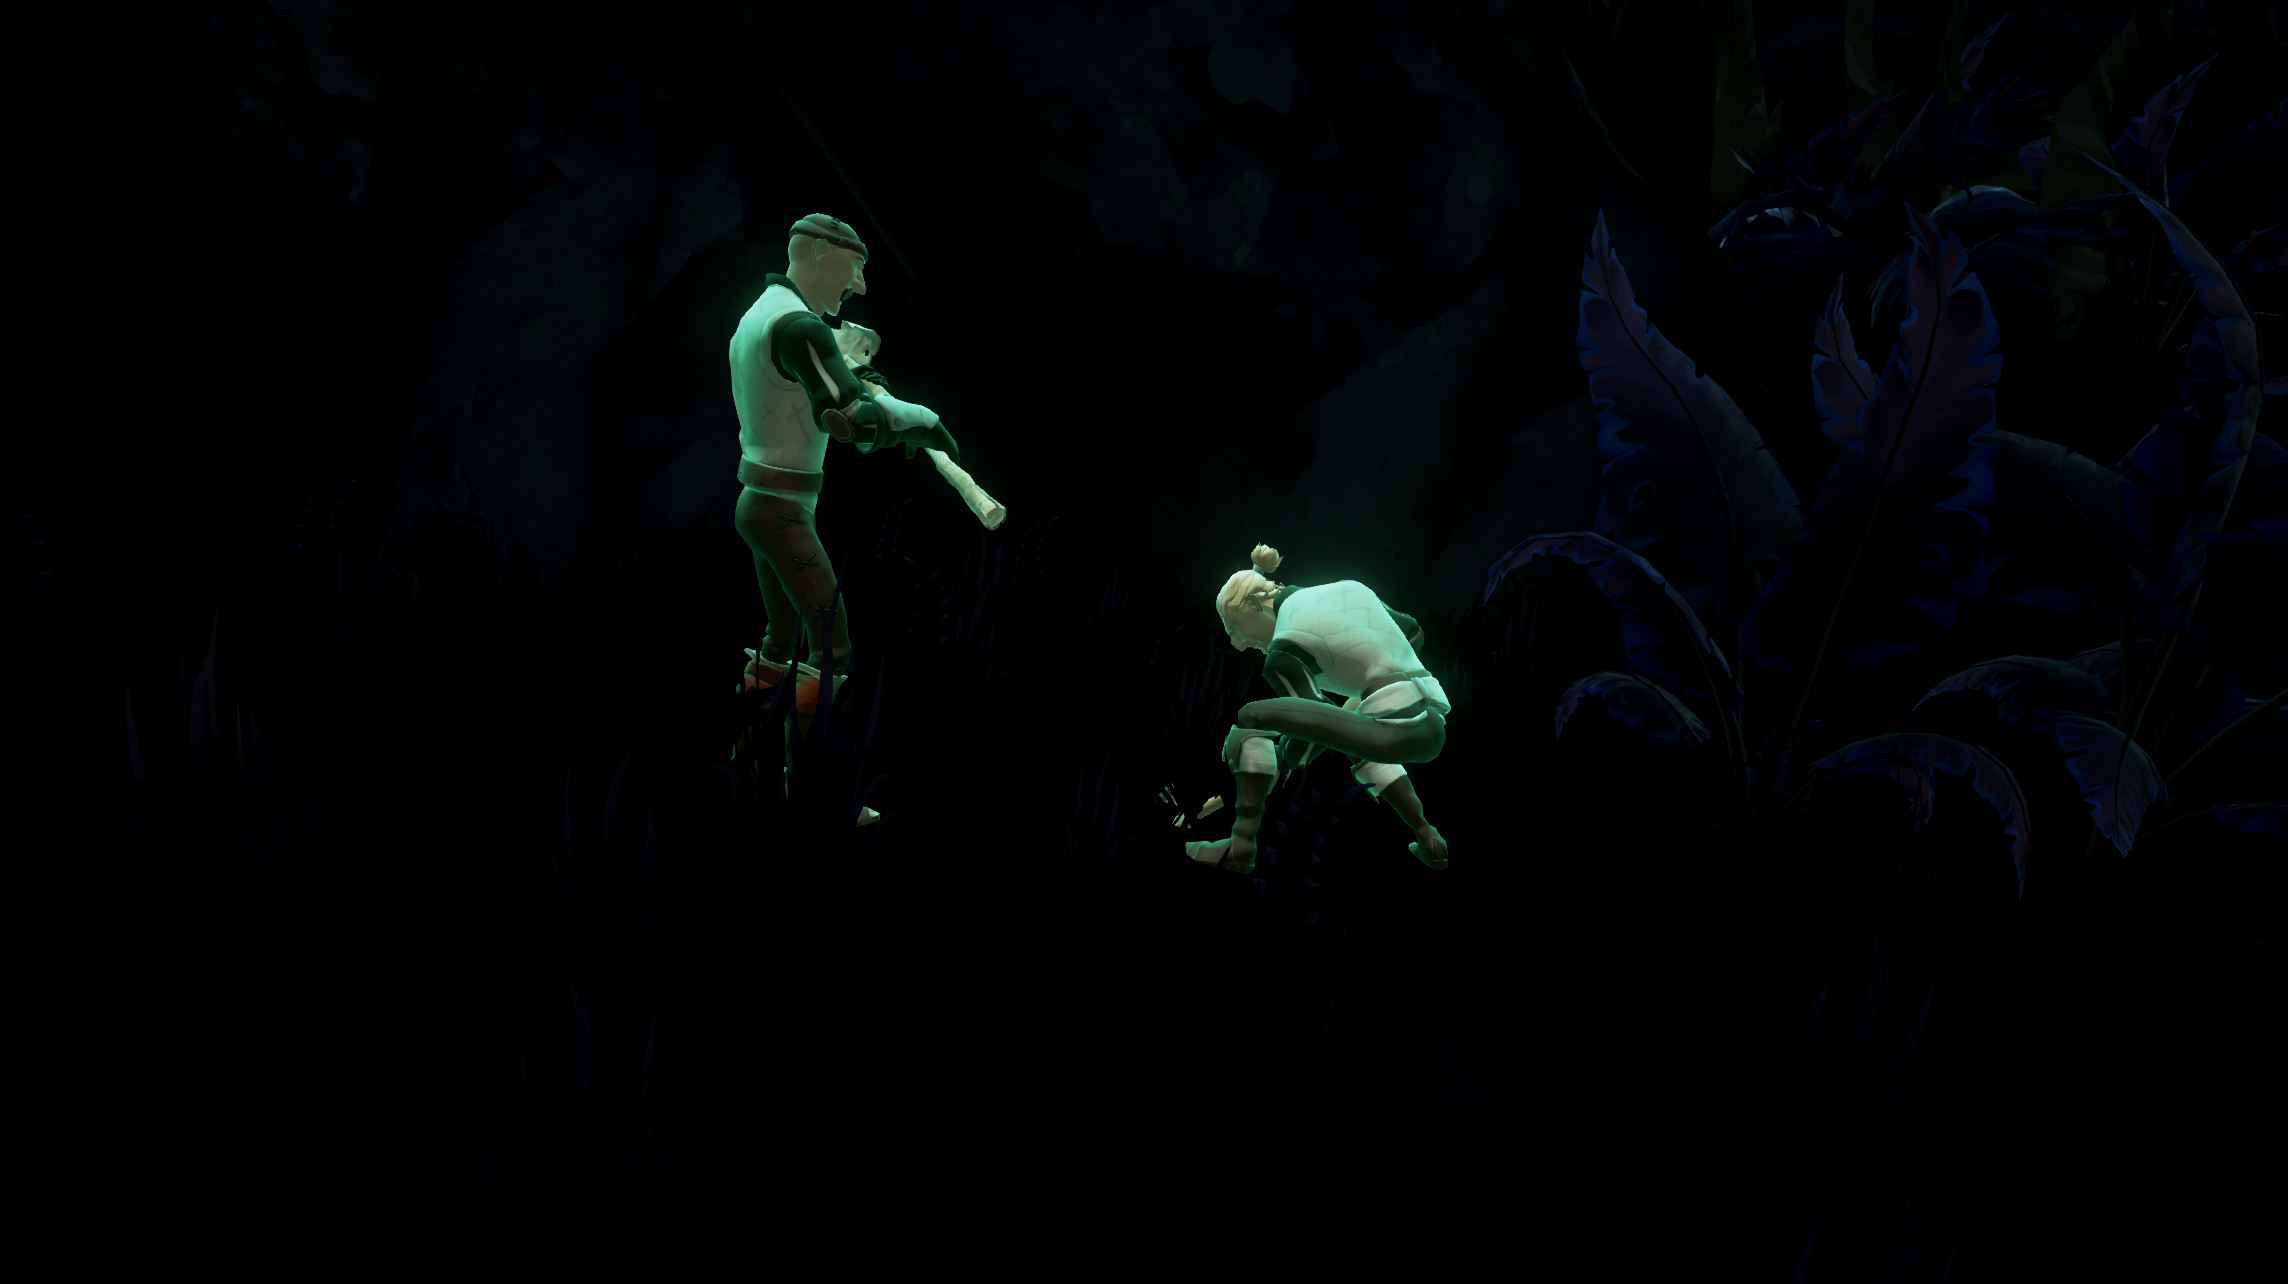
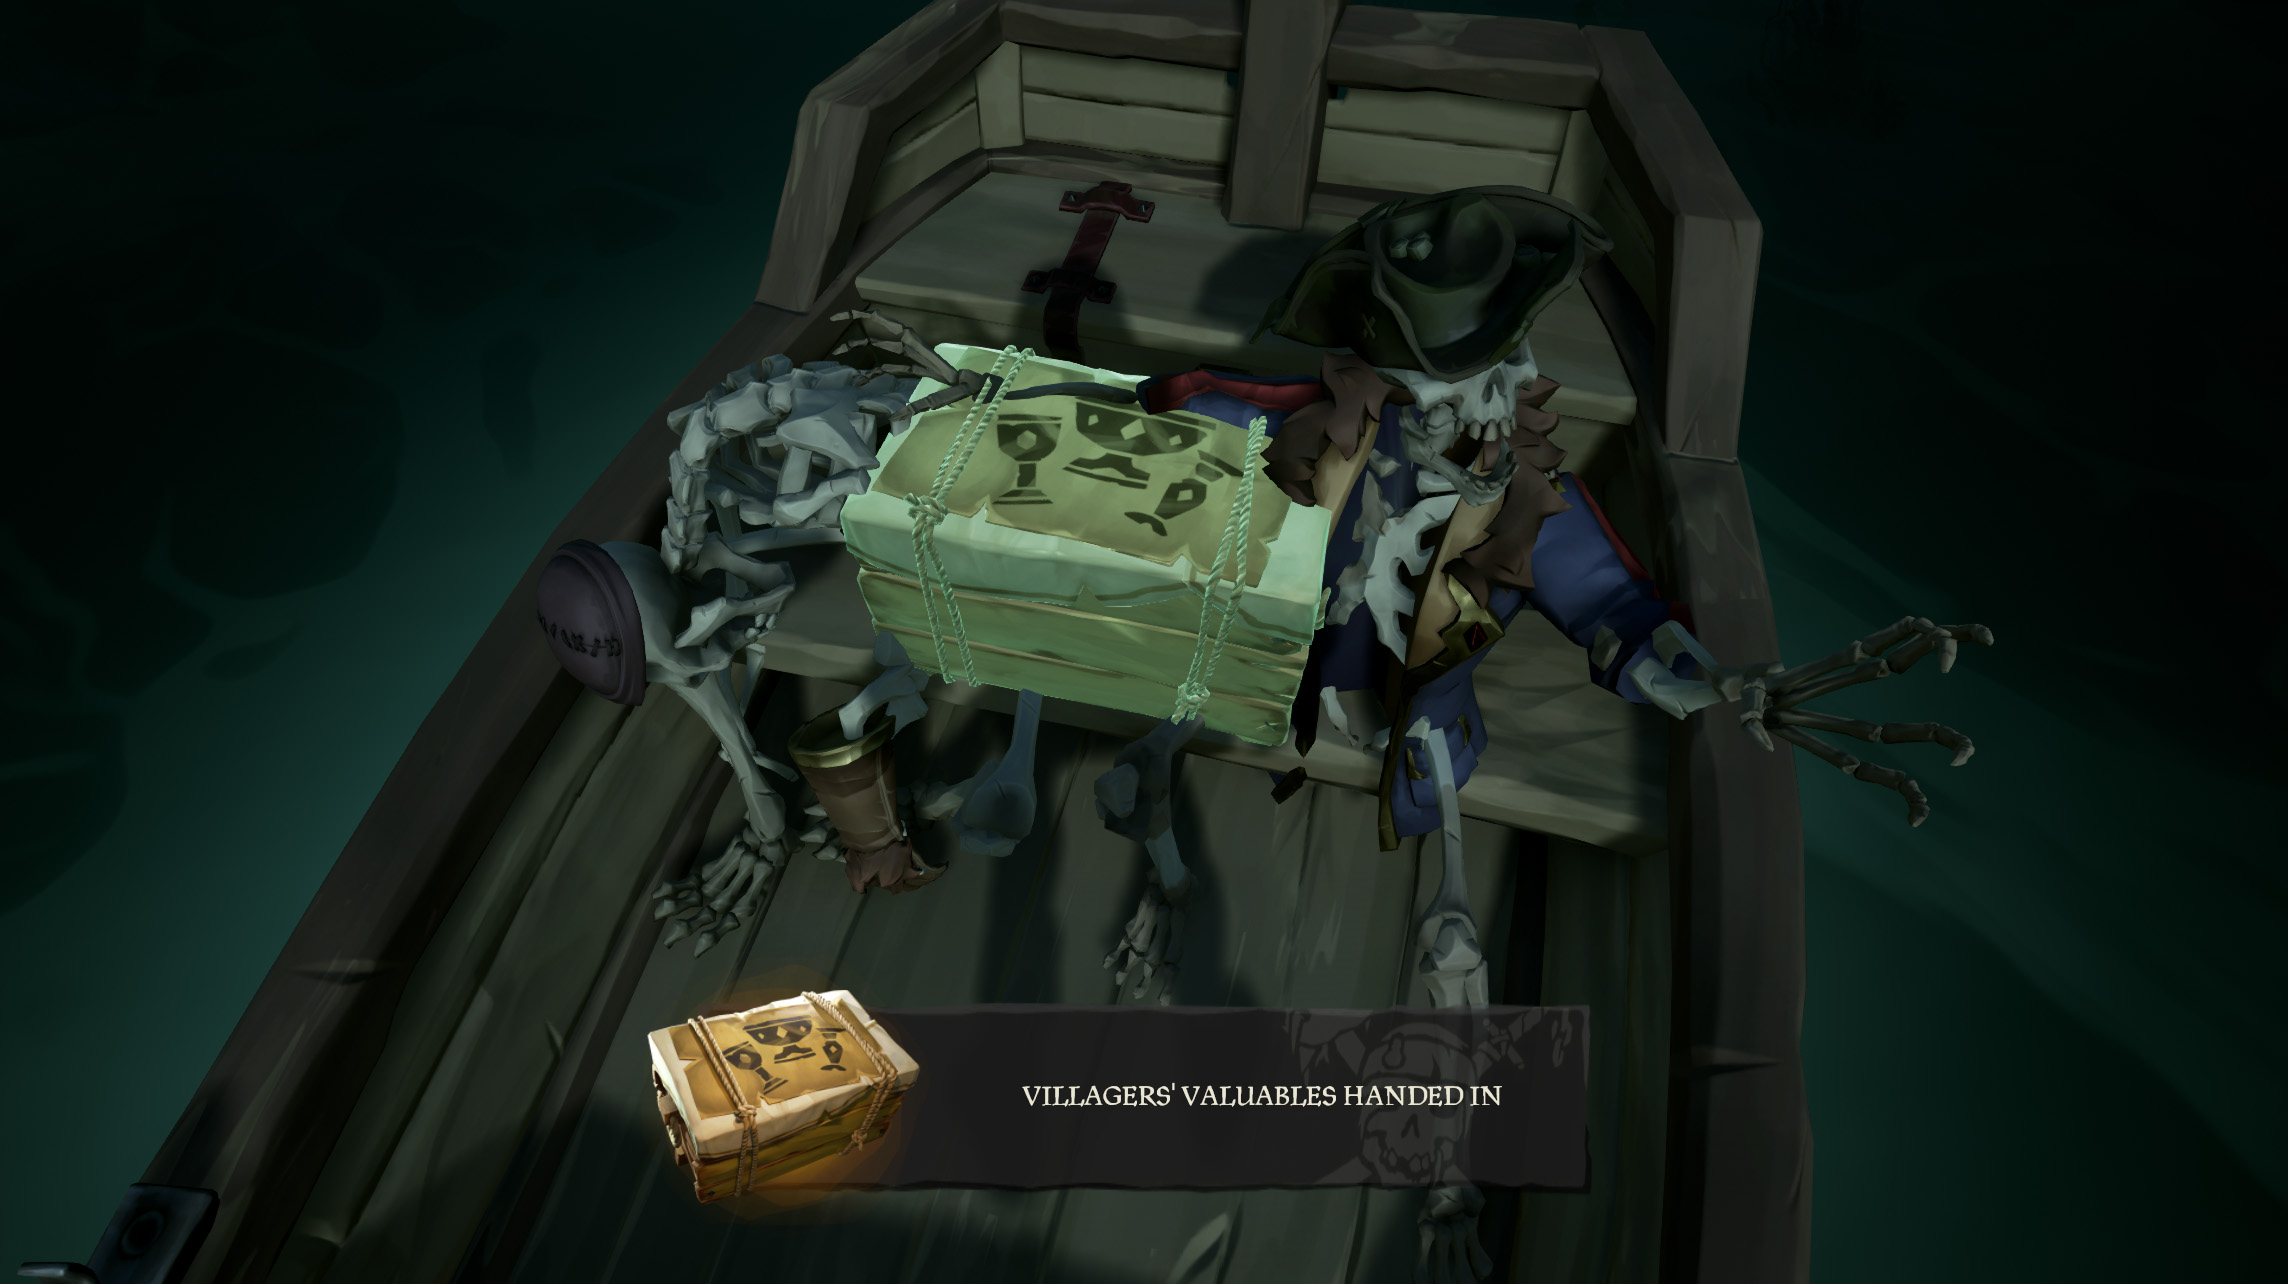
Once the ghosts have landed you will see them digging in the dirt. This is where they have hidden their valuables, which are now yours for the taking. Dig up the valuables and return them to your rowboat.
Give the treasure to your skeleton boatmates to earn the “Treasure for Eternity” commendation. Continue rowing forward where you’ll find that you’ve now come FULL circle and are back at the Auctioneer’s docks.
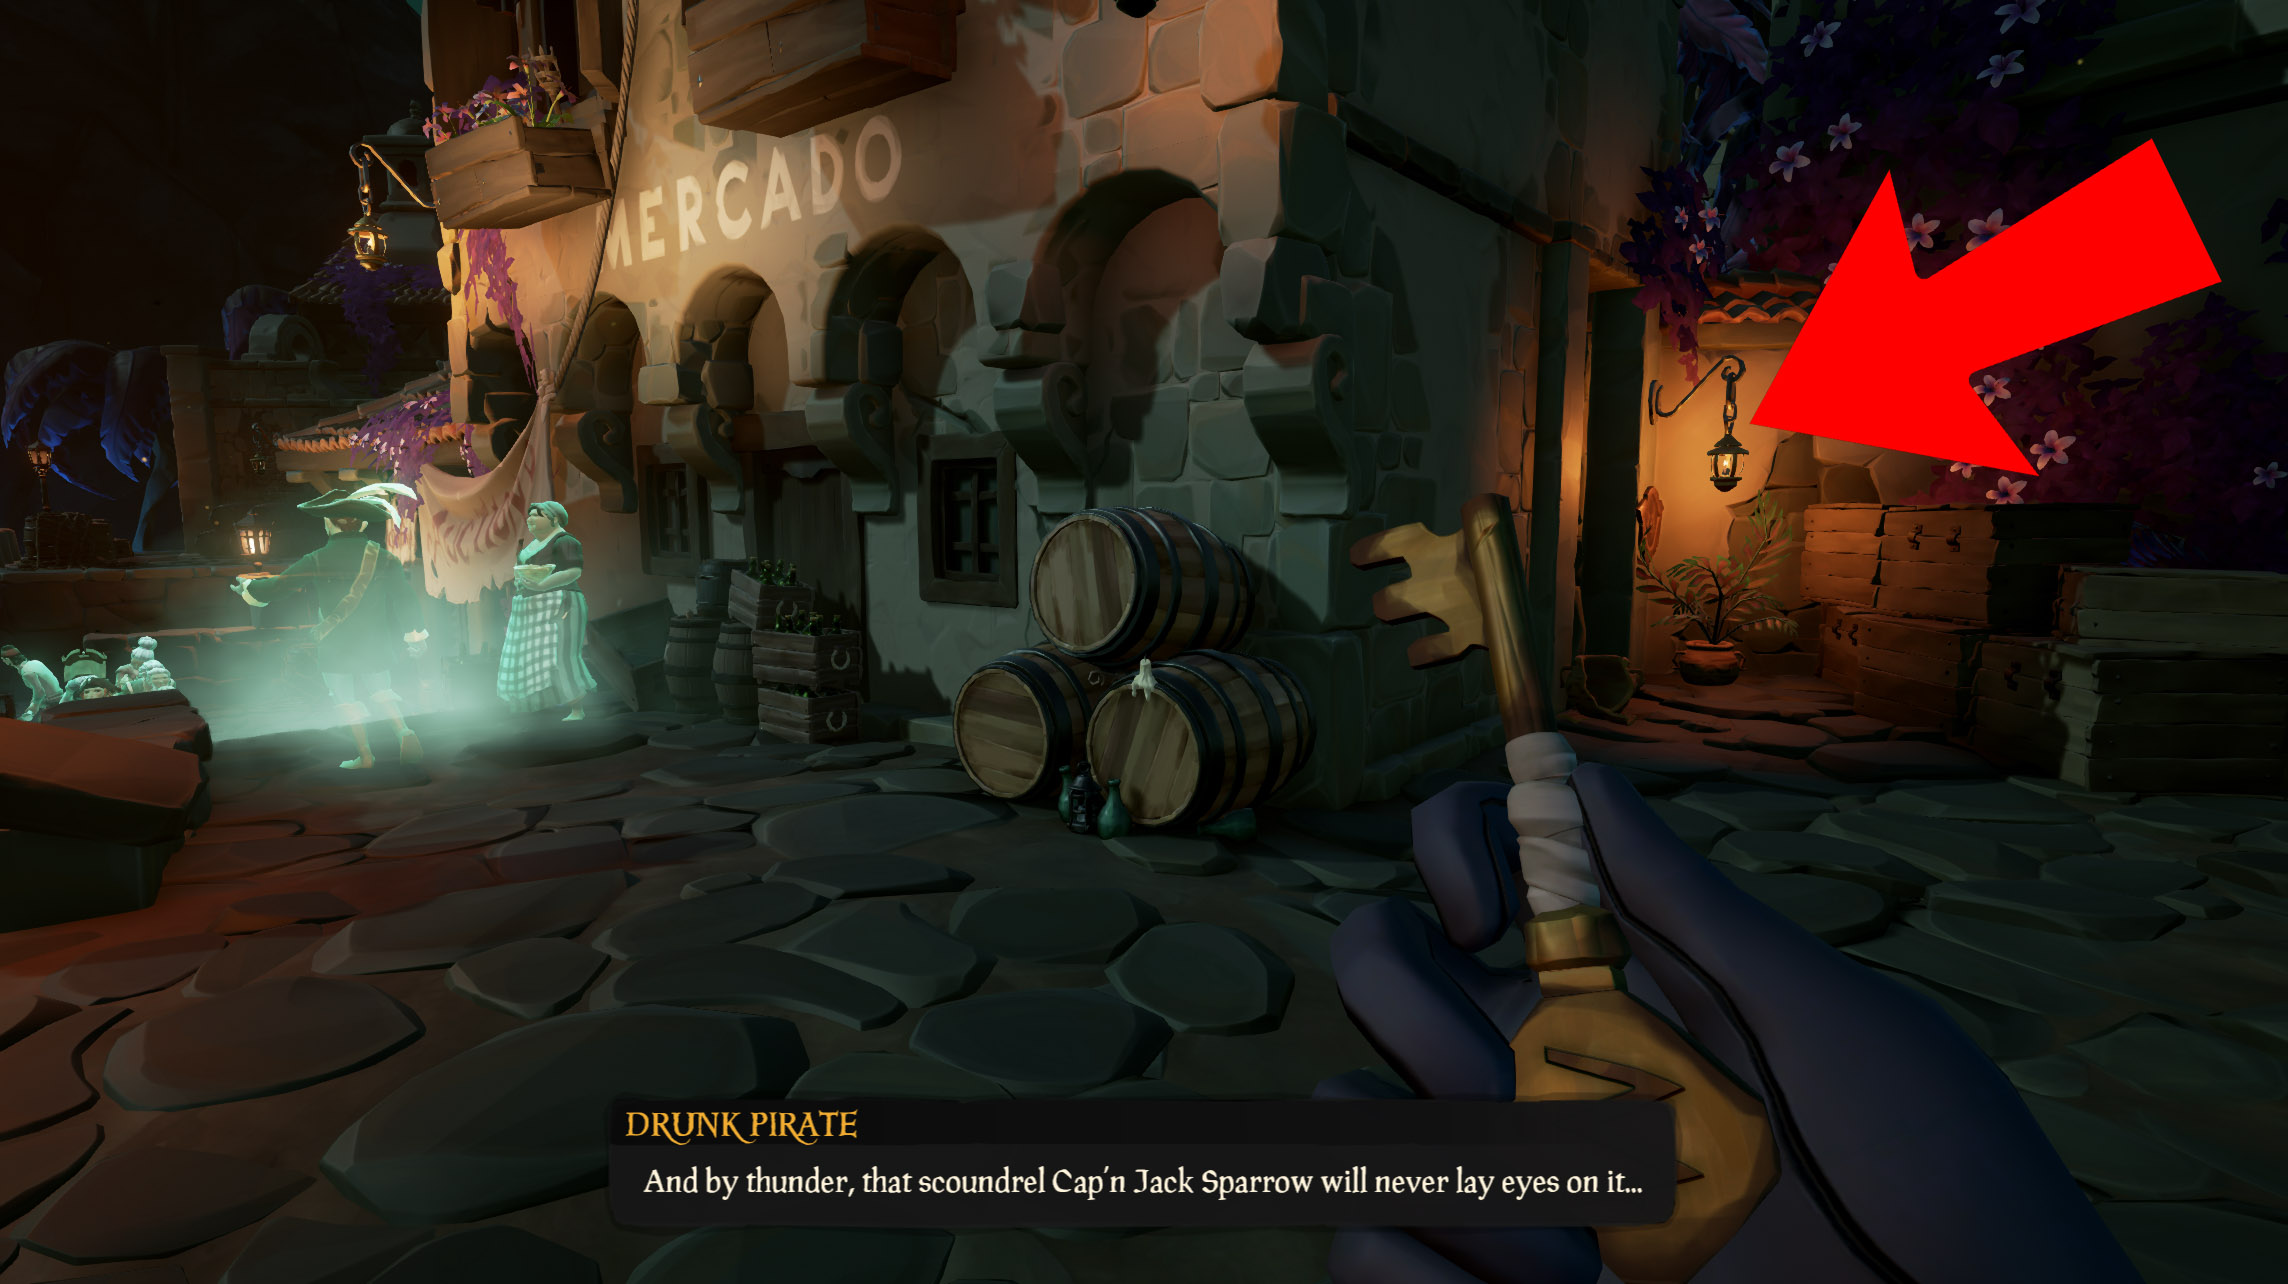
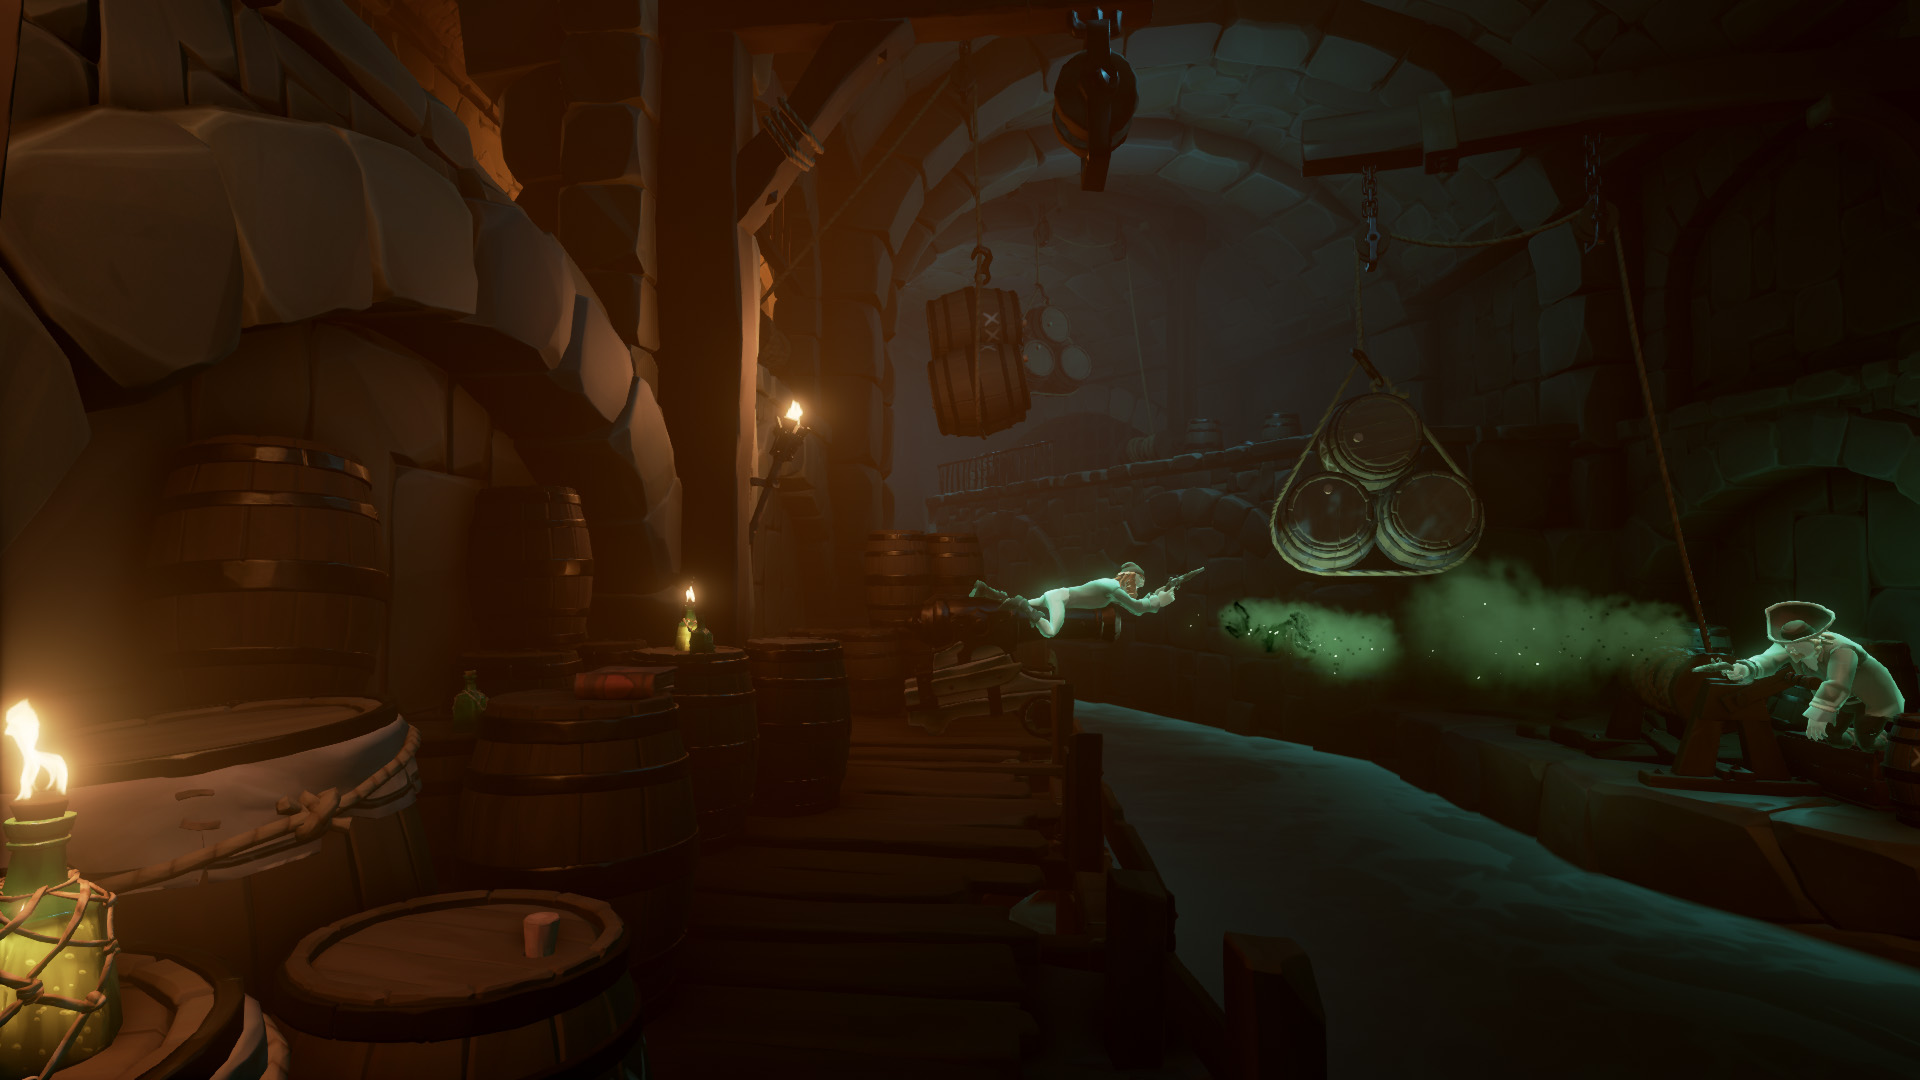
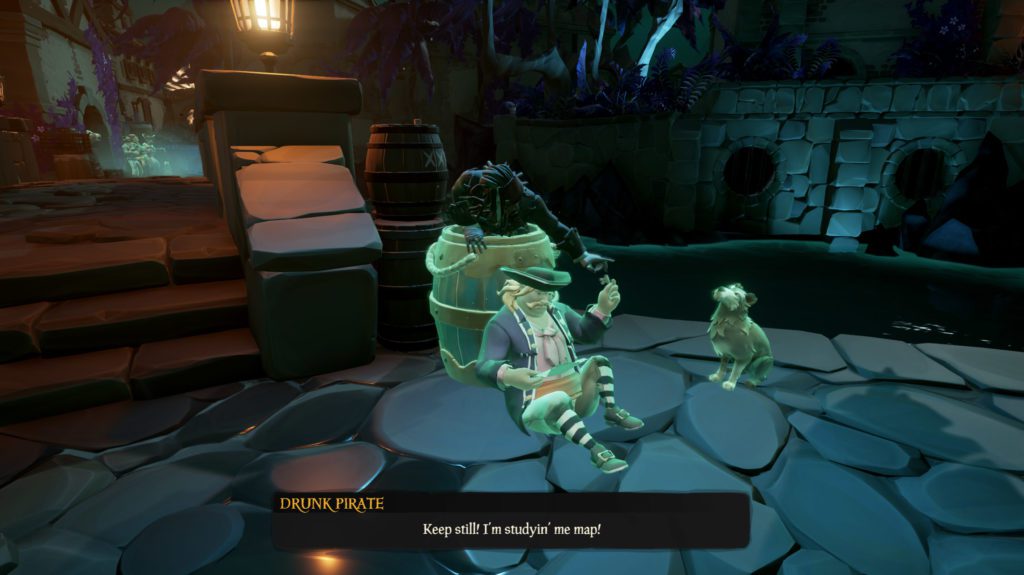
Park your rowboat and hop out onto the docks. Head past the Auctioneer and the Mercado building and turn right to go down the steps. Here you’ll spot Jack Sparrow in a barrel trying to steal a key from a Drunk Pirate.
Continue across the bridge where you’ll see Jack once again running from the guards, escaping, and heading through a closed gate. Before you work on getting to the other side of that gate, you’ll want to head northeast and up the stone steps to the top of the wall where you’ll find two ghostly Spaniards.
Townsfolk's Journal #4
Walk towards the shouting Spaniards and on one of the crates behind them you’ll see the fourth journal waiting for you.
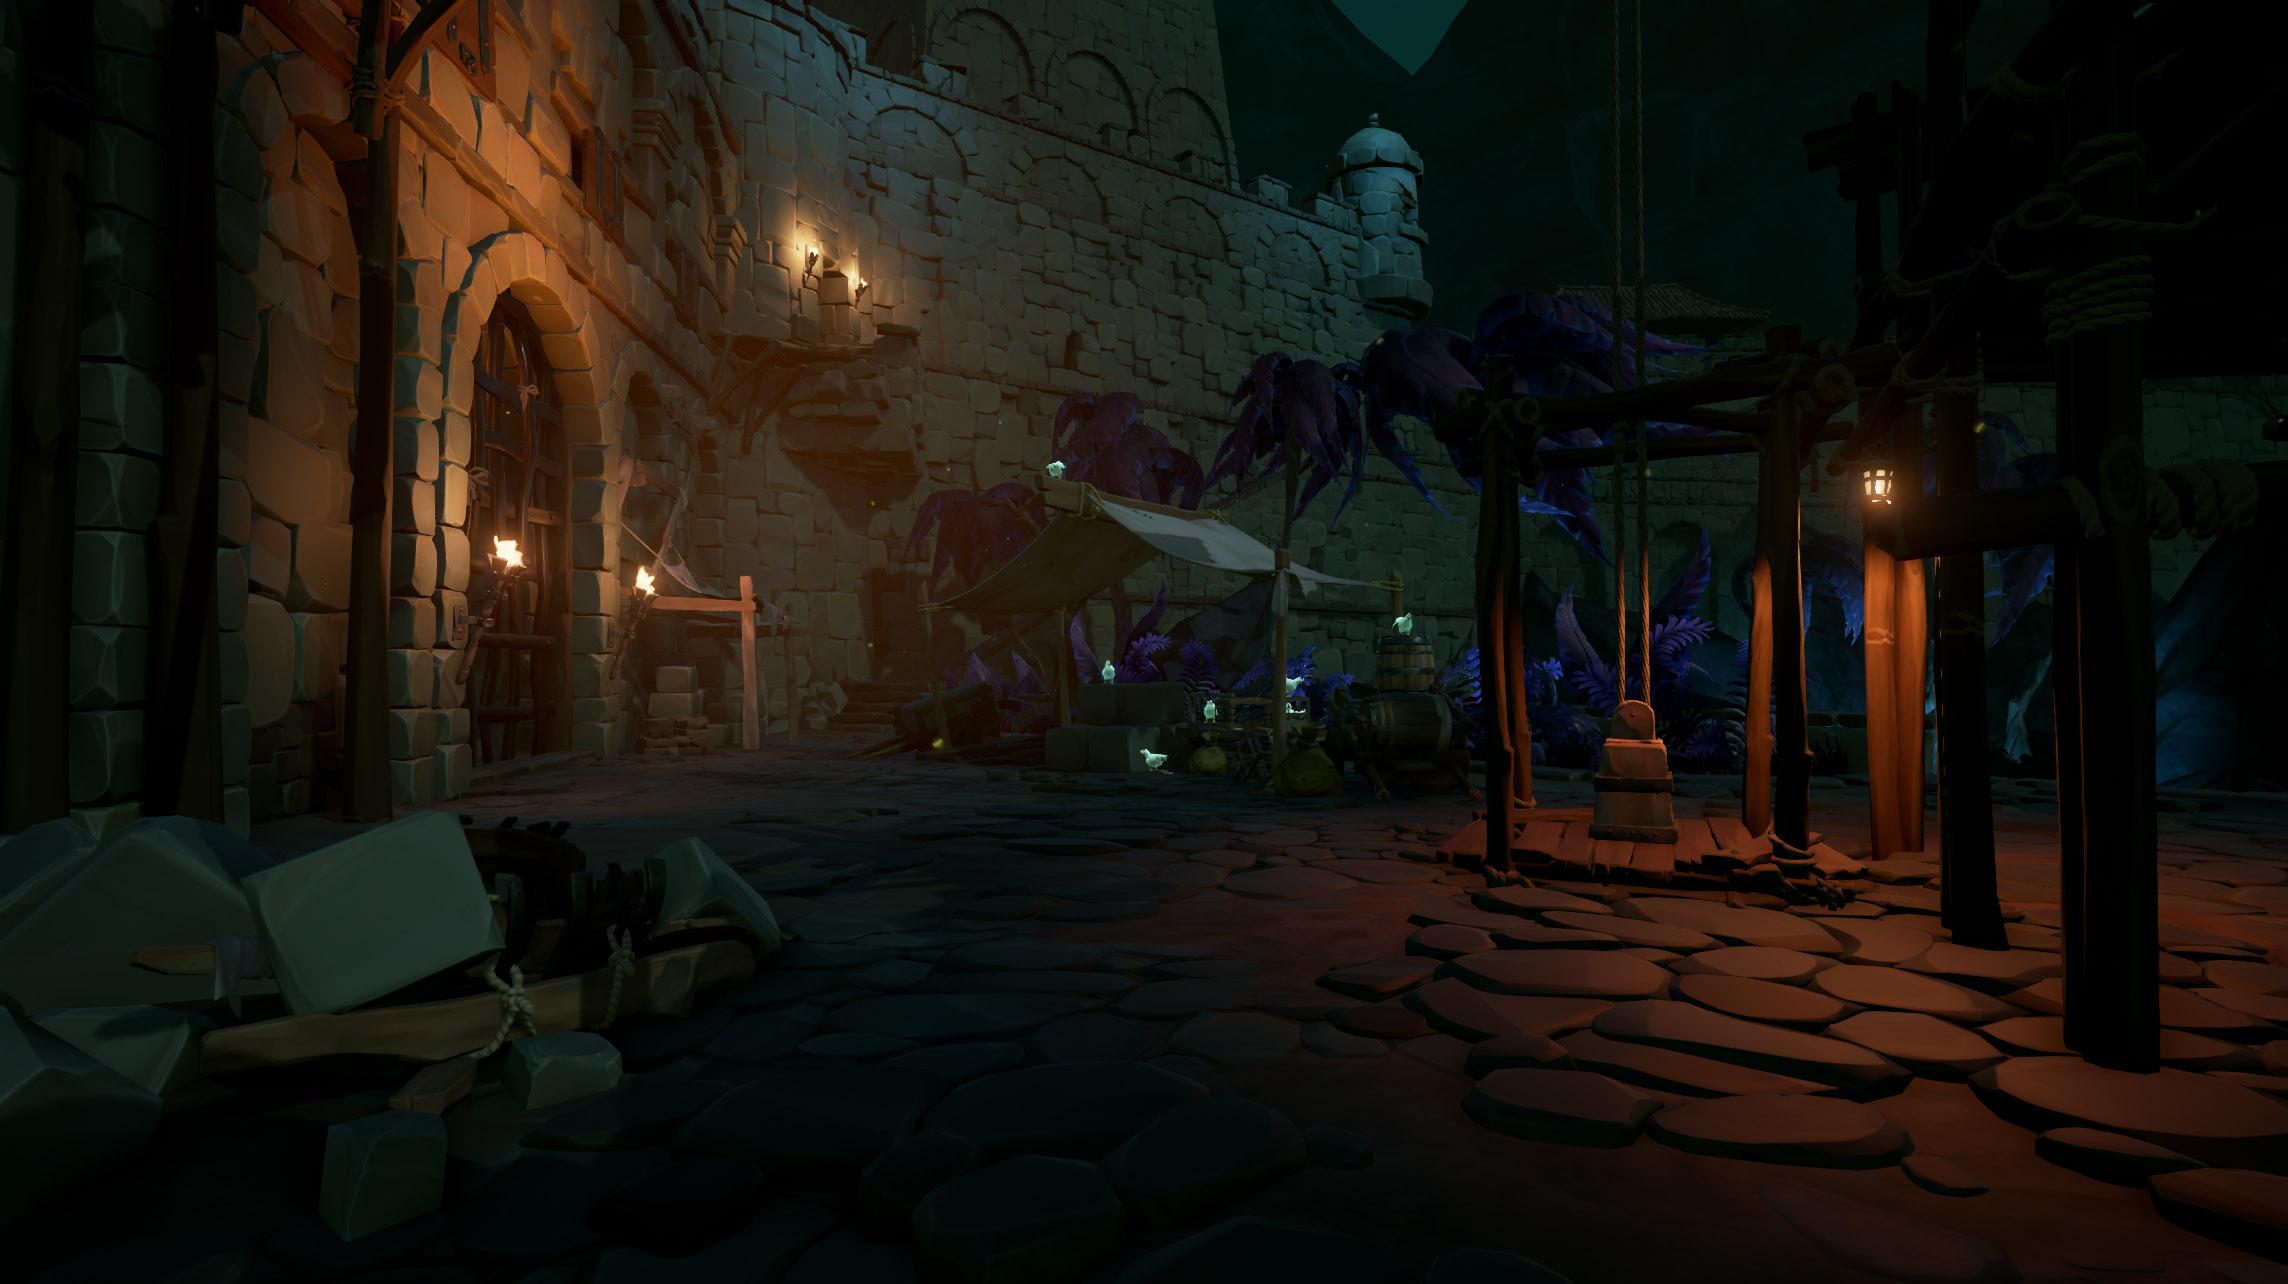
After you’ve read the journal, head back down the stairs and locate the pulley next to the market stall full of yellow-bellied birds (chickens, they’re chickens).
Use the pulley to lift yourself up the scaffolding, and then use the next pulley to position the platform so you can jump onto yet another piece of scaffolding. Sorry, lots of pulleys and scaffolding in this part.
Locate and use the third pulley to bring the platform back to the top, then jump on to the next scaffolding that’s against the wall. Check inside the wall for the final pulley and use it to pull out the cannons to create a path across.
If you’re anything like ChimneySwift11 you’ll probably fall down a half dozen or so times and will have to repeat this section a lot. Take your time though, and you’ll find your feet safely on the other side in no time.
Once across the cannon you’ll want to head into the castle wall and through the passage to the courtyard. Here you’ll see Jack escape yet again, stay on the upper level and head around back to the door.
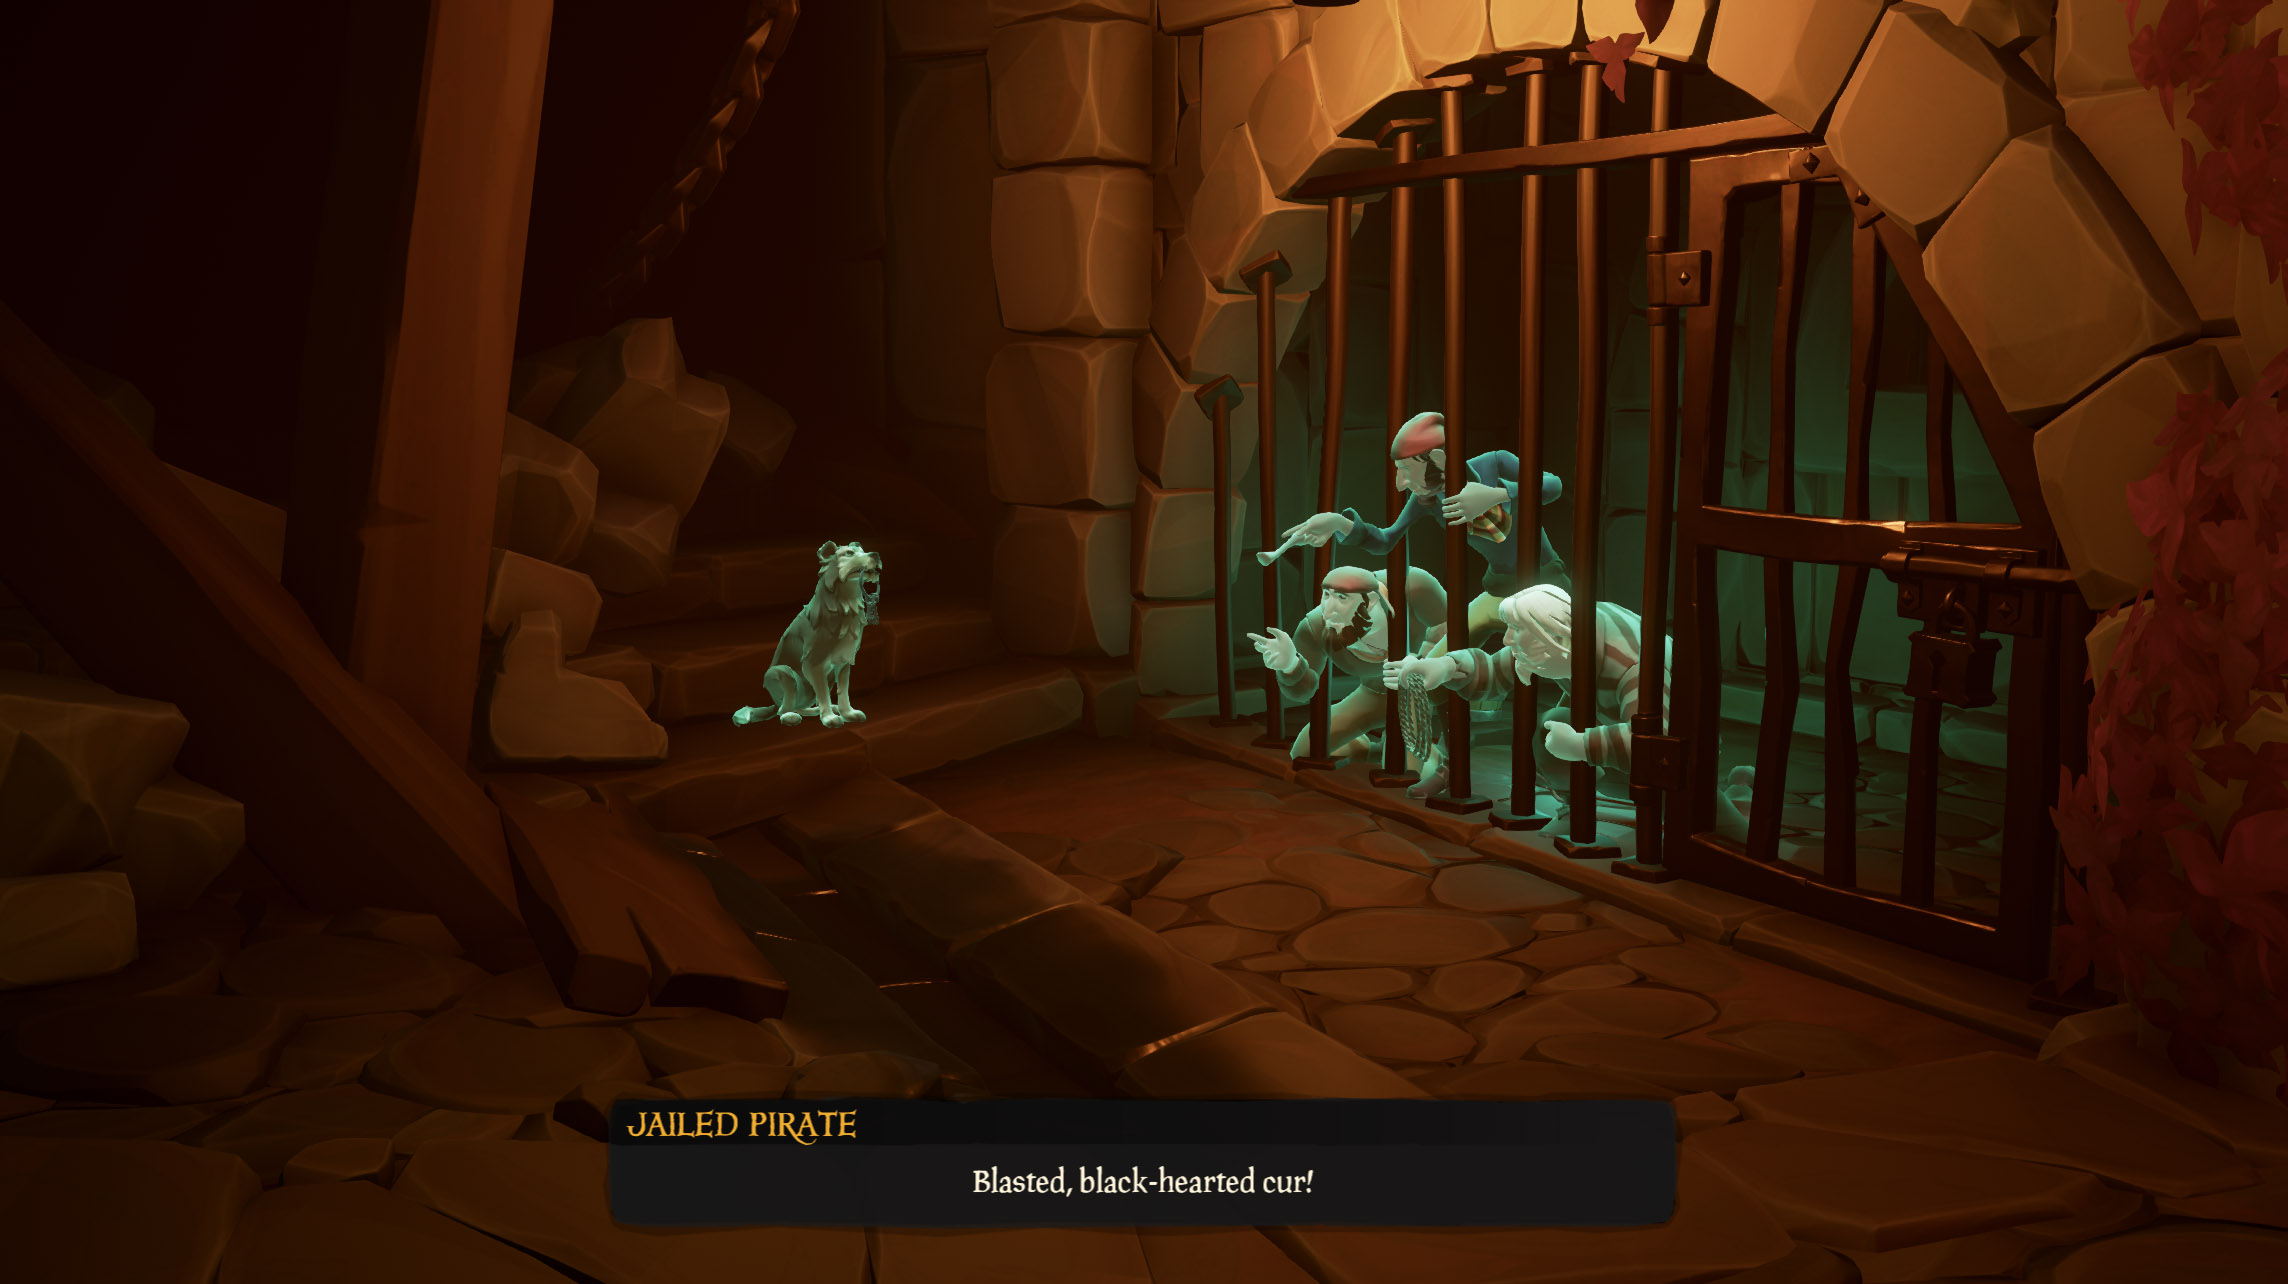
Go through the door and down the stairs, continuing along the path until you come to a familiar site in any Pirate of the Caribbean story, the prisons trying to bribe the guard dog with some old bone.
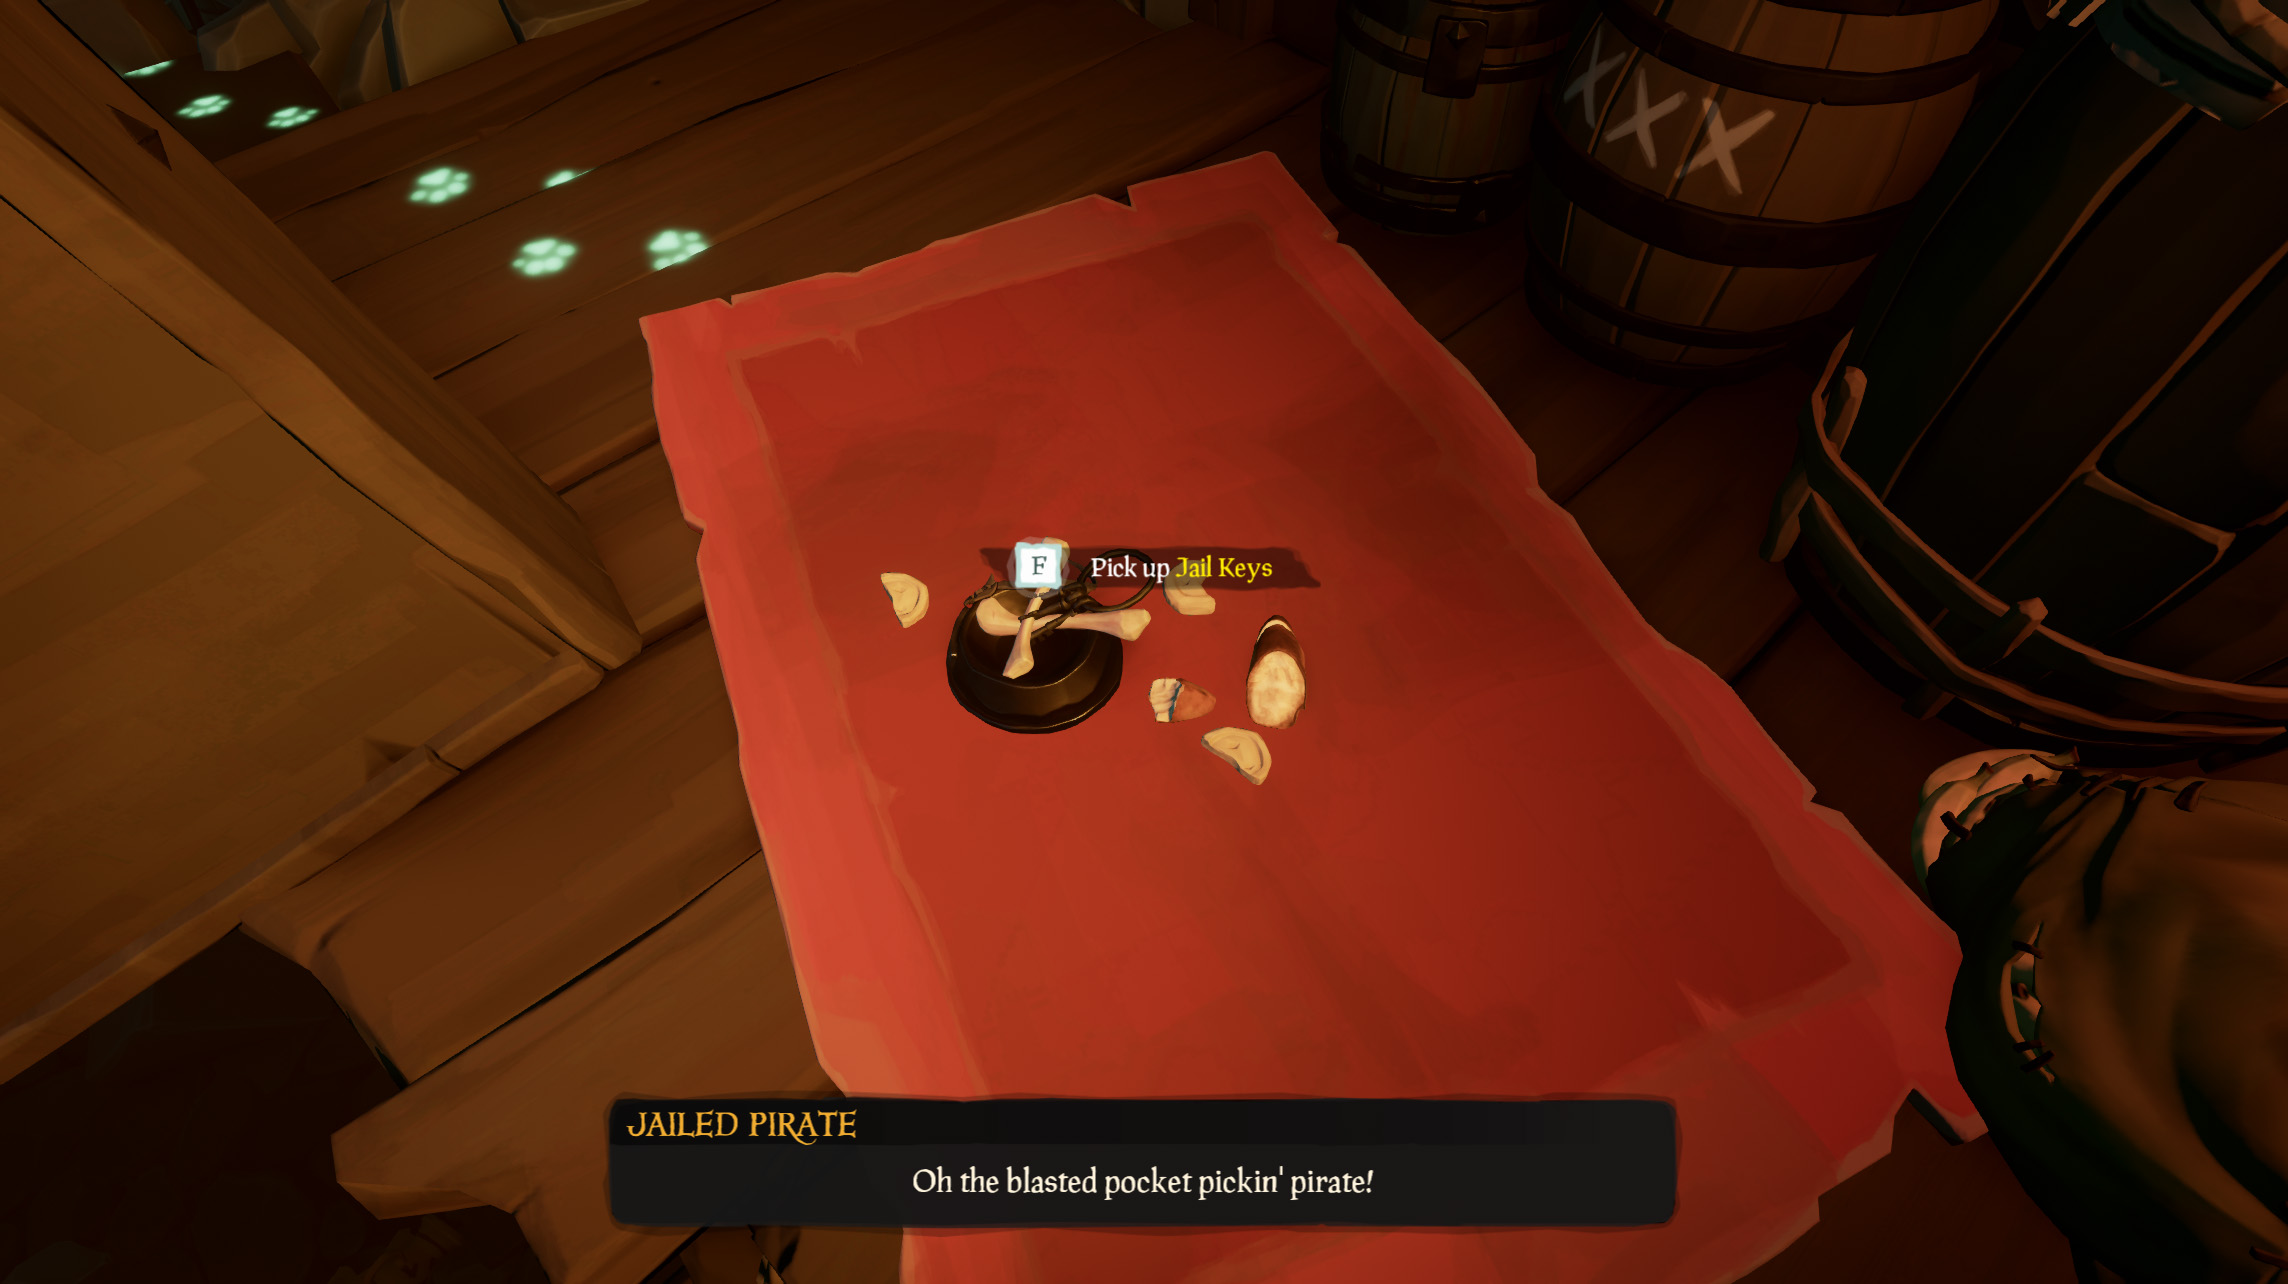
Once they’ve scared off the dog, you’ll want to follow the ghostly paw prints left behind to find the Jail Cell Key. Pick up the key and head back down to the locked up pirates. Use the keys to free them, earning the “Key to Freedom” commendation.
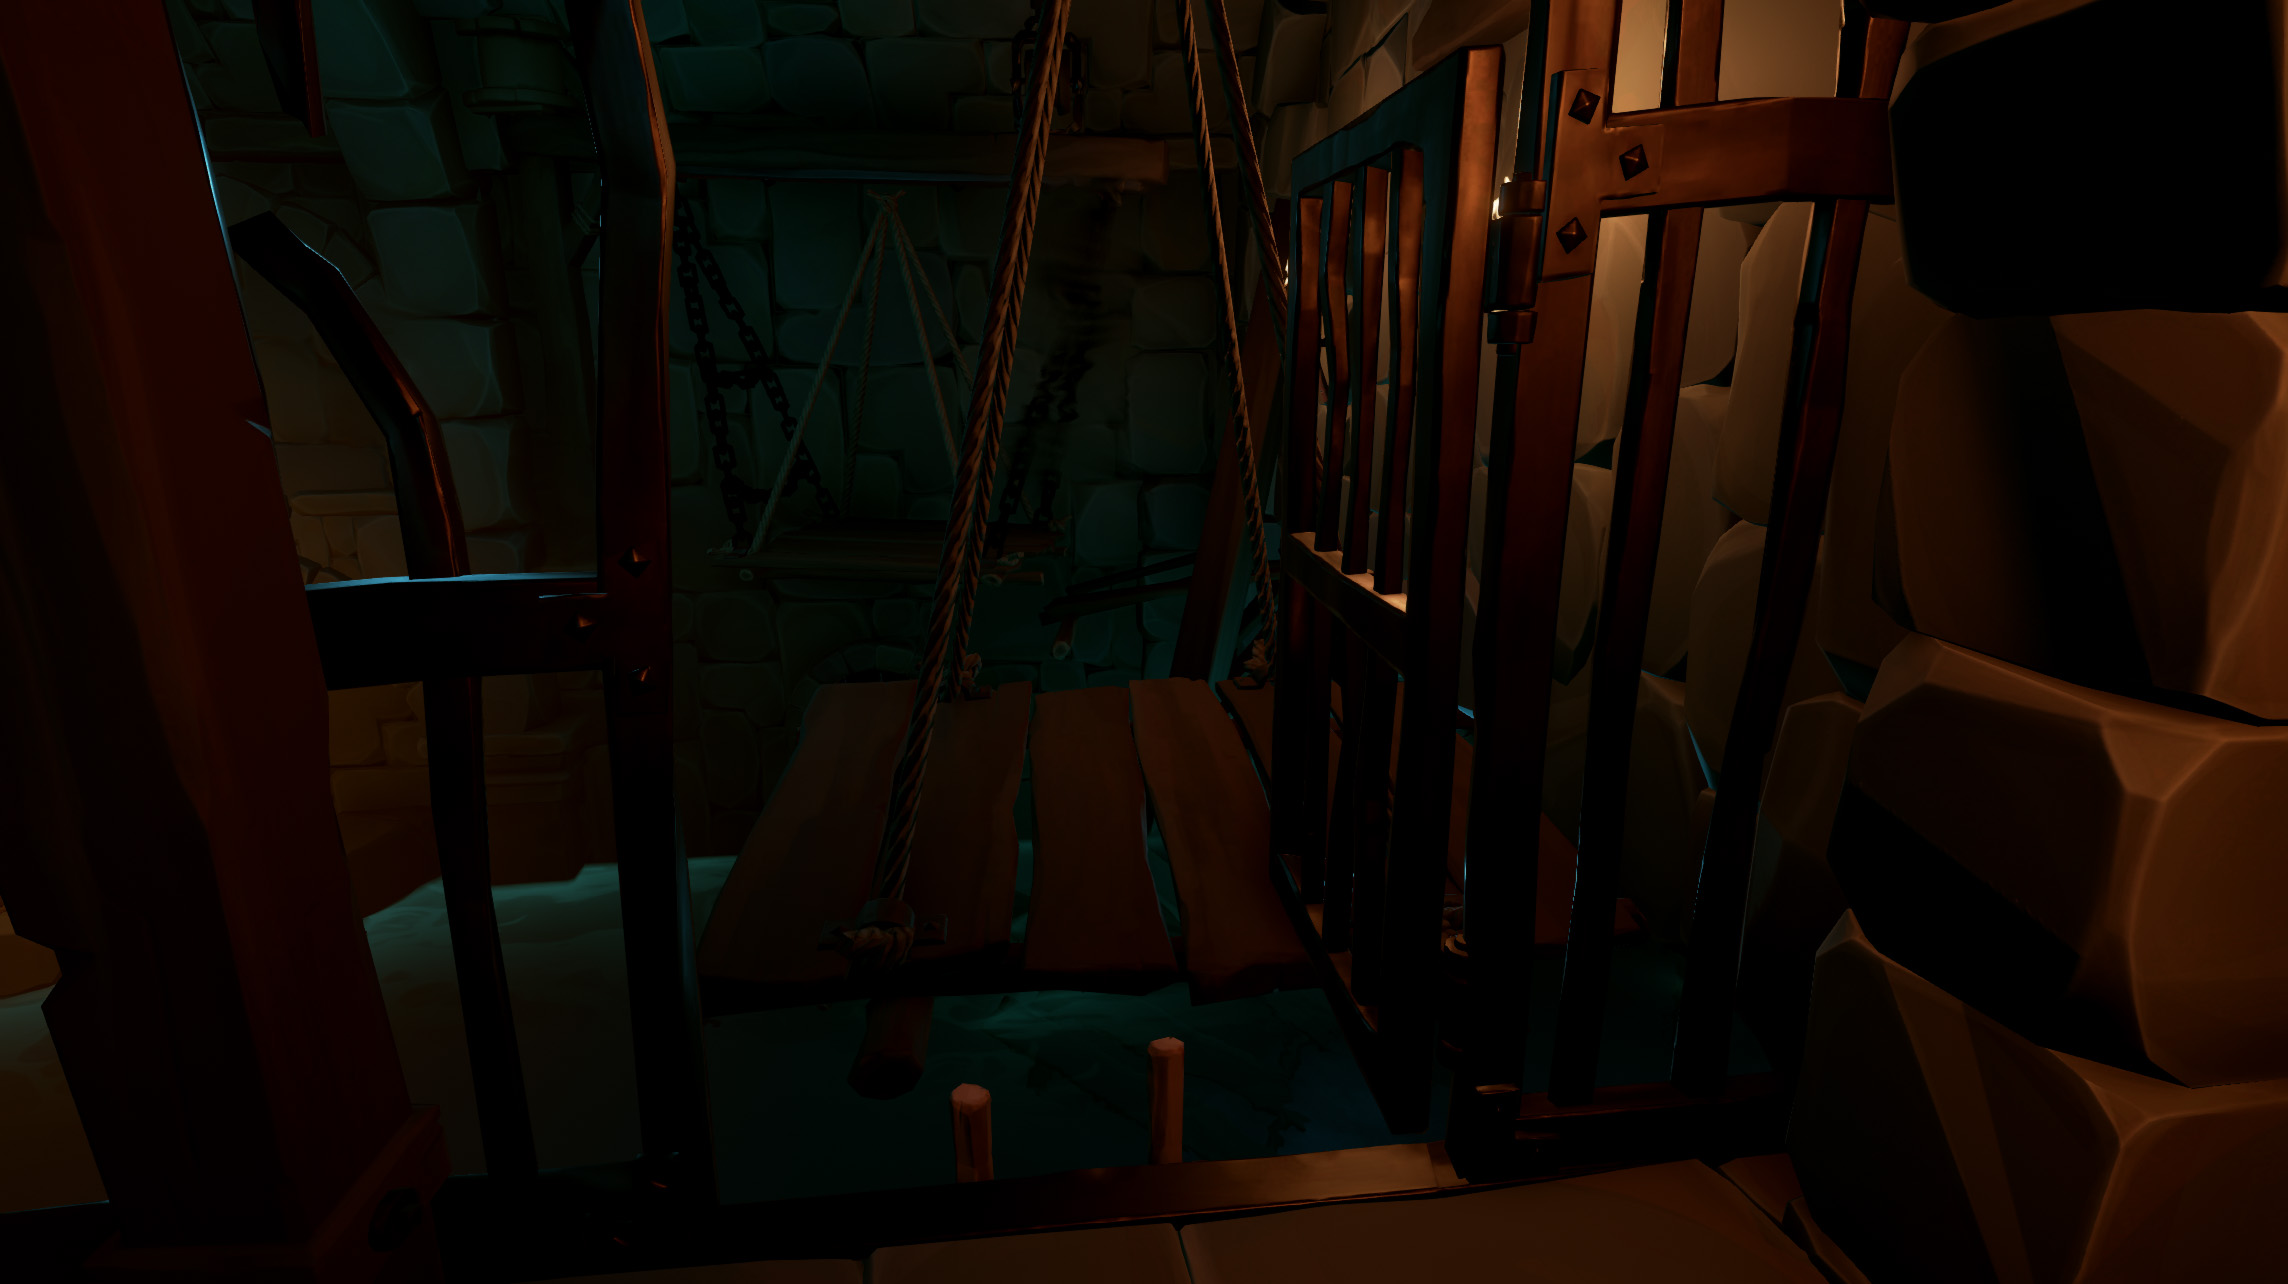
Keeping the Jail Keys in hand, head through the back of the jail and up the stairs to escape. Unlock the locked door, and prepare to face off with yet another parkour puzzle.
Pay attention to the ghostly platforms that appear briefly as Jack jumps across them, this is where you want to put the platforms so you can make your way across safely as well.
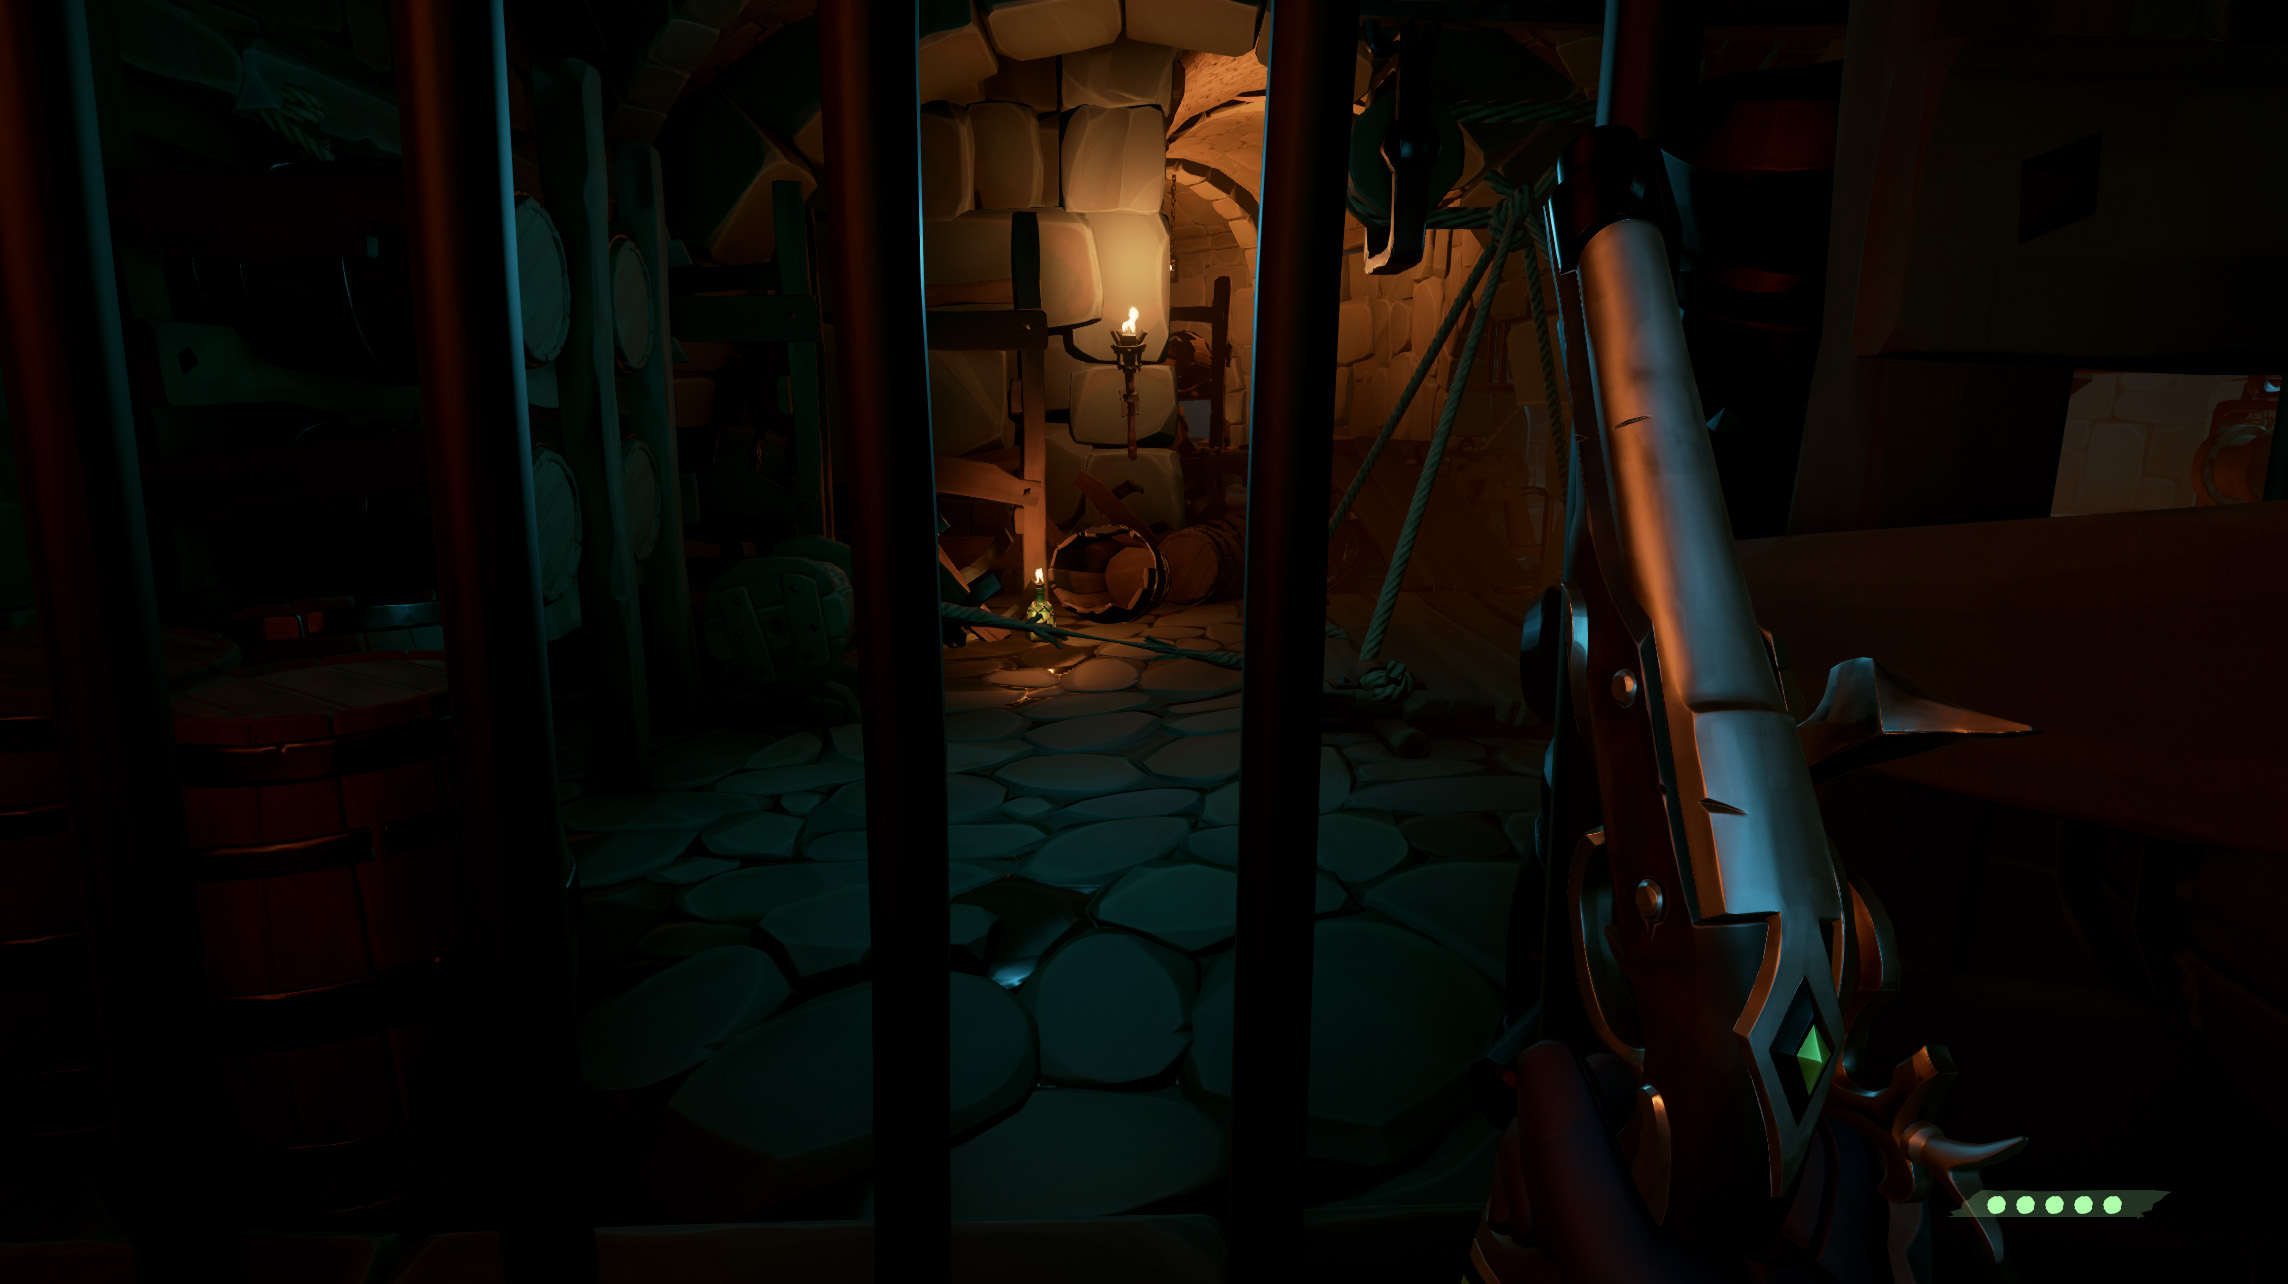
Use the two pulleys in the room to adjust the first two platforms, then peek through the bars on the left side of the room and shoot the rope holding back the 3rd and final platform.
Now that all three platforms are in place, make your way across them and leap inside the room where you shot the rope to free the final platform.
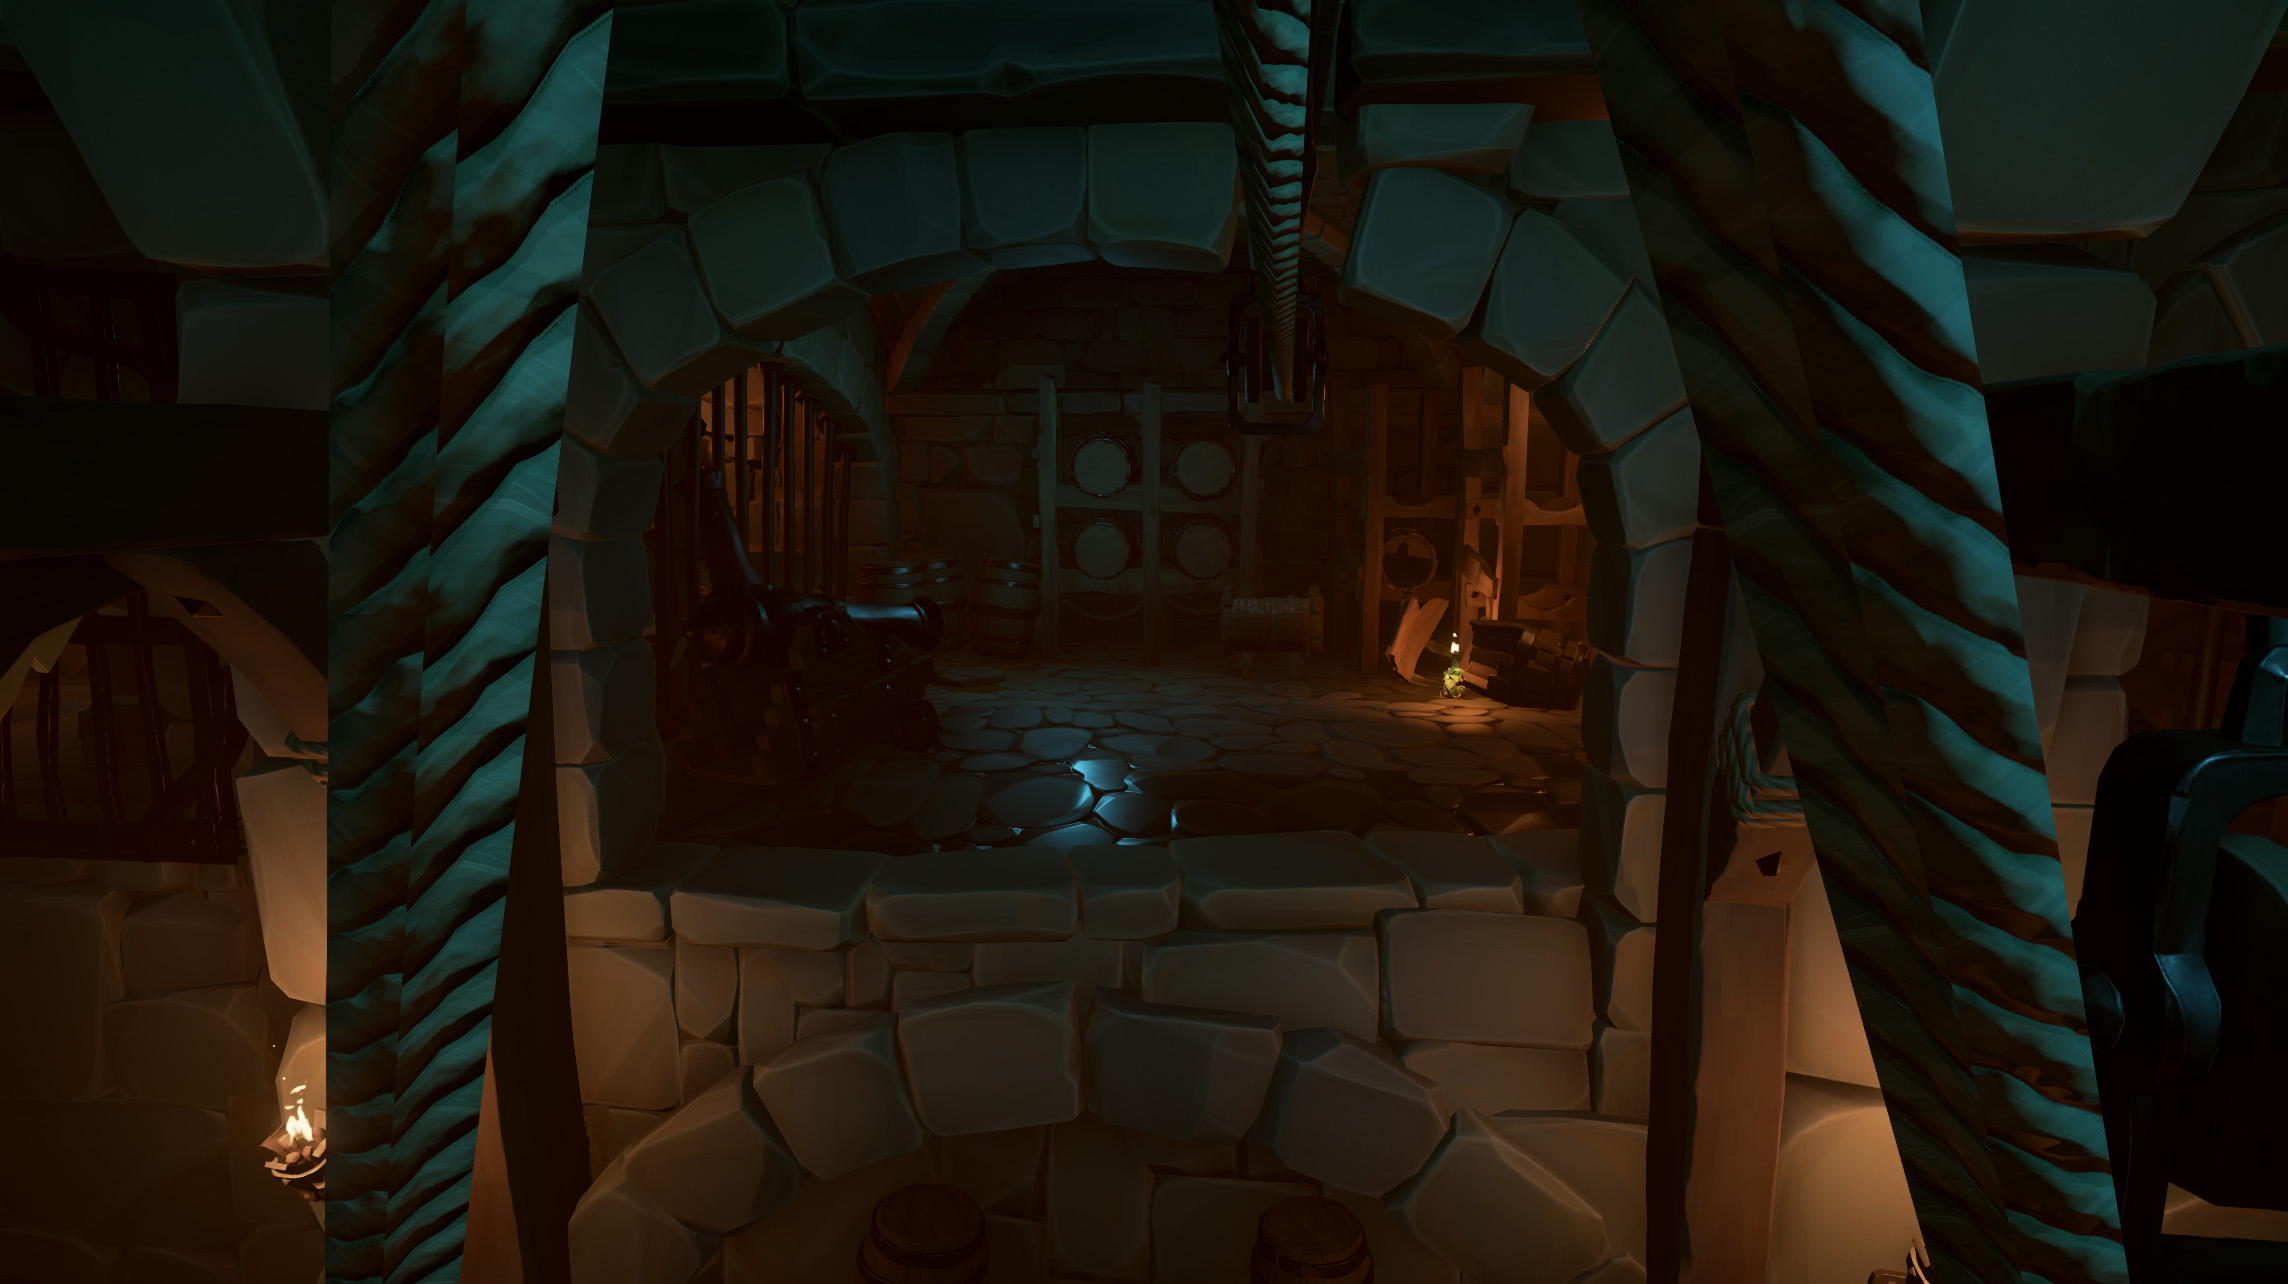
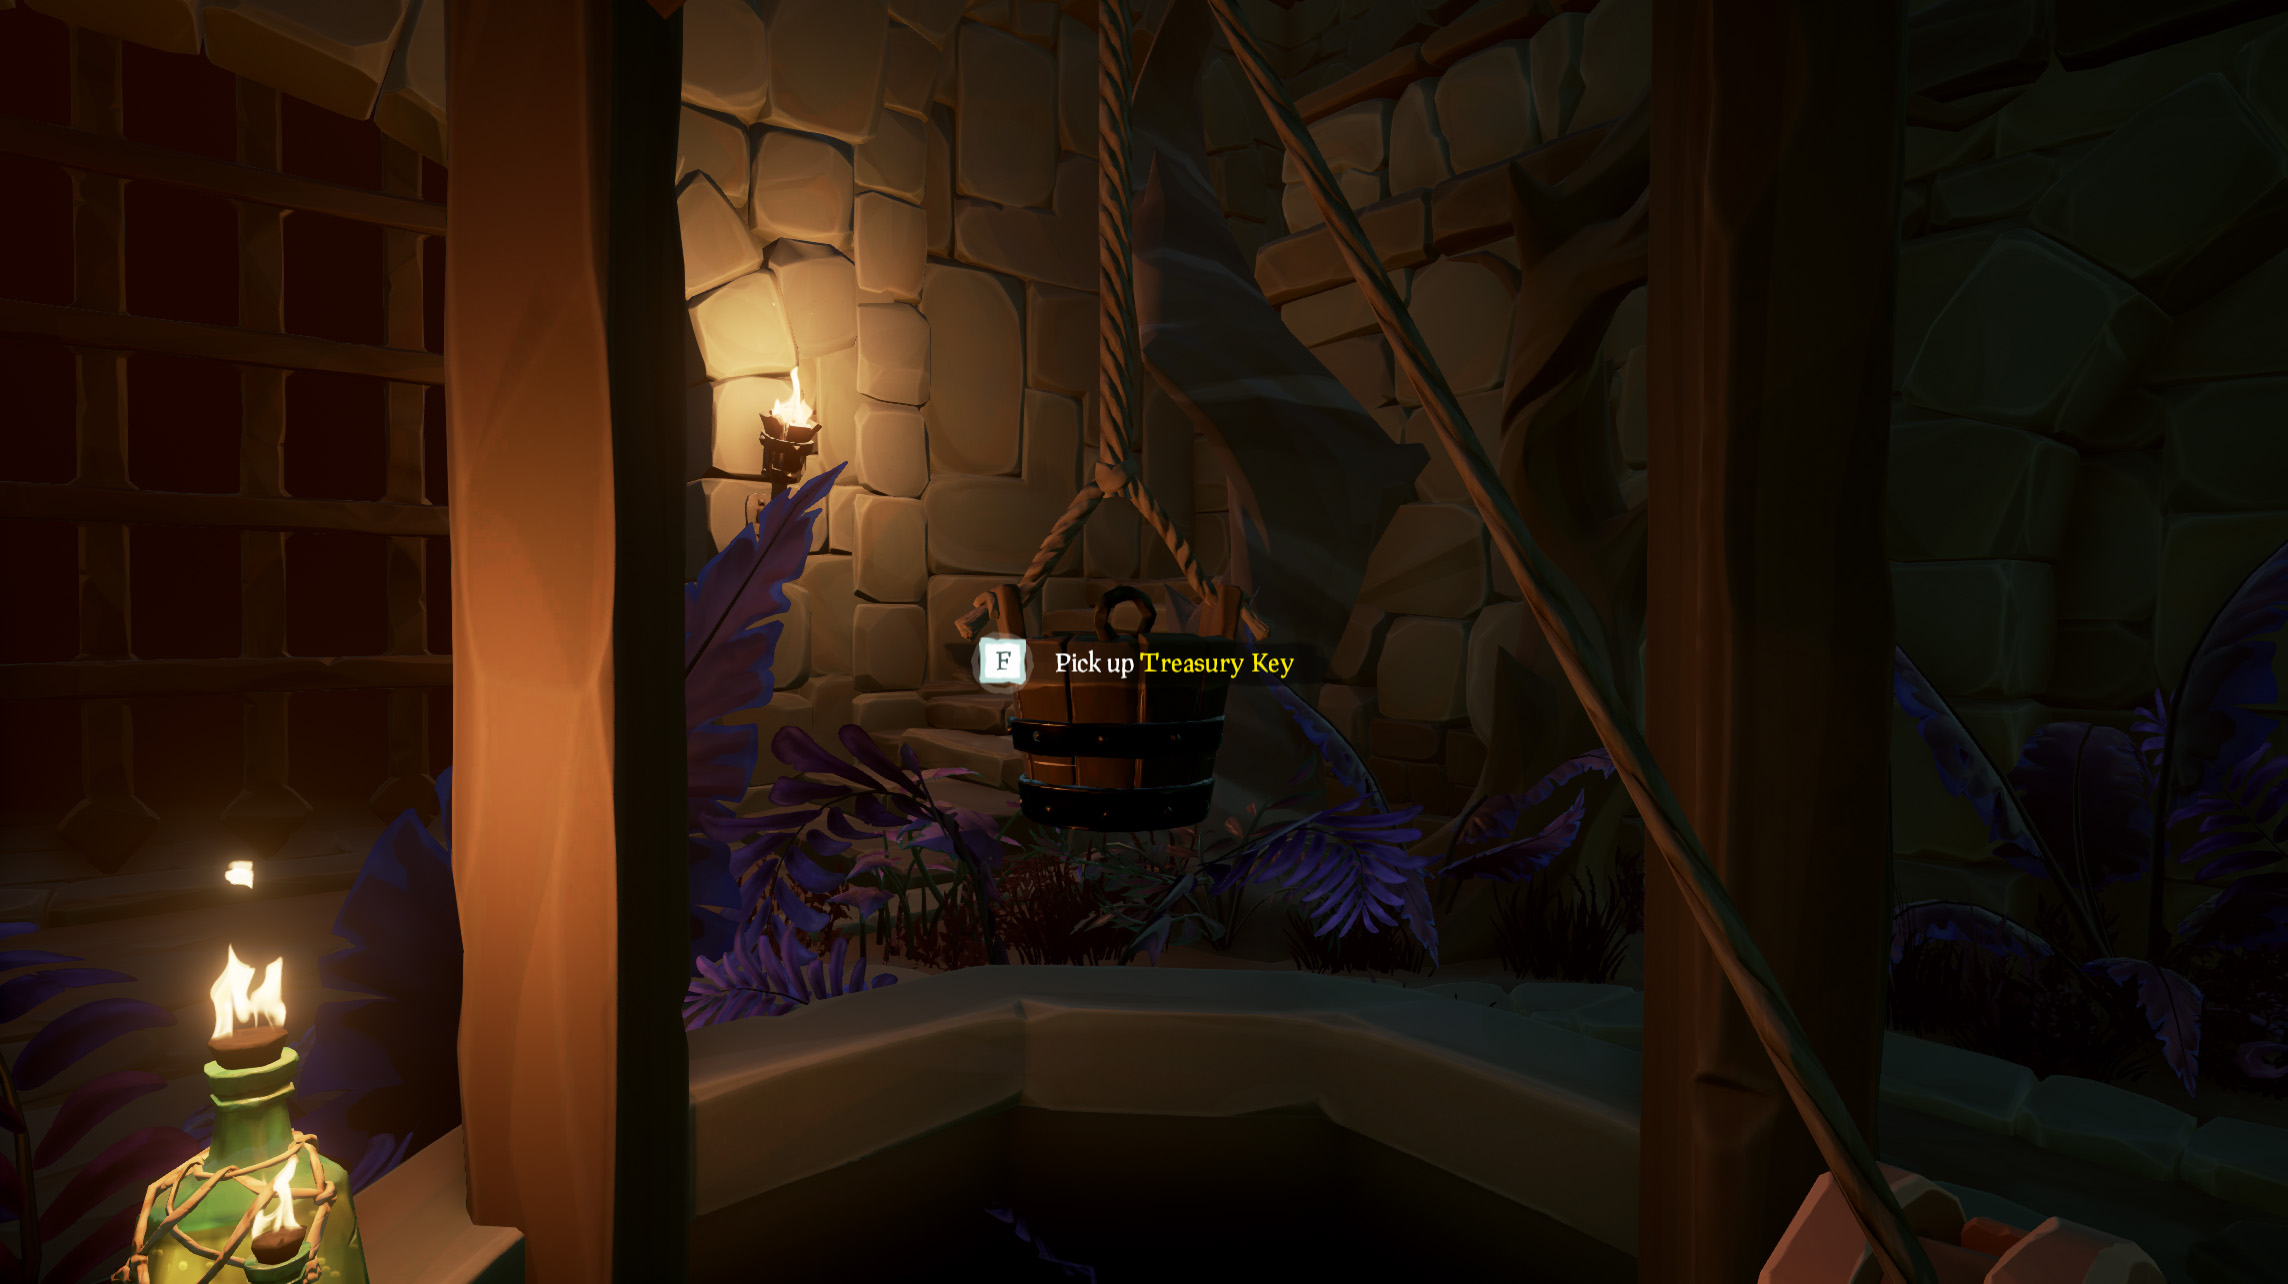
Follow the passageway to the end where you’ll see a well. Use the pulley at the well to raise the bucket and retrieve the key. Use this key on the nearby door to reveal…
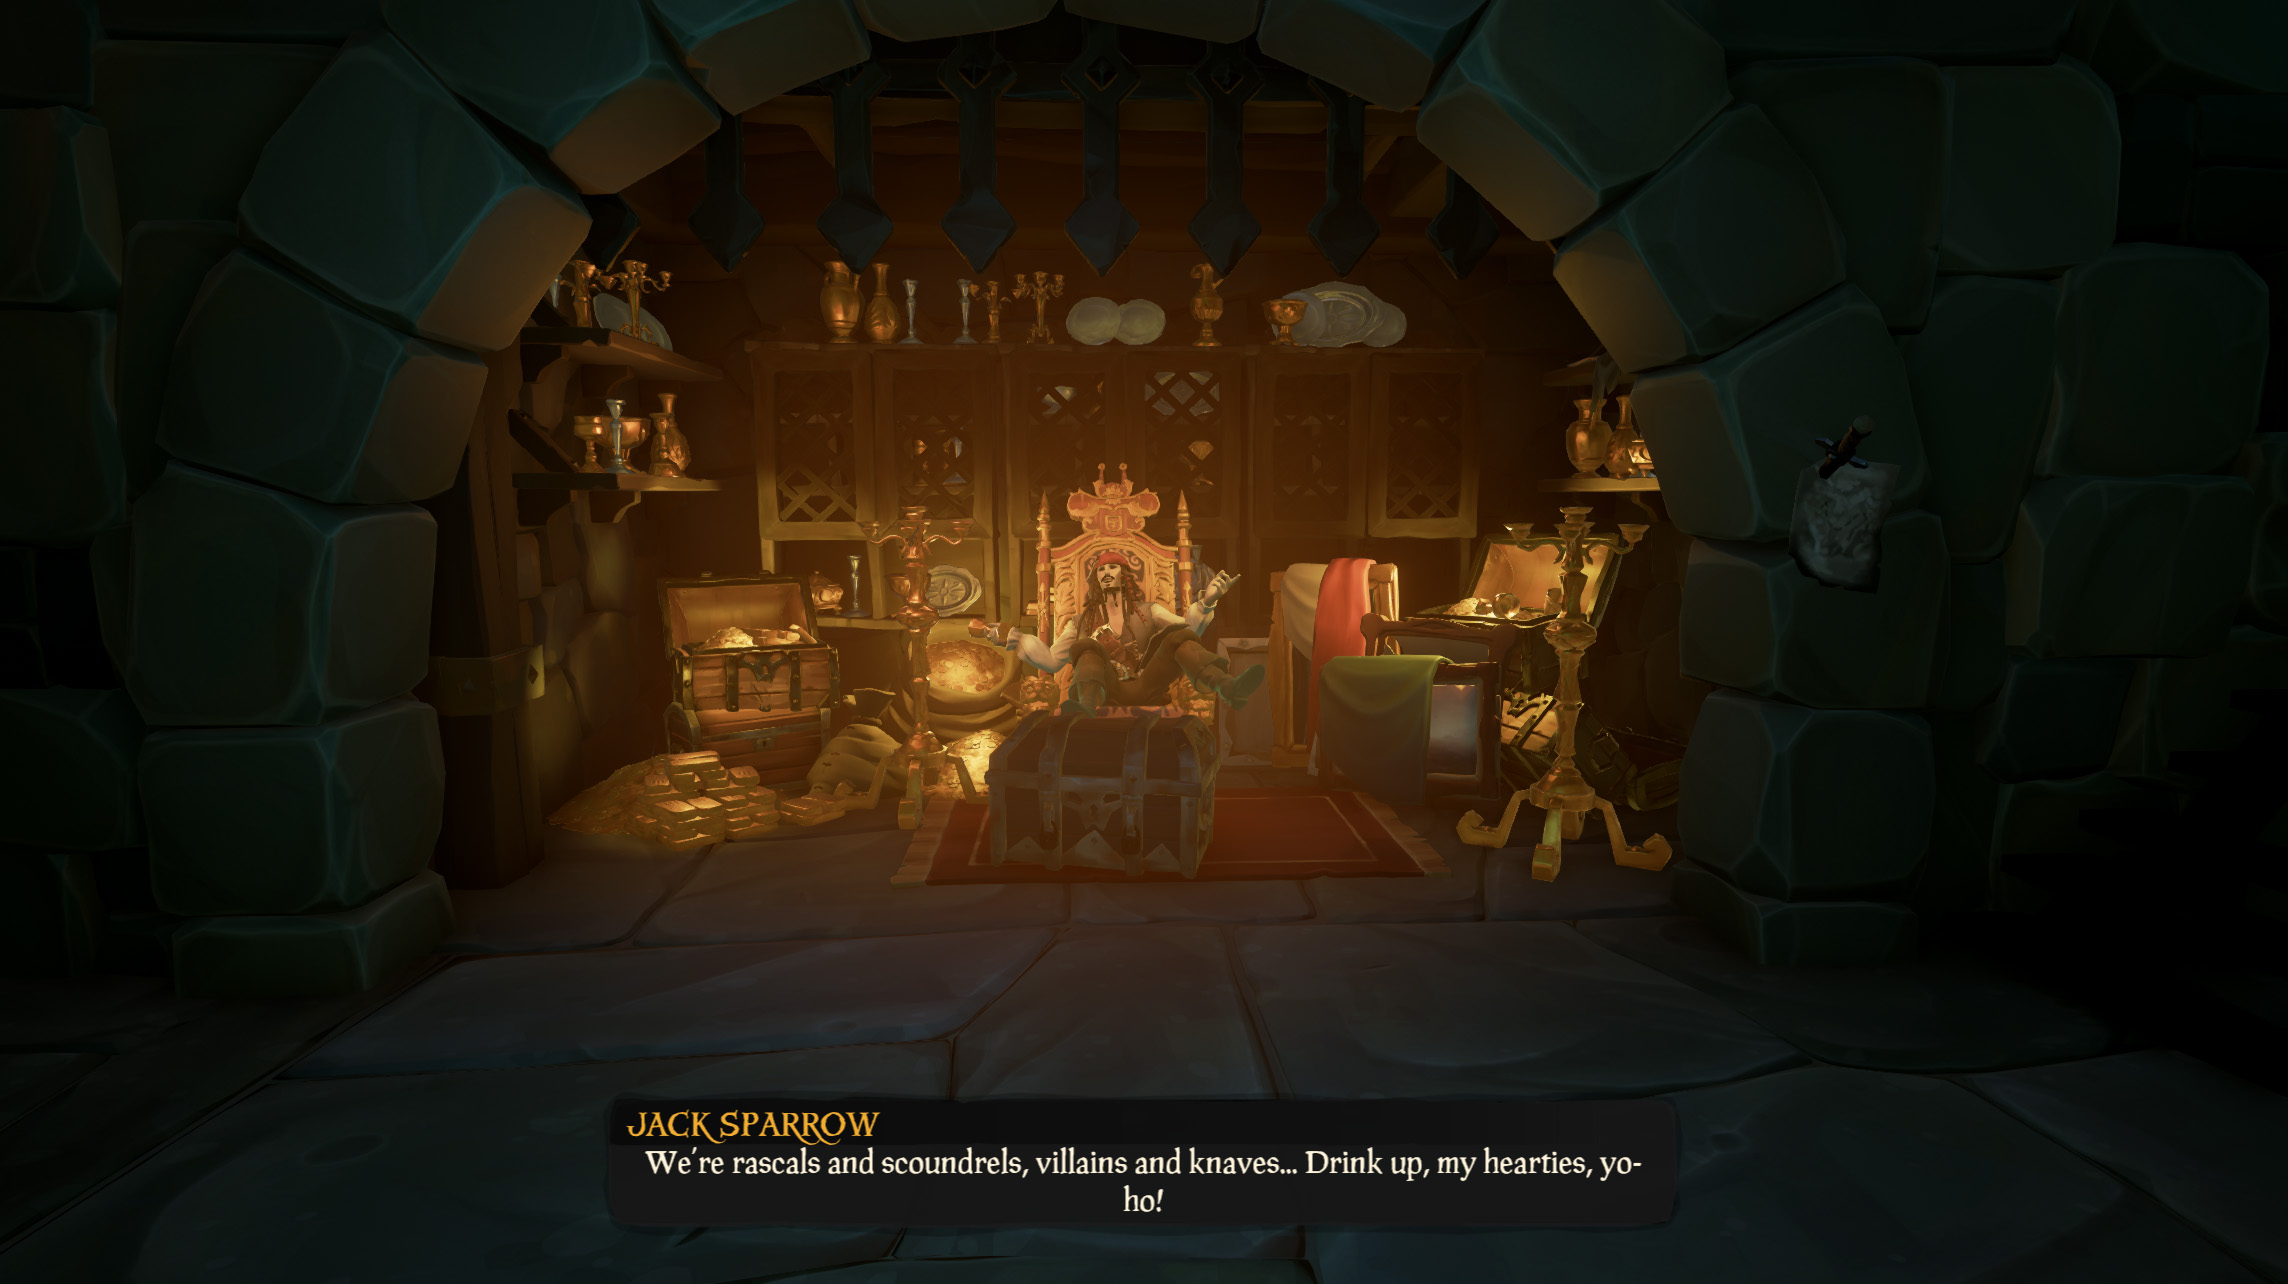
Captain Jack sitting atop a glorious pile of untouchable treasure. Doing this will unlock the “Treasured Hoard” commendation.
Captains of the Damned - Part 4
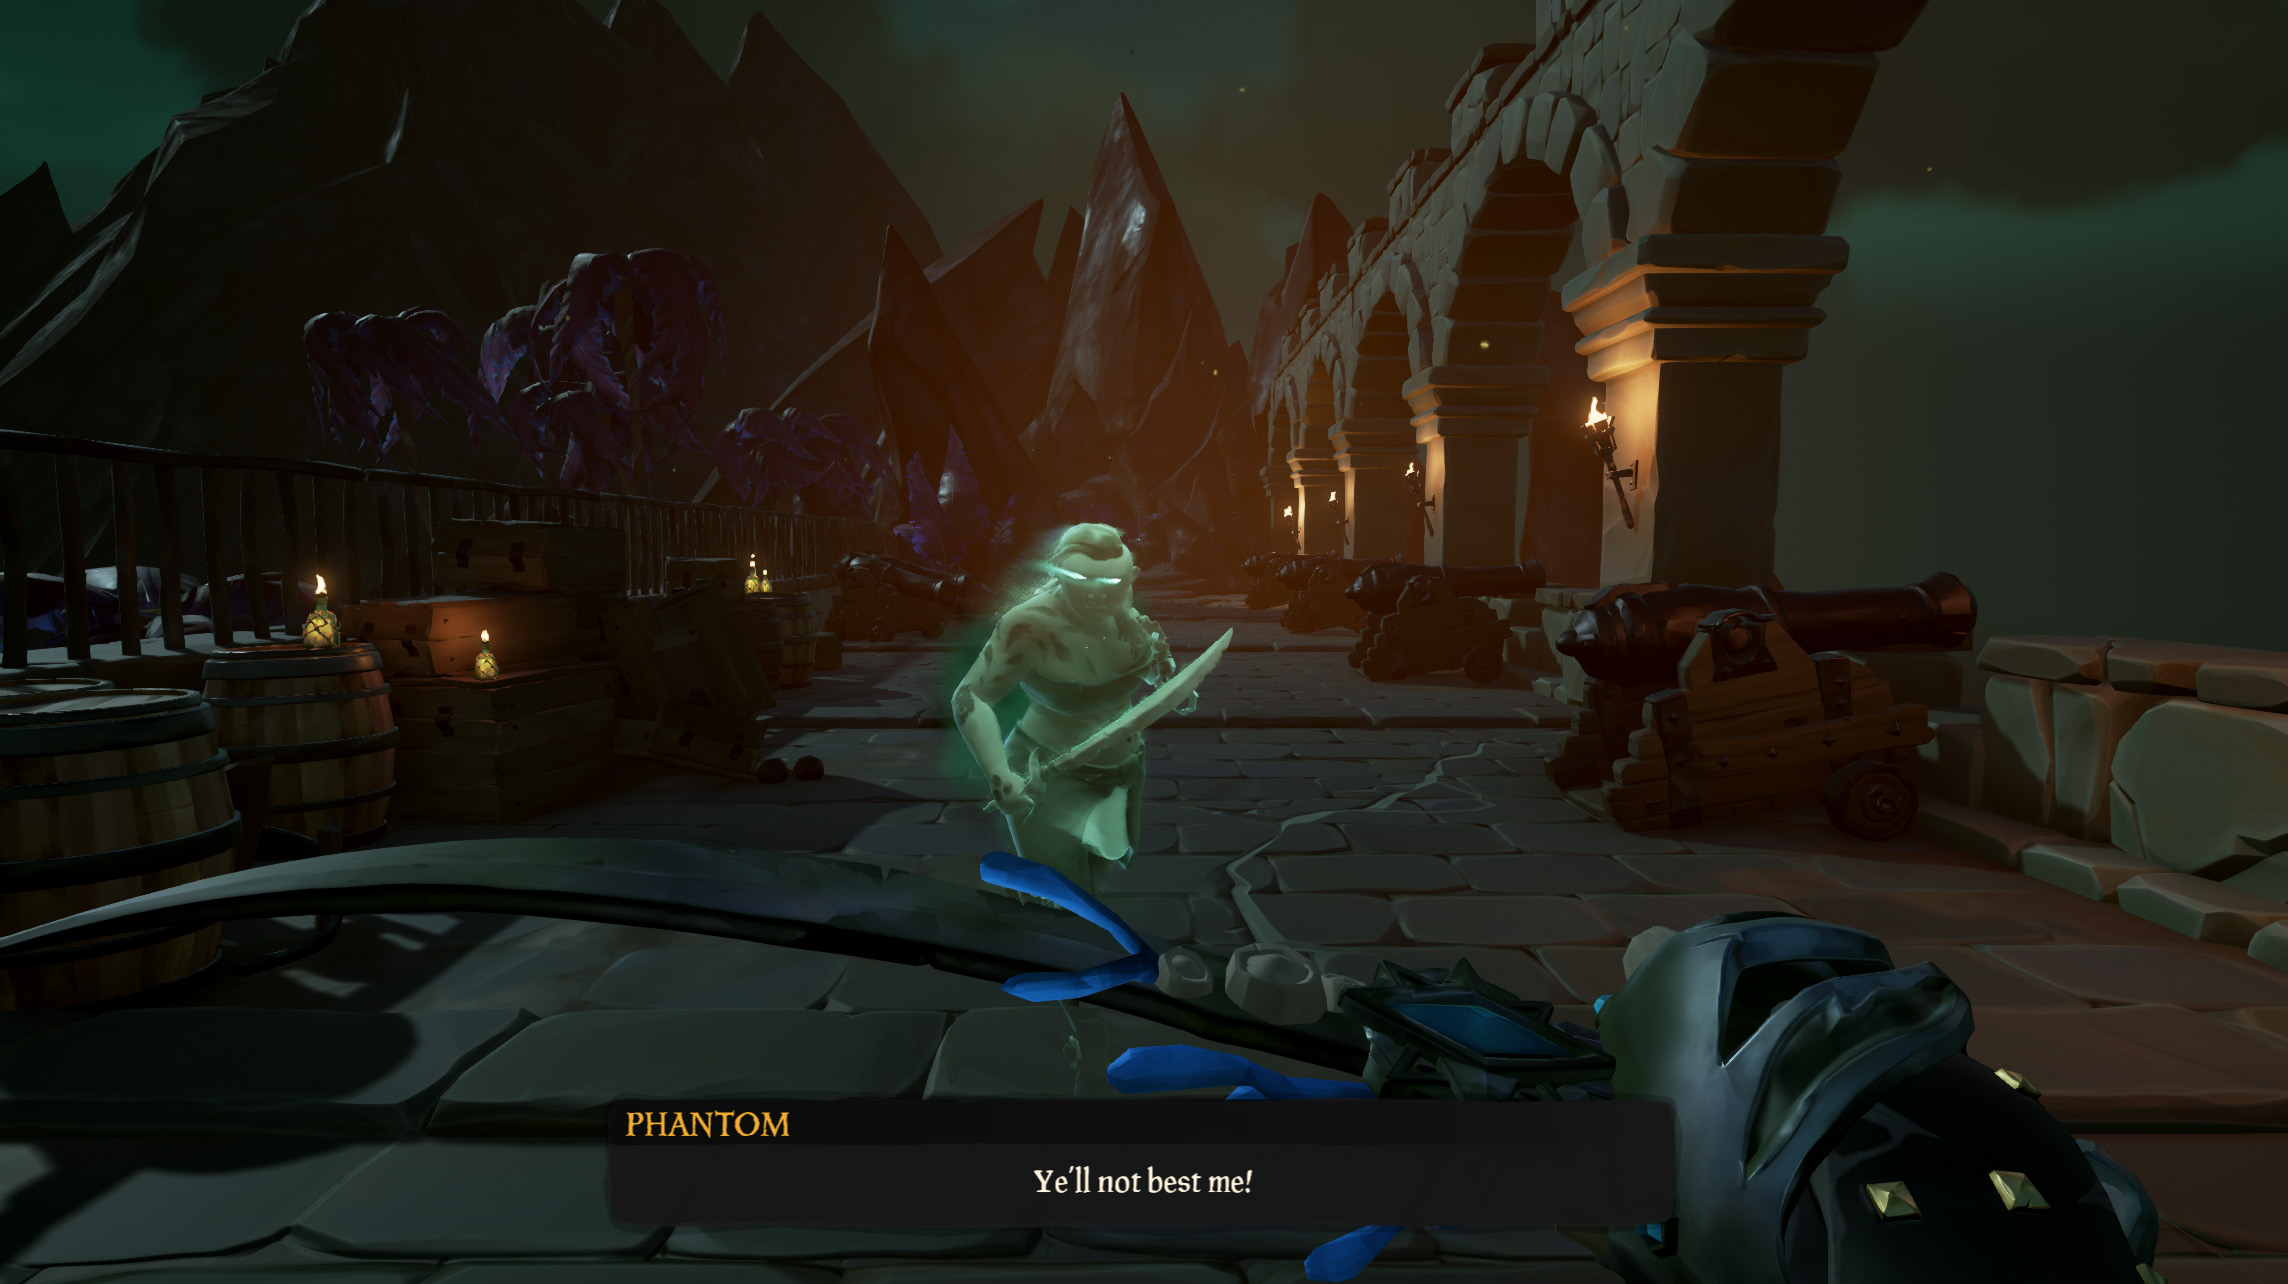
Now that you’ve found Jack, or more like Jack’s ghost again, you’ll want to head up the stairs after Jack finishes talking and head out the door where you will once again be faced by a group of phantom pirates. Clear them out and cross the bridge.
Townsfolk's Journal #5
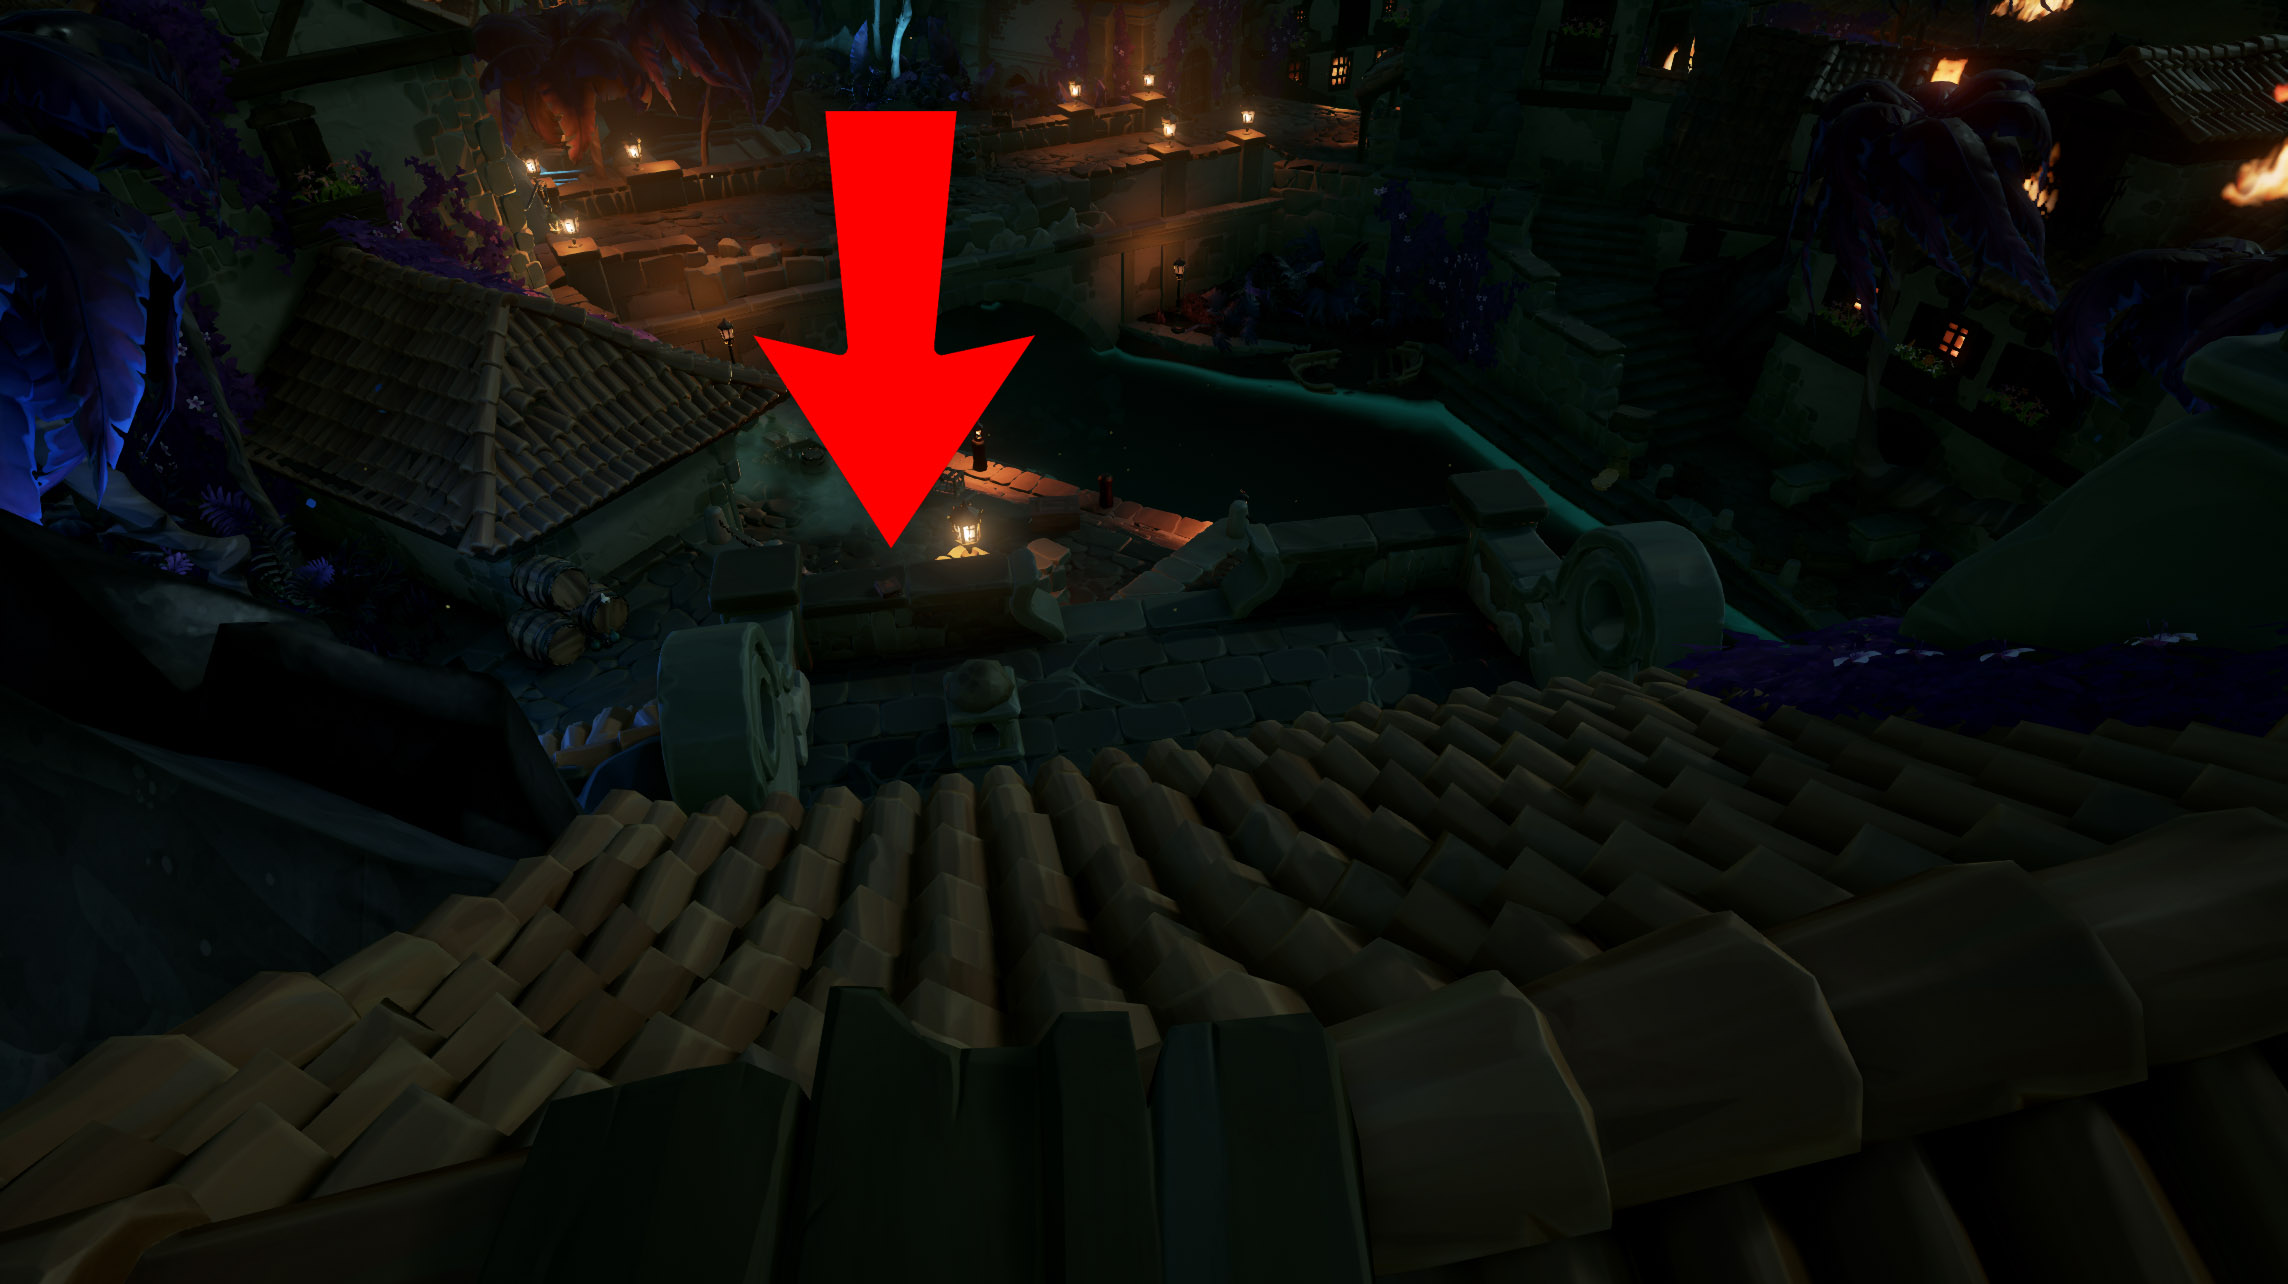
Head down the path and hop onto the roof to start your descent — but before you jump all the way down, STOP at the balcony to claim the final book.
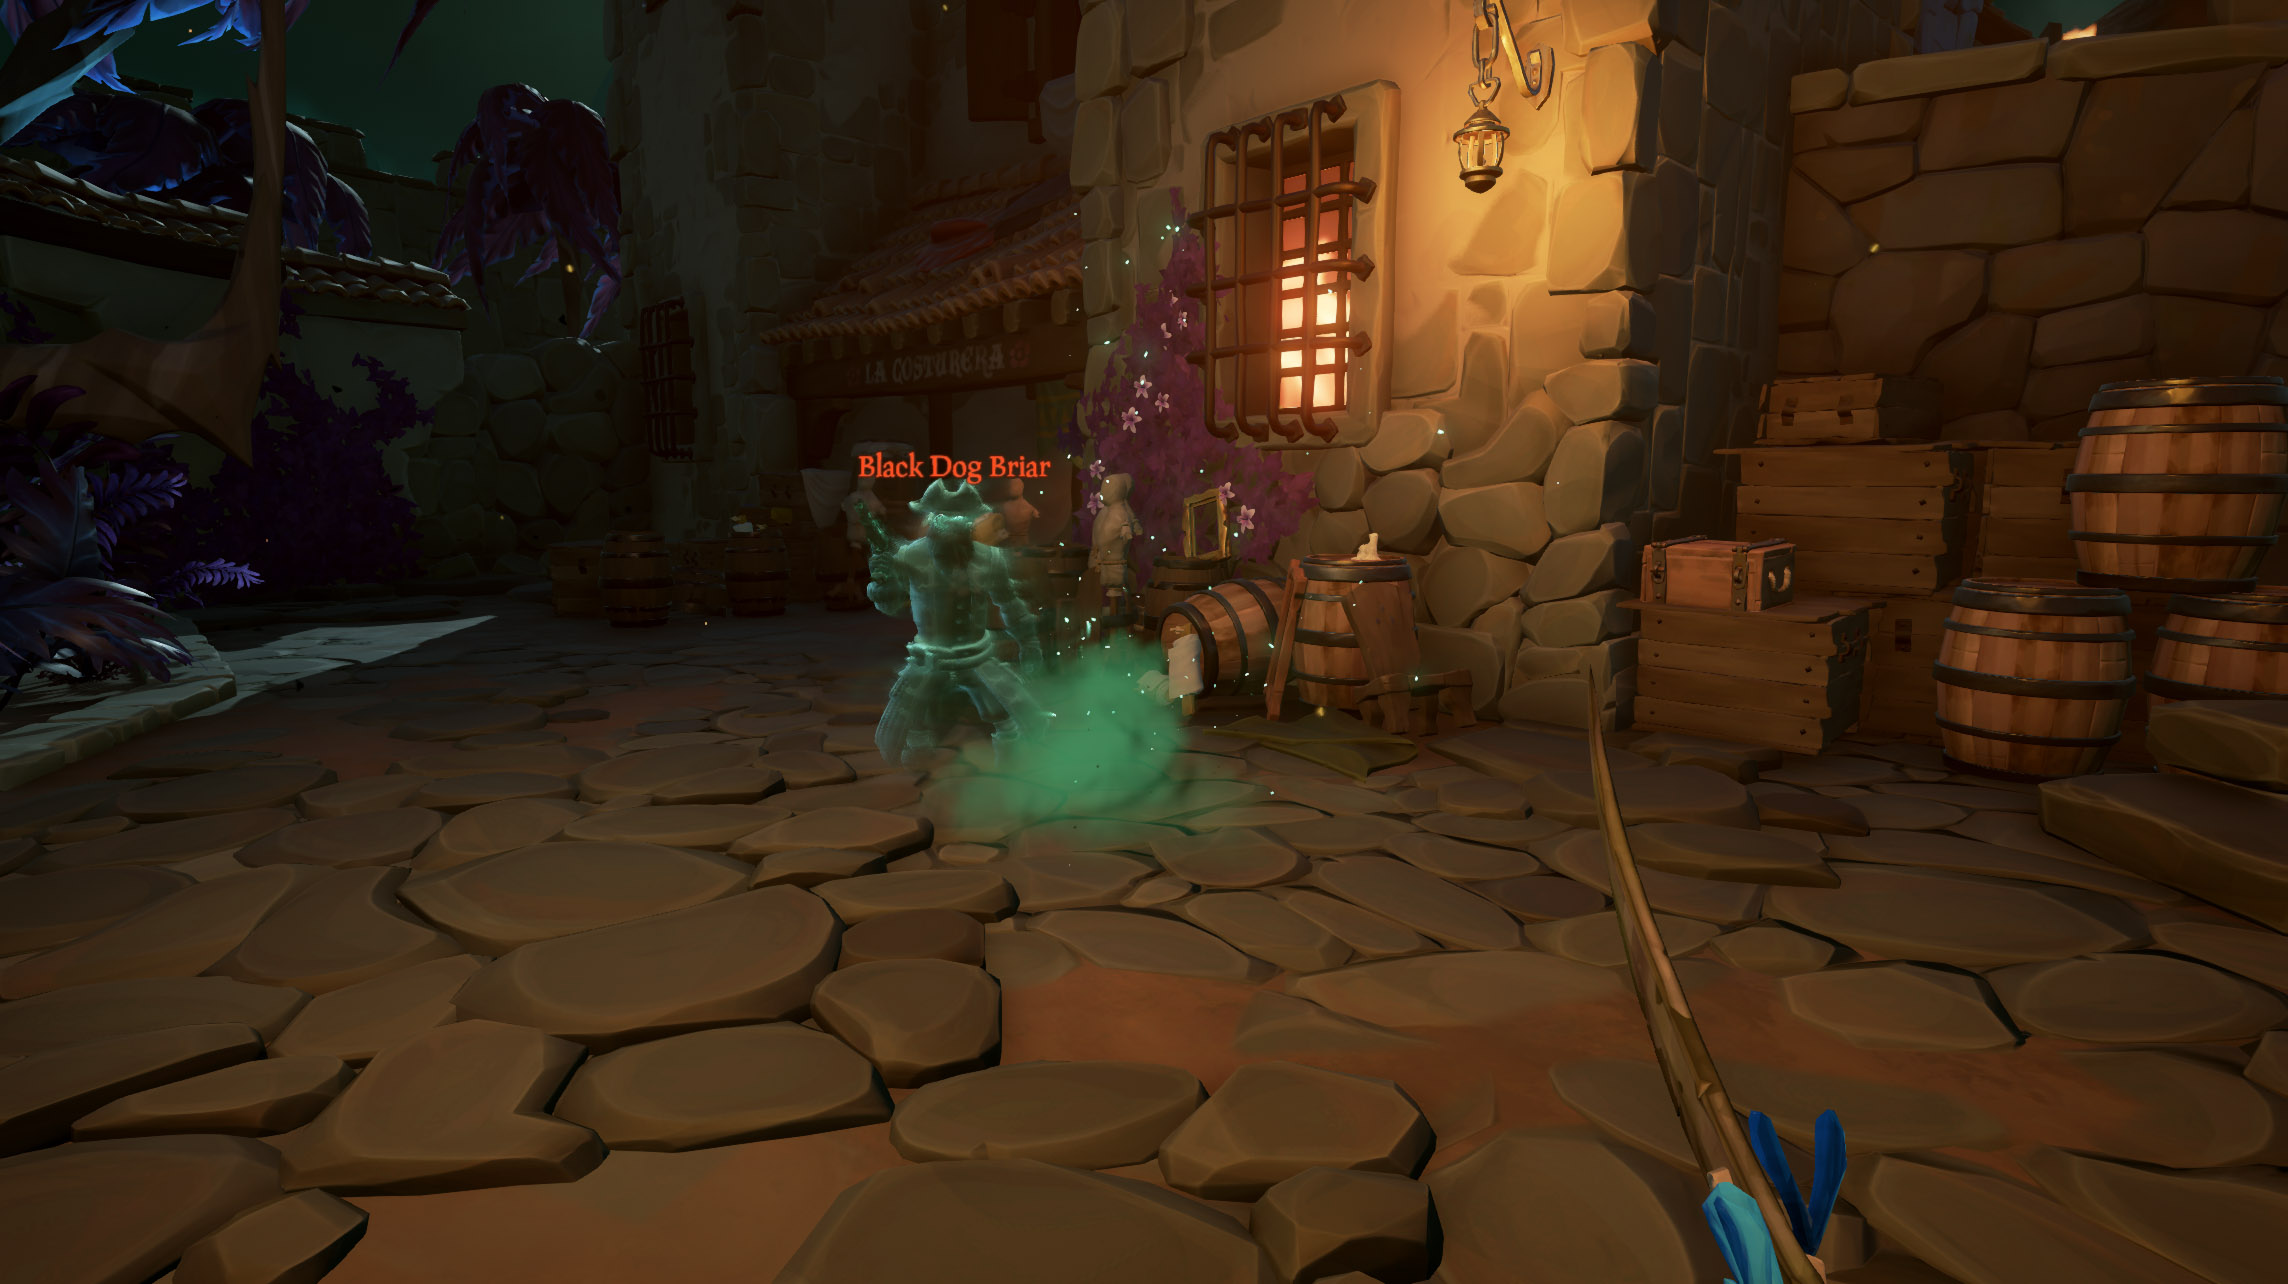
With the final journal read, it’ll unlock the “Townsfolk’s Journals” commendation. Now it’s time to press onwards and slash your way through the next few waves of phantom pirates until Black Dog Briar makes his second appearance.
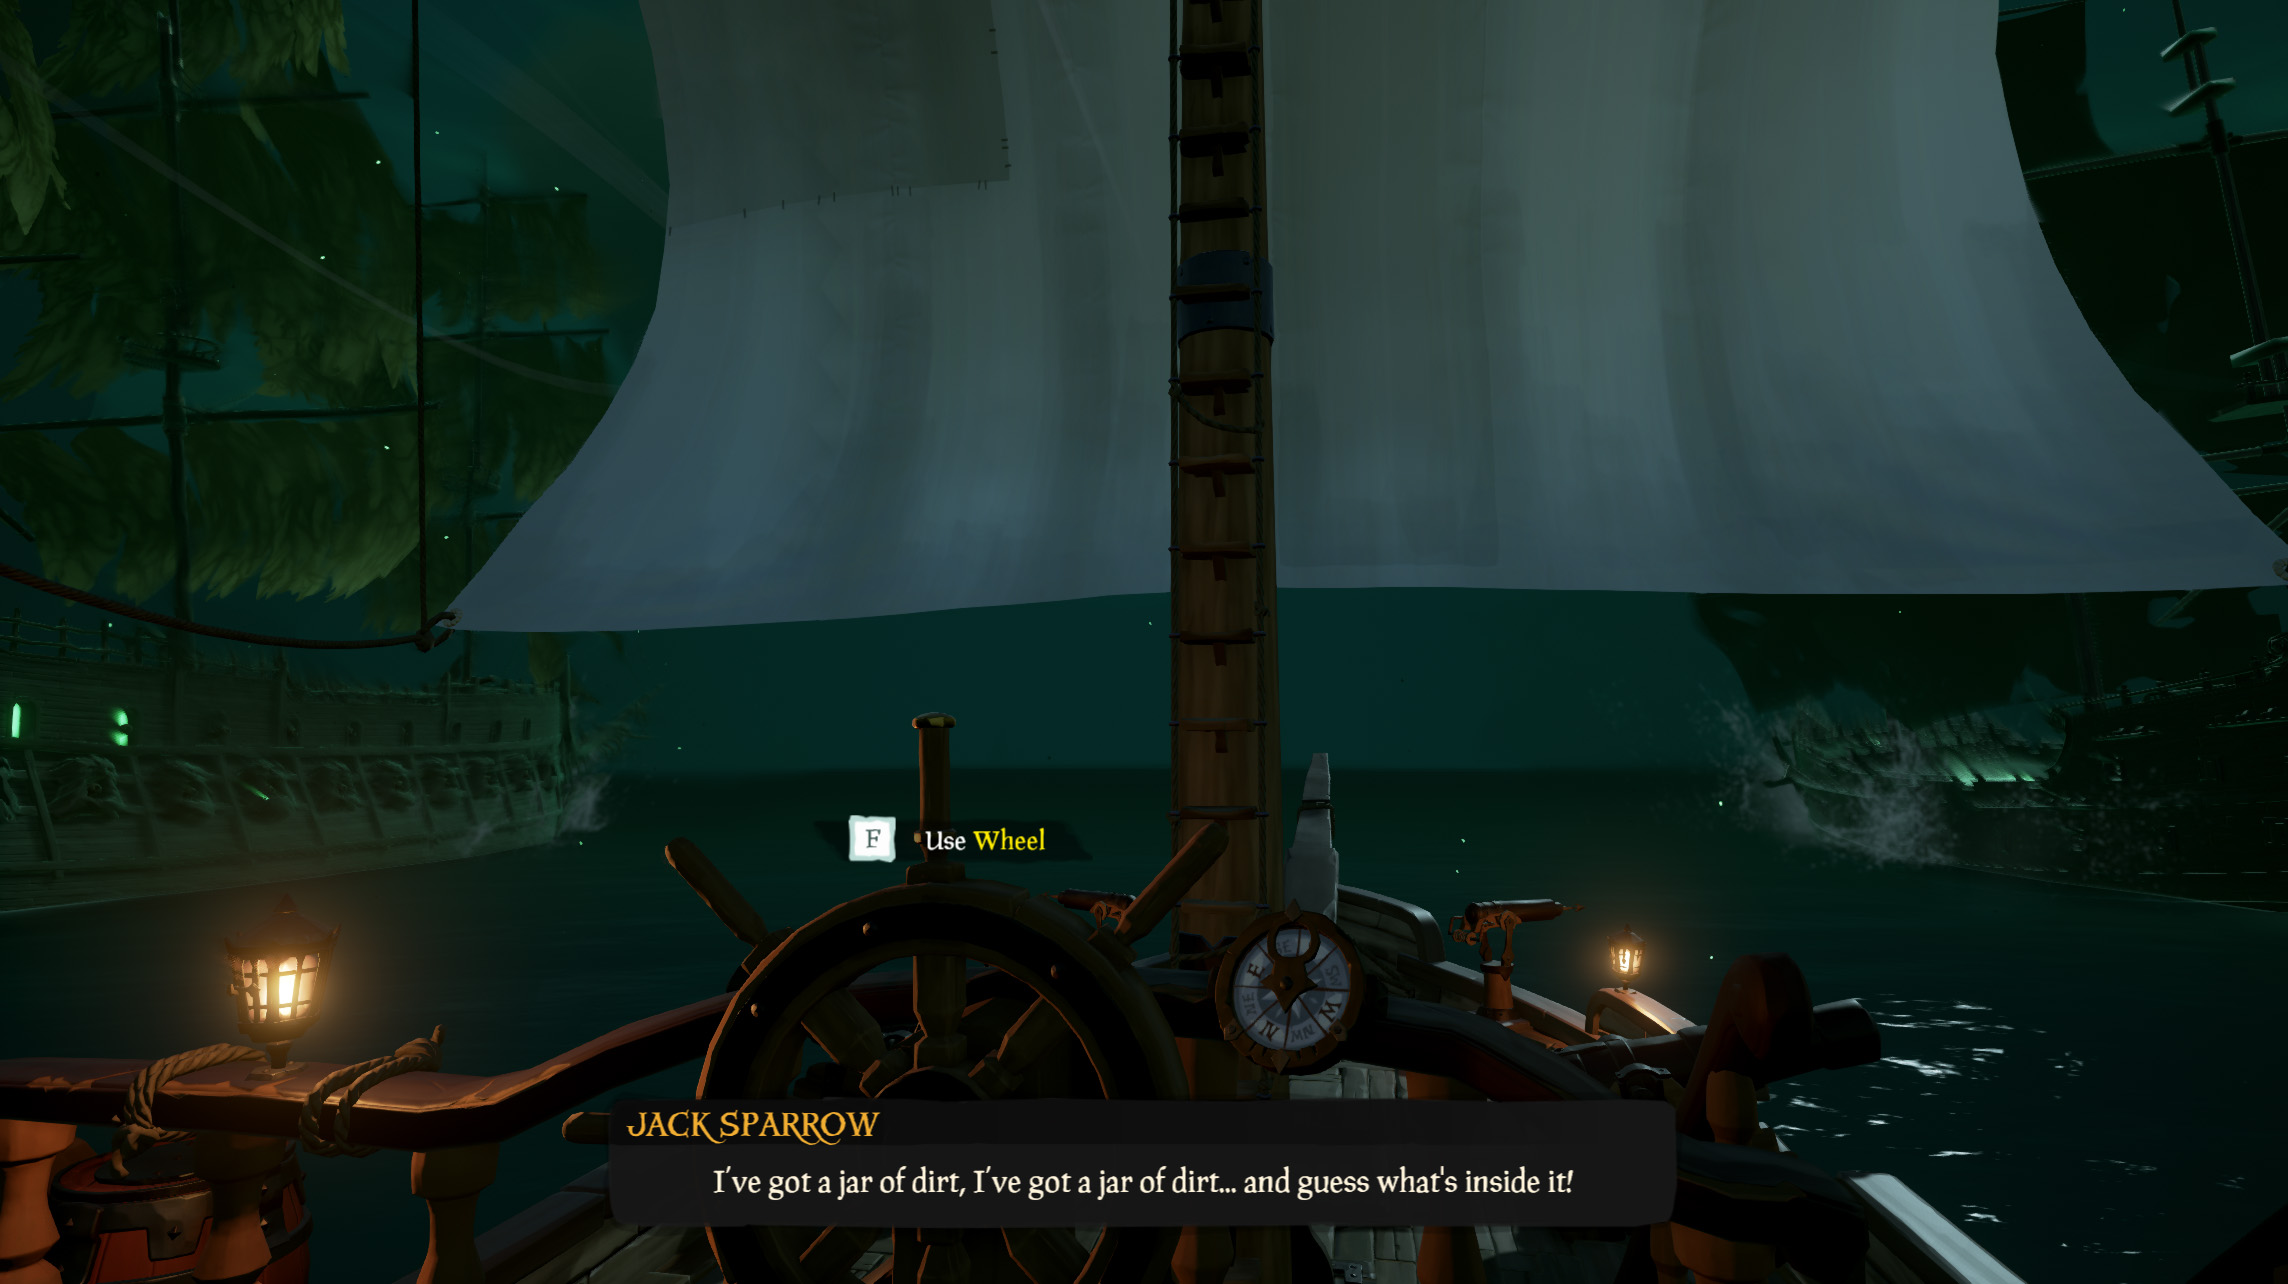
Once you’ve laid the smackdown on ole Black Dog for the second time, you can return to your ship and follow Jack’s compass to the next area. Be sure to enjoy the 5D cinematic as you sail onwards.
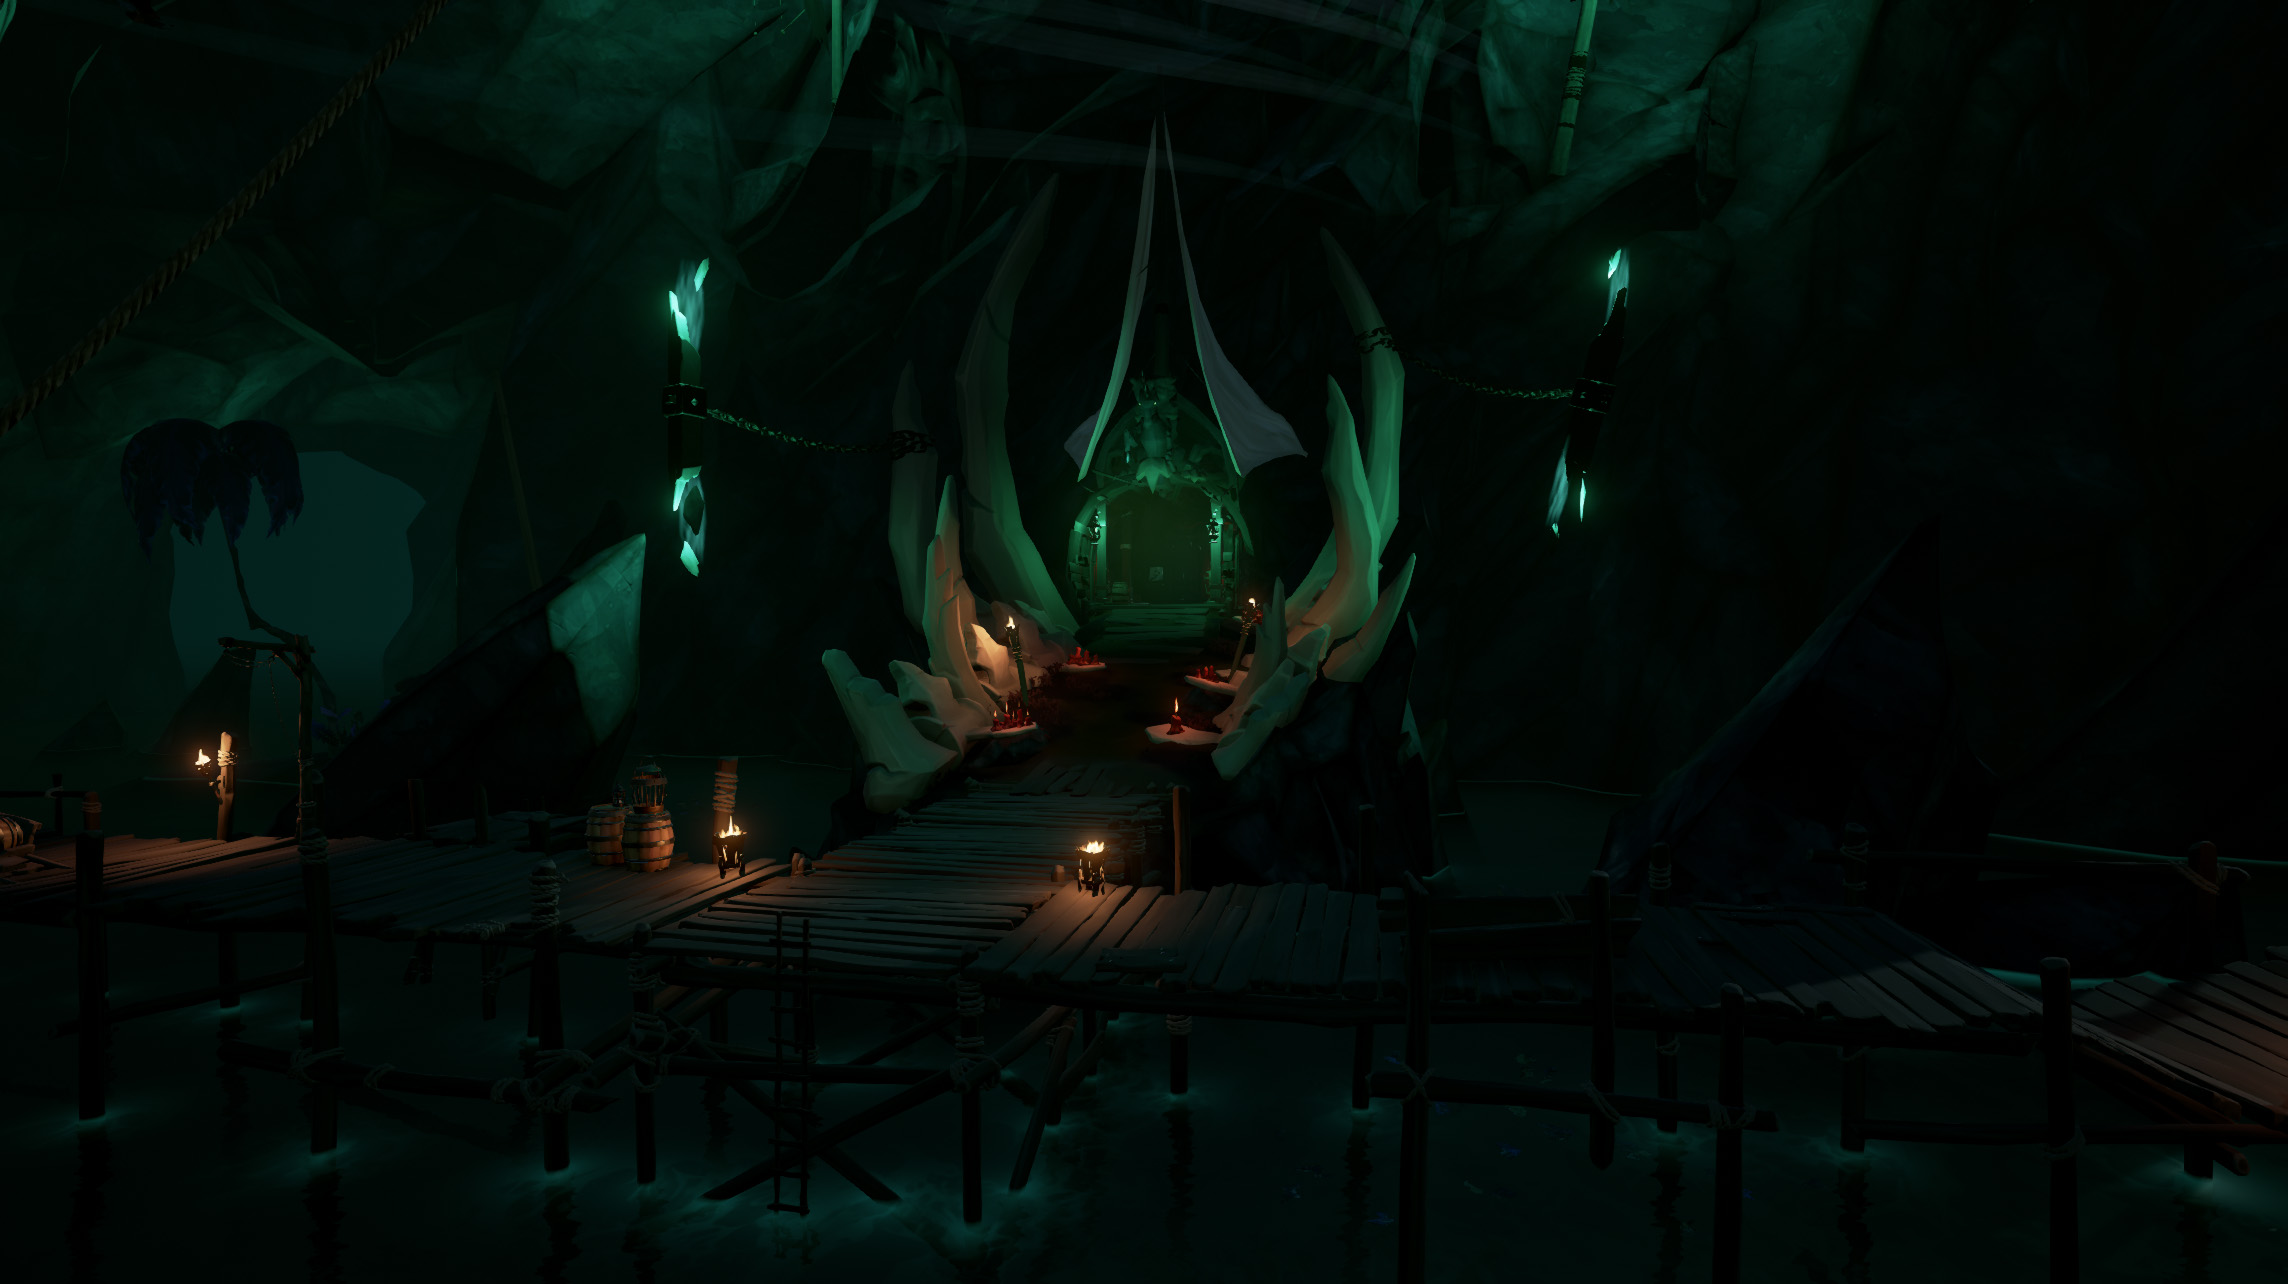
After the “movie” has ended, all of us here at Kevduit.com would like to politely ask that you place all your trash in the receptacles as you leave the cinema. We won’t judge you if you need to wipe the tears from your face after watching Jack’s heroic sacrifice. Either way, continue following Jack’s compass till you reach the Tavern of the Damned.
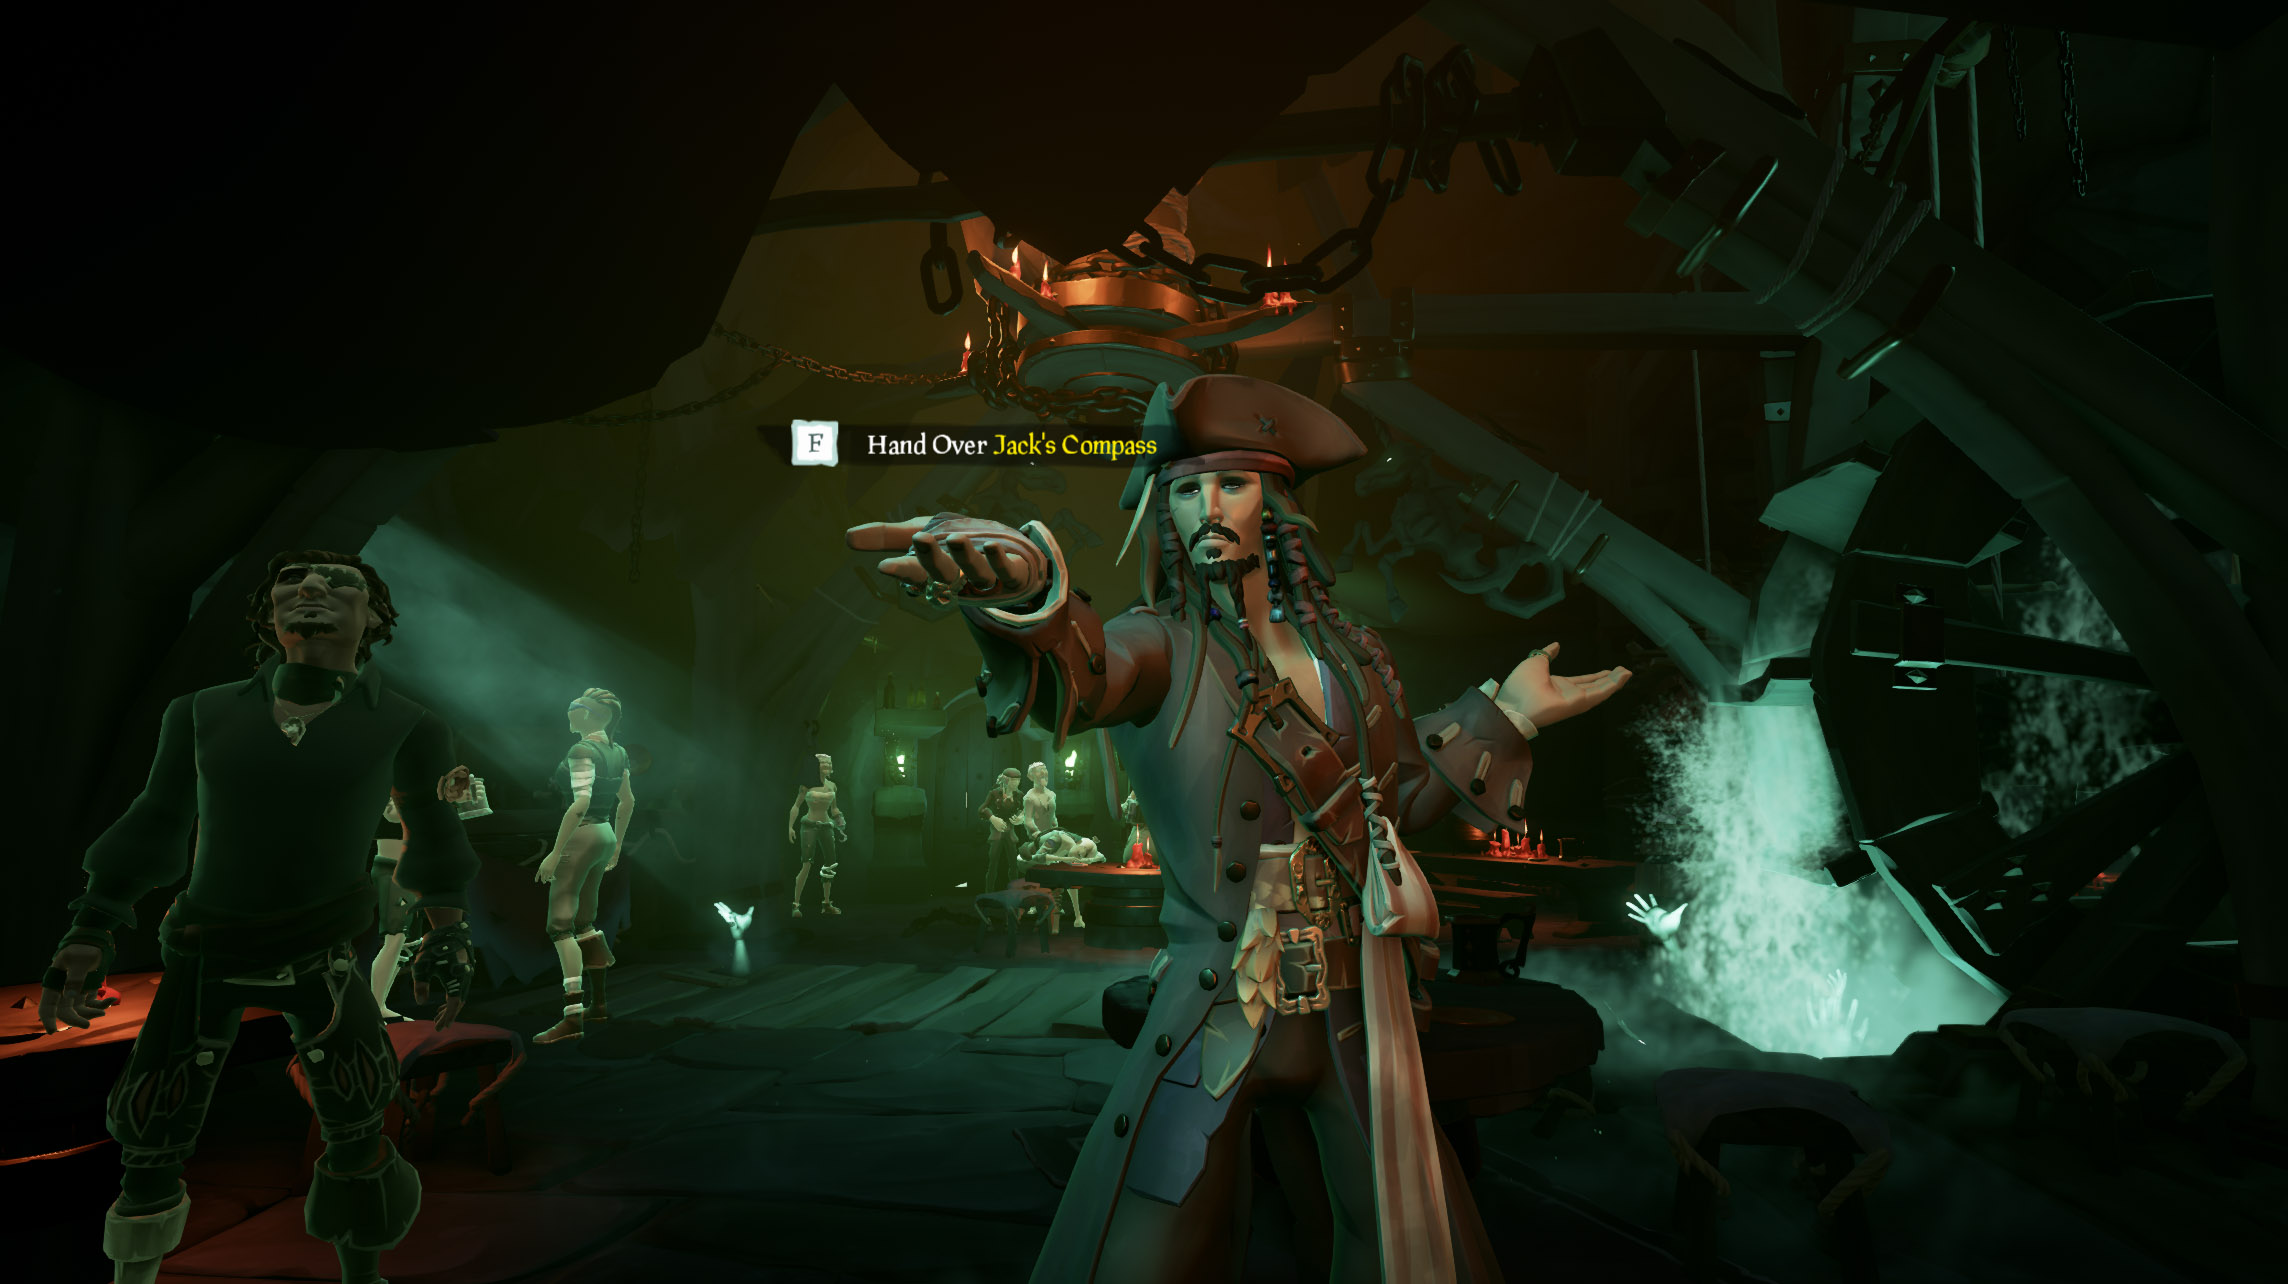
Make your way inside the Tavern to find that Jack has once again escaped death’s grasp. Here you can sit back and enjoy the conversation. Once he’s finished talking, Jack will want his compass back. Return it to him to earn the “Charting a New Destiny” commendation.
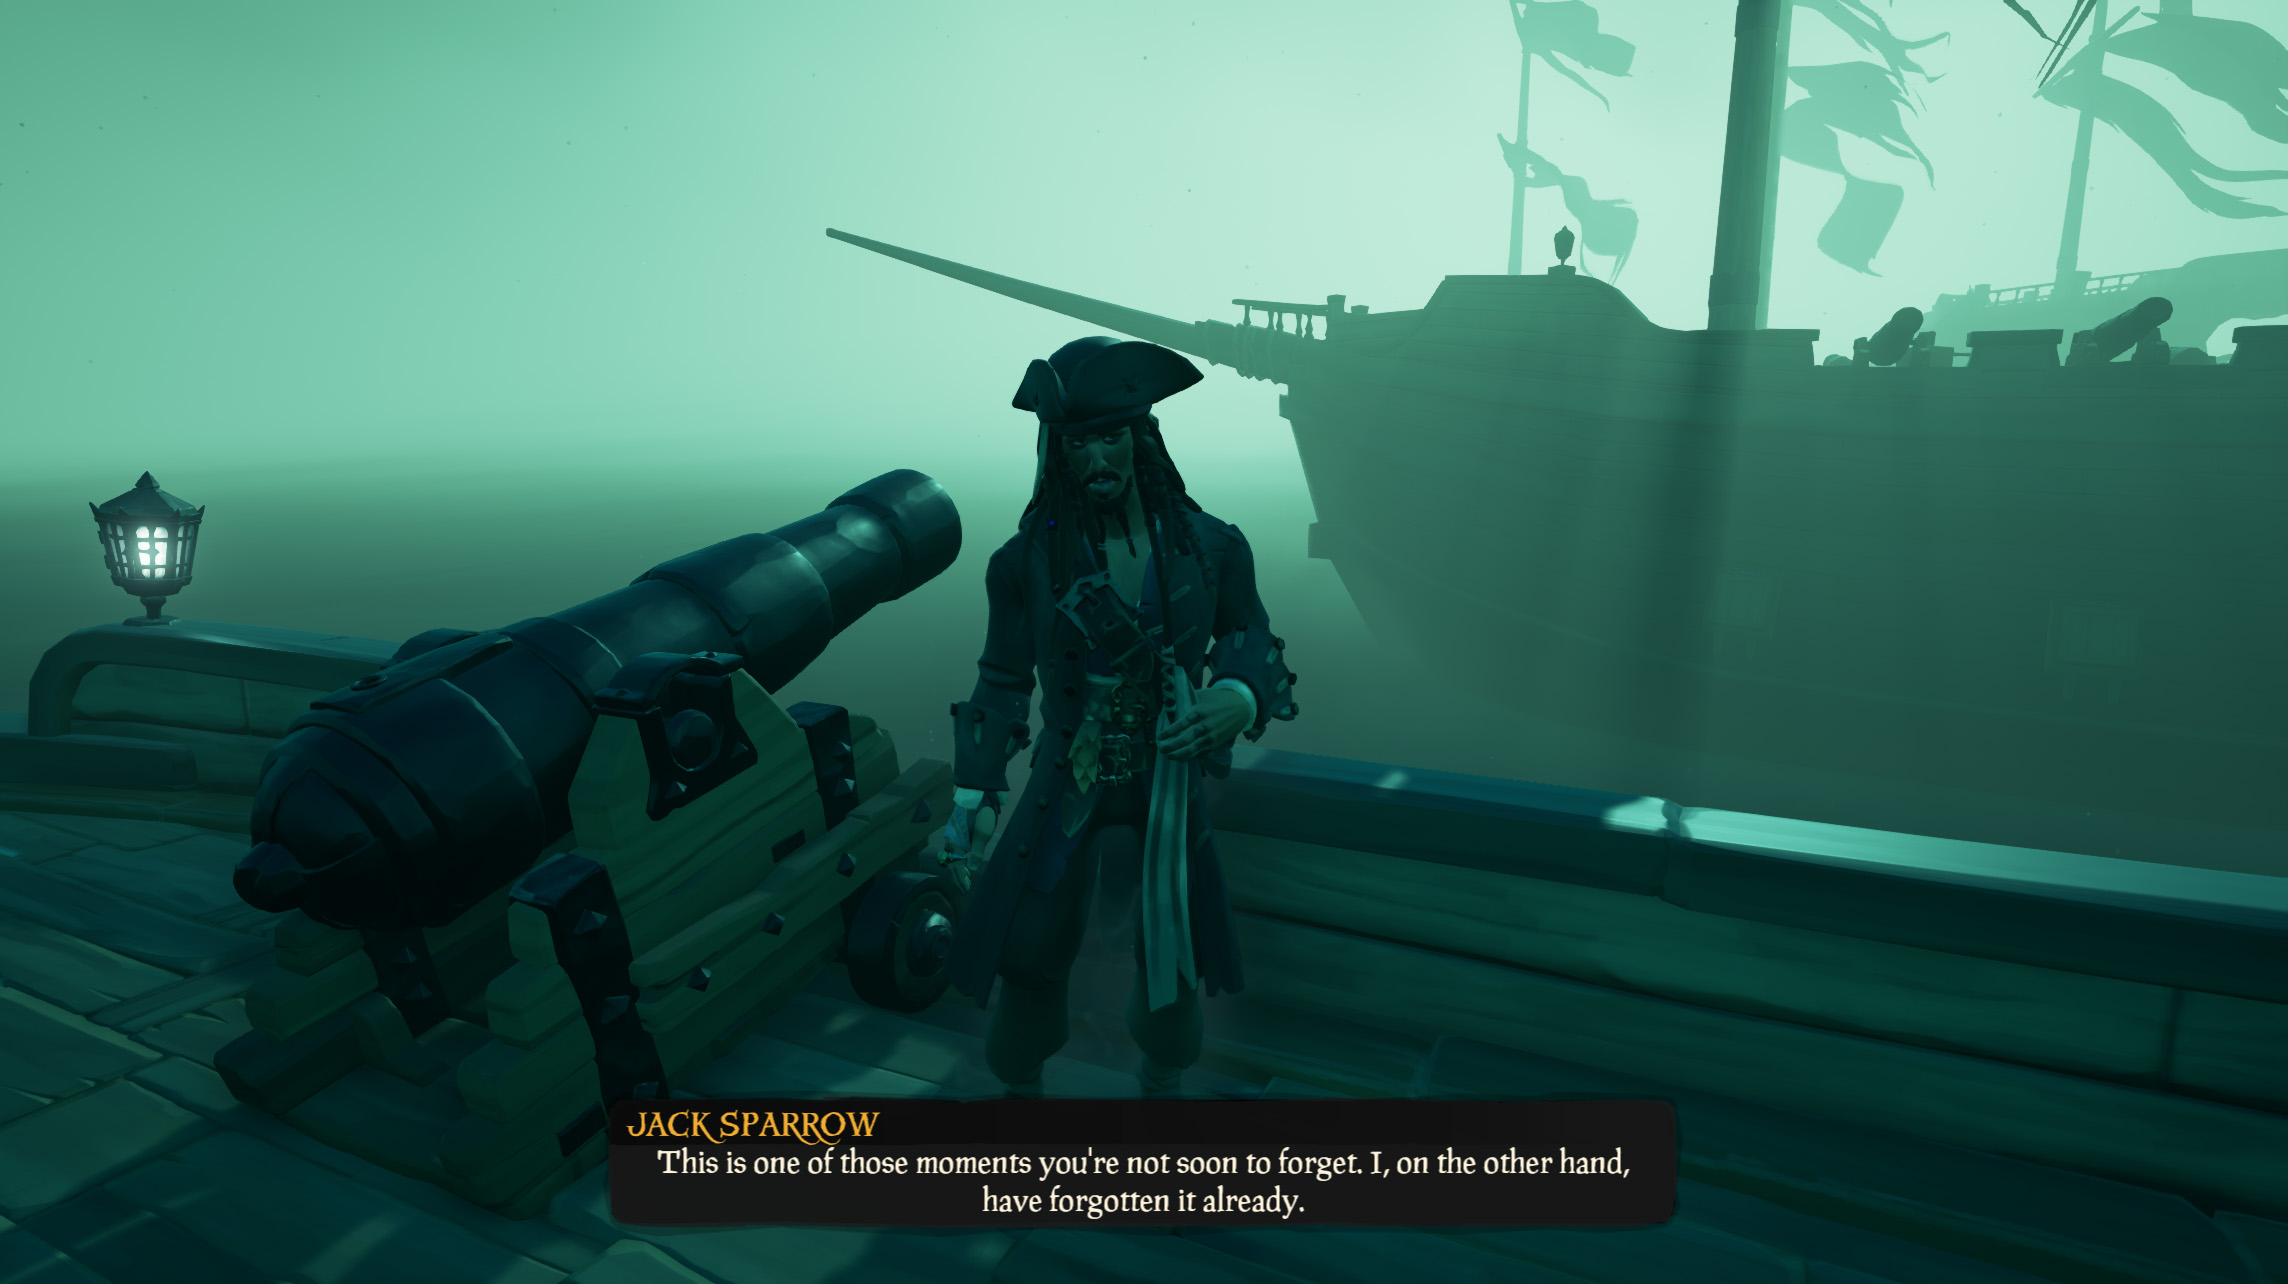
Listen to the remaining dialog or just skip it and wait at the docks until Jack arrives and requests you to “bring him that horizon.” Hop on your boat and sail onwards towards the newly opened portal to complete this Tall Tale and return to the Sea of Thieves .