Dark Brethren Guide & Commendations | Sea of Thieves
Welcome to the Sea of Thieves, a Pirate’s Life, season 3 update. This is THE guide to the fourth tall tale of the series, The Dark Brethren, if you don’t want any spoilers you best minimize this page now or forever hold your grog. This guide will hold EVERY hidden commendation and journal location so you can rest assured you won’t miss a thing.
The Dark Brethren Tall Tale Guide
Beginning The Tale
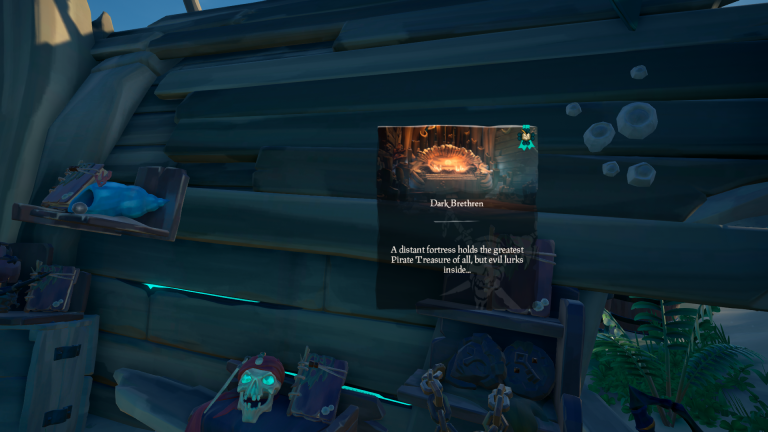
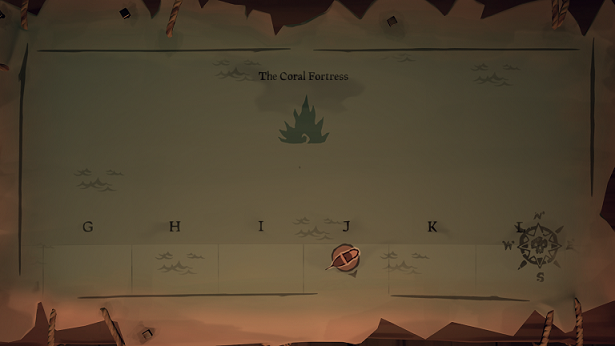
Once you have completed the previous three Pirates tales, vote for the Dark Brethren tall tale at the Castaway’s camp. You can choose to wait and hear the pirate jarrrgon or you can set your sails north to the Coral Fortress at the top of your ships map!
Unlike the first tall tale, this one is NOT a solo instance, so you can and may run into other crews while on this voyage and may also end up helping each other progress.
The Dark Brethren - Part 1
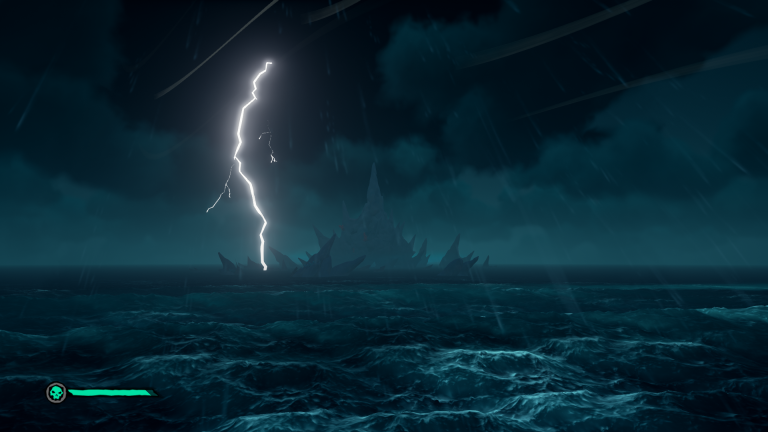
The Corral Fortress is North at the very top of your map. When you start your voyage you will be loaded into an available outpost. If you are spawned in quite far away you may want to reload into the game and check your map to see if you are in reasonable sail distance, otherwise you may be in for a long voyage!
As you sail your way to the Fortress you’ll have Jack to keep you company and insult the freshness of your fruit! Once you get to the Fortress you’ll park that big beautiful ship of yours and head inside.
Once inside Jack will open a stone door with a locket and you begin your fourth pirate adventure.
The Dark Brethren - Part 2
There are three things you’ll need to be paying close attention to during your visit at the fortress: Getting the 5 Mermaid Murals by pulling levers in order, Finding all 10 Journals, and completing the puzzles to progress and finish the tall tale story.
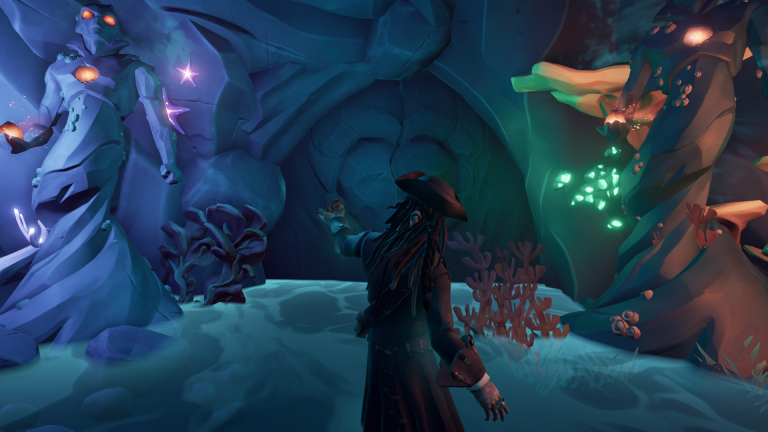
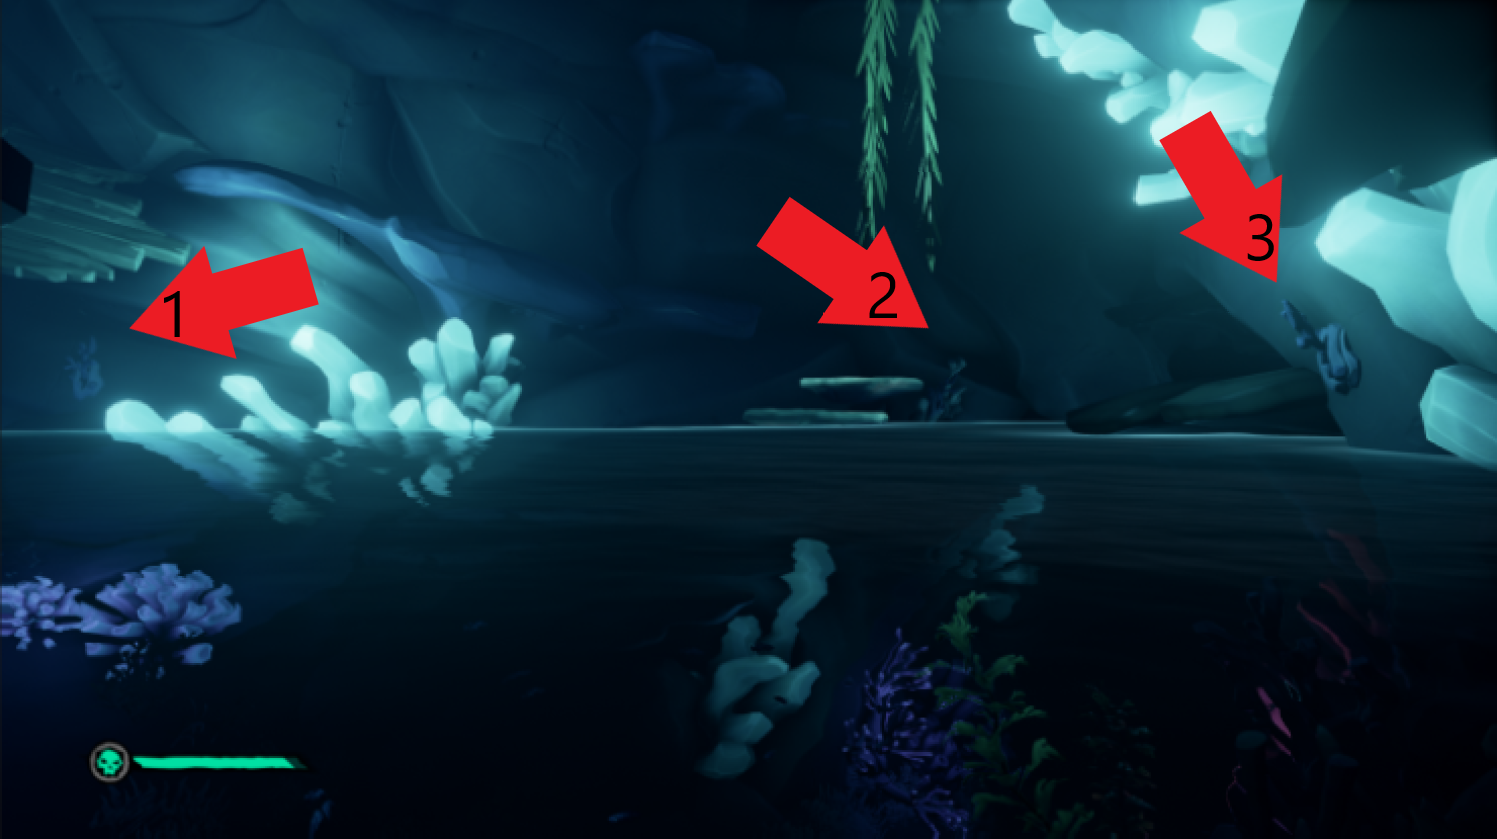
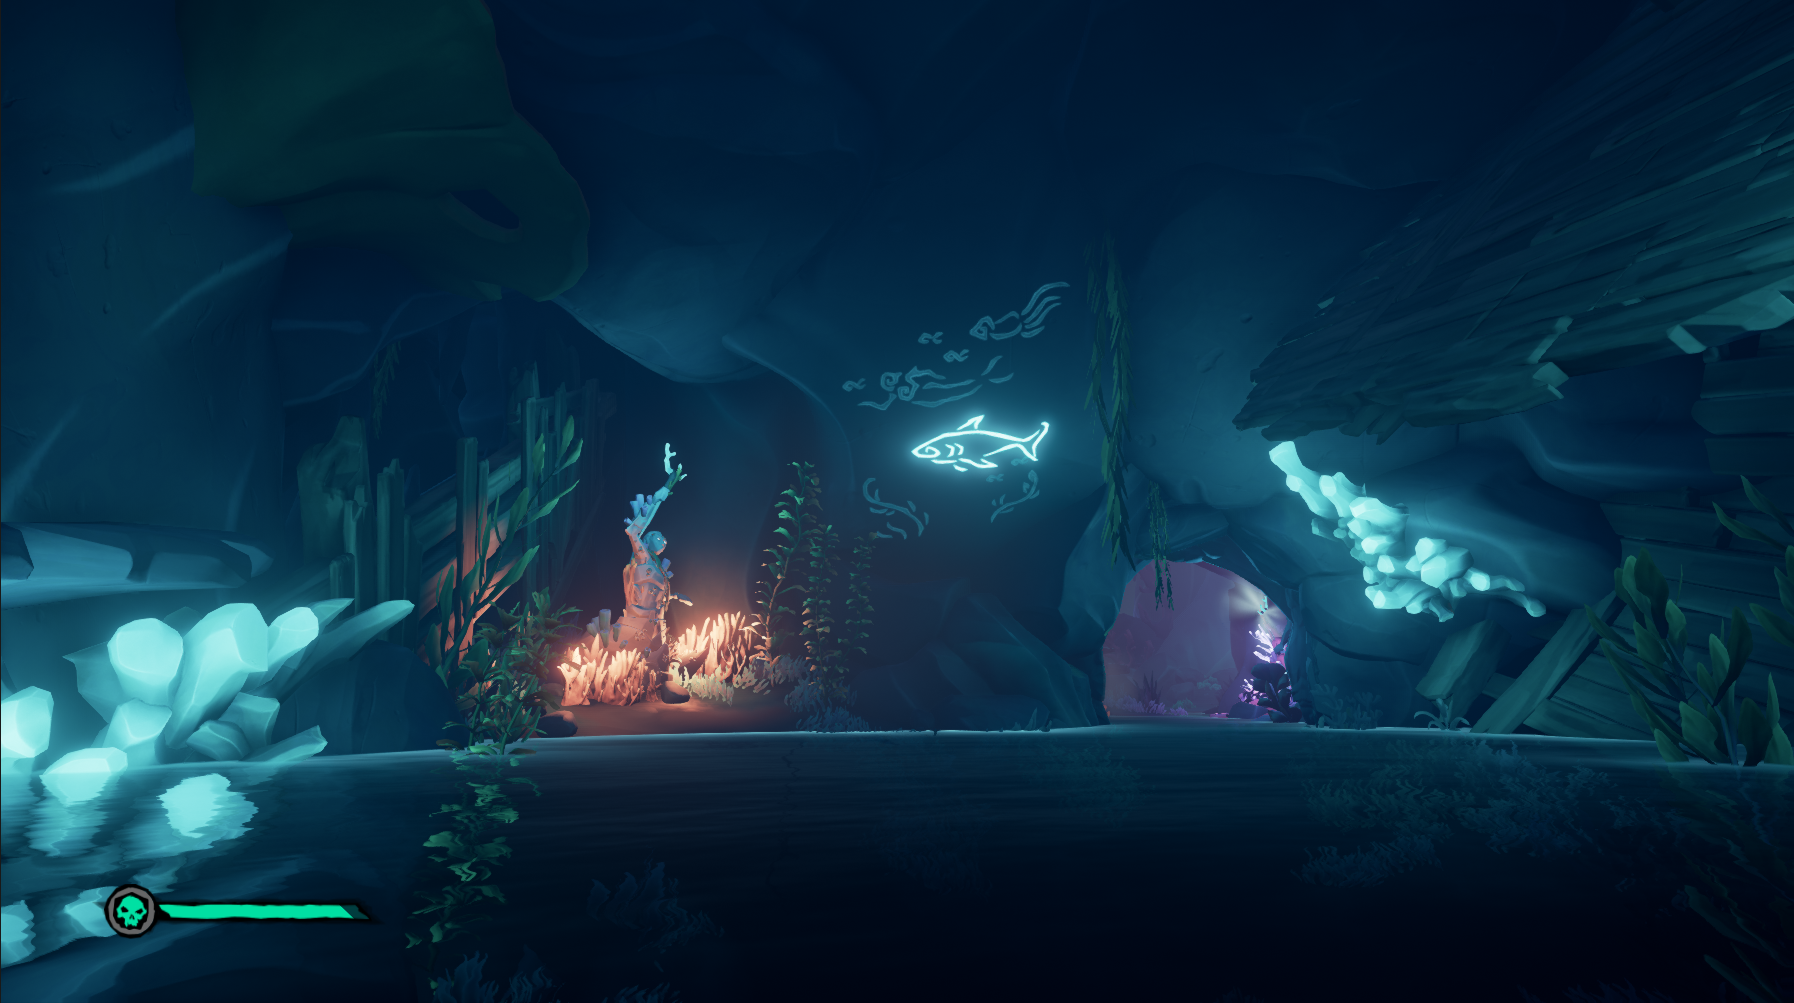
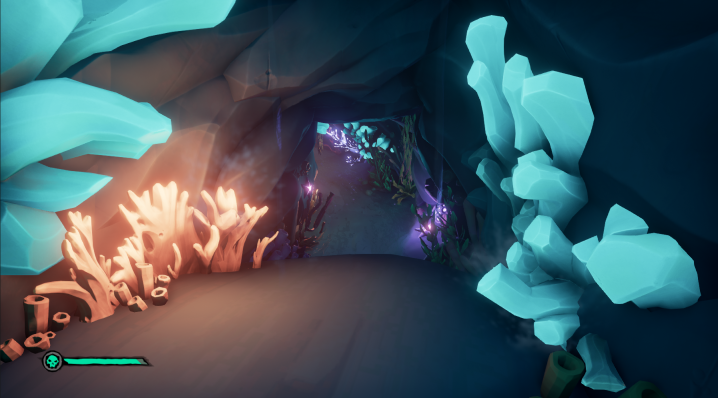
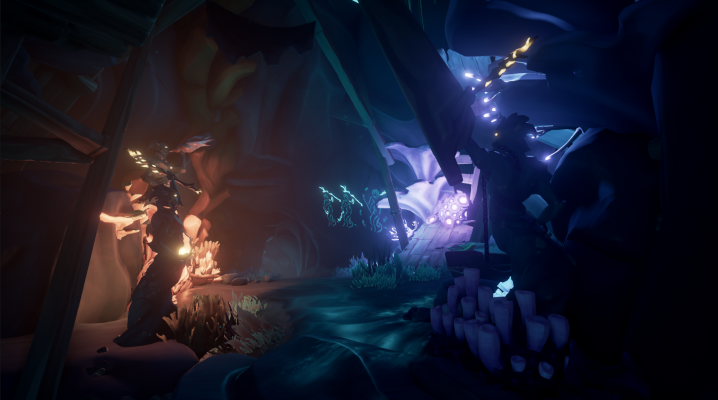
The first room you head to with Jack will have 3 levers. You’ll need to pull the one by the entrance first , the one along the same wall second and the one by the glowing coral last. A Shark Mural will appear, this is your first of 5.
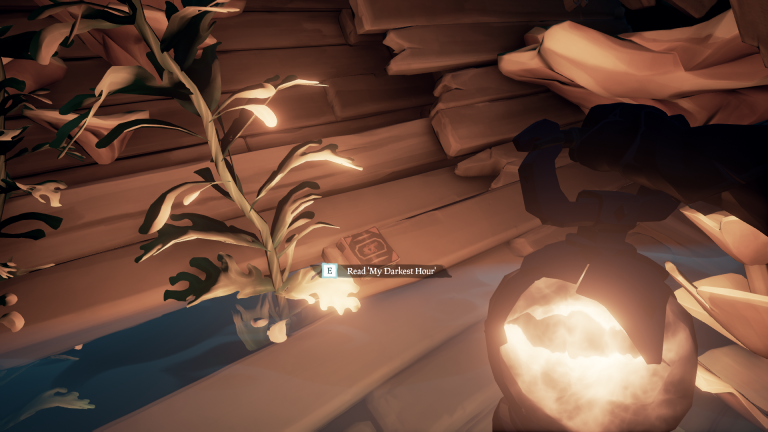
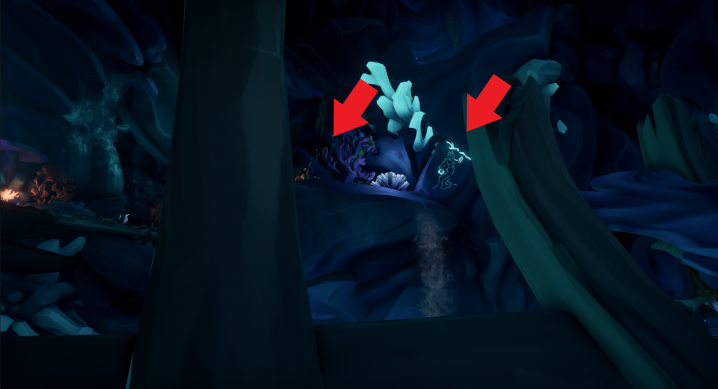
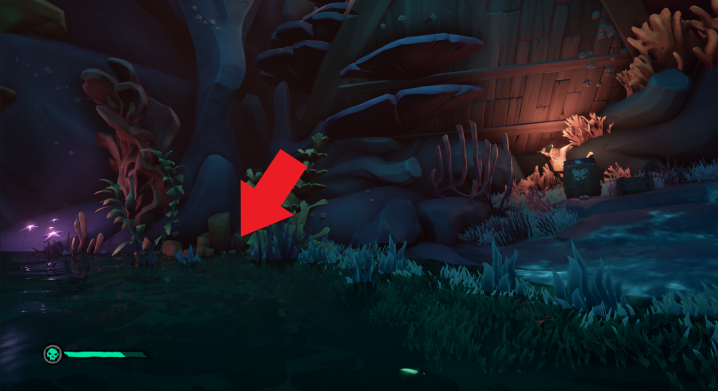
The first book you will find “My Darkest Hour” is in the wreckage to the right, tucked behind the plants. This book is very hard to see without a lantern.
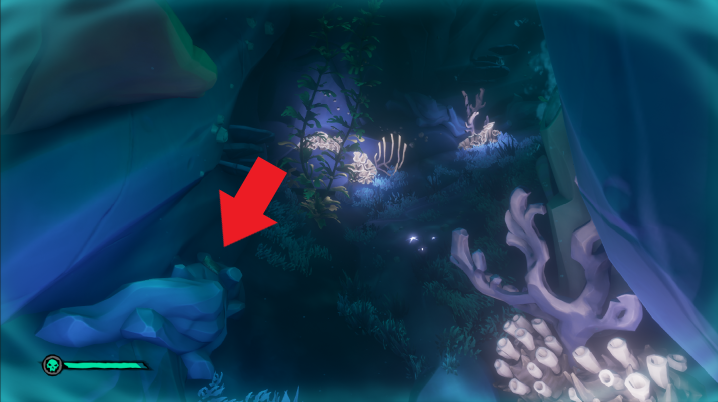
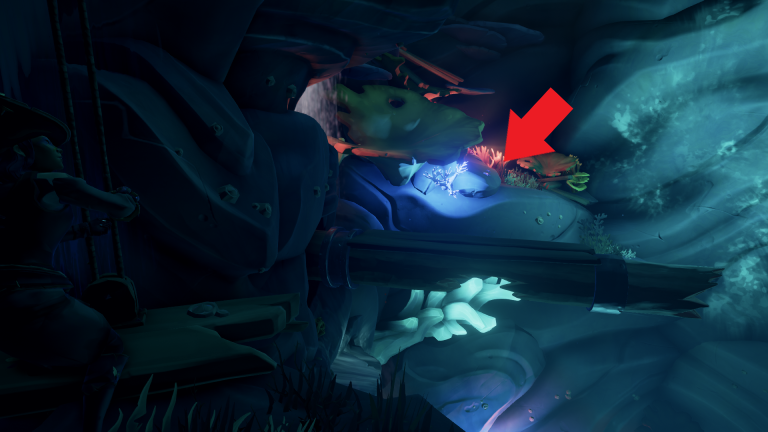
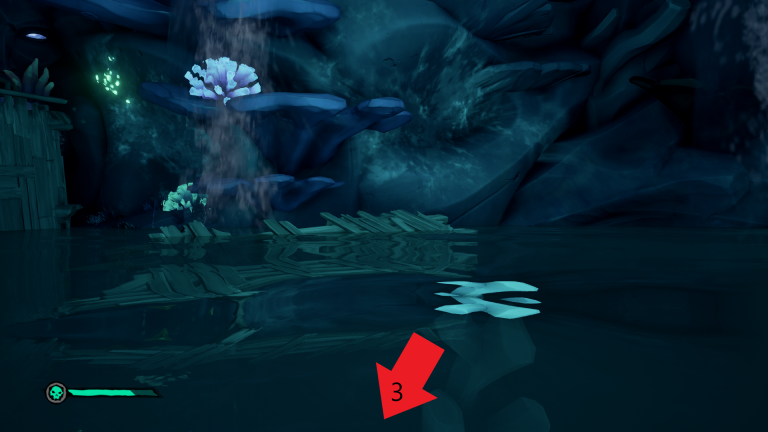
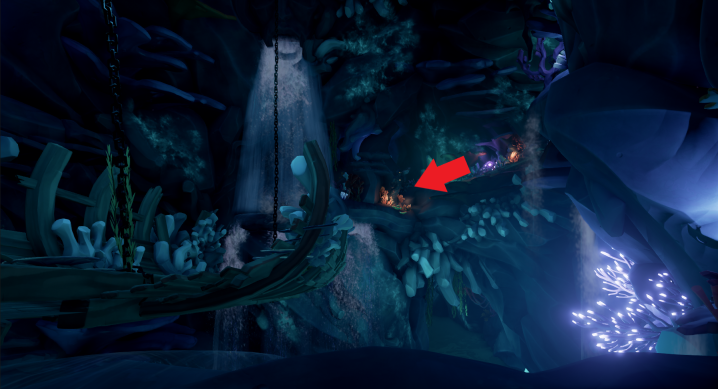
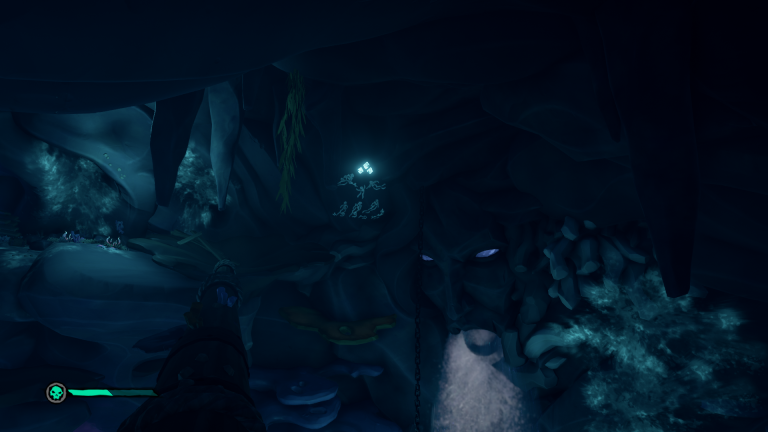
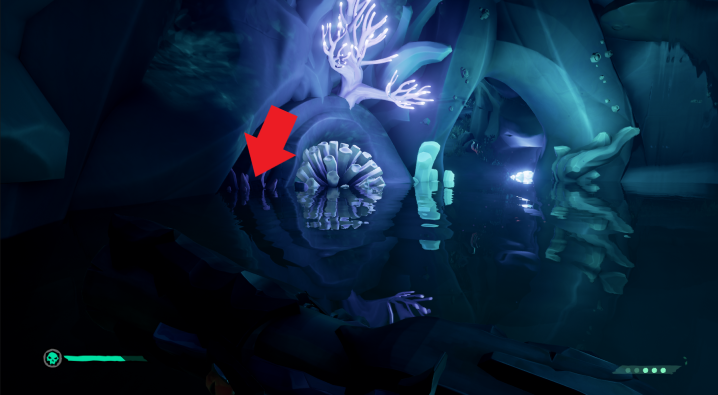
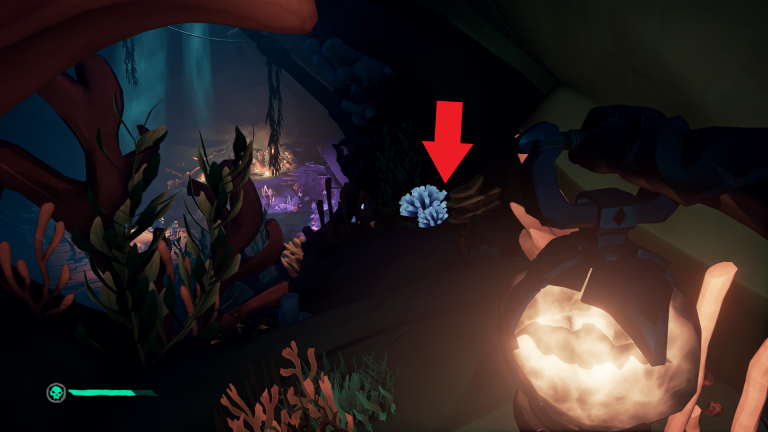
Next, you’ll go underwater into a tunnel and this is where you will find your second book “Following”. The book is about 3/4 the way through the tunnel in some blue corral.
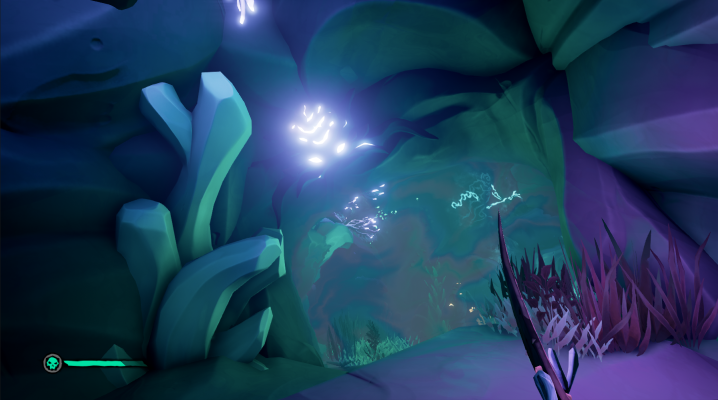
You’ll find the end of the tunnel blocked but Jack will come and open it for you. You’ll swim up into a small pool of water. find and take the gyser to the next level by standing on top of it.
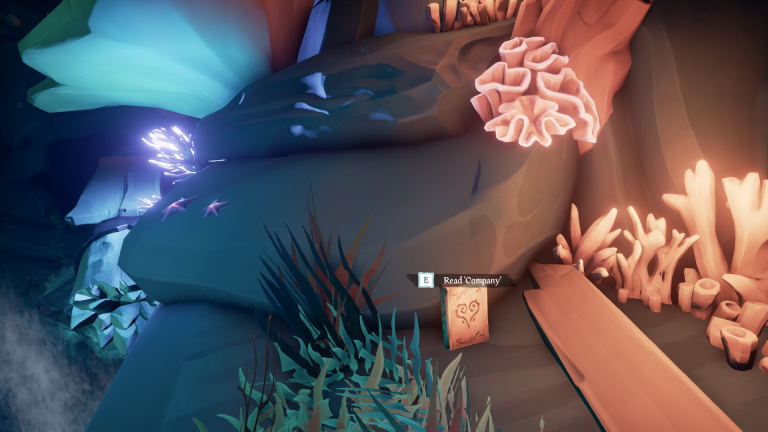
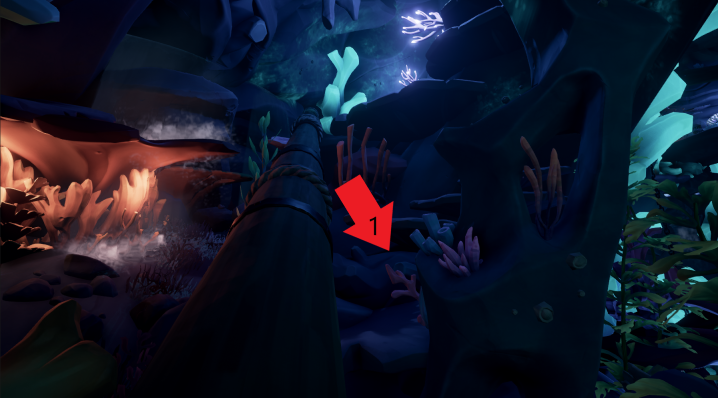
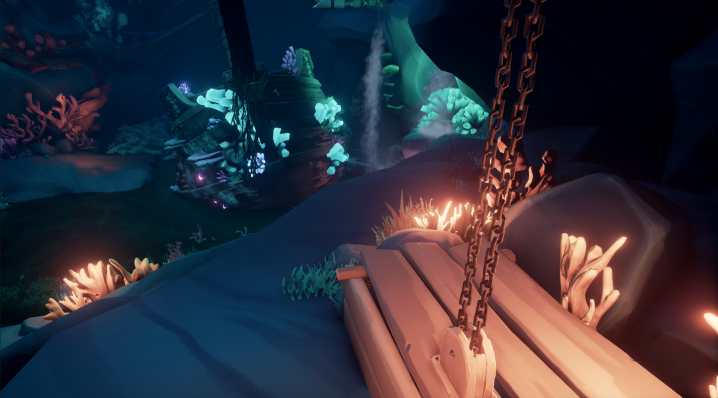
At the top, you’ll see a pulley. The pulley will allow you to hop on the log and make it over to the other side. Right on the other side, you will see your third book “Company” in front of the steps.
Climb up the makeshift stairs and up the log ladder. Jack will join you at the top and after some mumbling, he will fall down a waterfall. You will want to get the commedation “Secret Waters” here. In order to do this, you must hold “D” on your keyboard or hold your thumbstick to the right on console. This will allow you to take a secondary path down.
The Dark Brethren - Part 3 - The Flying Dutchman
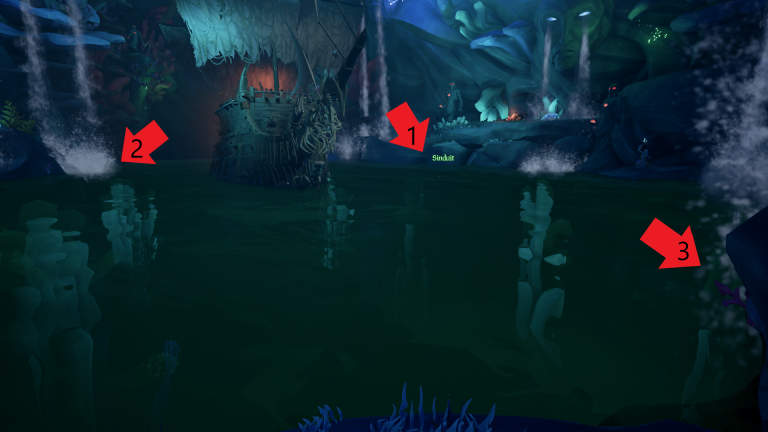
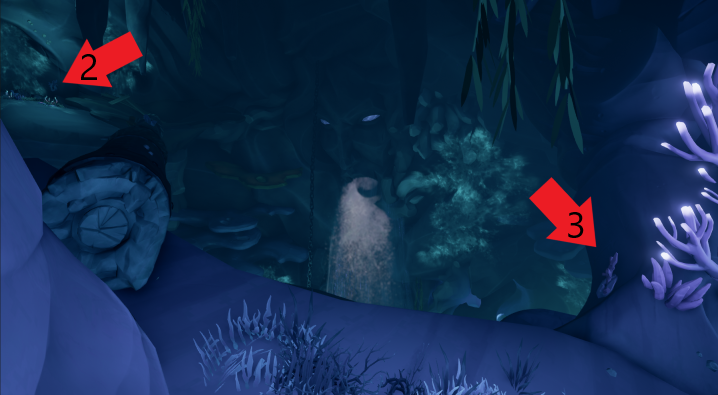
The waterfall will spit you out to the hidden Flying Dutchman. Before triggering the story, go ahead and pull three levers to reveal the second mermaid mural. Pull the lever to the right of the ship, the left of the ship and then in front of the ship. The Mural will appear on the wall in front of the third lever.
You can now climb aboard the Dutchman and go below deck to the map with the dagger in it. Go ahead and remove the dagger, this will unlock the captain’s quarters.
Your fourth book “Davy Jones” is in the captain’s quarters on the left.
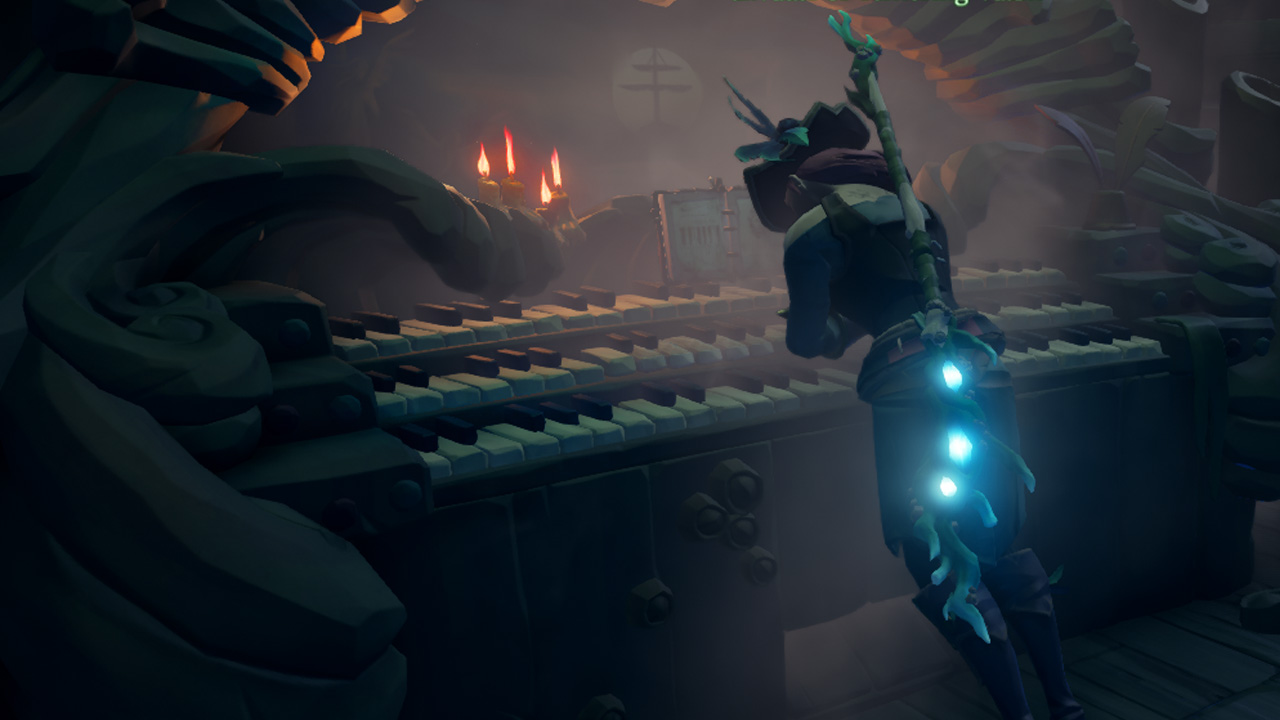
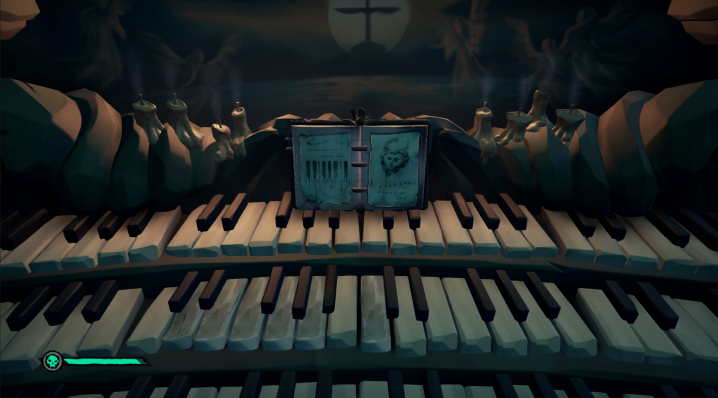
You will come across an organ at the back of the quarters. Read the sheet music and play the keys in order to trigger the next steps. (To get to the black keys hit up on a thumbstick or “E”, to get to the white keys hit down or “S”, hit right/left or “A”/”D” get over).
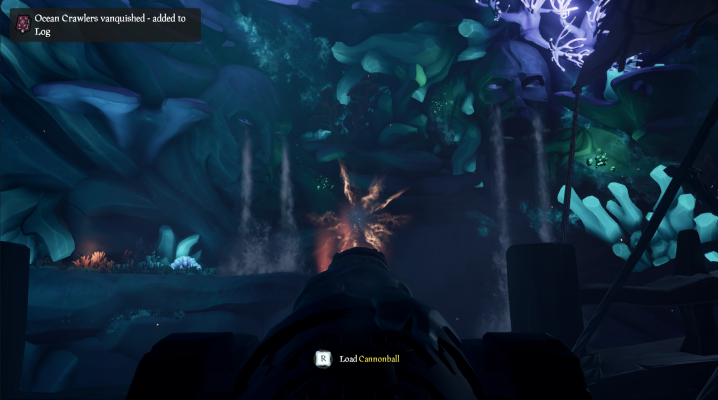
Once you play the keys in the correct order you’ll need to get to the top deck and use the cannon balls and siren tridents to defeat all spawned enemies. Once you complete this, a large hole will open up behind the ship which will allow you to swim to the next area.
The Dark Brethren - Part 4 - Mermaid Puzzle Room
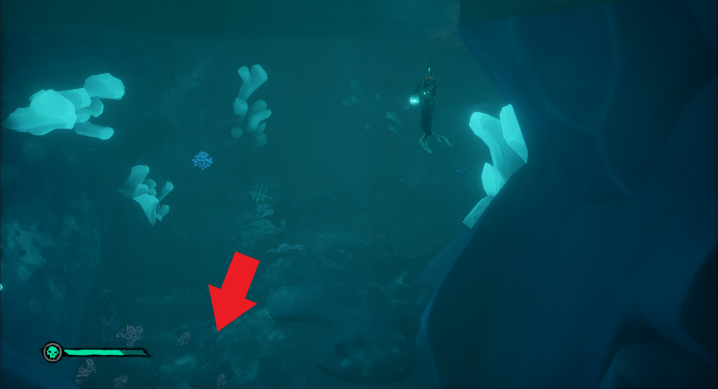
When you swim into the room you will be greeted by two hostile Sirens. Defeat them and collect your fifth book “Risk” which is in a cage at the bottom of the cavern floor near the opening.
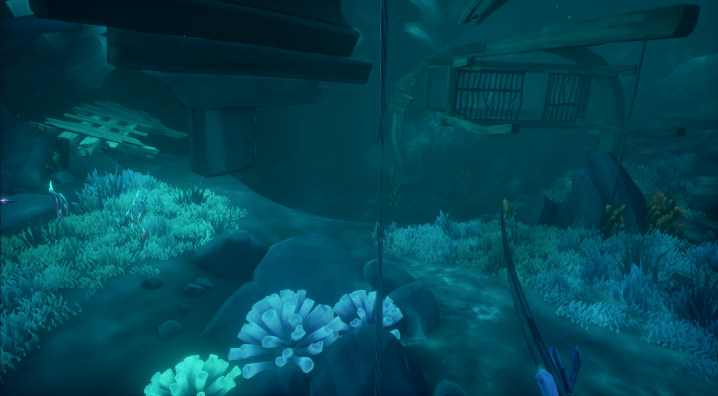
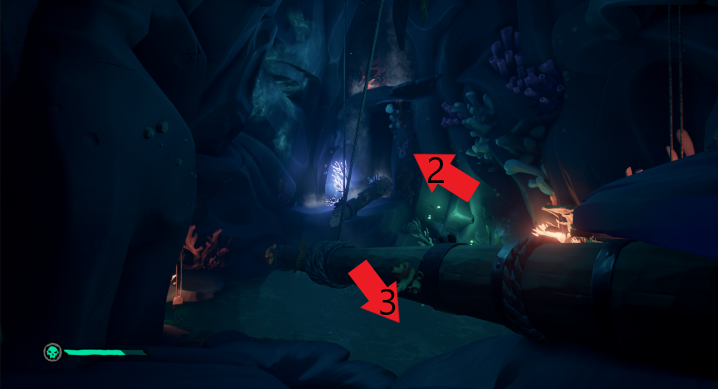
Go ahead and cut the ropes holding down the three shipwrecked pieces at the bottom if the cavern floor.
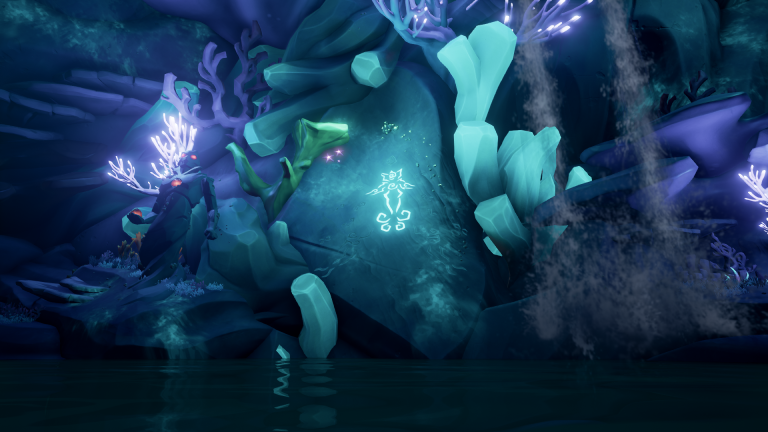
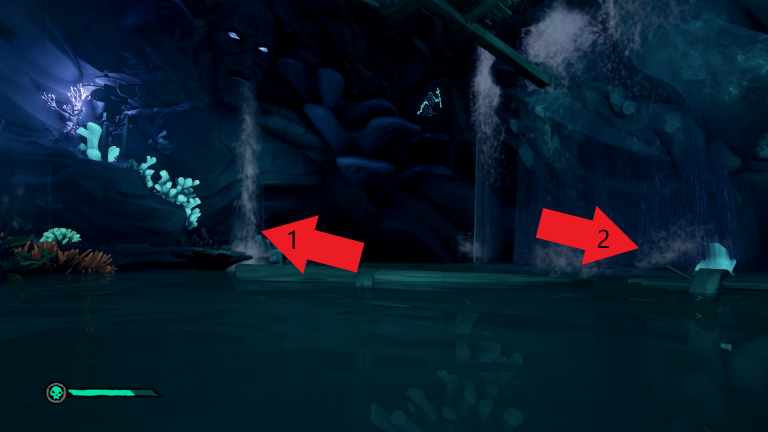
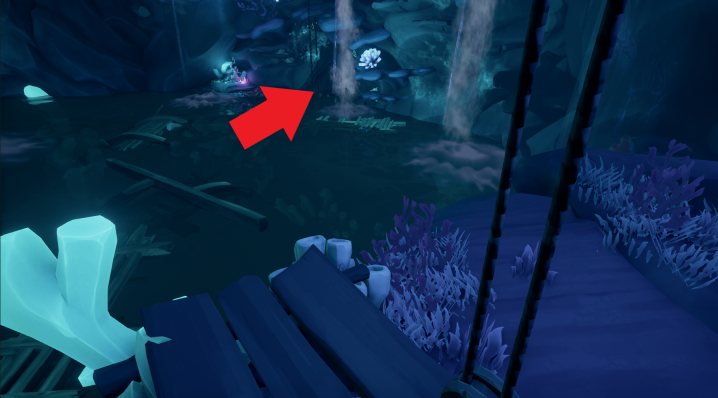
Before Progressing, you’ll want to get your third Mermaid Mural by flipping the above water levers under the small waterfall and the lever under the big waterfall. Next turn opposite of the waterfalls and flip the lever in the water under the crosshatch wooden piece floating on the water.
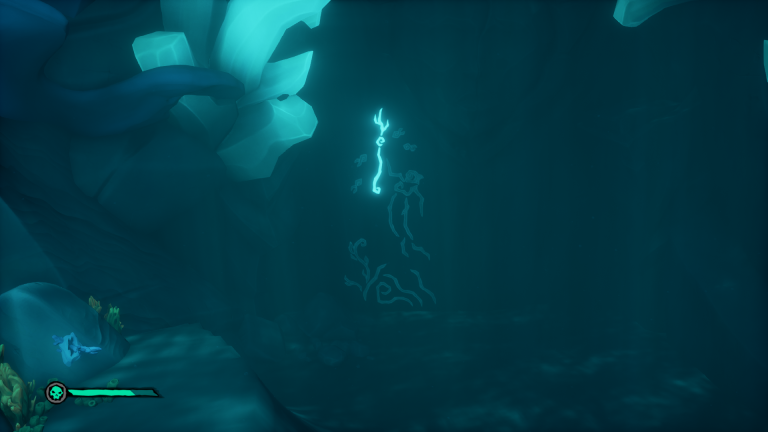
Once the levers are pulled in the correct order the Trident mural will appear underwater in front of the third lever.
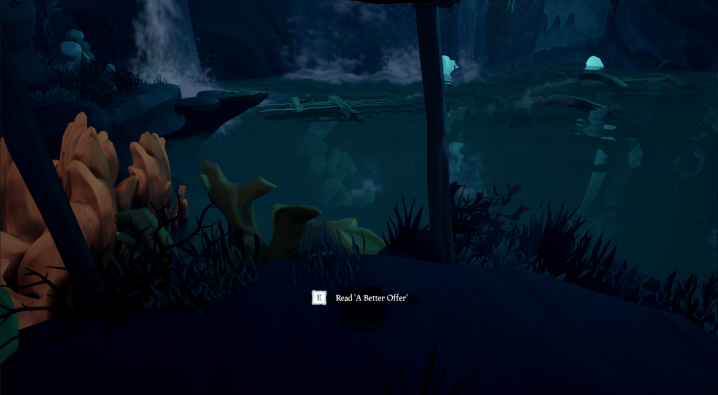
Hop across the shipwreck pieces you cut free and get onto the ledge to continue. Your sixth book “A Better Offer” will be under the archway to the ladder.
Once you have your book climb up the ladder above you. You will see a pulley here, go ahead and use it to lower a small platform on the other side of the cavern. Head on over to that platform and follow Jack up the trail.
Once you follow Jack up the trail he will start reading a book and when he finishes he will go through a wall and find a siren heart. Grab the heart from his arm sticking through the wall and give it to the siren on the left, which is missing that heart.
Next, you’ll notice there is a lit up mural on the wall showing three siren statues in the room with you. Go ahead and hit or shoot the two sirens holding tridents until their arms match the mural and then hit or shoot the siren with the horn to open the door to the next area.
The Dark Brethren - Part 5 - Mermaid Puzzle Room Upper Level
When you come through the door you’ll be on a ledge with a pulley that pulls the hanging ship up. Once you turn off the waterfall on the other side of the room you can angle the ship up and jump to the next area.
To turn off the waterfall you’ll need to solve another statue puzzle. One of the statues are on the ledge with you, the other two are on opposite sides of the room, only visible from jumping on the hanging wreckage. The other two are hard to see, the one on the left needs shot twice, the one on the right needs shot once.
Once all three statues are properly placed, shoot the statue across the way with the horn to turn off the water fall, then skip merrily across the wreckage and jump down to the other side of the cavern.
Head on up the wooden pathways. Before you go up the first log, go ahead and flip lever one.
Once lever one is flipped go across the second log, flip lever two, come back across the log and flip lever three. You now have your fourth Mermaid Mural.
To finish off this area go ahead and solve the final mermaid statue puzzle and shoot the horn statue across the log from you.
The Dark Brethren - Part 6
When you drop below, sea creatures will spawn and fight you. Once you take them out grab the seventh book“Change” and head up the path.
The top of the path requires you to take a geyser up to a ledge and shoot a rope to open the door. When the door is open you will come to a bubble door. Smack the glowing orb to cross through it.
Next you will come to another small area with a mermaid puzzle. Go ahead and solve it to progress. When you solve it correctly, water flows into the room to take you to the ledge above. Before proceeding, grab the eighth book “A Change of Location”.
Before leaving, pull the lever near the red corral. From here you’ll come to a room with two downed logs, use both pulleys in the room to raise and lower the logs, pull the lever on the wall and the one in the water to reveal your final Mural.
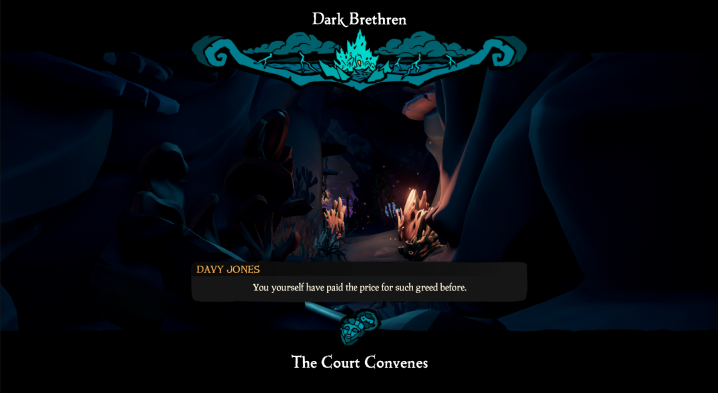
The Dark Brethren - Part 7 - The Brethren Court
It is very important to WAIT until Davy Jones is done talking before coming out of the tunnel. Waiting for them to finish will earn you a commendation.
Before you fully exit the tunnel to come into the court you can snag book nine “Rescue” tucked to the right of the tunnels end.
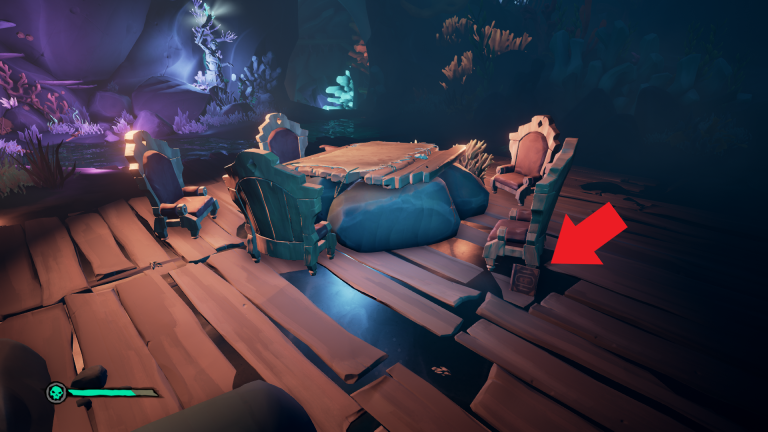
Your final tenth book “The Brethren Convenes” is leaning up a chair by the table.
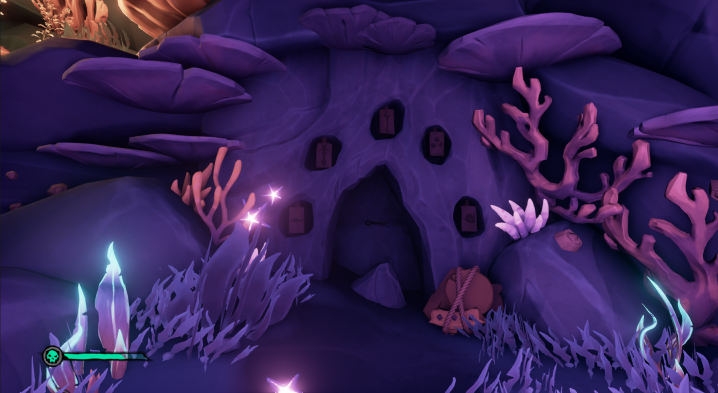
You’ll notice the brown chest, “Dead Man’s Chest” needs a key. In order to get that key you need to solve the puzzle on the wall by flipping the rock pieces in the right order. along the wall cut out. The order of these is the order of the Mermaid Murals.
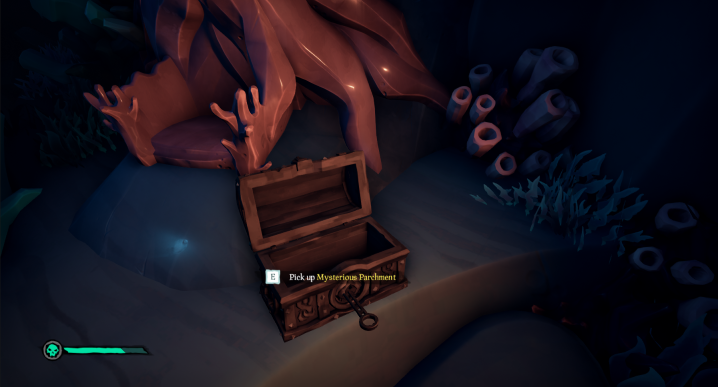
Unlock Dead Man’s Chest and take out the parchment then turn around and continue on to the final fight and complete the quest.
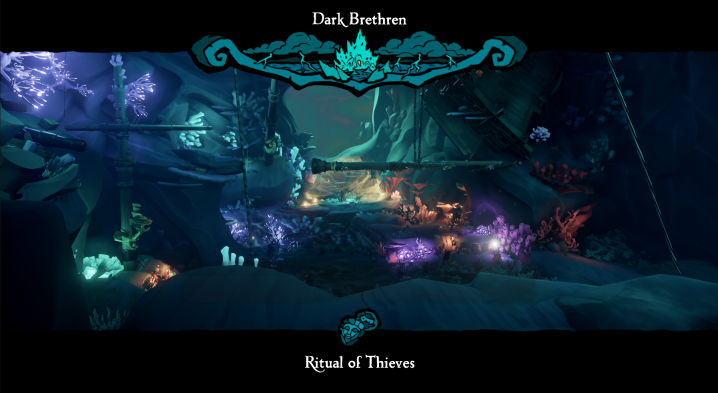
The Dark Brethren - Part 8 - Ritual of Thieves
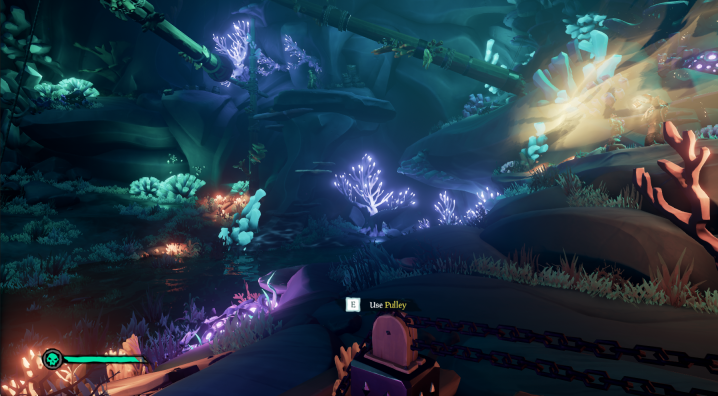
When you come to the Ritual of Thieves you’ll notice Jack’s help in this quest. As you kill the waves of enemies coming toward you make sure you listen for Jack’s directions. He will require you to use pulleys on opposite sides of the cavern to help him get around.
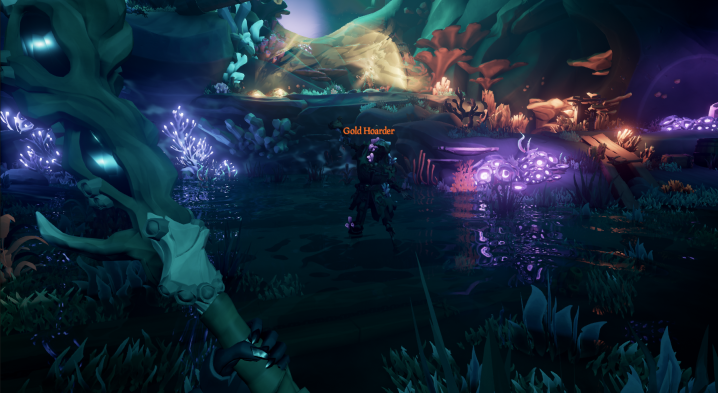
Once the waves are completed, you will fight the Gold Horder; and then once the Gold Holder has been bested, Jack will fall down and be tied up by one leg. You’ll need to cut him down and complete the quest.