How to Launch a NUKE in Fallout 76 | Fallout 76 Guide
Launching a Nuke
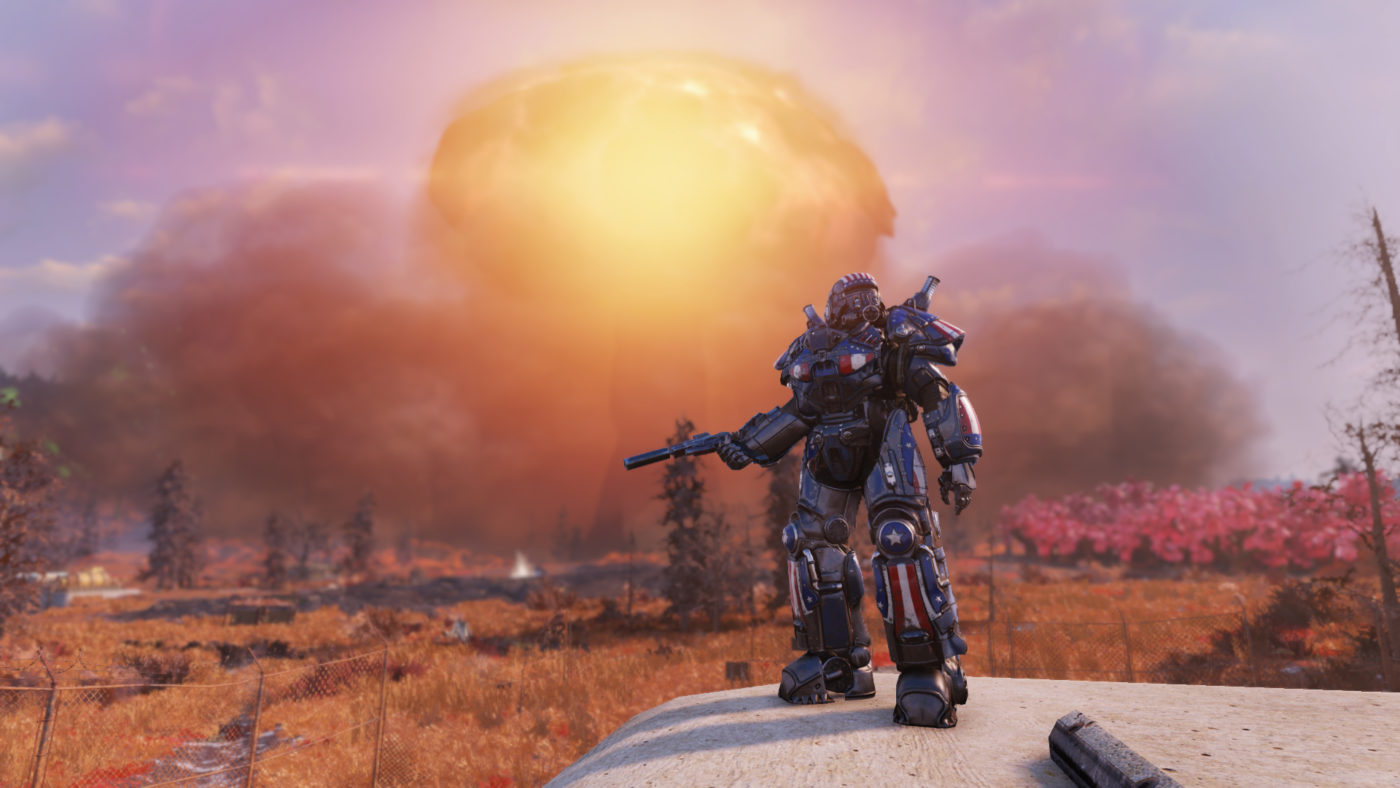
Launching a nuke in Fallout 76 is never easy the first time around. It takes a lot of grinding, a lot of questing, and most of all, a LOT of firepower. But it’s totally worth it for absolutely destroying a huge portion of the map. Today I will teach YOU how to launch a nuke, either in a group or entirely solo.
Starting the Enclave
What a lot of people don’t realize is that it’s not just:
Get Code
Launch Nuke
Oh no. There’s a bit more of a grind behind all of this. The first step you need to take in launching a nuke is finding yourself ALL the way over on the very East most side of the map, right in the Mire. There’s a location here called the “Abandoned Waste Dump.” This is the very first step you must take in starting your adventure.
Once you find this Deathclaw filled cavern, you will need to go search around for a dead body who has the quest starter for the enclave on his corpse. This body is located in the left portion of the cavern, in the very back within little nook in the wall. You can find it easier by following a trail of blood that leads right to this agent. On his body will be a “Operation Summary – Blackwell” item. Once you pick this up, you will proceed to search every single deathclaw nest in the cavern until you find the “Bypass Holotape,” Giving you access to the elevator in this cavern, so easily found by going to the lit up staircase.
The Bunker
Once you enter this bunker, you will need find there is a laser security wall blocking you from entering. In order to disable the wall, there are three simple actions you must take in three different rooms.
Bunker Breaker
Air Flue
Reset Bunker Circuit Conduit
Once you’ve completed these steps, be sure to go into the back bedroom of the bunker to grab the note “Head Fuzzy” which is a recipe for Mentats.
Head back into the secure bunker room and loot up all the cabinets and shelves for codes OR just use the Terminal in the room, scanning every document, which will also give you a code for the code pad on the cement wall. A holotape will appear, and you must simply grab it from behind the painting and listen to it.
The Enclave - One of Us
This is the most tedious part of this questline, but nevertheless MUST be completed to launch a nuke. Head to the Enclave Bunker which is located at the Whitesprings resort. Simply active the code pad and it will unlocked, allowing you to enter the vault into the Enclave facility.
Quickly complete the beginning to the quest, listening to the monologue, going through each and every little thing they send your way. There’s no combat, just a LOT of talking and waiting. There’s a test for the Enclave, but it’s not really THAT important, you can just blitz your way through this part.
After all that is complete, there’s a few quests they’ll send you one before you can launch your Nuke.
Step 1 - Sugar Grove
The first location they send you to is Sugar Grove. Simply head inside, fight off the robots (WARNING: There is sometimes a Stealthed Assaultron hidden in this building) and load the “System Access” tape into the terminal at the very front of the command room.
Head back up to the room with the stairs on both sides, but go into the door on the LEFT this time, which will take you to a Archival System Terminal dispenser, which will give you the MODUS data you need.
Immediately after you complete this task, you need to go to the National Radio Astronomy Research Center, which is just below Sugar Grove on the map. Head through the building, climbing the staircase until you’ve reached the roof door. Simply interact with the computer, and then jump off the roof (CAREFULLY) and pick up the care package they drop, which contains some nice rewards and weaponry.
Step 2 - Officer on Deck
Once that quest is complete, you move onto POTENTIALLY (group depending) the easiest quest in this entire segment. Here, you must return to the Enclave bunker, listen to a TON more dialogue, and then finally be told to earn something called “Promotion Commendations.” These are acquired through:
Completing Enclave Events
Dropped Connection
A Real Blast
Bots on Parade
Killing Legendary Enemies
One Commendation earned PER kill
Killing Scorchbeasts
One Commendation earned PER kill
If you have a group that can help you here, you can complete this quest in literally 10 minutes. If the Enclave Events are up, complete them, might as well. Other than that, allow your group to carry you straight to the cranberry bog, all YOU need is to deal a TINY bit of damage to the scorchbeast, and let your buddies finish it off. You’ll earn a commendation even if you don’t land that final hit. On top of the bog, there’s a ton of fissure sites around the map, each one guaranteed to spawn a Scorchbeast, so you might as well just travel from spot to spot until you get your commendations complete.
Step 3 - I am Become Death
You’ve done it. You’ve killed all those nerdy Scorchbeasts which automatically makes you ready to launch a Nuke wherever you so please. Head back to the Enclave to be given full access to now launch nukes.
Now, there’s some small details that a LOT of players miss here, ones that give a lot of benefits. First off, the Surveillance Terminal in the Command Wing Center (if you just simply follow the quest steps) will give you the locations of Nuclear Keycards. That’s ALL you need, okay? The Nuke CODES are totally useless now, as each and every week the codes are datamined into oblivion and slapped everywhere on the internet. All YOU must do is find the Nuclear KEYCARDS and you’re set to go! Searching for the keycard will put a blip on your map with the location of a cargobot carrying the card, simply travel to it, shoot it down (Shoot it’s jet turbines, destroying those will slow it down), and loot it up.
Next up, head into the back room, to the Archival Terminal, which contains the plans to craft the Prototype X-01 Power Armor, some of the best dang Power Armor in the entire game. That’s something you don’t want to miss.
Final Step - Launching a Nuke
Alright, assuming you’ve collected a Nuclear Keycard from a Cargobot, you’re reading to launch this nuke! Head over to any silo you want, Bravo is in the top of the Savage Divide, Alpha is in the middle, and Charlie is at the bottom. It doesn’t matter which silo you launch the nuke from, the only thing that does matter is you can’t launch a nuke from that specific silo again for a few hours after launch.
This will be the trickiest part of the quest to launching a nuke, and I HIGHLY recommend grouping up if you’re a lower level player at this point, just so it’s not a super long and tedious process. You will have plenty of opportunities to solo the silo’s later, trust me, but right now you need to learn the mechanics and understand how exactly to launch this thing.
The Nuke Silo
There are quite a number of things you must do in order to complete a silo, and although there are various ways to go AROUND said things, here are the main mechanics you must be ready for. HAVE YOUR QUEST MARKERS ON. It’s much more difficult to find stuff when it’s turned off.
The first step is getting a biometric ID card. In the first area of the nuke silo, there will be BLUE keycards just laying around, you need to pick one of these up, head back into the Medical Bay (room with the giant medical tubes) and get scanned up inside one of them. There’s a terminal in another room when you swipe your card beside the terminal, and then “Fabricate” your ID card. Head into to main control room, swipe your card again, giving you access past the laser grid.
The next step is to run down the hallway, MAKE SURE you’ve got your radiation suit on, whether it be hazmat, Chinese stealth suit, or power armor, and head into to reactor room. Here there are a bunch of busted reactor tubes which need to be repaired. Kill the turrets and THEN activate the terminal in the small back room, which will allow you to disable the reactors for about 2 minutes so you can run around and “repair” the broken reactor pipes. Once this is complete, go back to the terminal and activate the reactors once again. A door in at the opposite side of the room will open up, allowing you to head into the next area.
This next part is fairly simple, you just need to break all the mainframe cores off of the computer panels, these are the red motherboard looking panels. You’ll notice a bar appear on your quest telling you how many you need to destroy, so simply head around the room, killing turrets and robots, ripping the panels off the computers. Once this is done, another door will open WITH an occasional invisible Assaultron blocking your way. Be careful, those guys are tough.
Continue through the silo until you reach the second final stage of launching a nuke. You will enter a large room, FILLED with robots, including a massive sentry bot, so make sure you take them out before you start the main task of this room. Once the robots are dead, find the terminal right next to the massive door. Pull off all of the broken mainframe cores and either head to the Tinkerer’s workbench in the back room to repair them with steel and circuitry, or just run around the room looking for GOOD mainframe cores hidden throughout. Once you have them, head back to the computer and place the good mainframe cores back into the slots, activate the terminal, and open the large doors.
This is it. The finale. Head down the silo into the final room, which will most likely have a TON of turrets, two invisible assaultrons, and at least a couple other various robot types waiting for you. You’ll want to take them all out before initiating the launch process, which you can do from the terminal up the stairs. Initiating the launch will spawn repair robots, first 1, then 2 more, then a final 2. These 5 robots will need to be defended for roughly 3-5 minutes, depending how well you can keep them alive at their terminals. A TON of robots will spawn during this phase, which is why you want to clear out the room of turrets BEFORE you start this process, because they will fry you faster than you know.
Once you complete this, the room will become dim with flashing lights. It’s time to reign some terror onto the land. Head to the lit up terminal at the back of the room. There are THREE steps to quickly do here:
Scan your Nuclear Keycard
Enter in the Nuke Code
Launch a Nuke from the Terminal
You are now able to freely launch a nuke (almost) anywhere in Appalachia! Remember, there ARE certain locations that will greatly benefit from you nuking them, here are a couple of those locations: