The Sunken Pearl Guide & Commendations | Sea of Thieves
Welcome to the Sea of Thieves, a Pirate’s Life, season 3 update. This is THE guide to the second tall tale of the series, The Sunken Pearl, if you don’t want any spoilers you best minimize this page now or forever hold your grog. This guide will hold EVERY hidden commendation location so you can rest assured you won’t miss a thing.
The Sunken Pearl Tall Tale Guide
Beginning The Tale
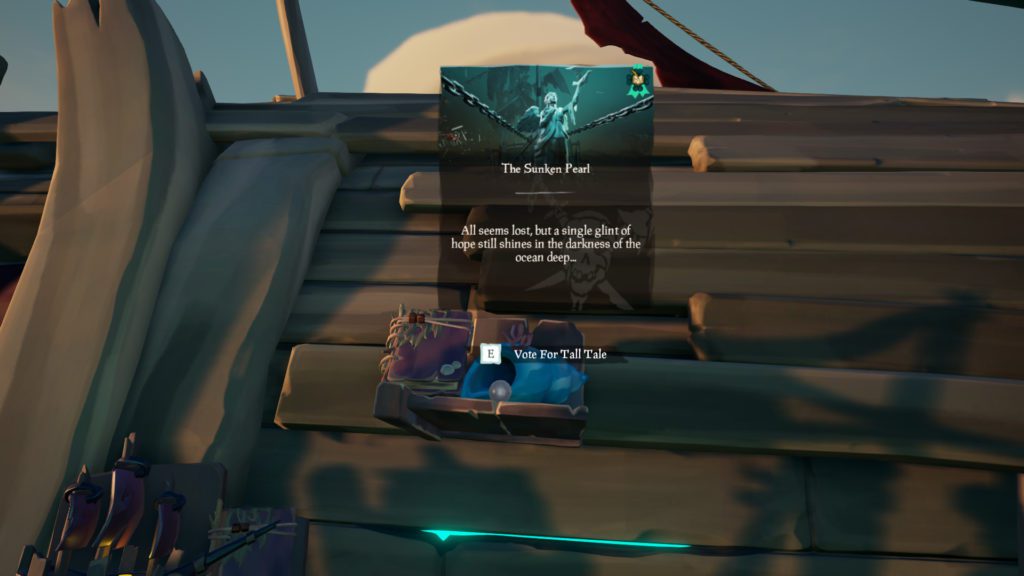
To begin we need to vote for the tall tale at the Castaways camp, once your crew has voted you can enjoy the beautiful story line that has been set up for you. Unlike the first tall tale, this one is NOT a solo instance, so you can and will run into other crews while on this voyage.
The Sunken Pearl - Part 1
Now that we have our handy book with all the Tall Tale information we need inside we are to locate the pearl by sailing to a location off what we once knew as “the edge of the map.”
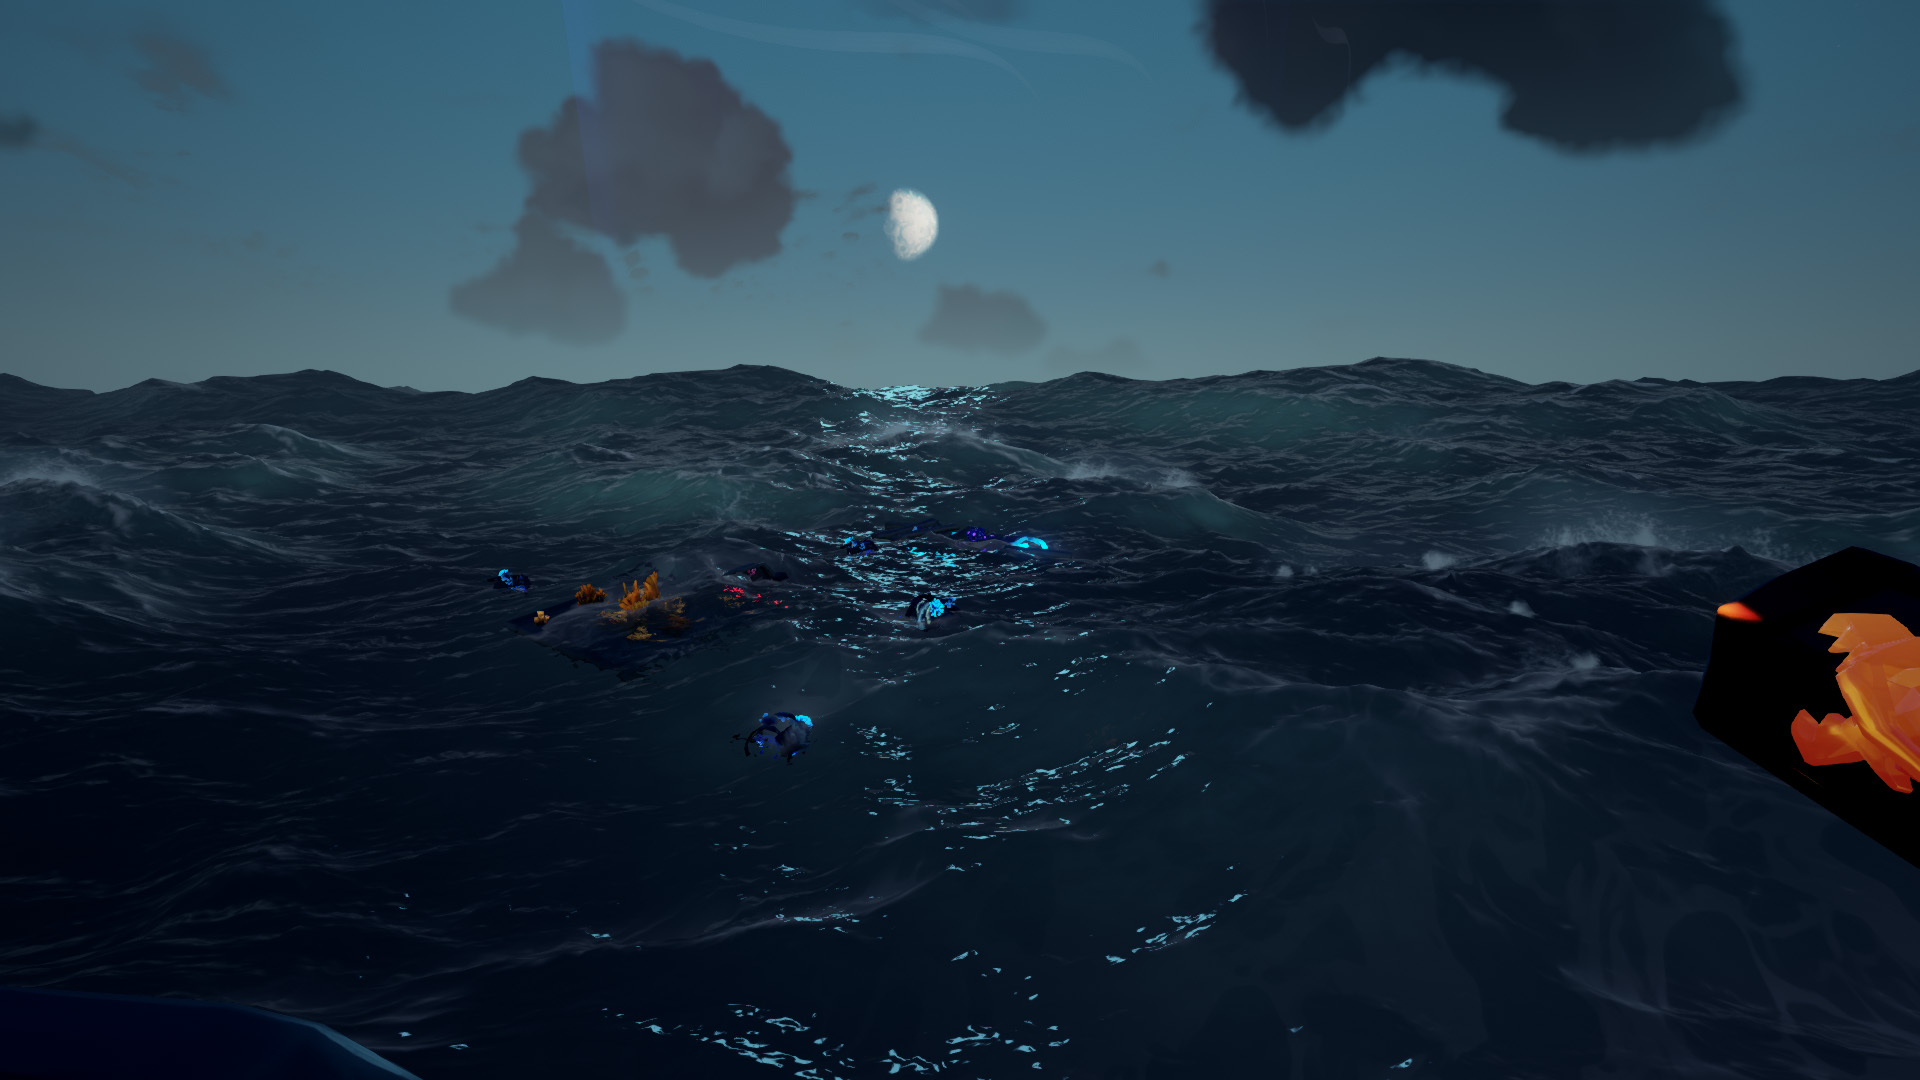
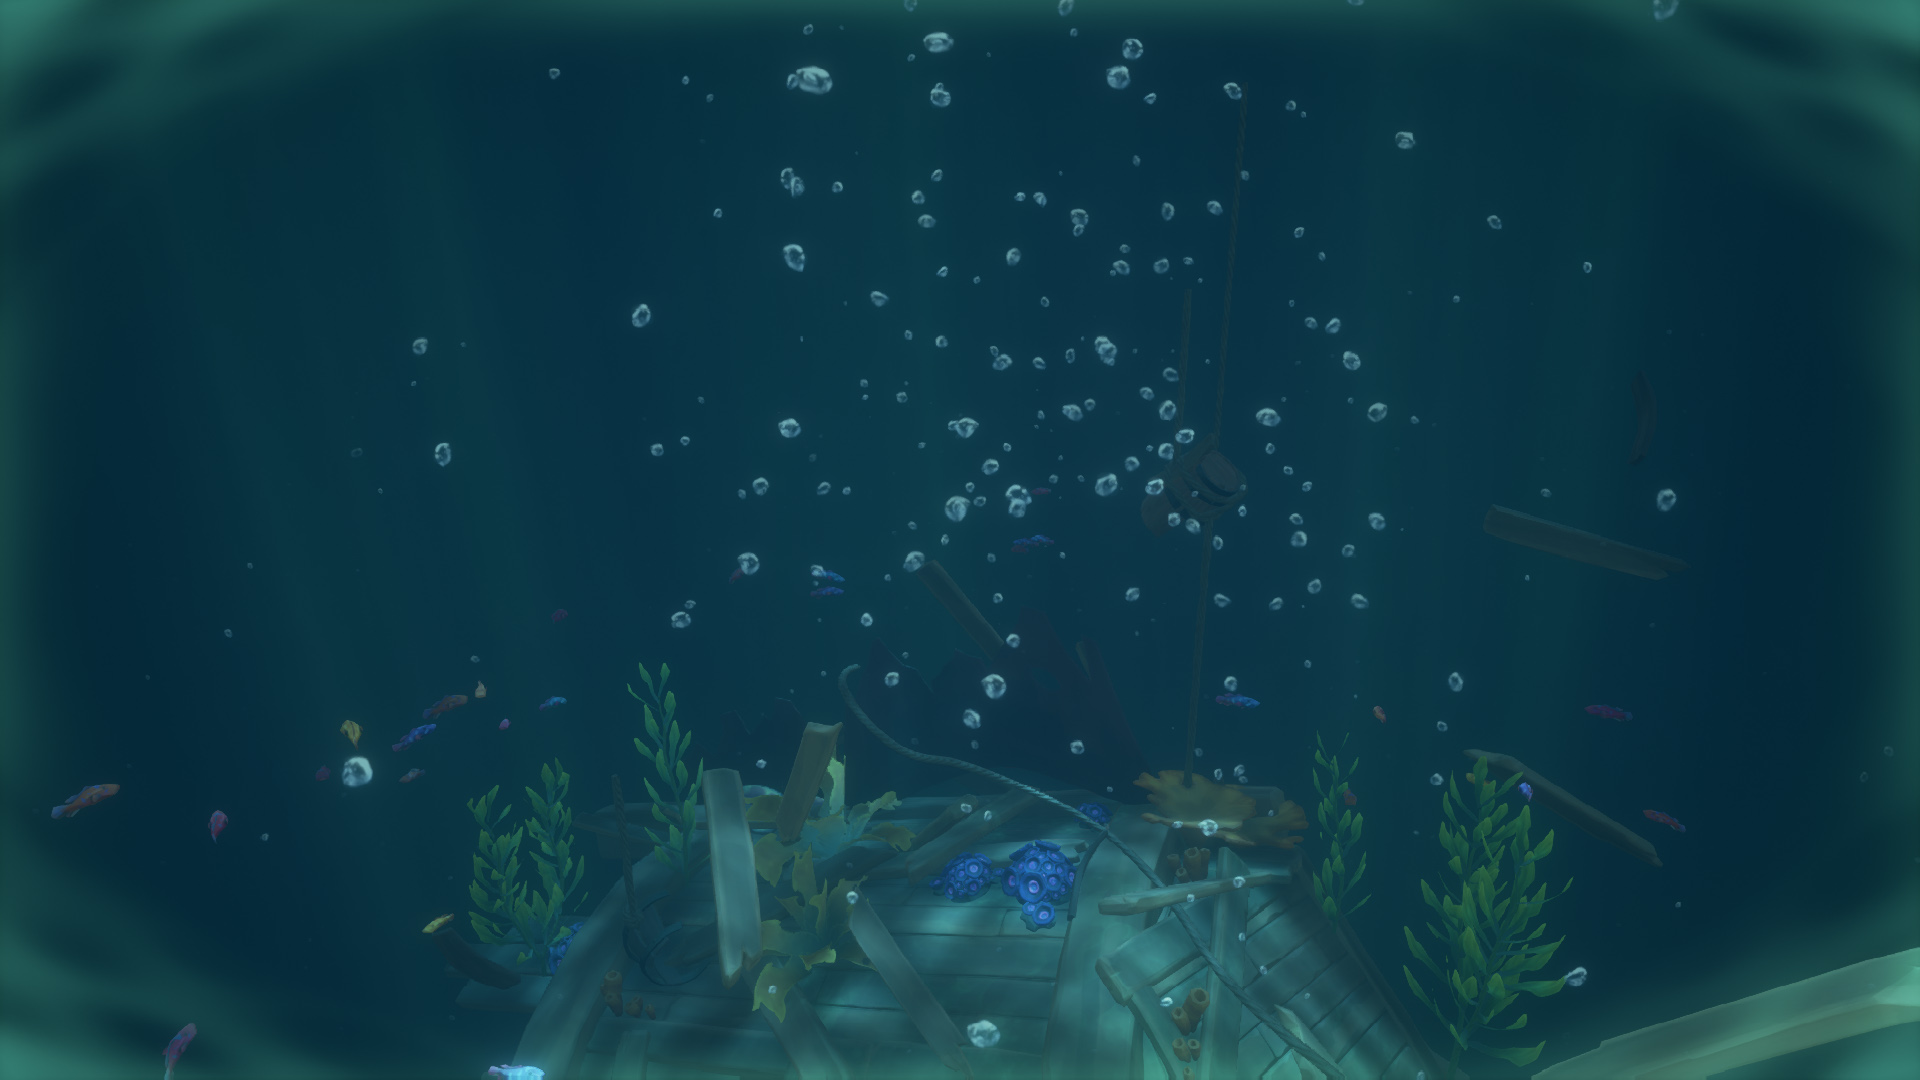
Sail to C19 and you will will find a pile of floating debris. Now, if you are a Sea of Thieves veteran, you’ll know that this can only mean one thing… it’s time to take a swim with the fishes, in a good way. Toss on your swim trunks and jump overboard.
Once submerged you’ll start to see a trail of finely placed broken ship parts. This is like a pathway that you will want to swim along. Now you don’t need to worry about running out of breath, as long as you follow the trail you’ll find bubbles of air just waiting for you so you can catch your breath again.
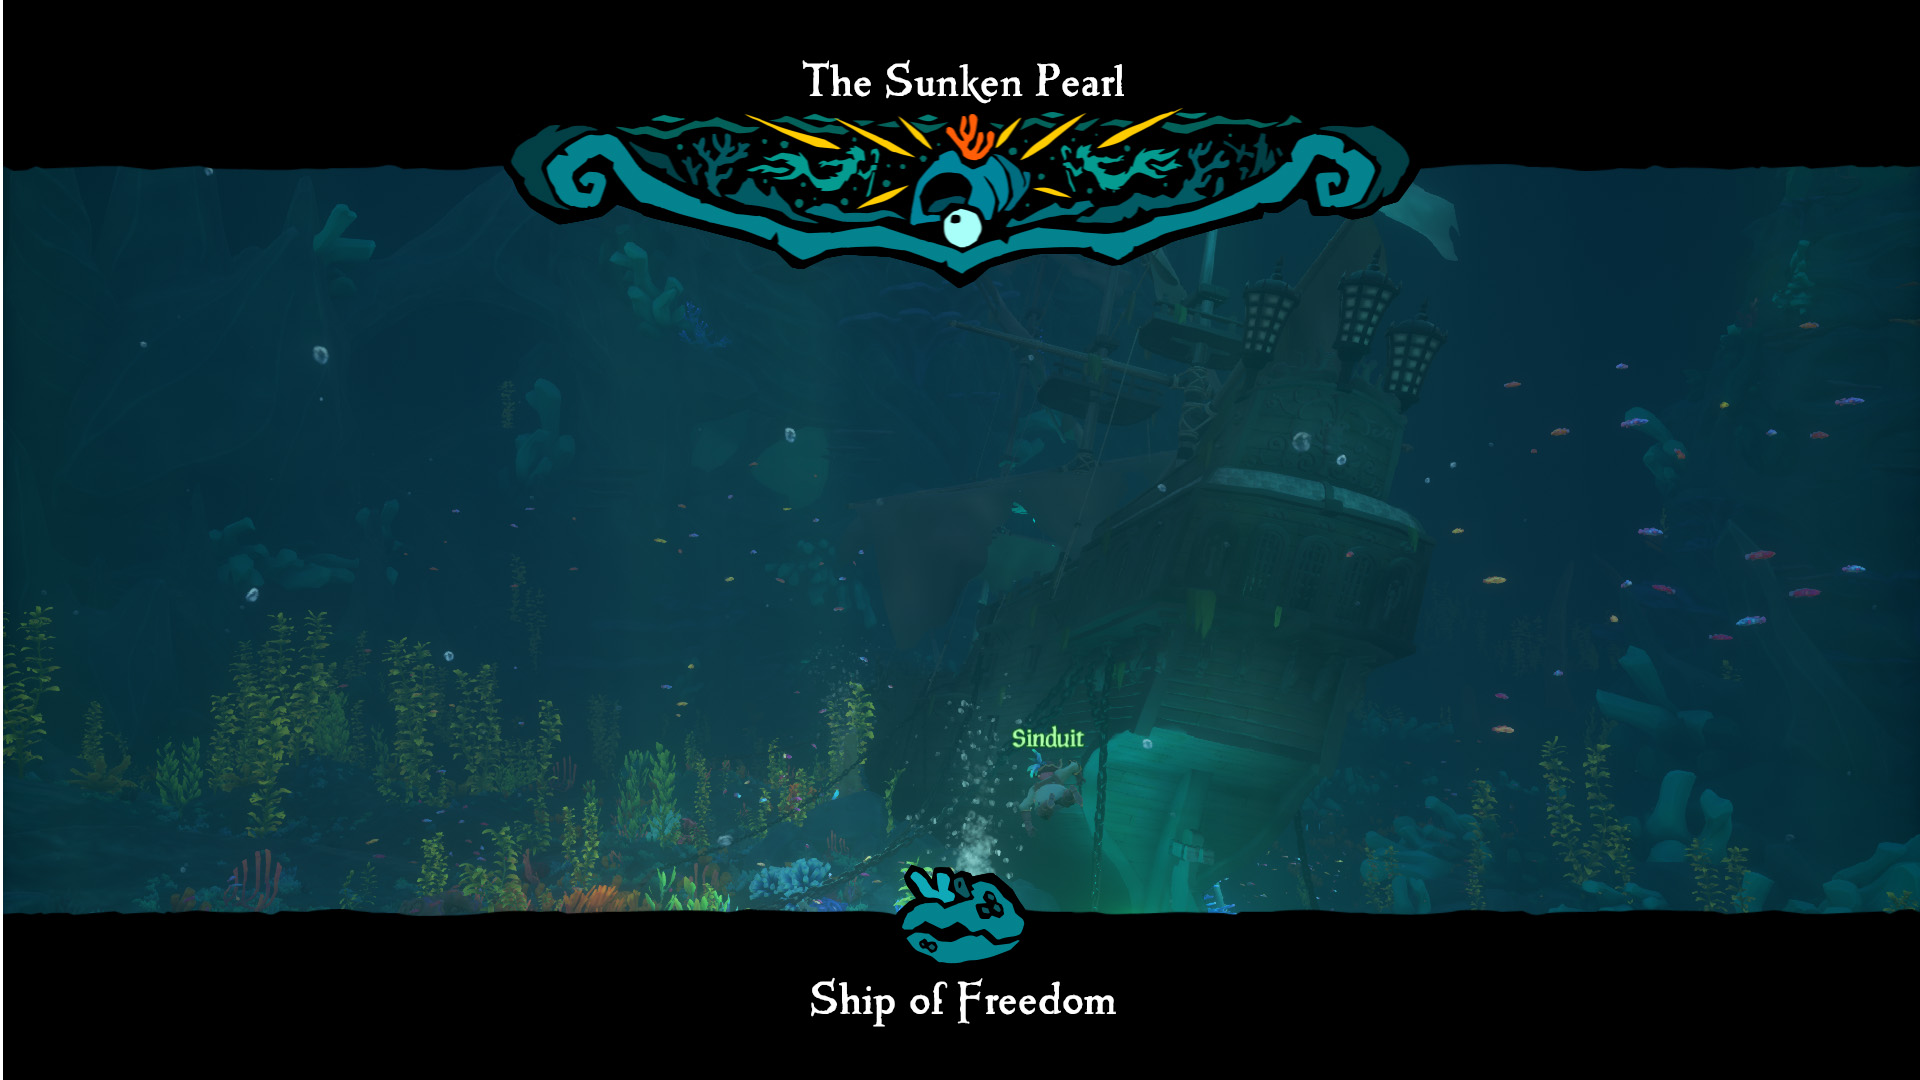
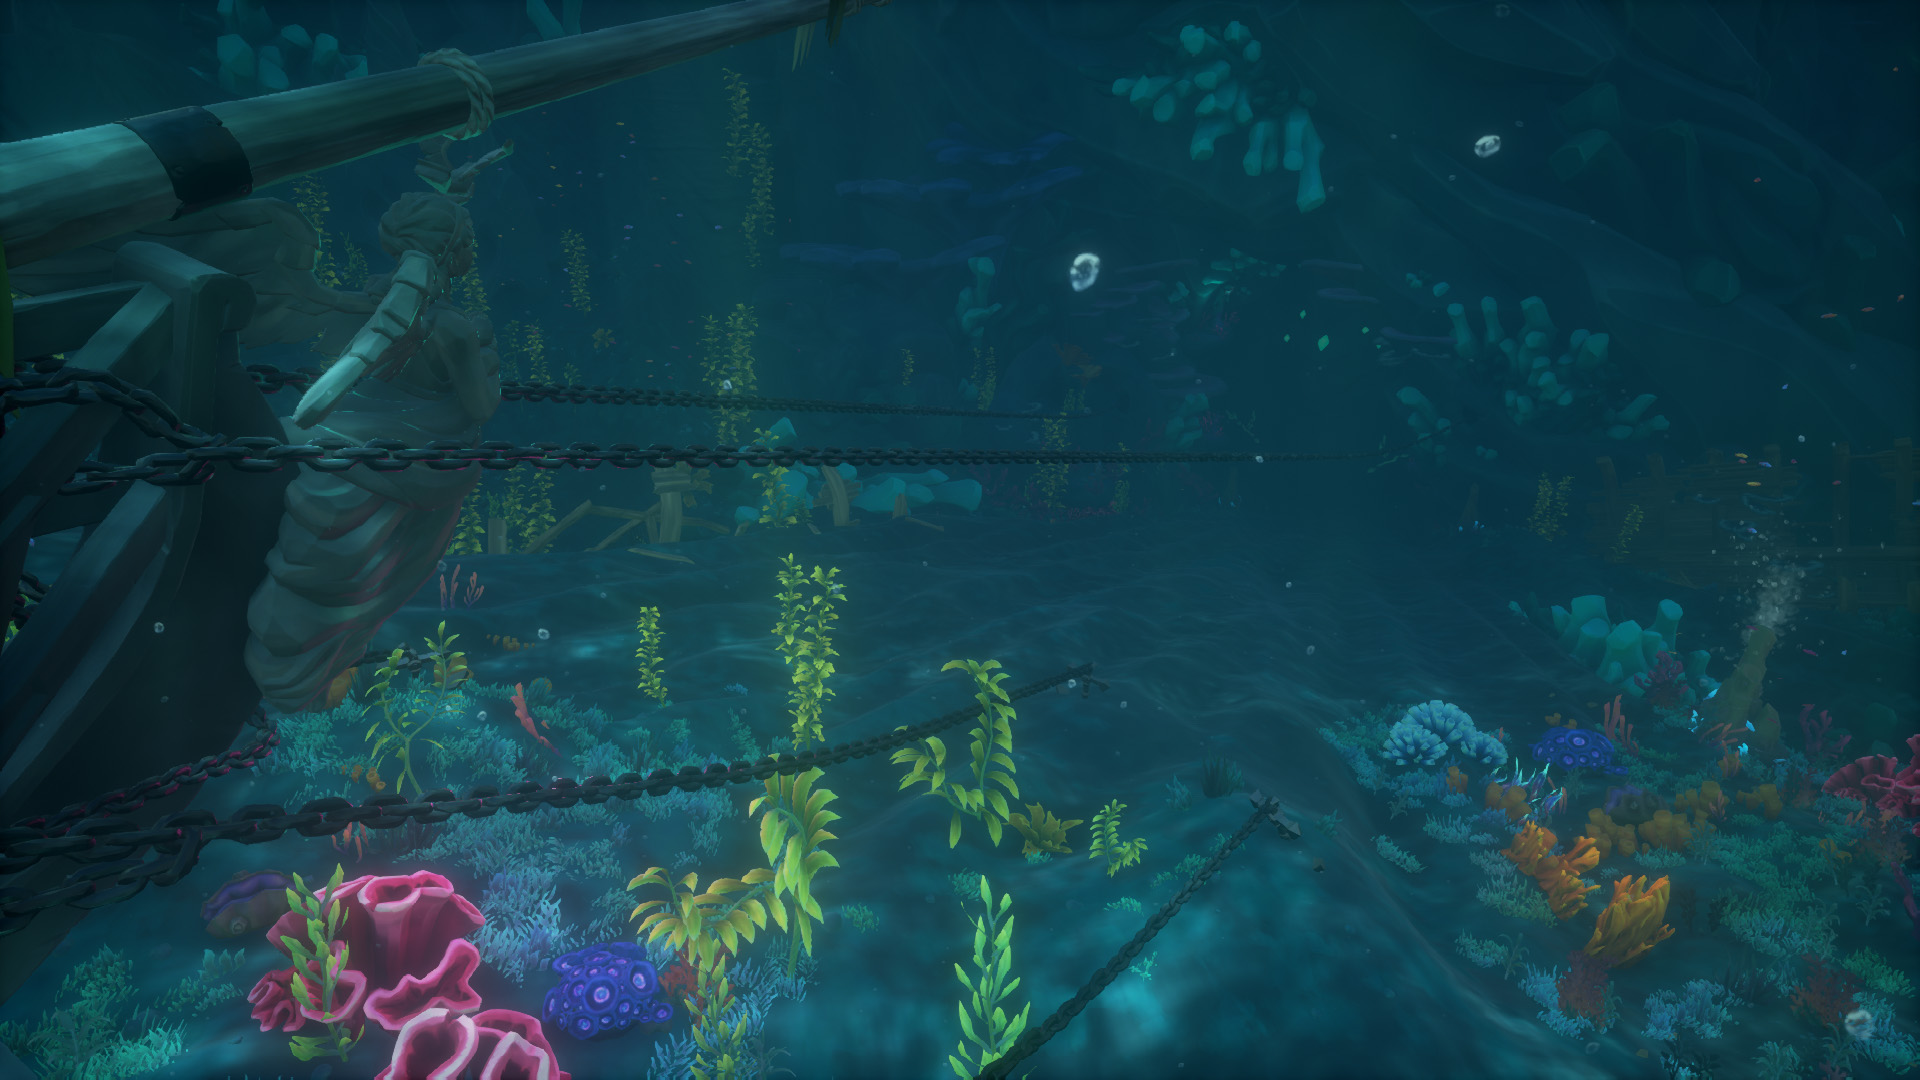
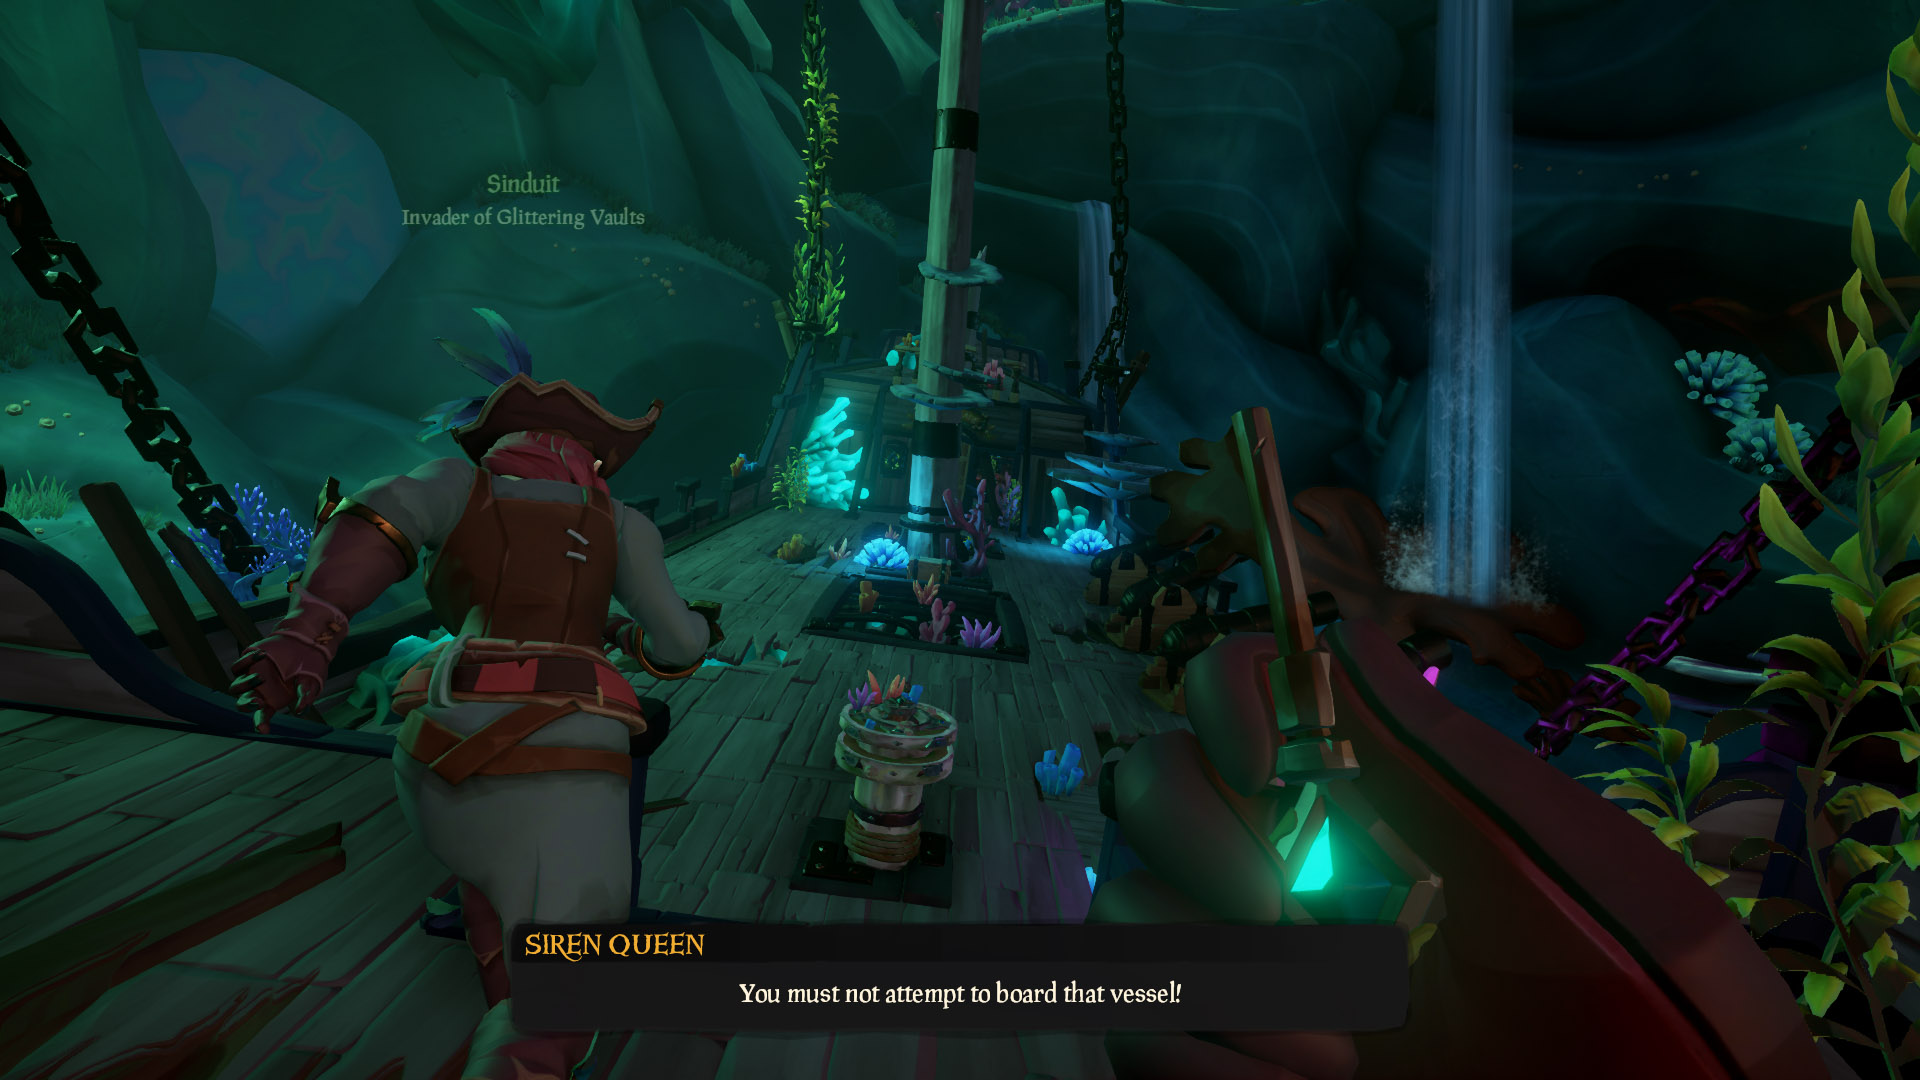
After a good long OLYMPIAN size swim you will find yourself greeted with a majestic view of the fastest ship on the seas, The Black Pearl, or now called “Ship of Freedom”. This ship is chained down so don’t get any ideas of being able to sail her unless you purchased her from the Pirate Emporium.
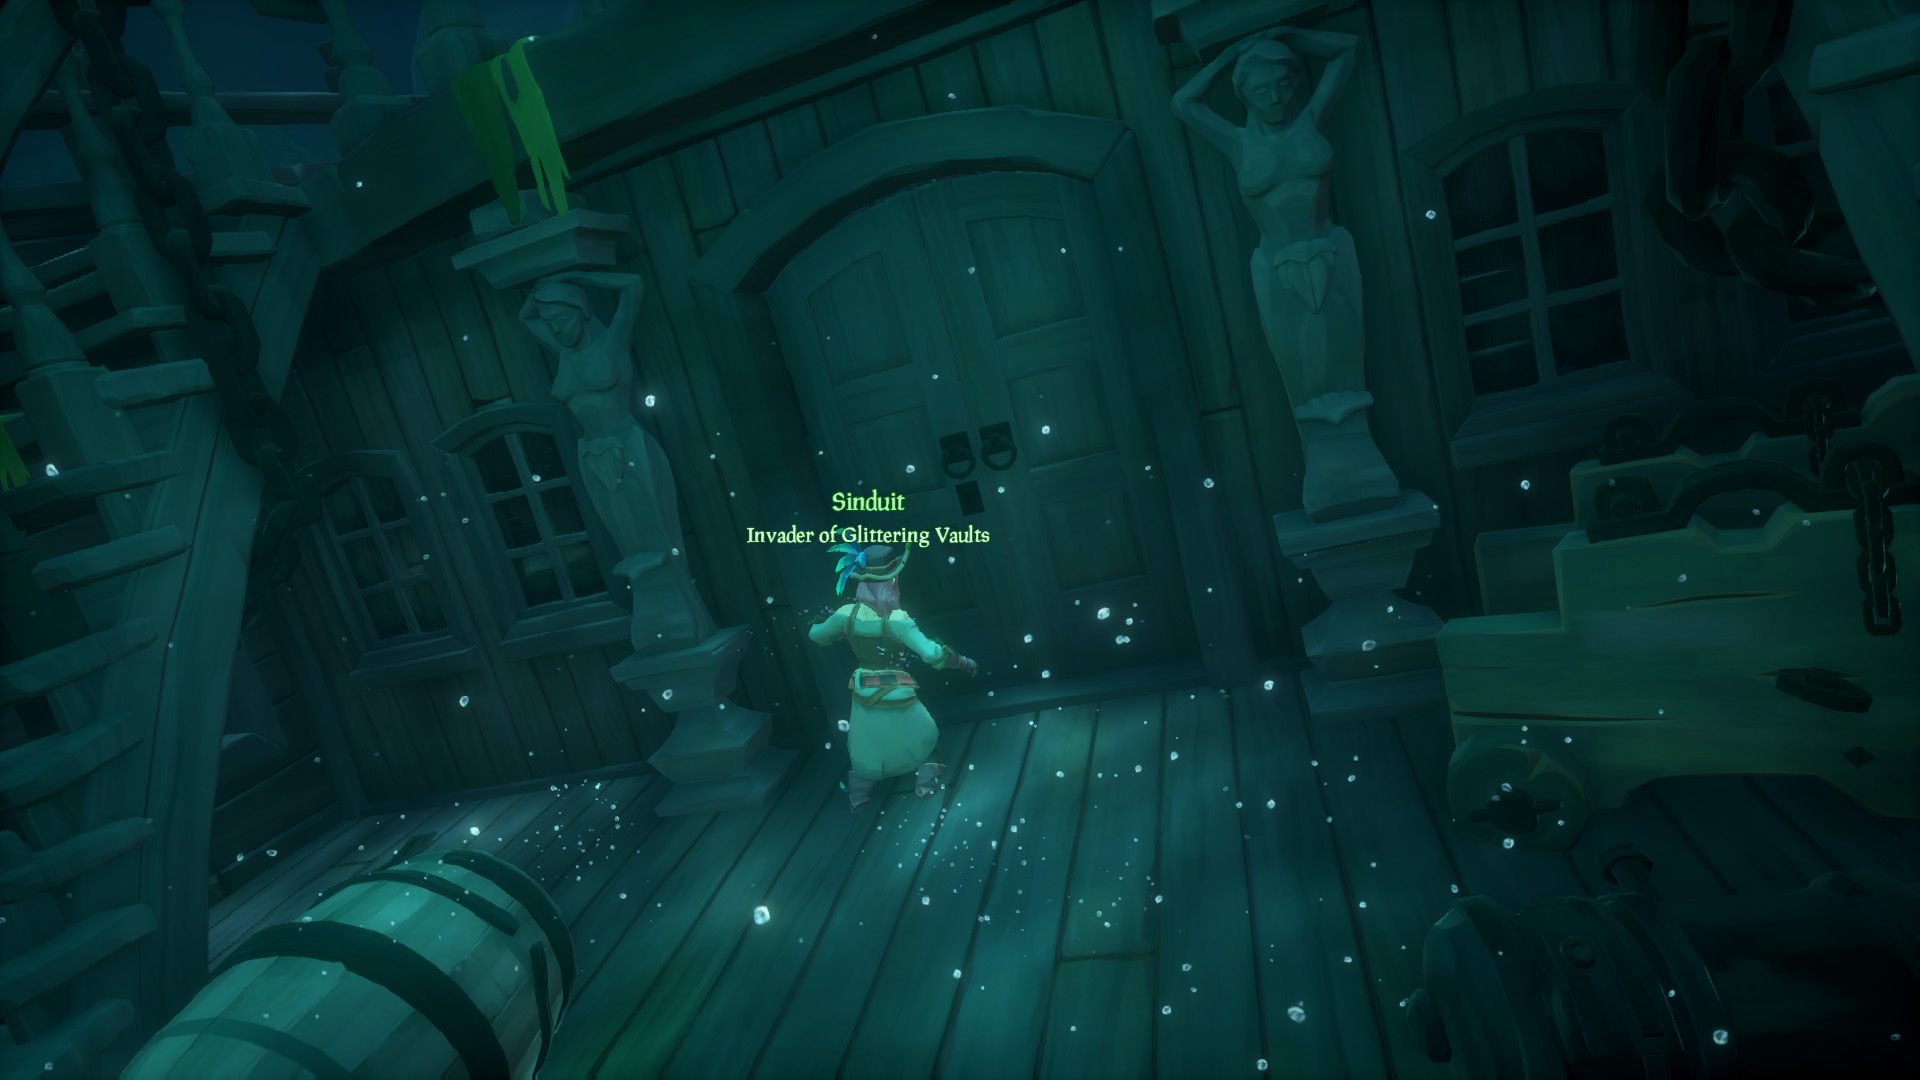
Now that you’ve found the Black Pearl, its time to investigate. Unfortunately some scummy pirate went and locked the door to the captains quarters, so now we’ll have to mosey around and find the key.
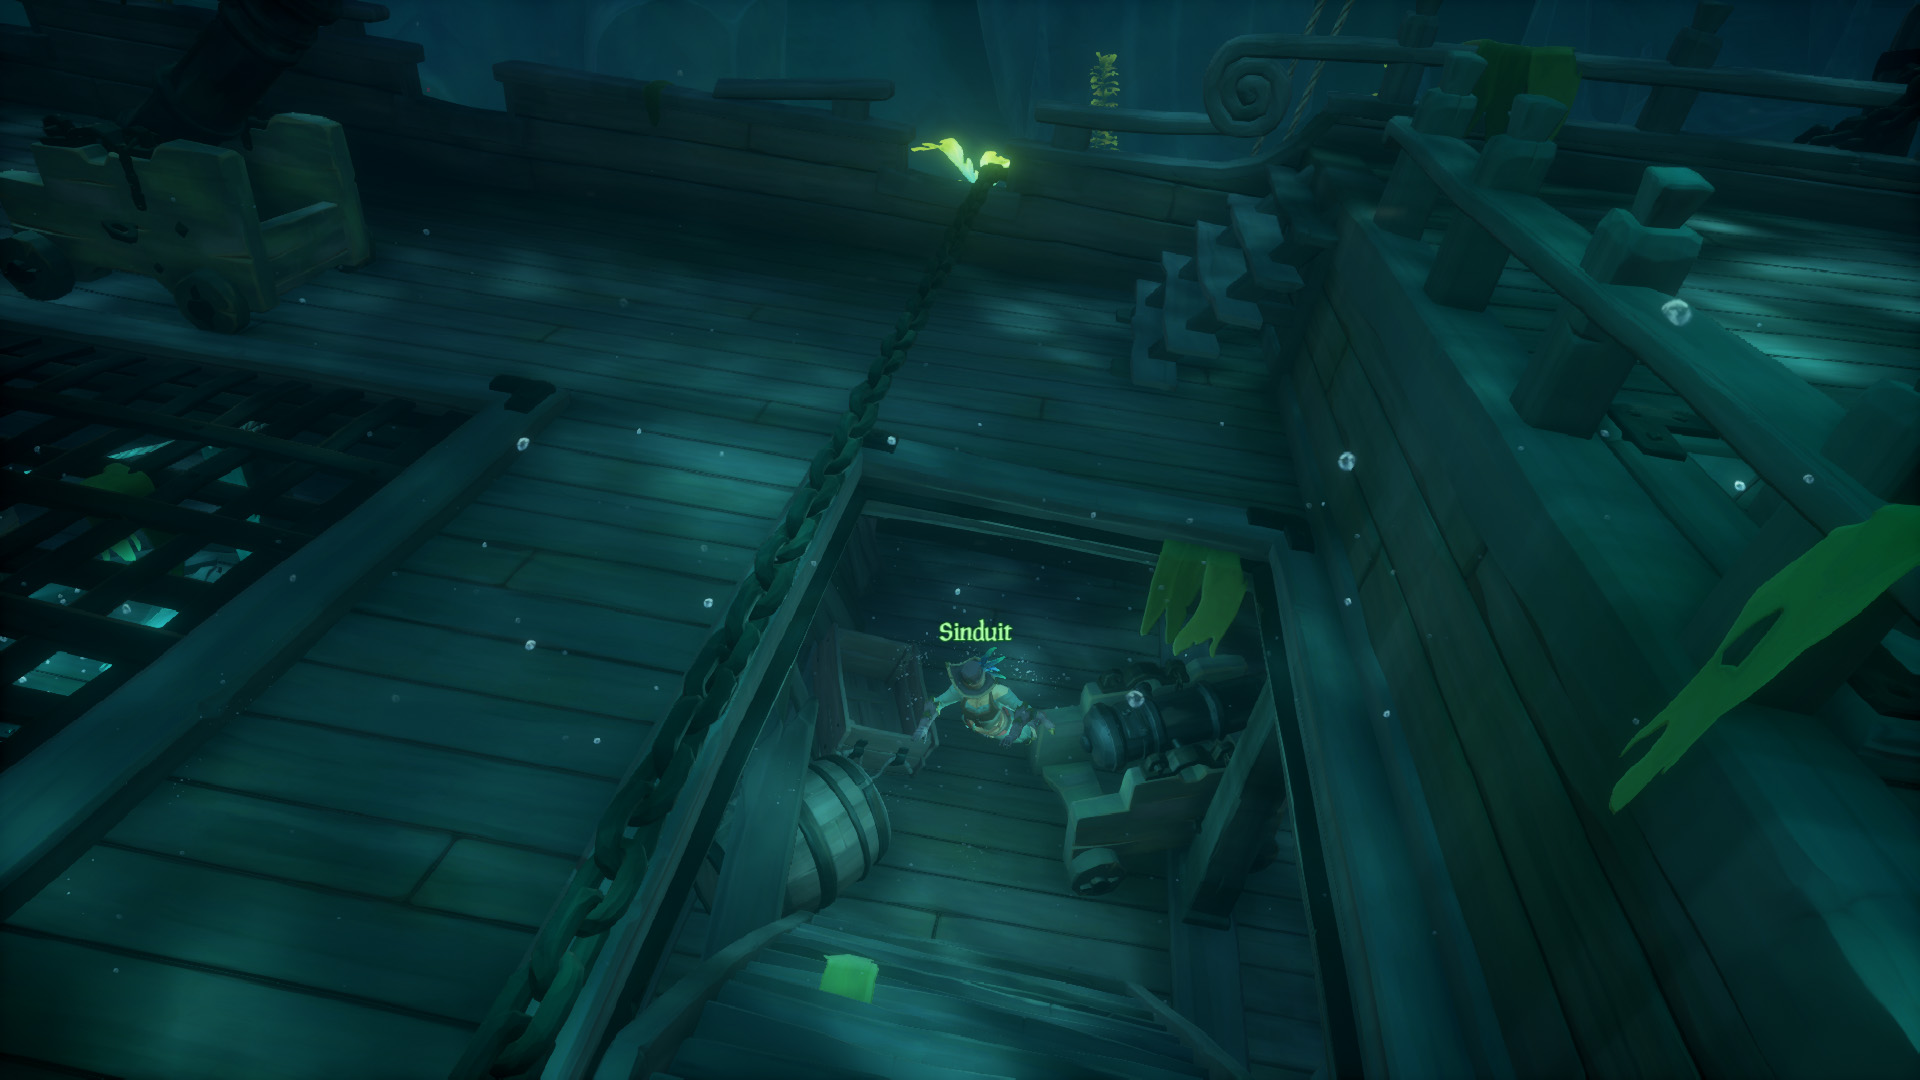
First Head below deck using the only set of stairs that isn’t blocked.
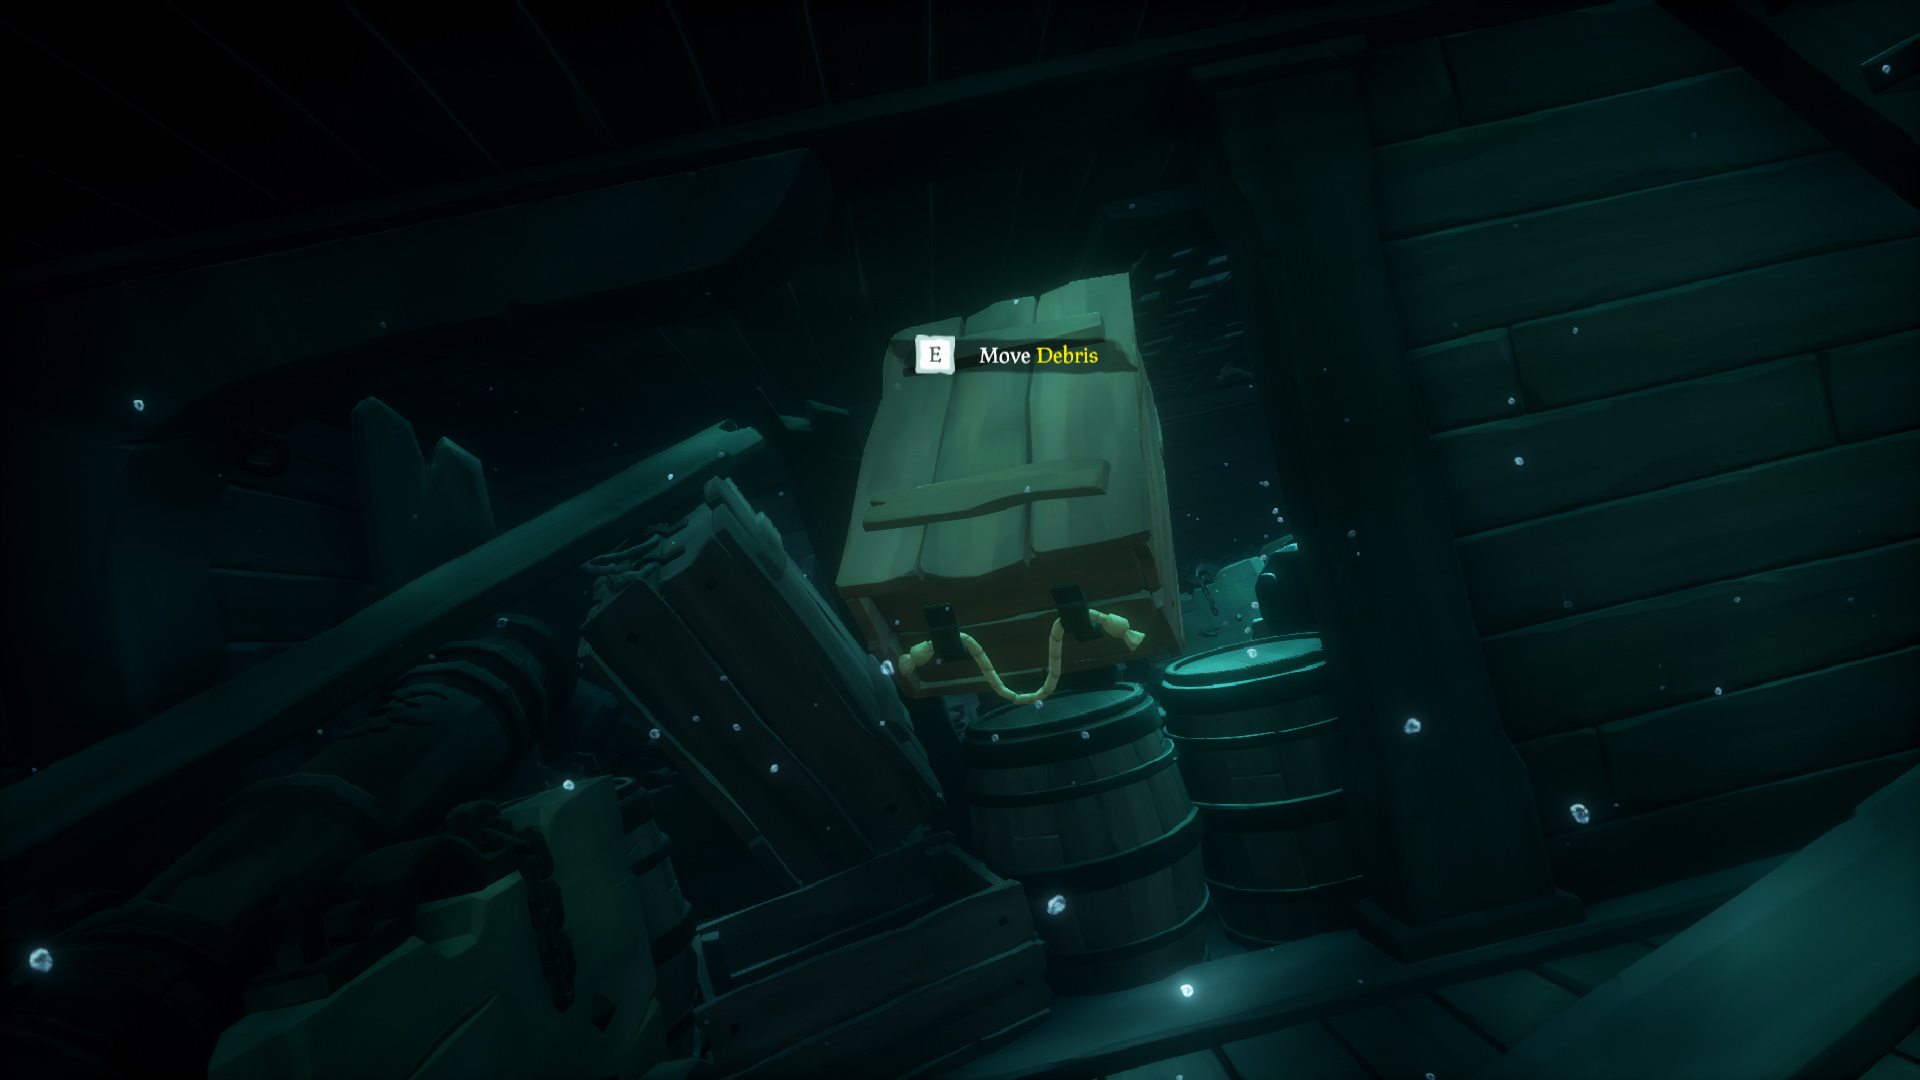
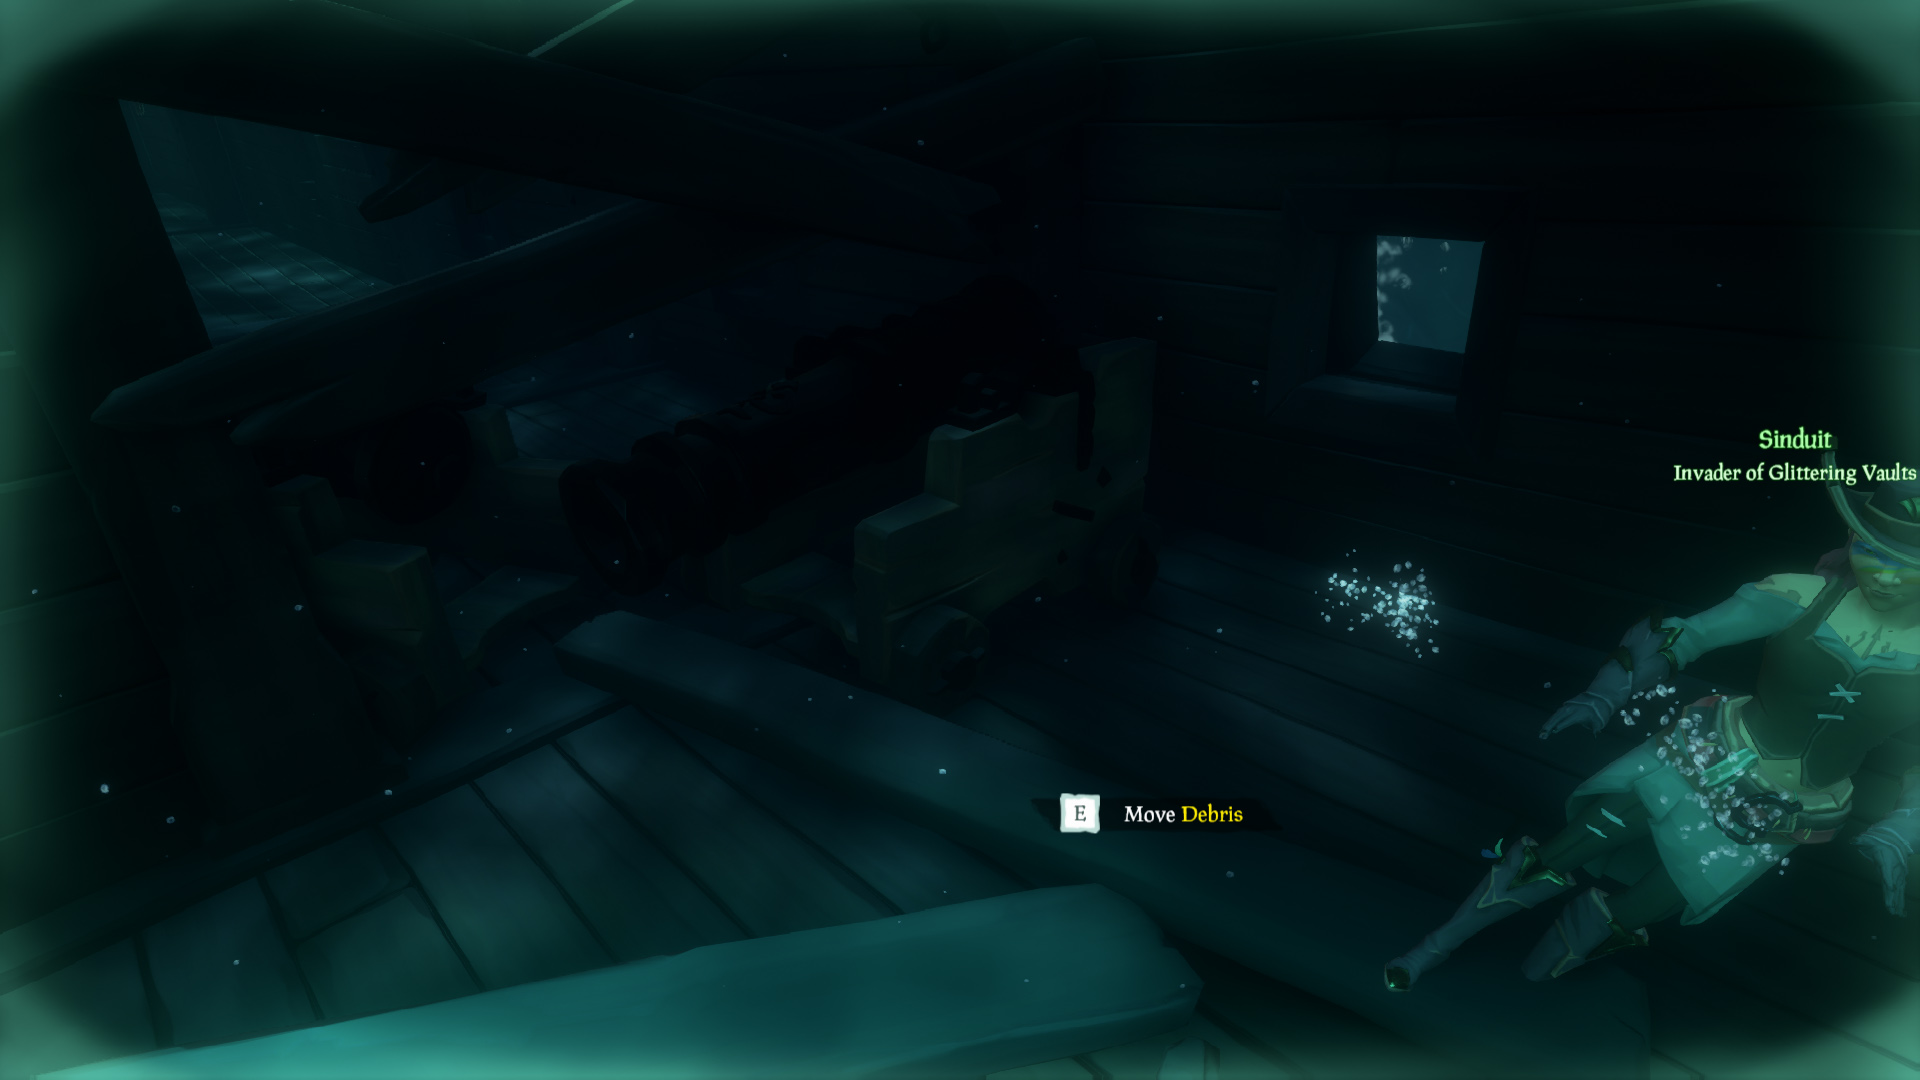
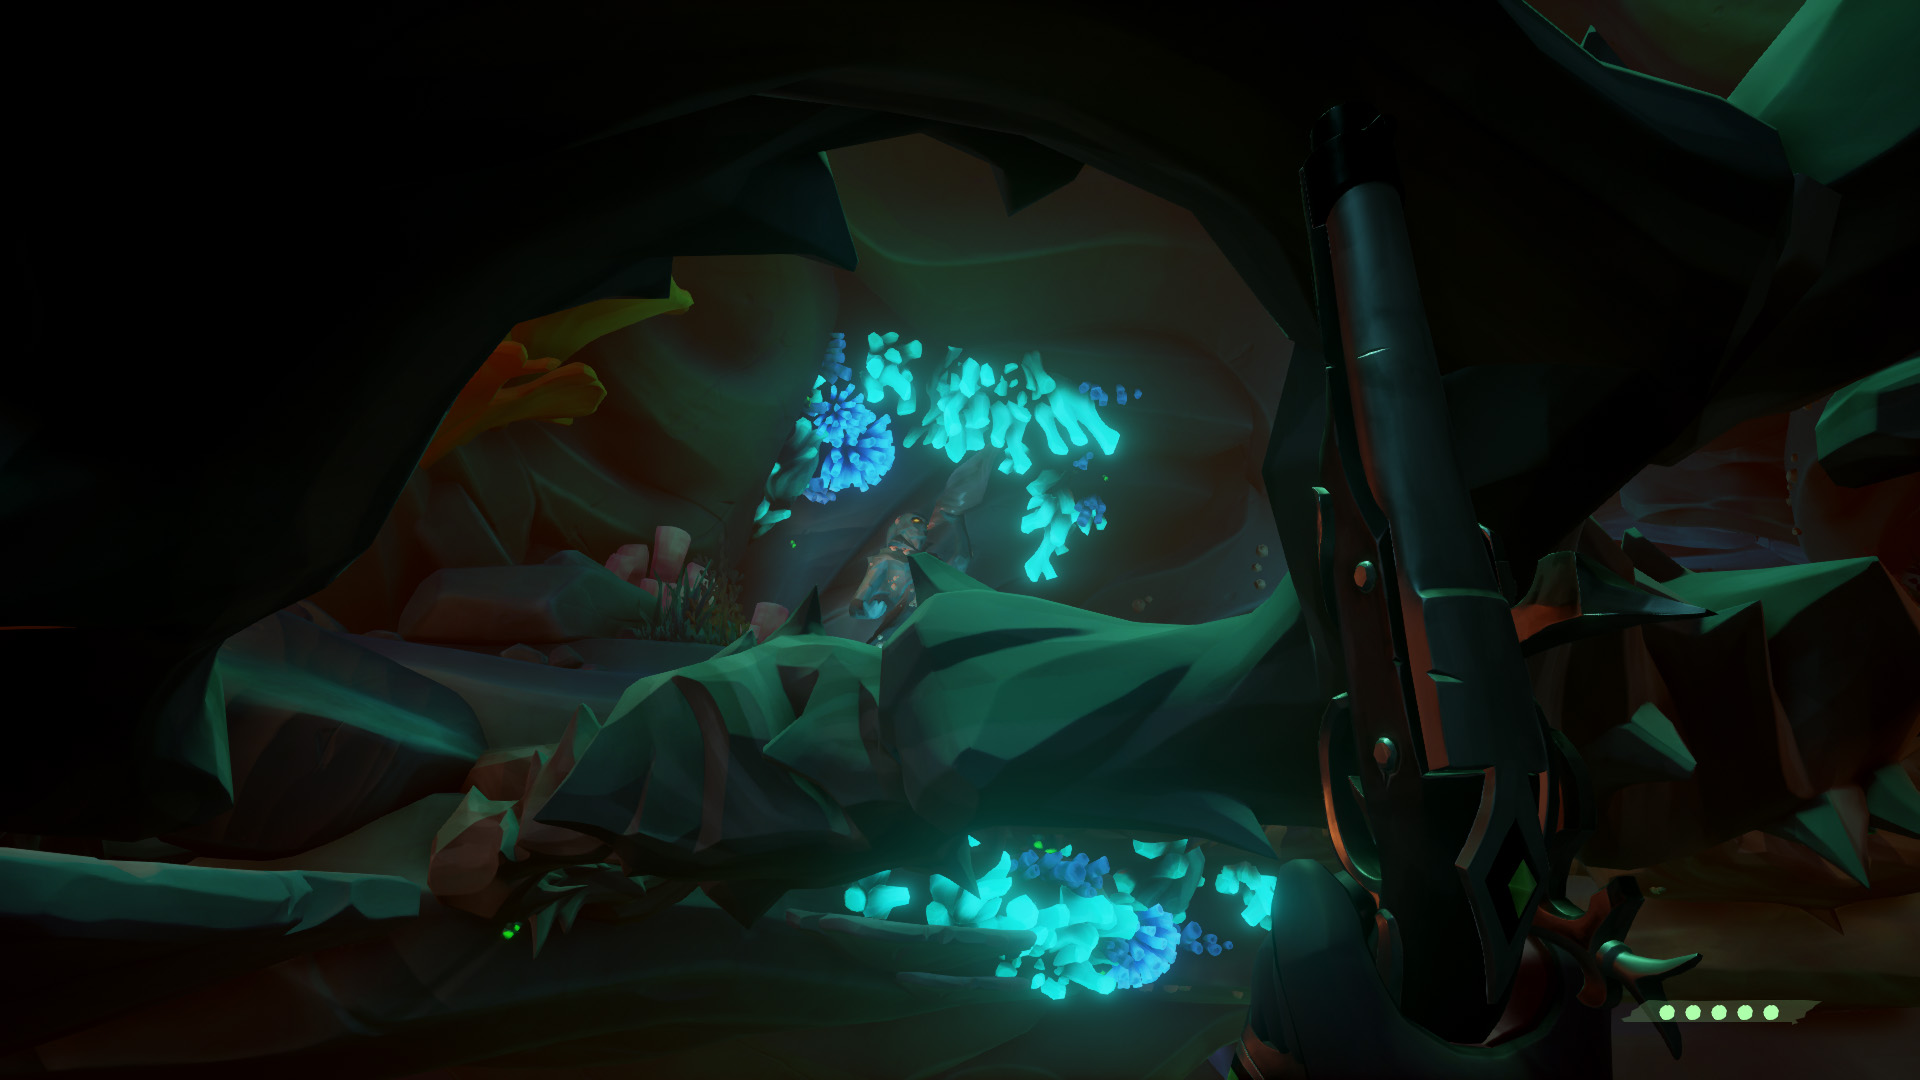
Next, if another crew hasn’t already, you’ll need to move the debris aside so you can pass through the to the back of the ship.
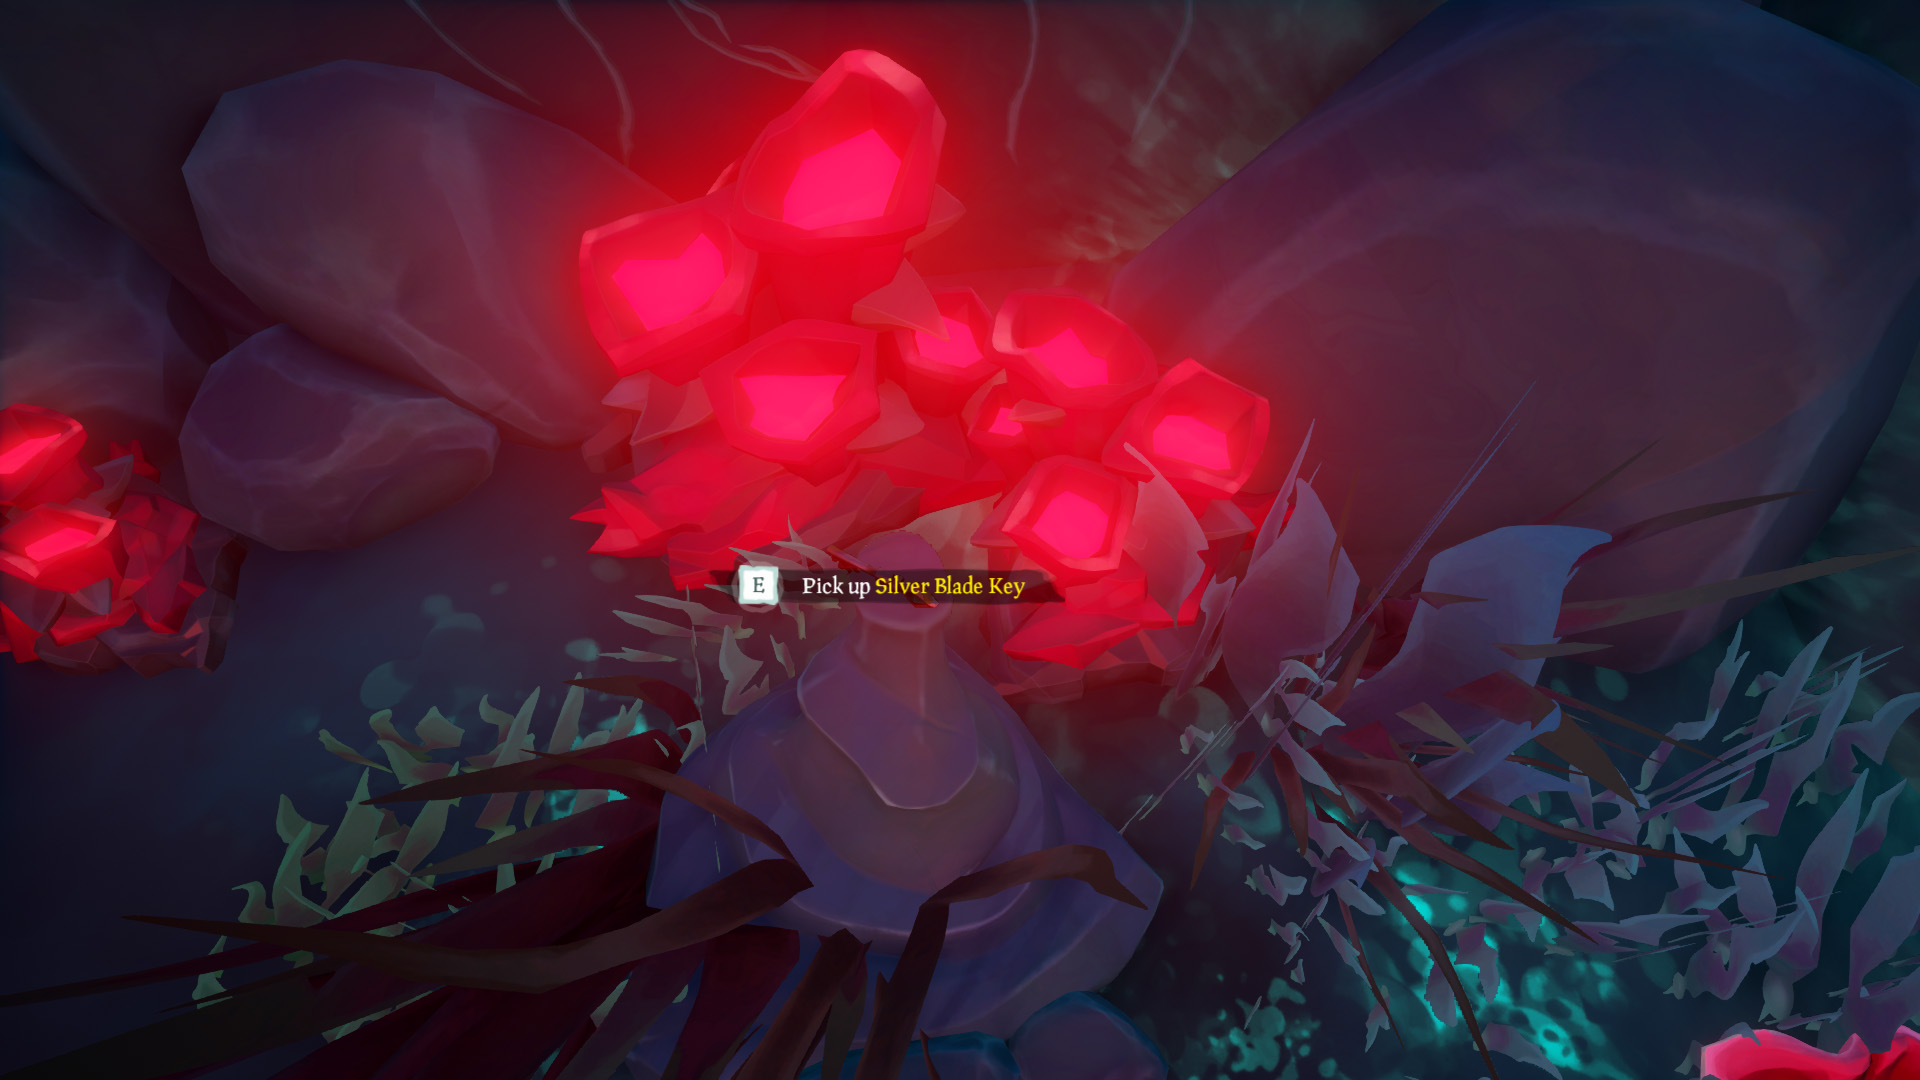
Once you’ve cleared the debris you’ll find the key sitting in a pile of glowing coral. Snag it up and head back up to the deck.
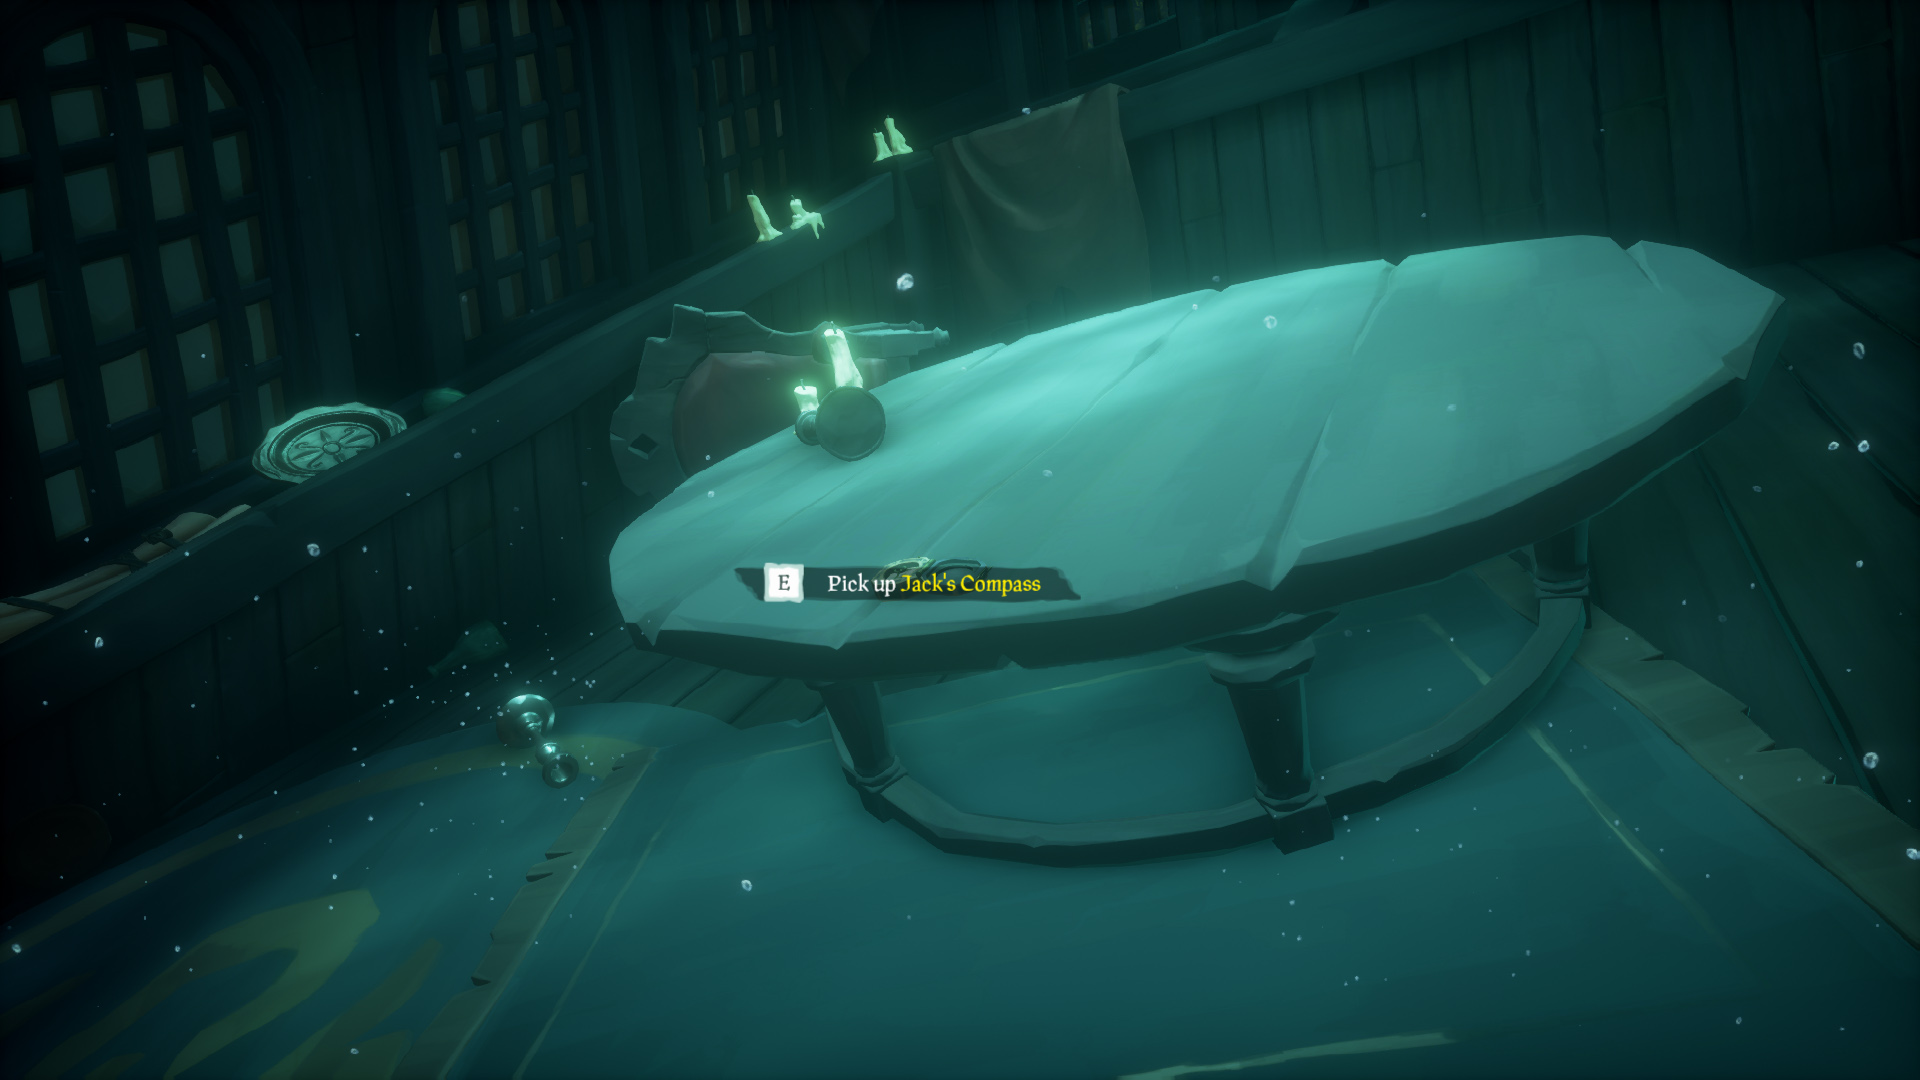
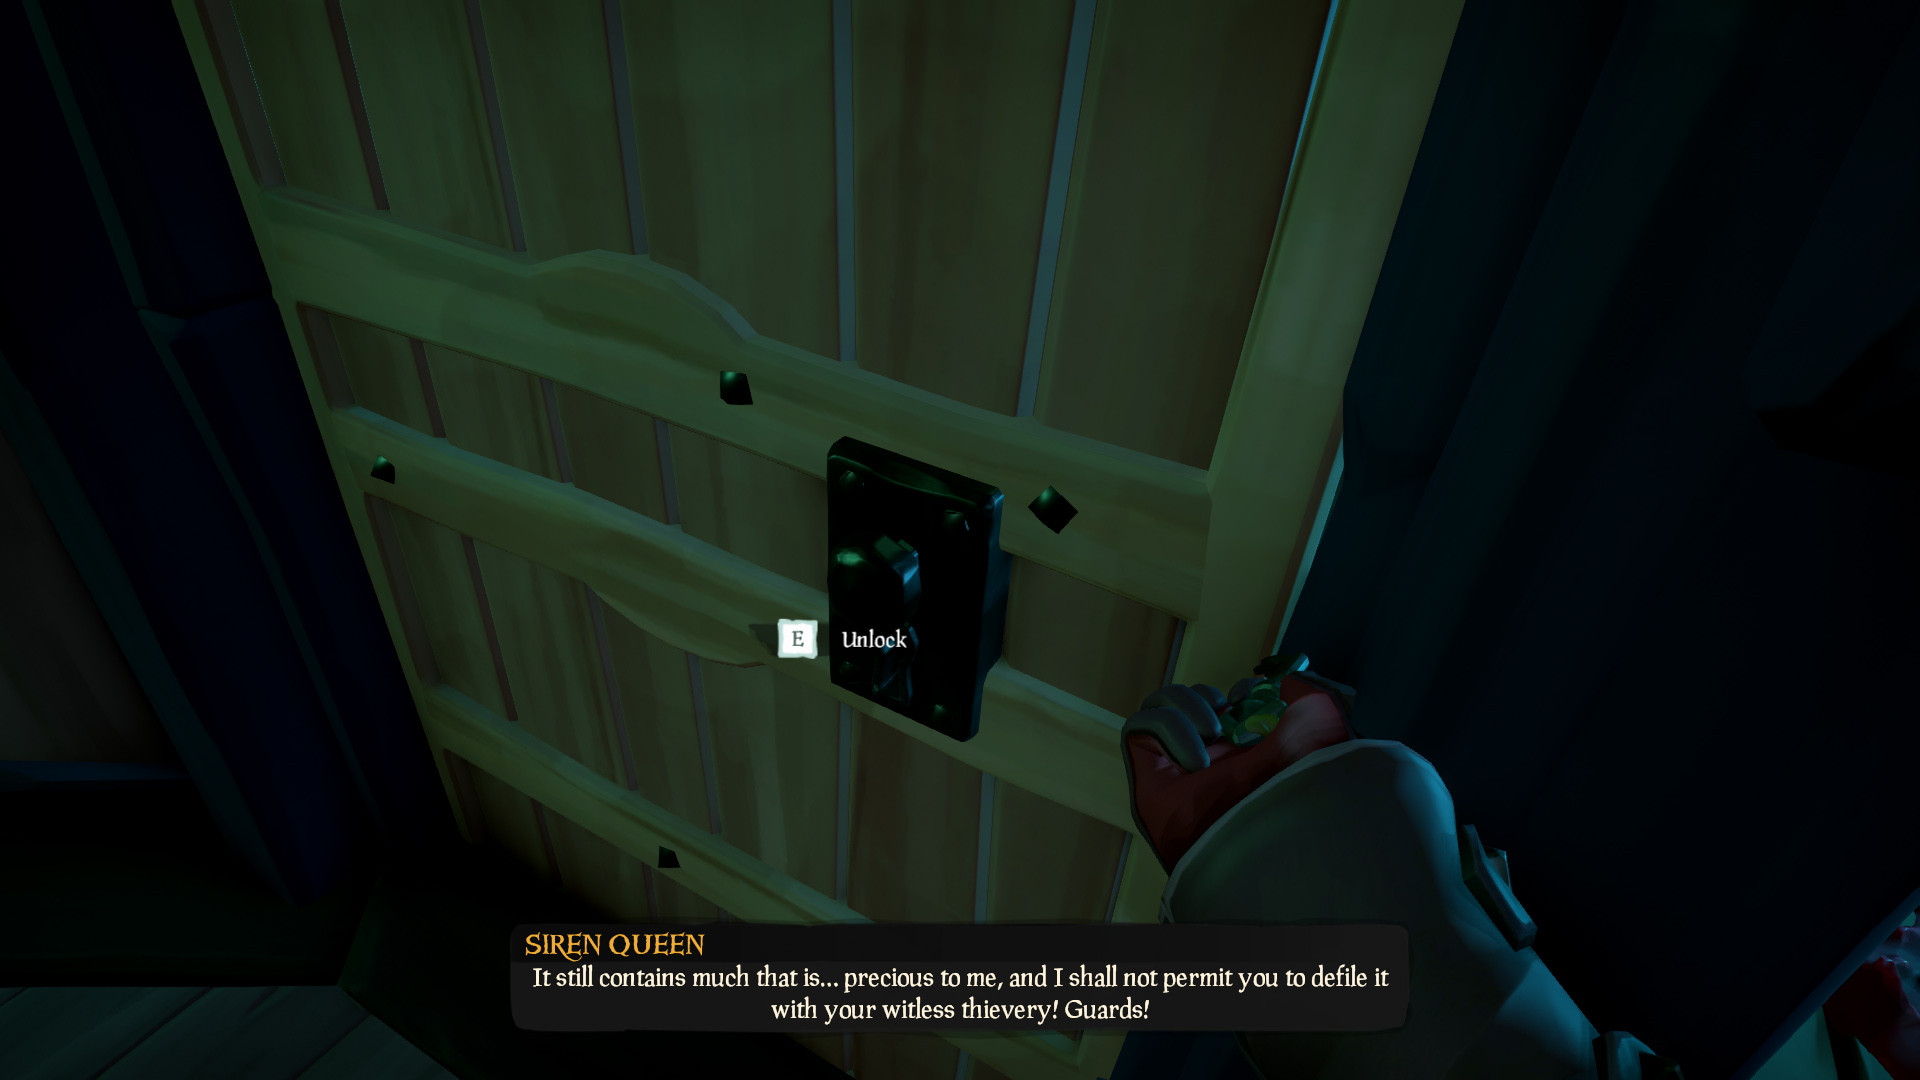
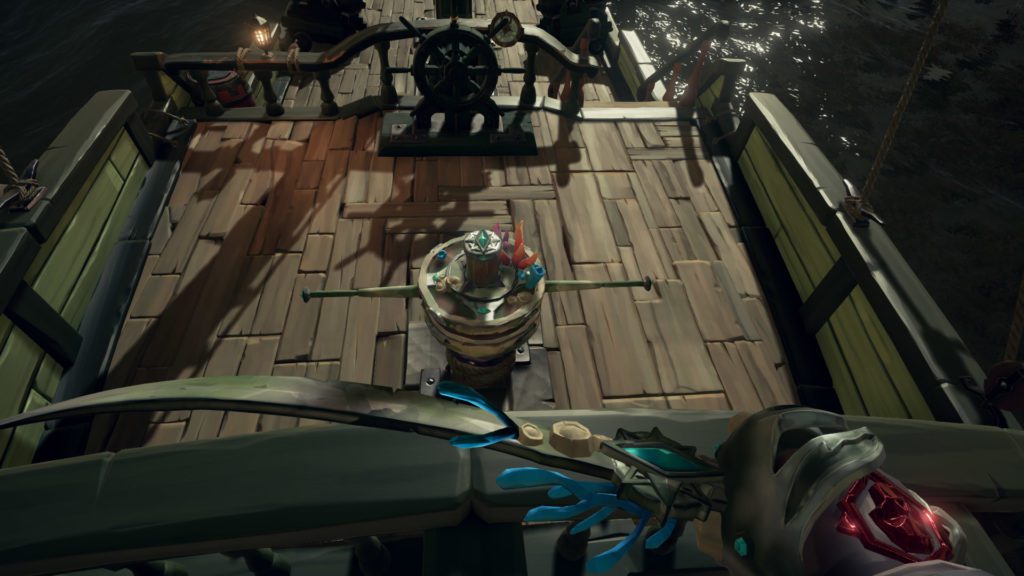
Use your newly discovered key to open the captains quarters and retrieve the only possession a pirate will ever need, Jack’s Compass. Take the compass from the table and now you will ALWAYS know where your hearts true desire lays (and where to go in this tall tale).
The Sunken Pearl - Part 2
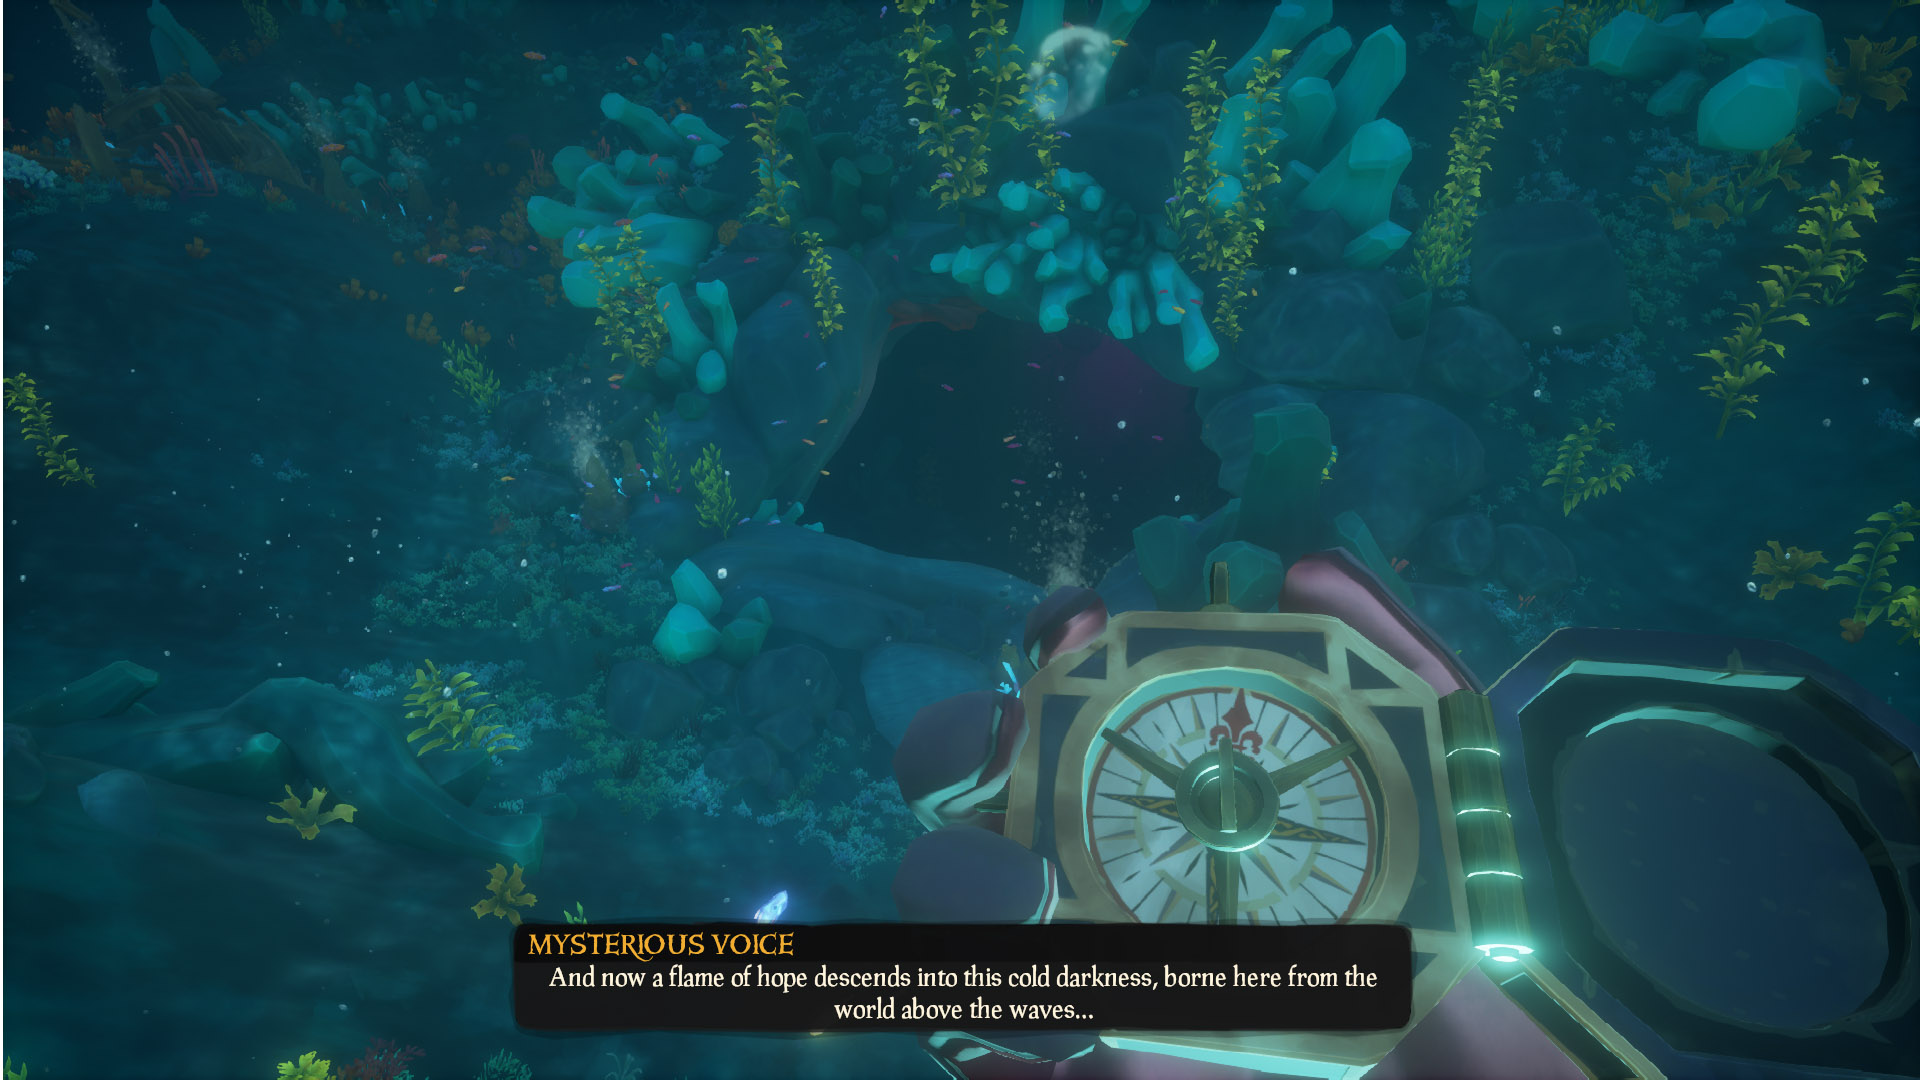
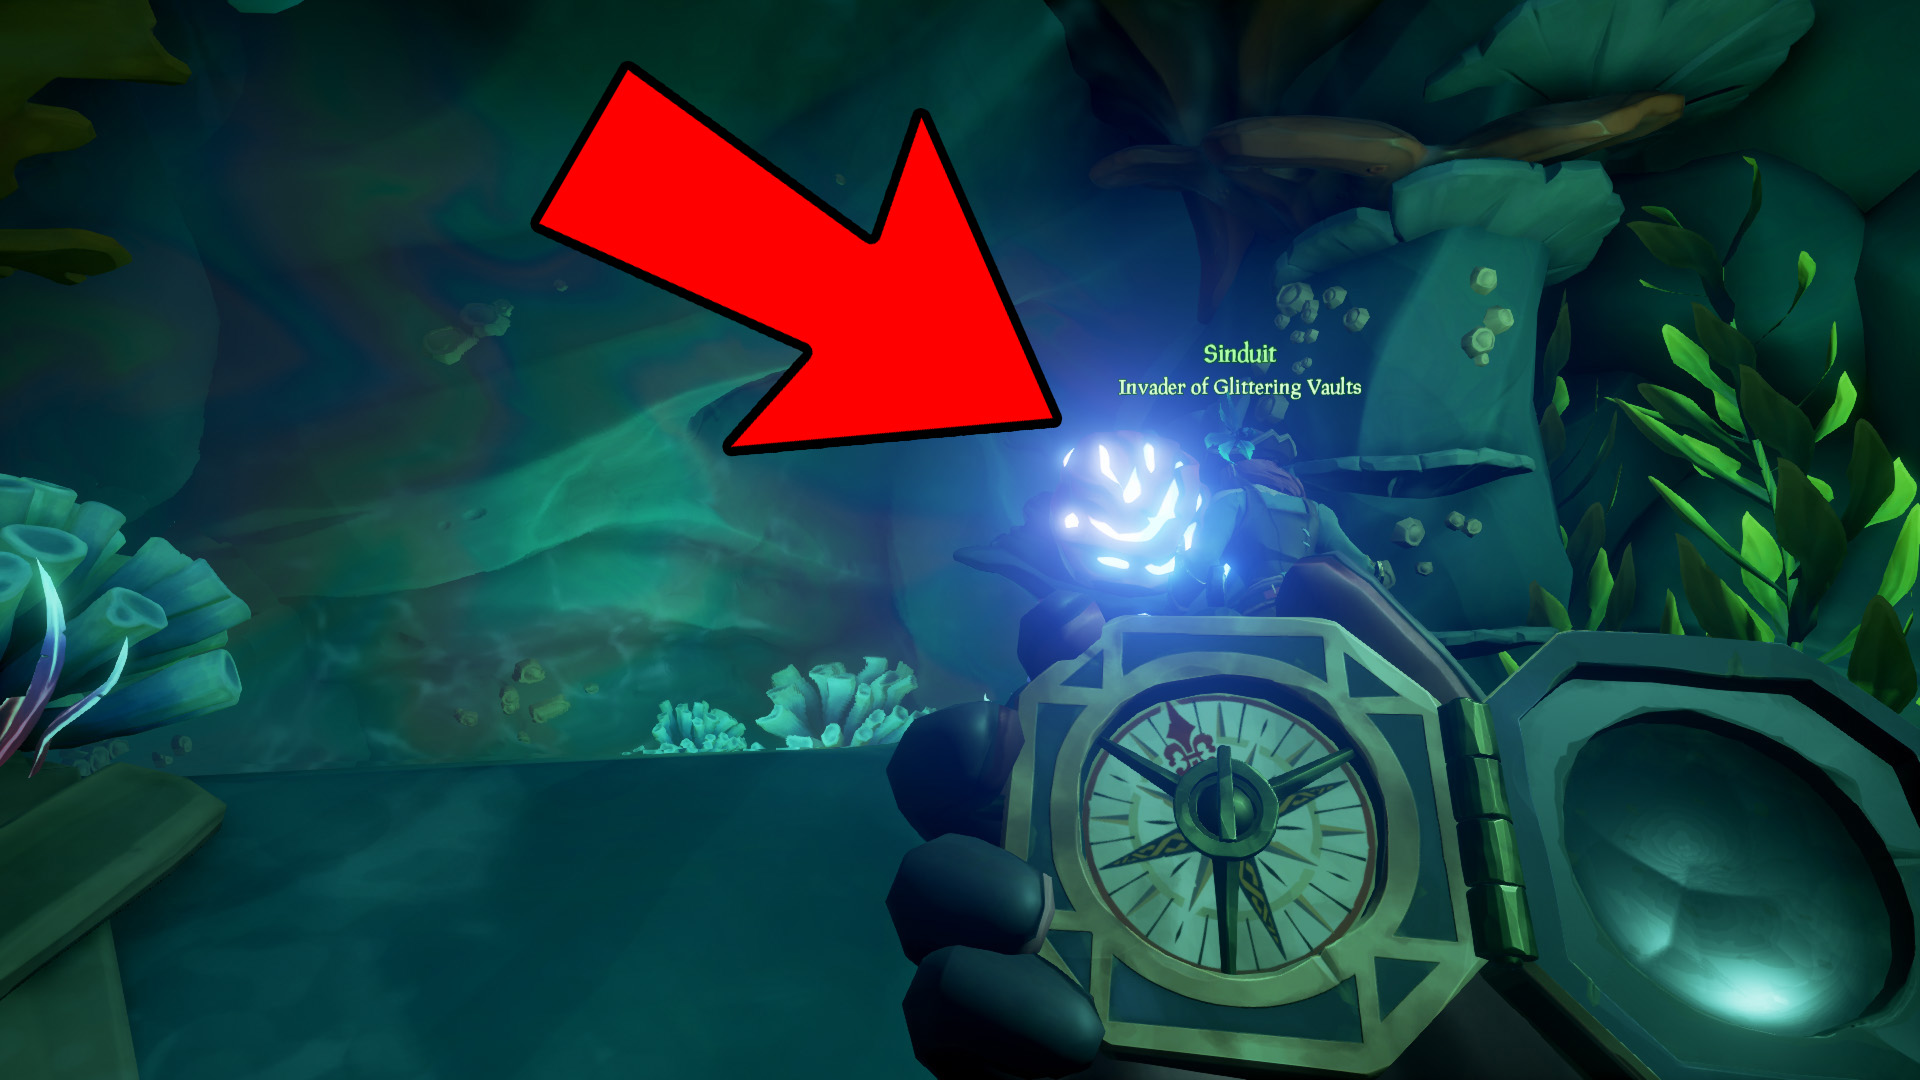
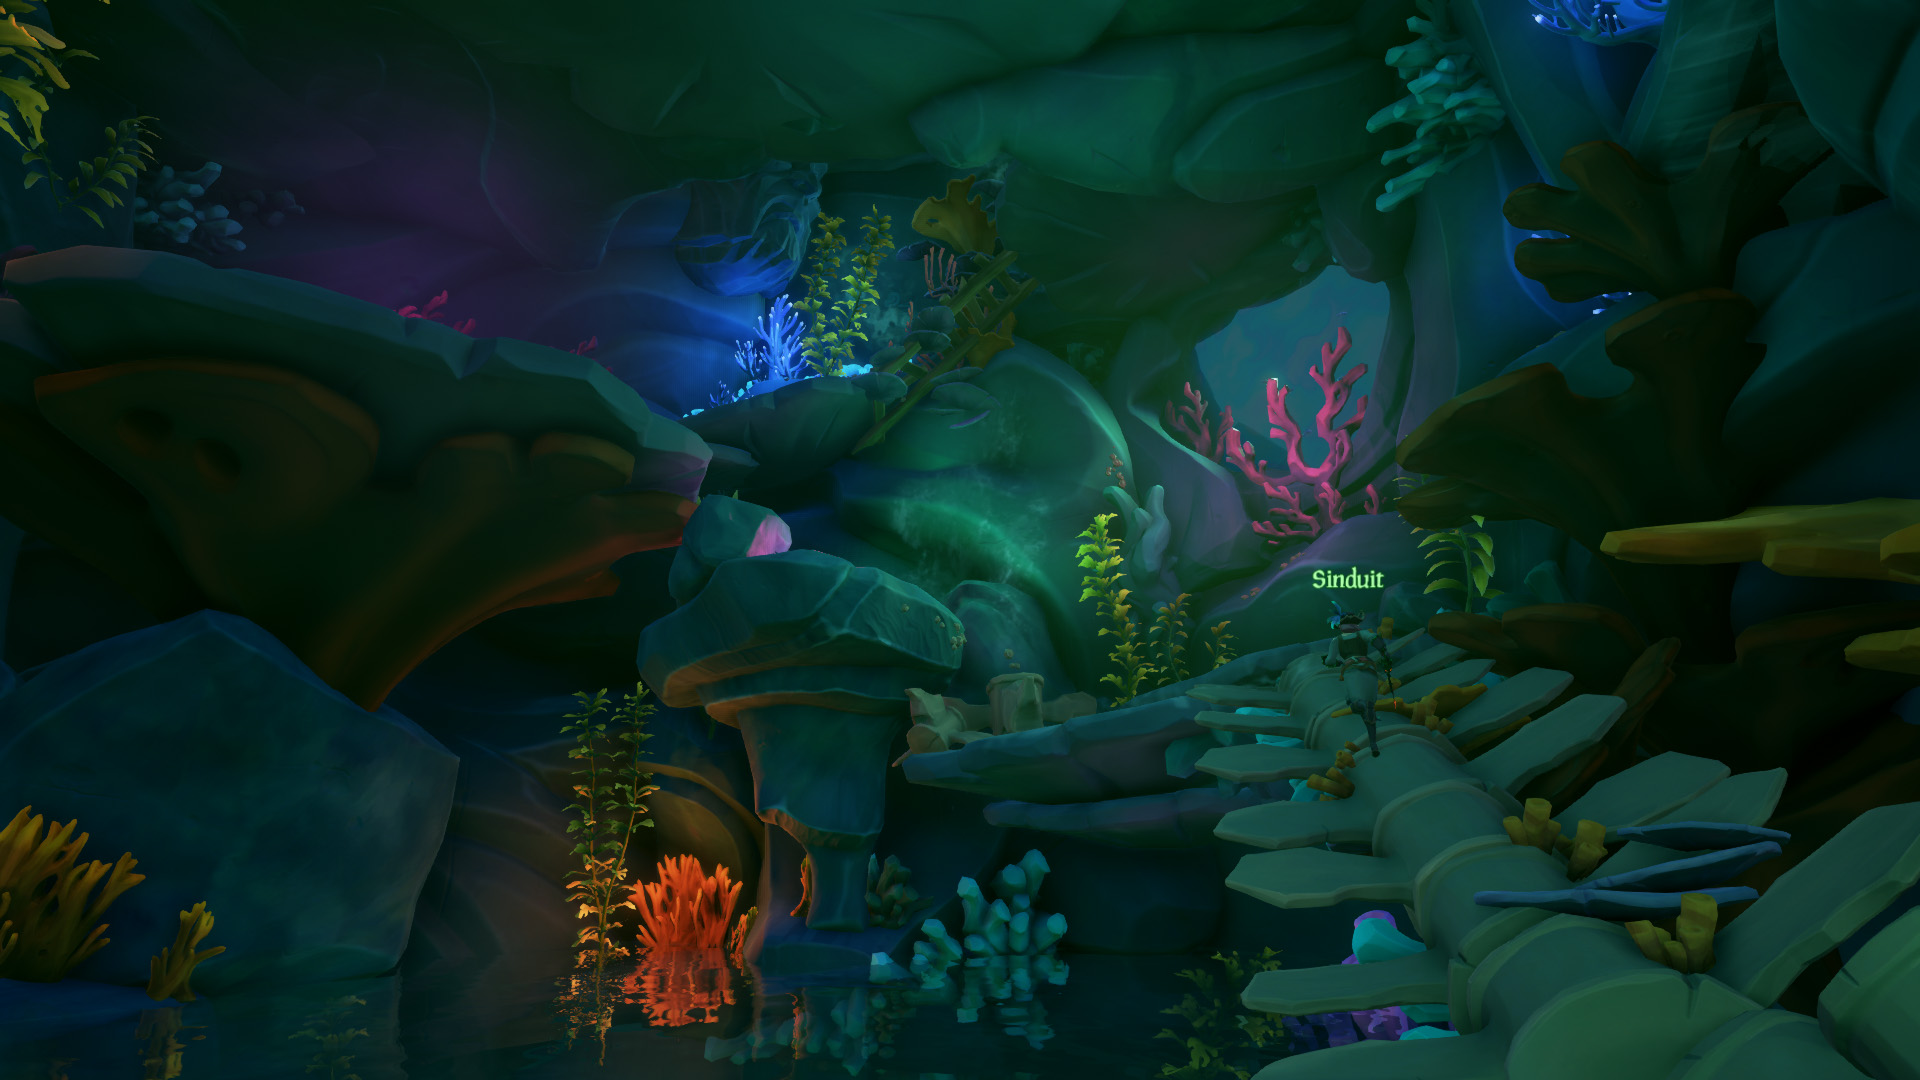
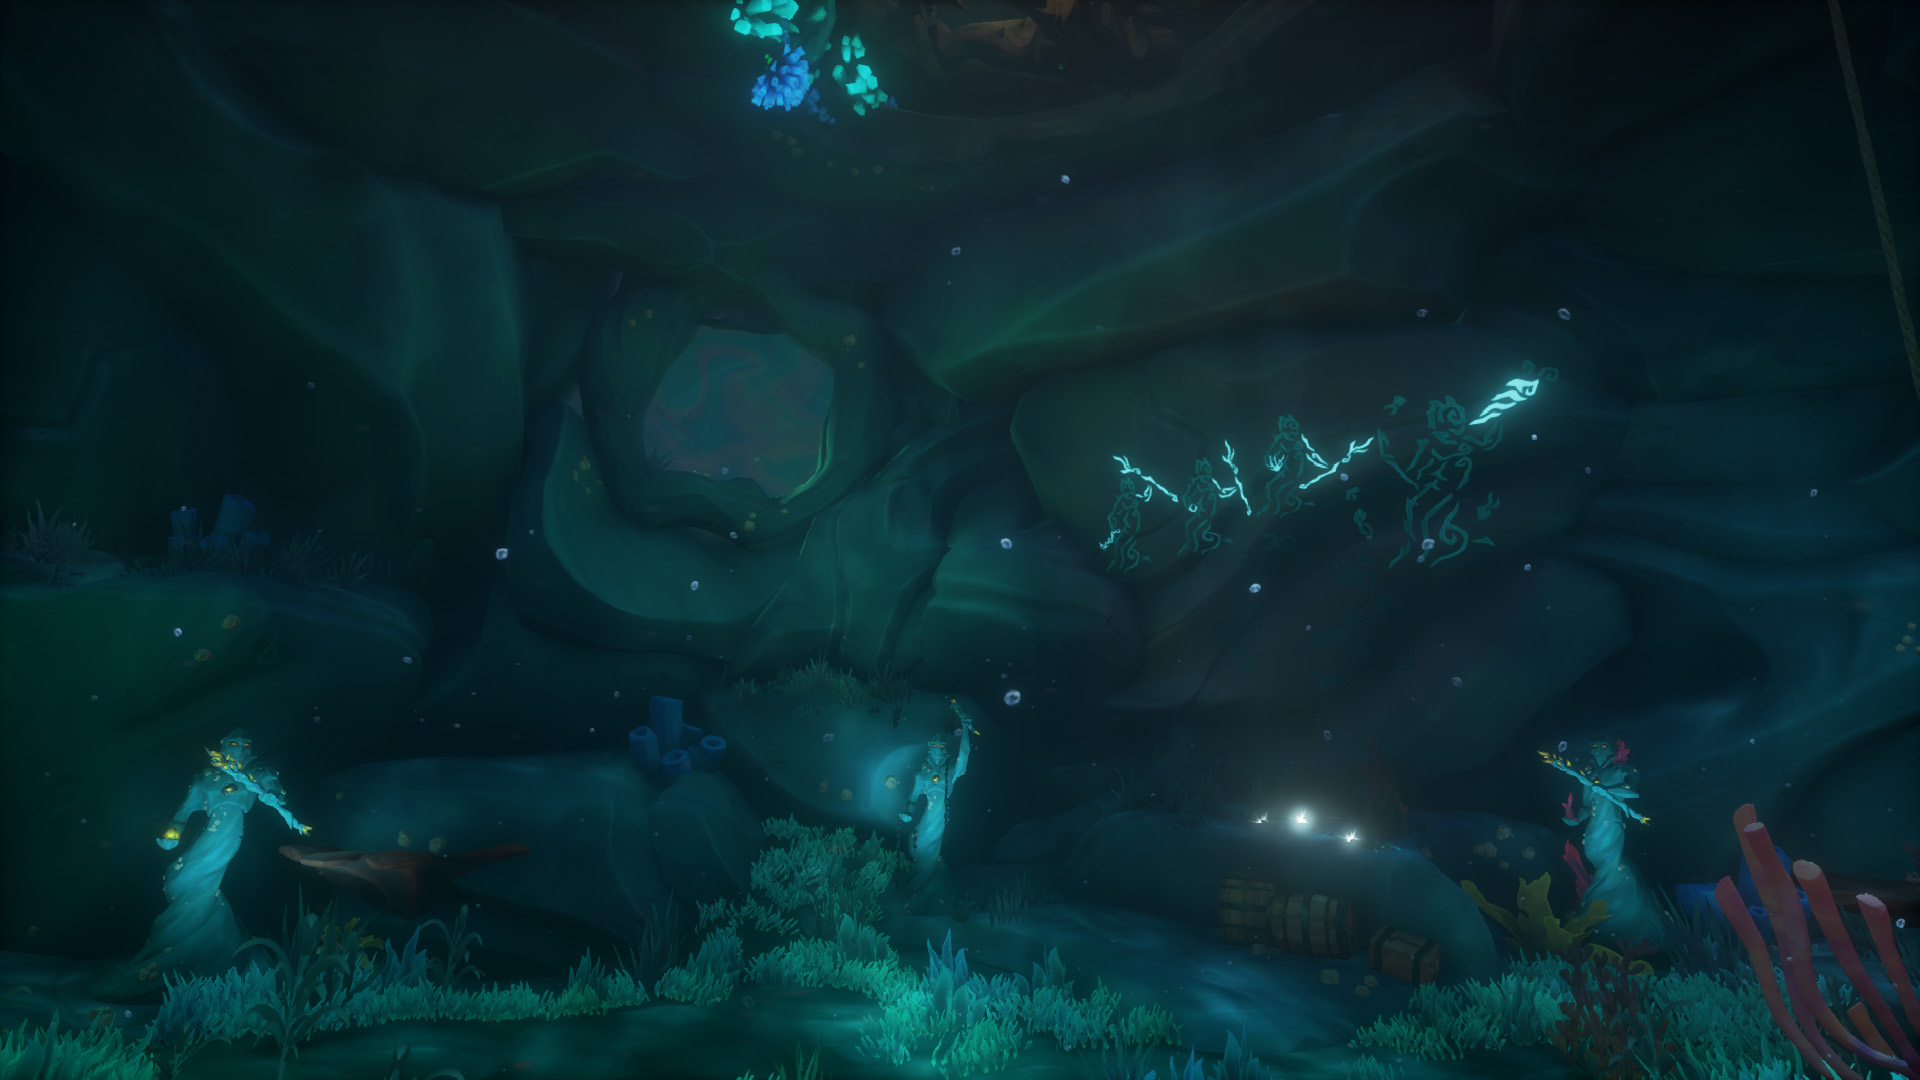
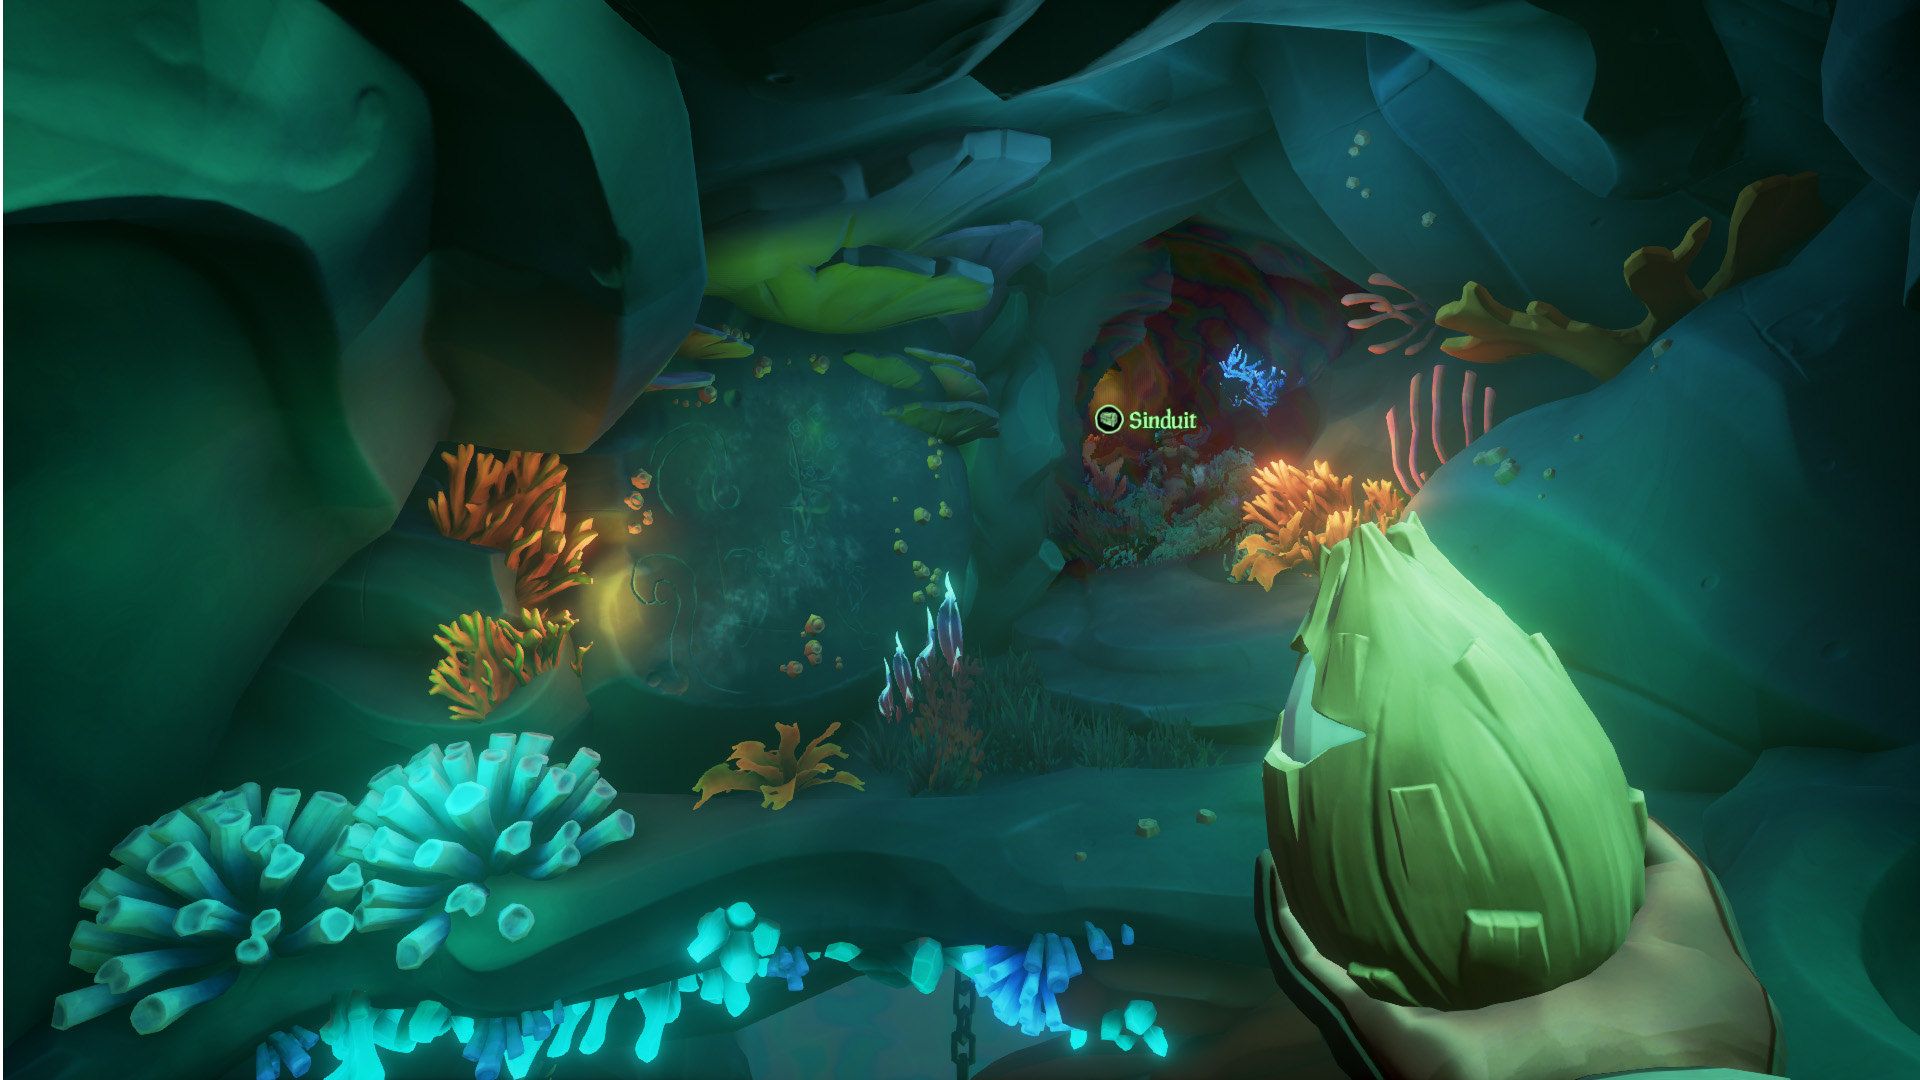
With Jack’s Compass now in your quest inventory it’s time to pull it out and take a look as to where you need to go. With luck, you’ll be guided to swim down into the dark tunnel where there is surely nothing scary lurking about.
Swim through the tunnel and up the ladder until you come to an impossible to pass barrier. You will see several barriers like this throughout the remaining of this tall tale, so keep in mind that to pass through you will need to find and slash or shoot the glowing ocean style doorknob.
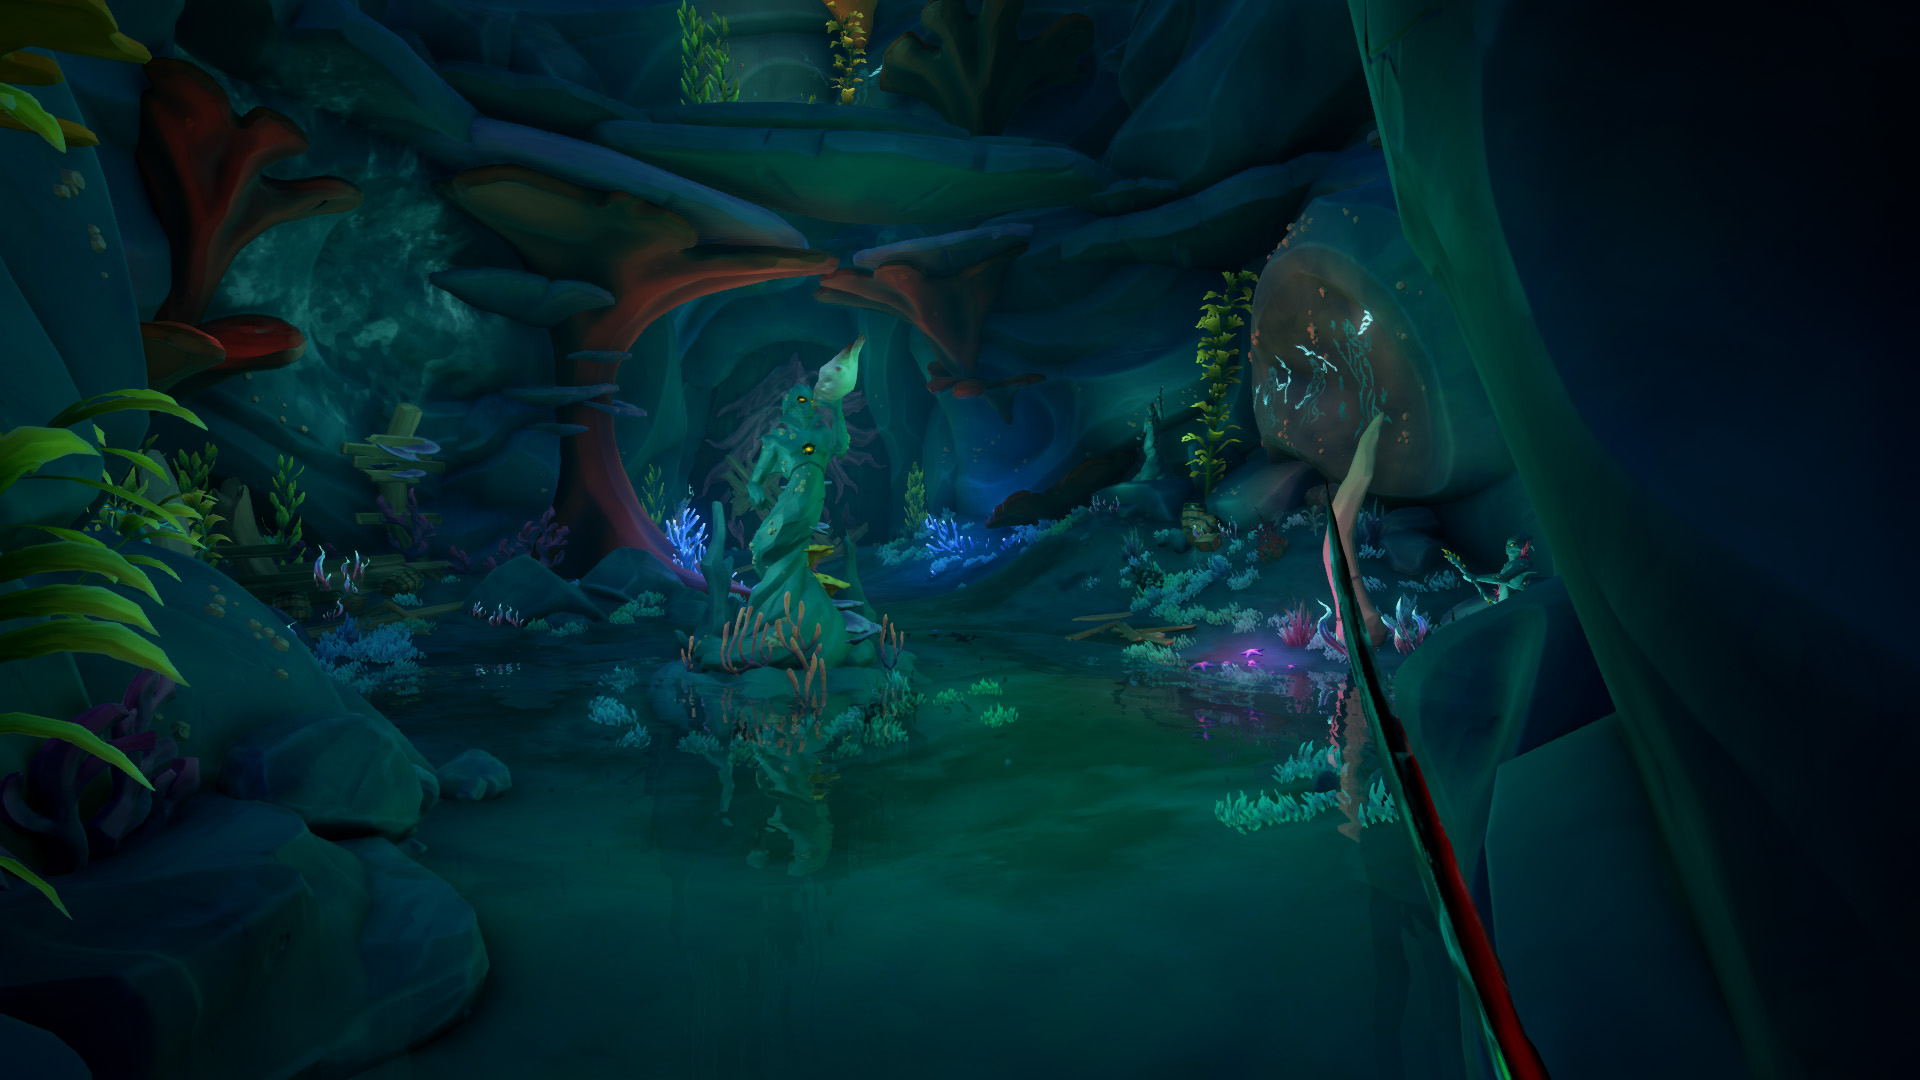
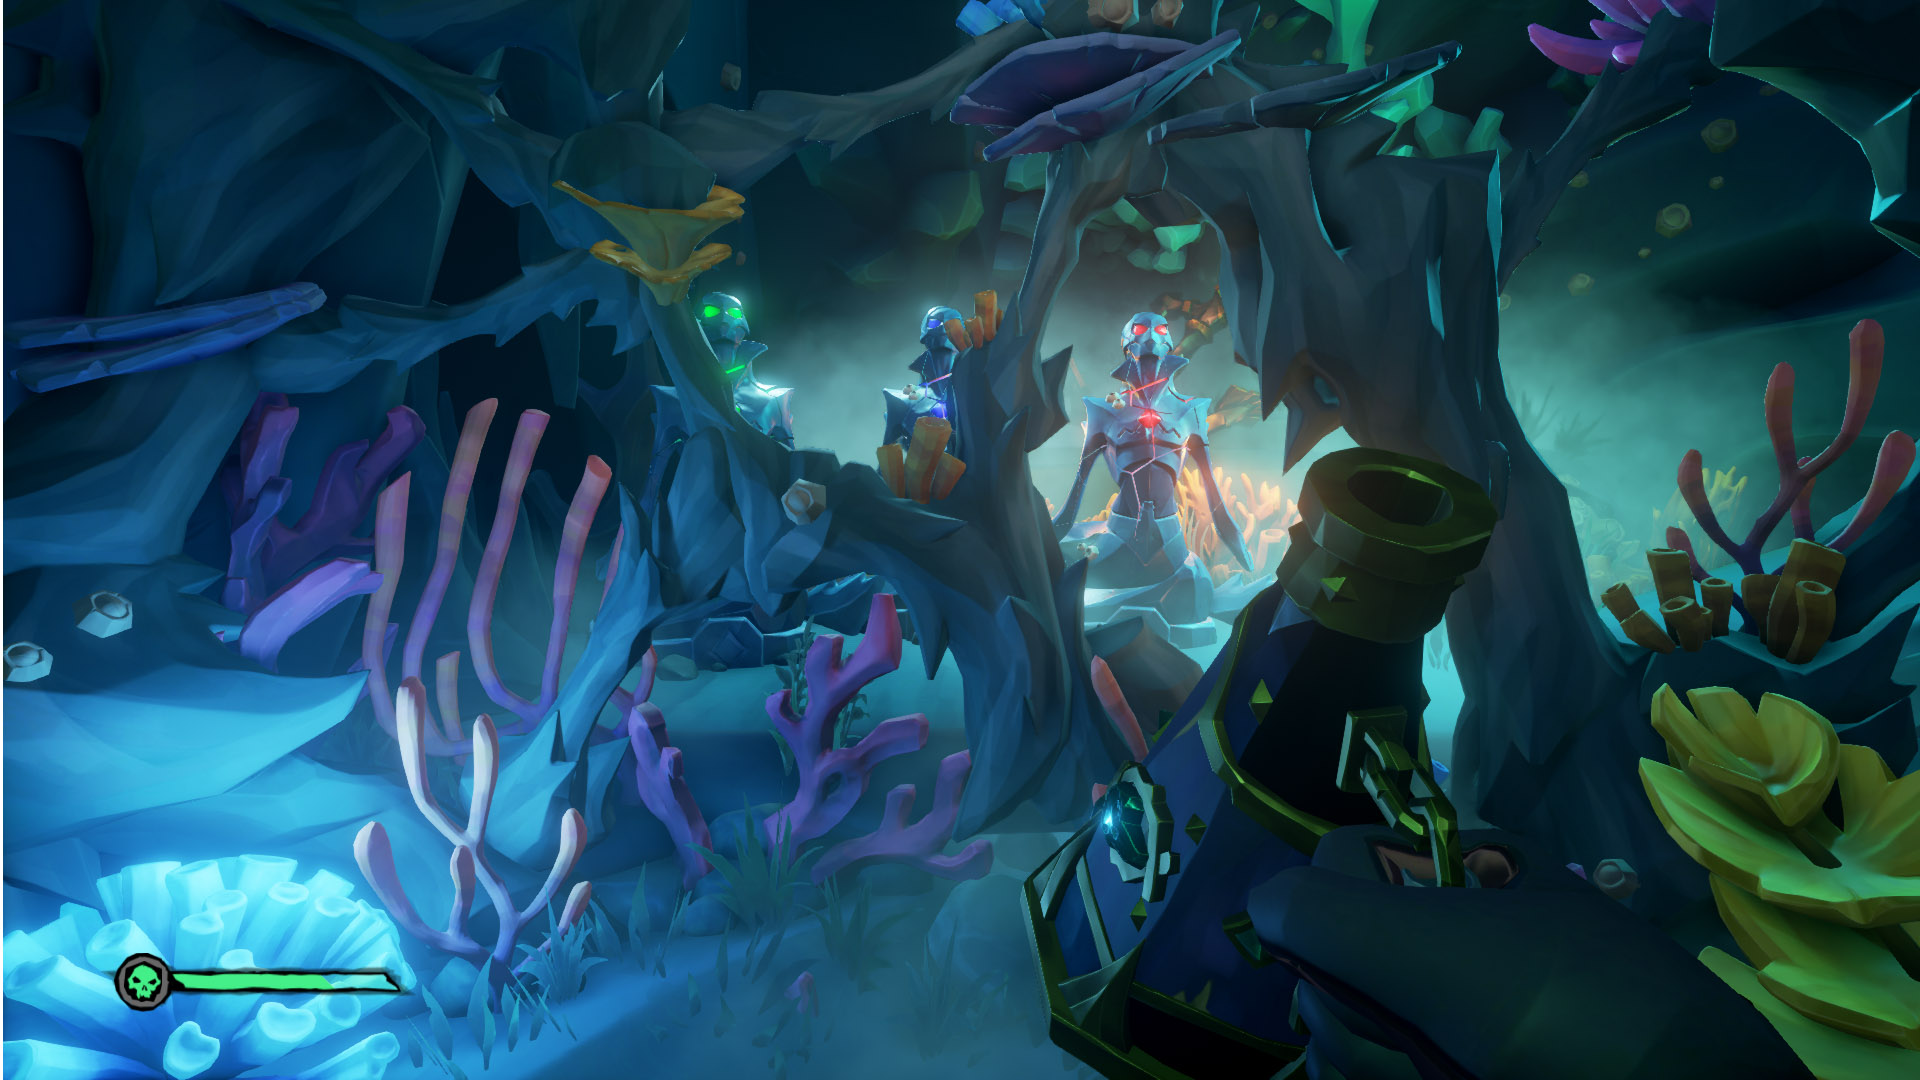
Once you’re through the door you will come to a large open room with several statues, ammo crates and barrels inside. Lucky you, its a trap, kill the enemies that spawn to continue.
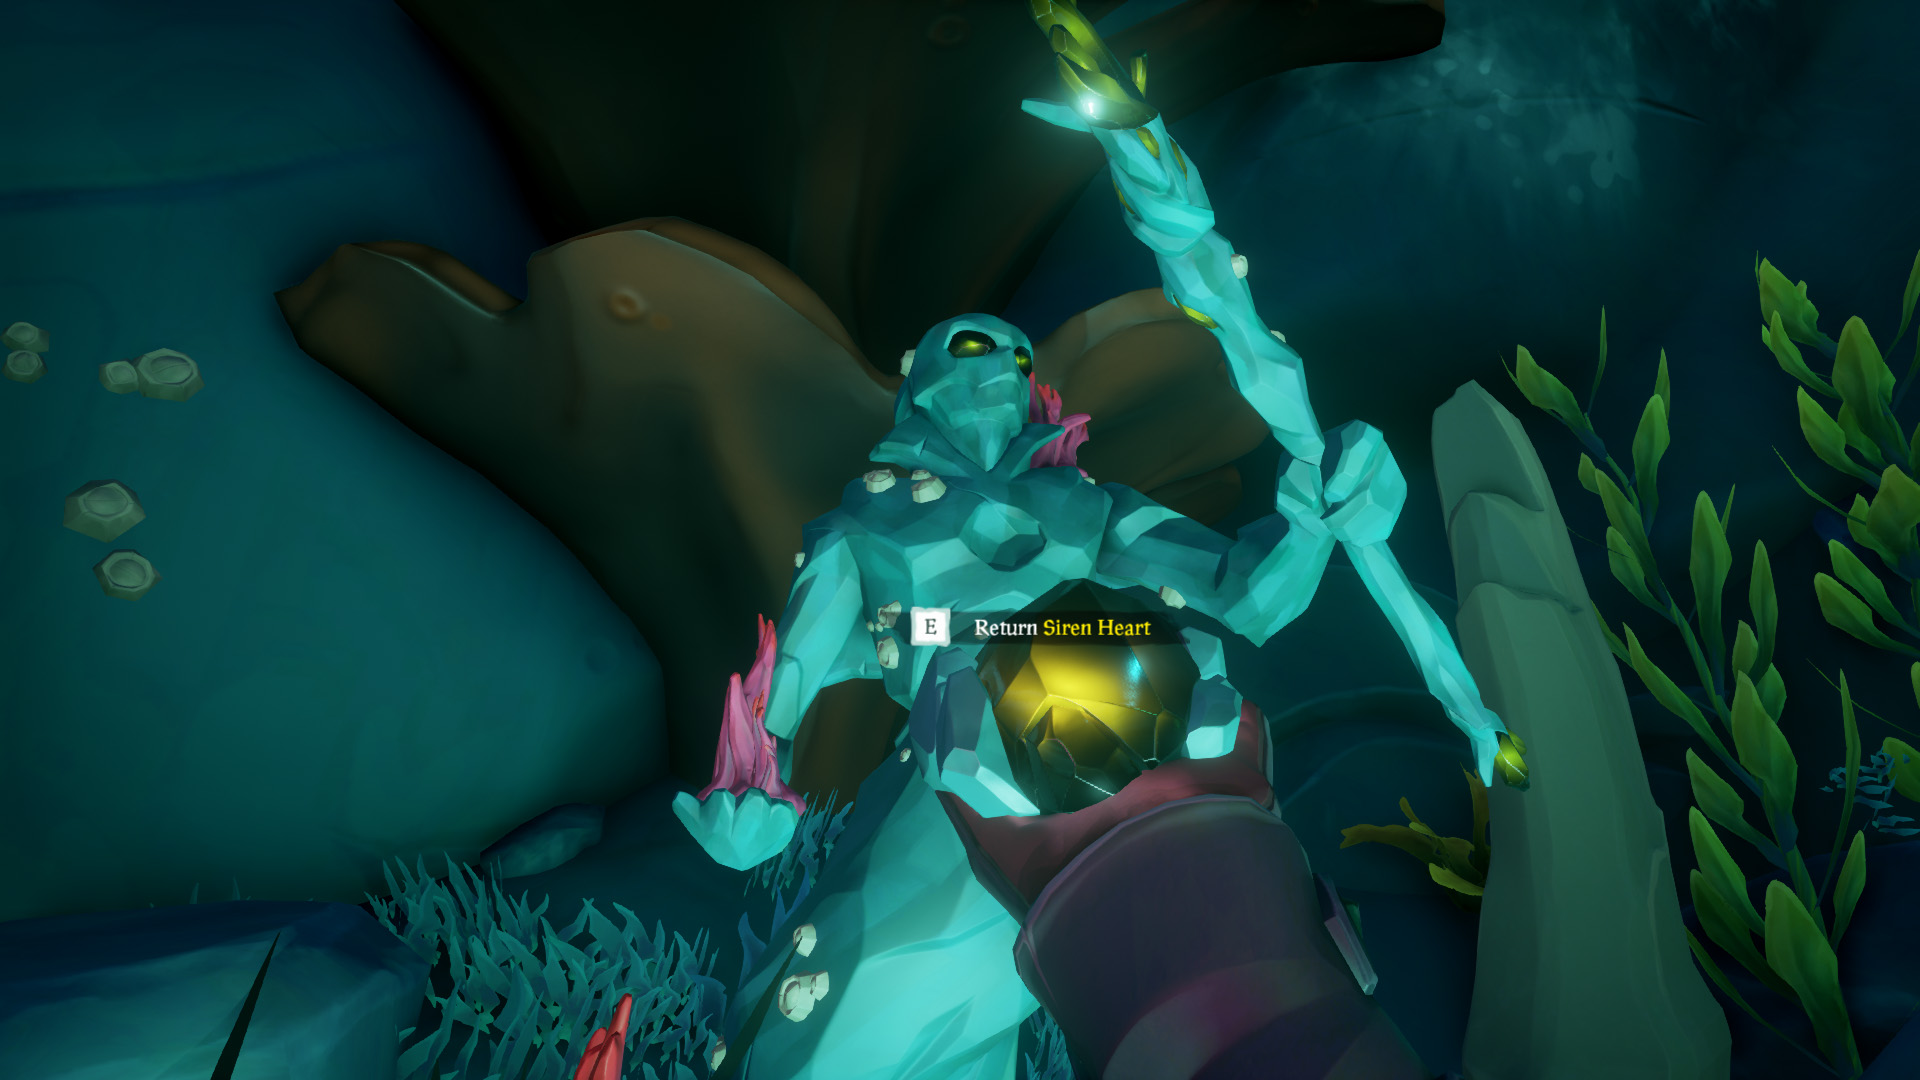
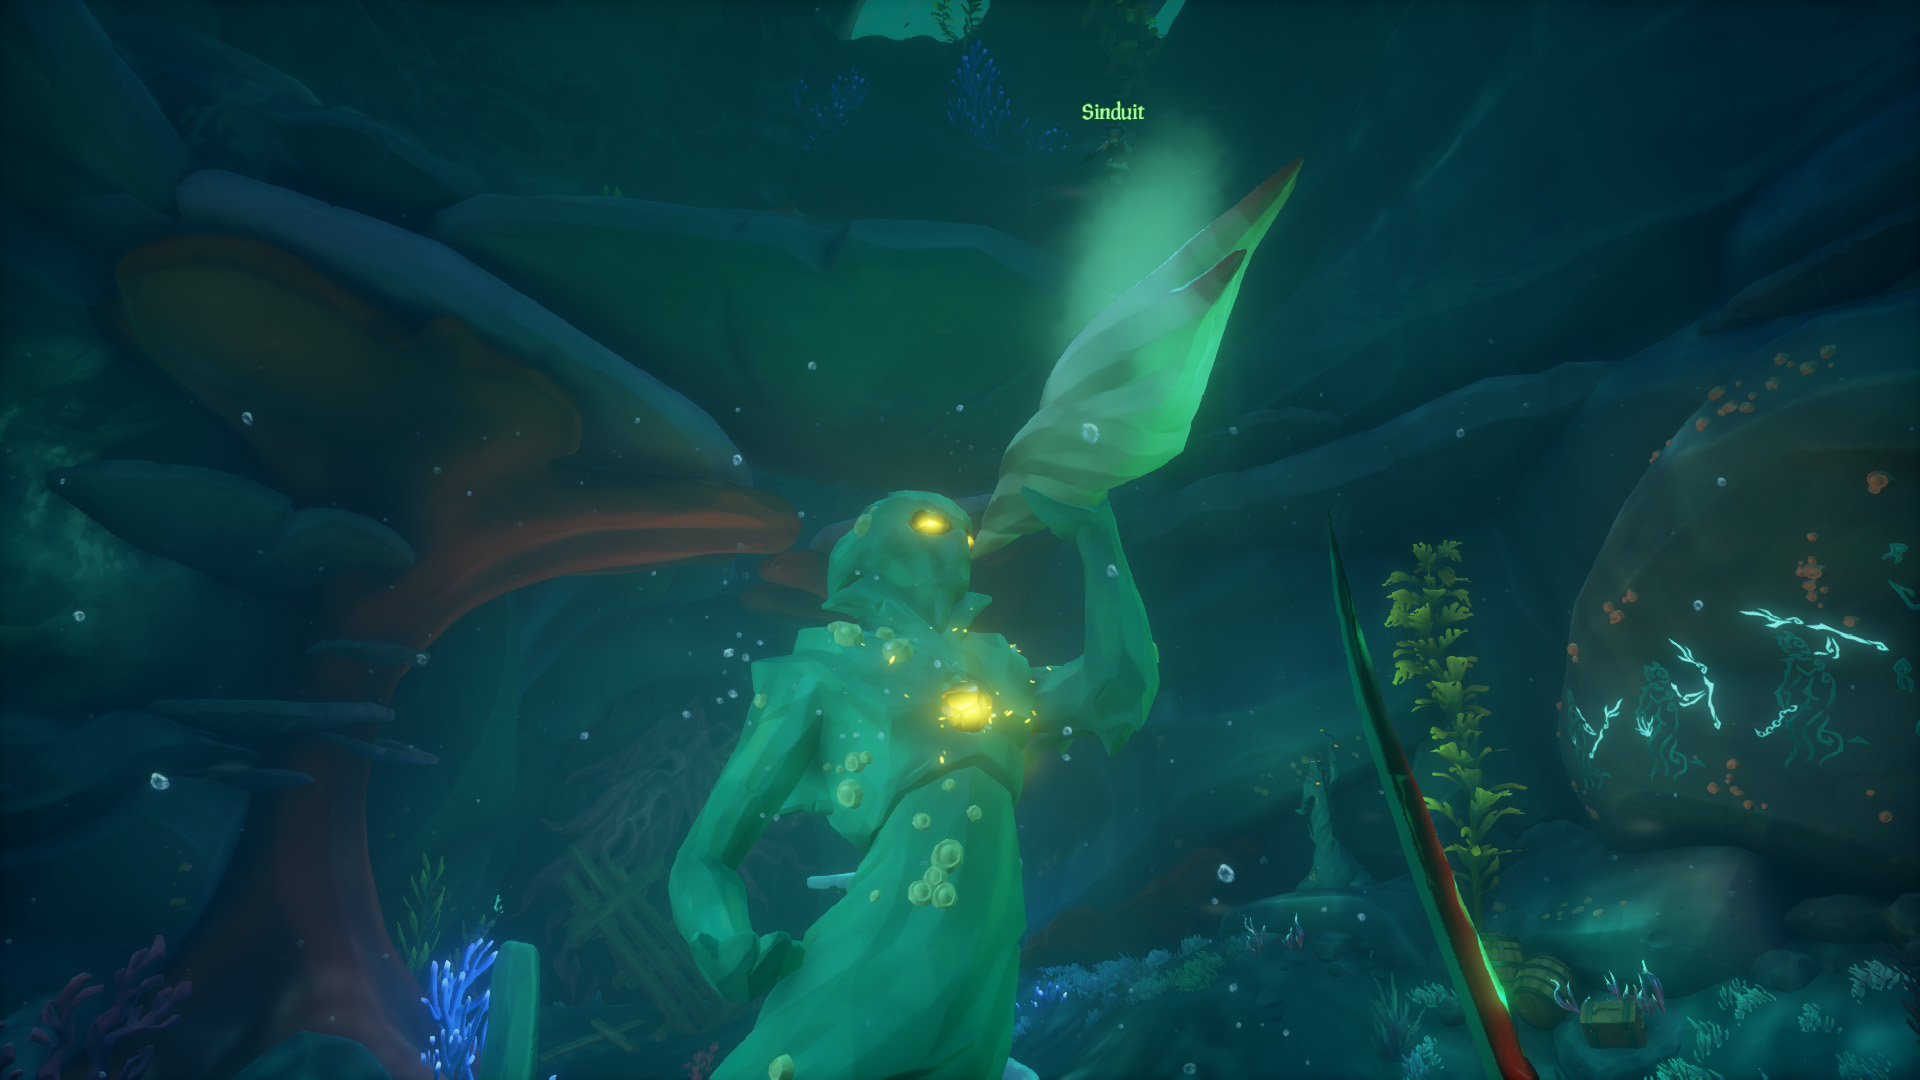
After defeating all the enemies you’ll now have to locate the gem that was dropped by one of them. Take this Siren’s Heart to the statue holding the flame and return it to its rightful place.
Silver Blade Captain's Journal - A Run of Good Luck
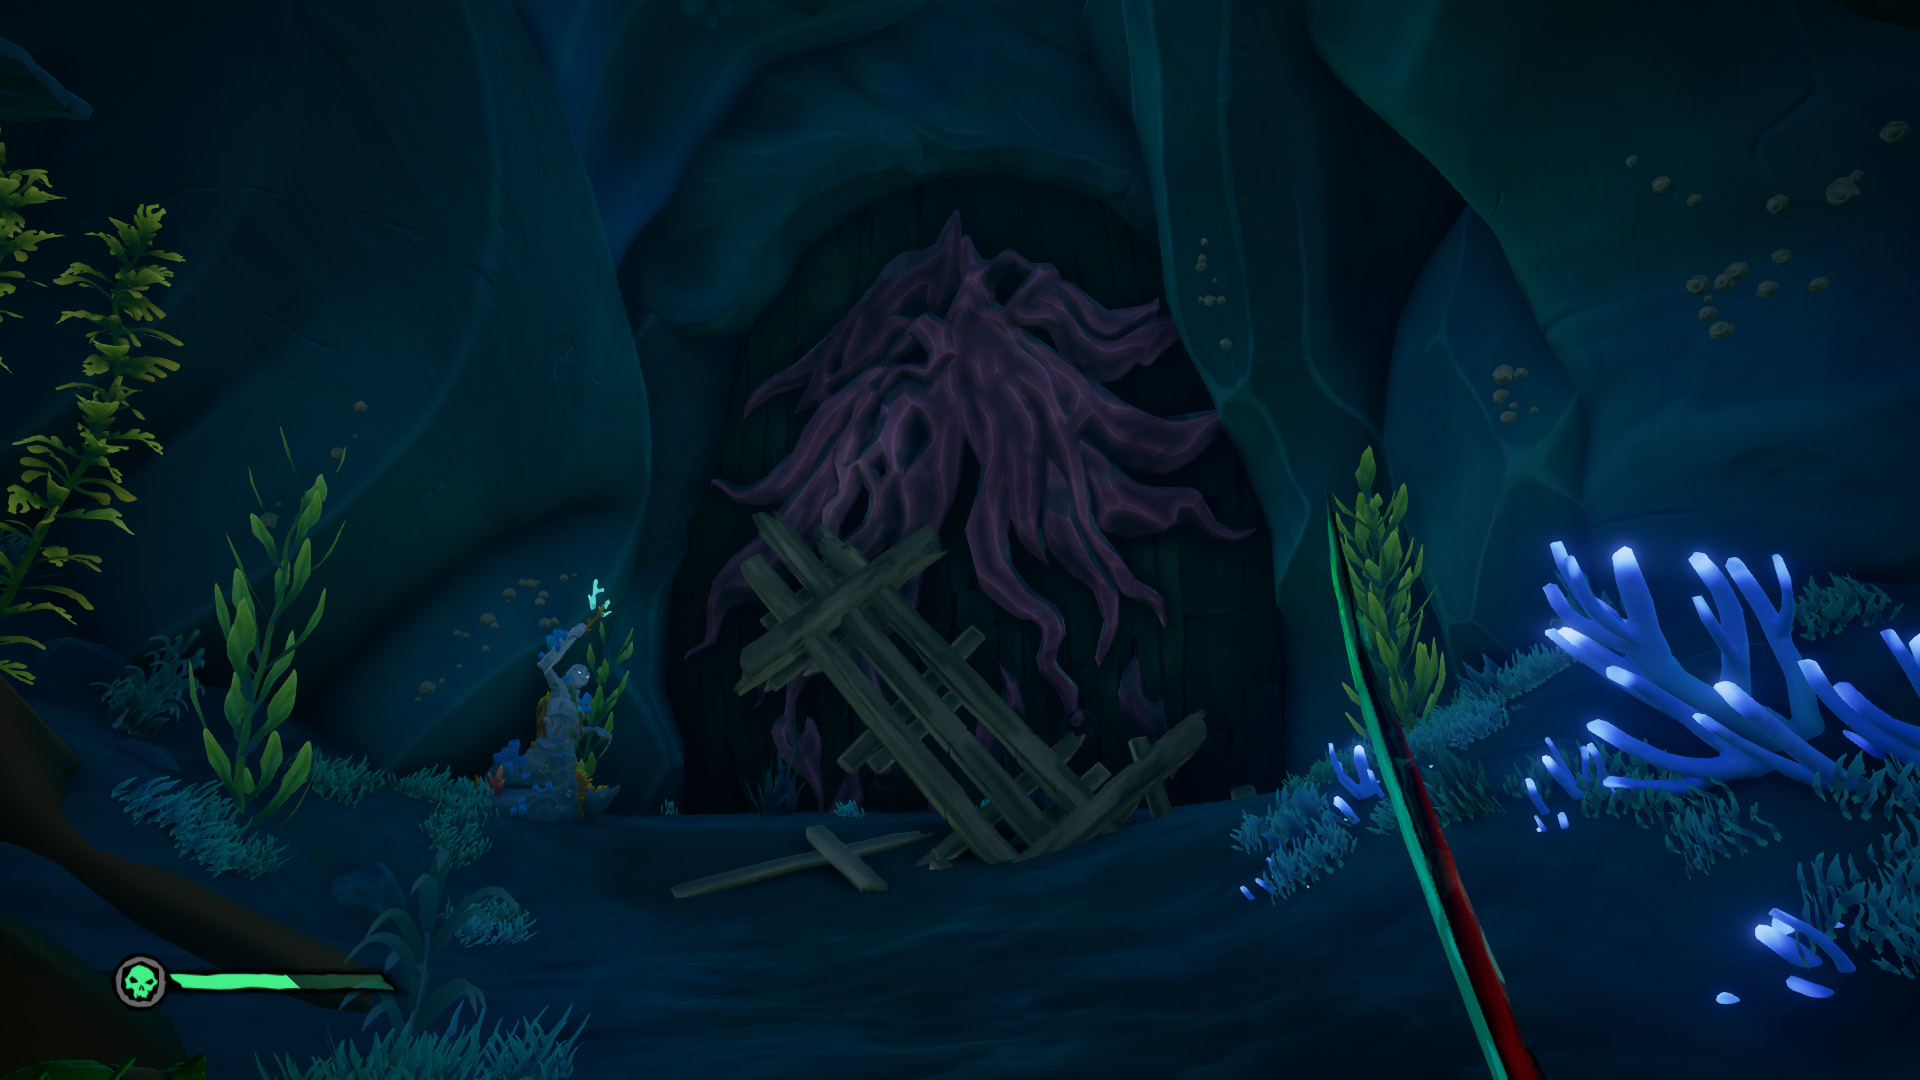
Before pressing forward we want to stop and pick up our first book hidden in this room. Head behind the well placed planks by the door and you will see the book lying on the floor.
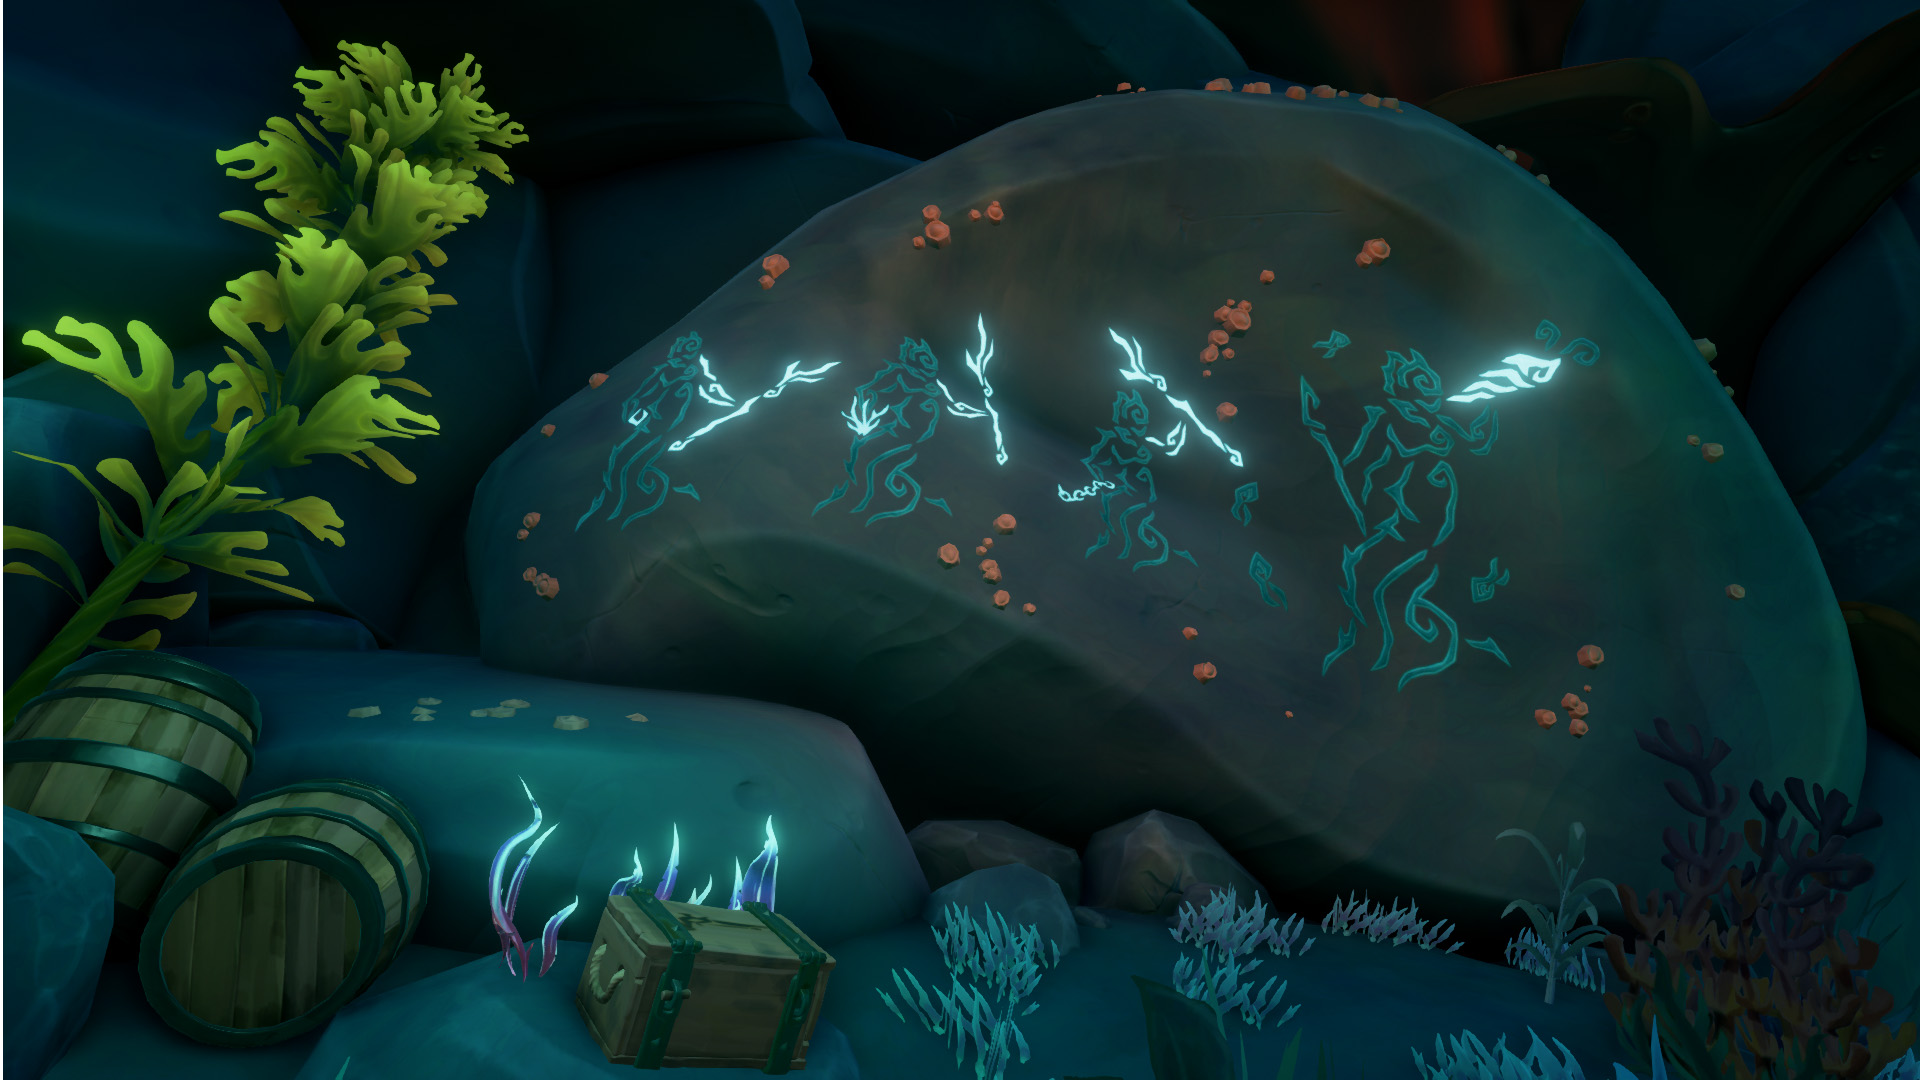
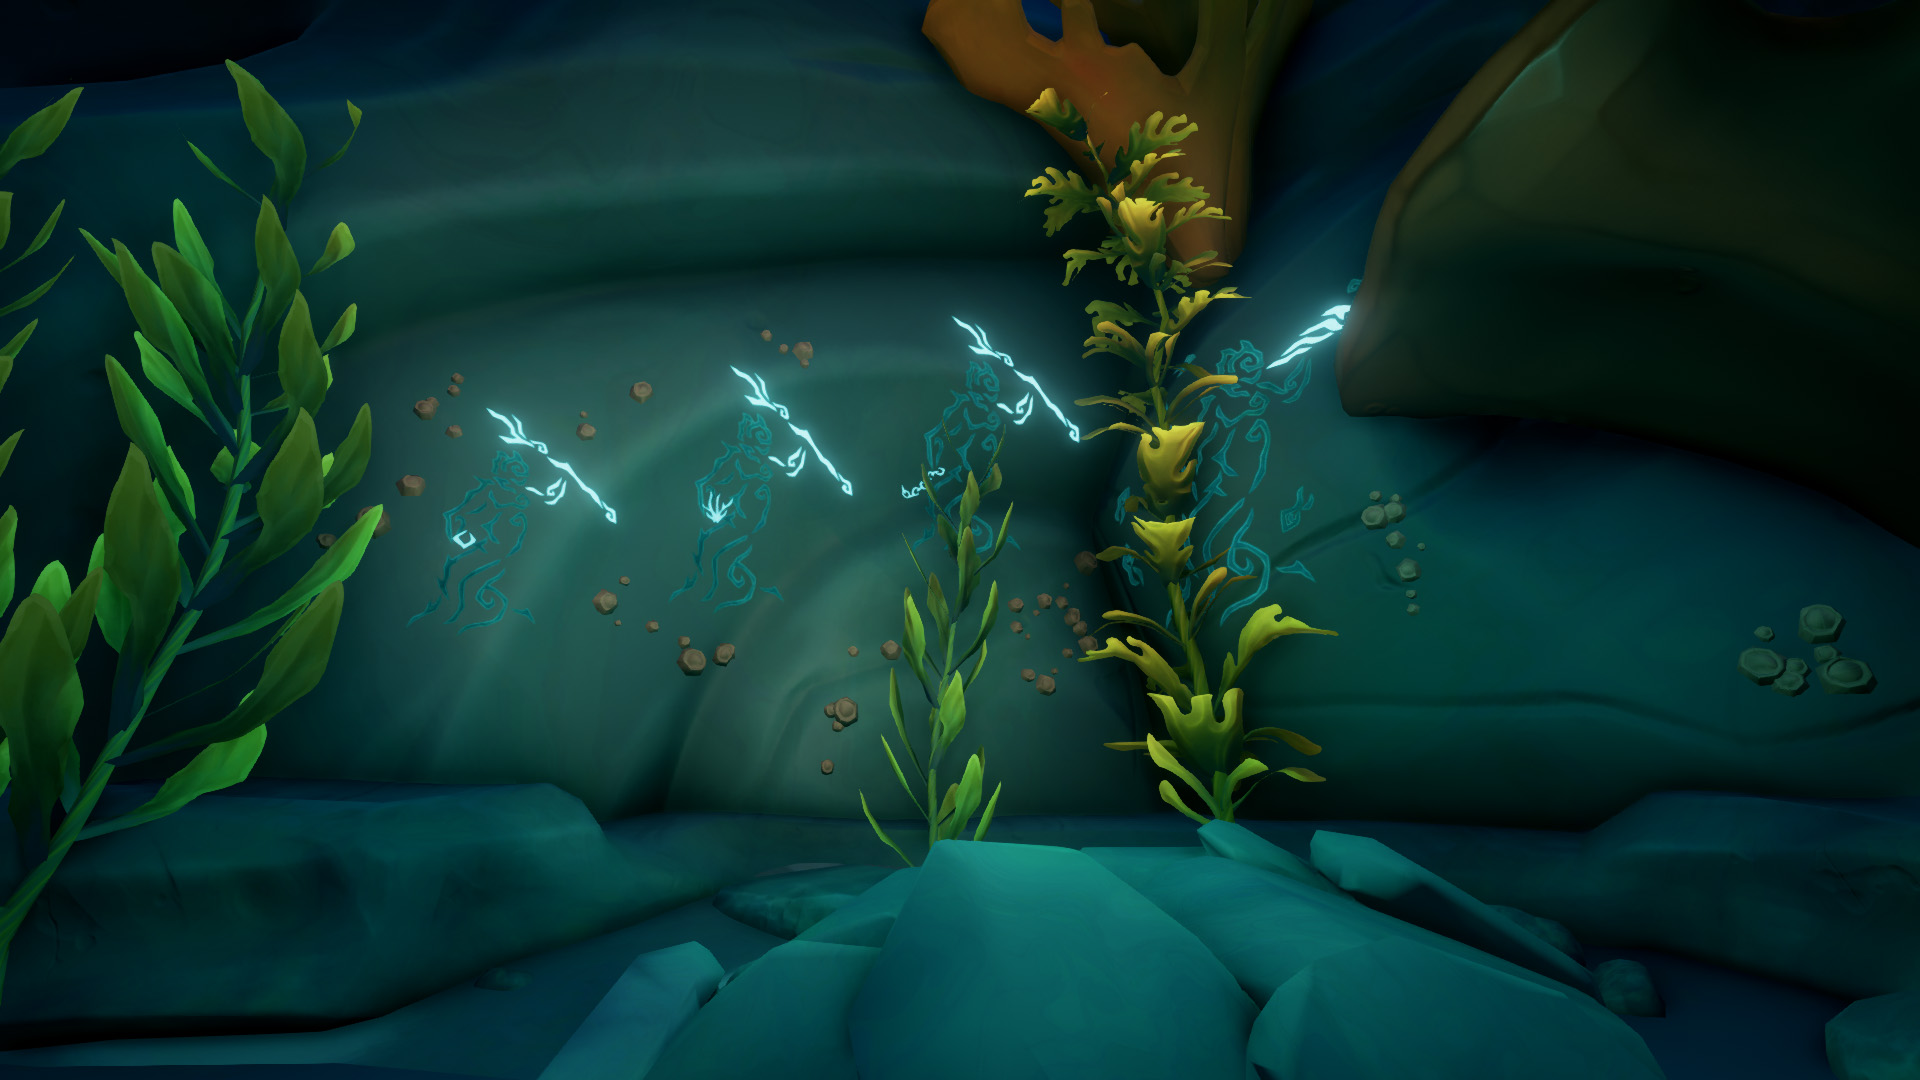
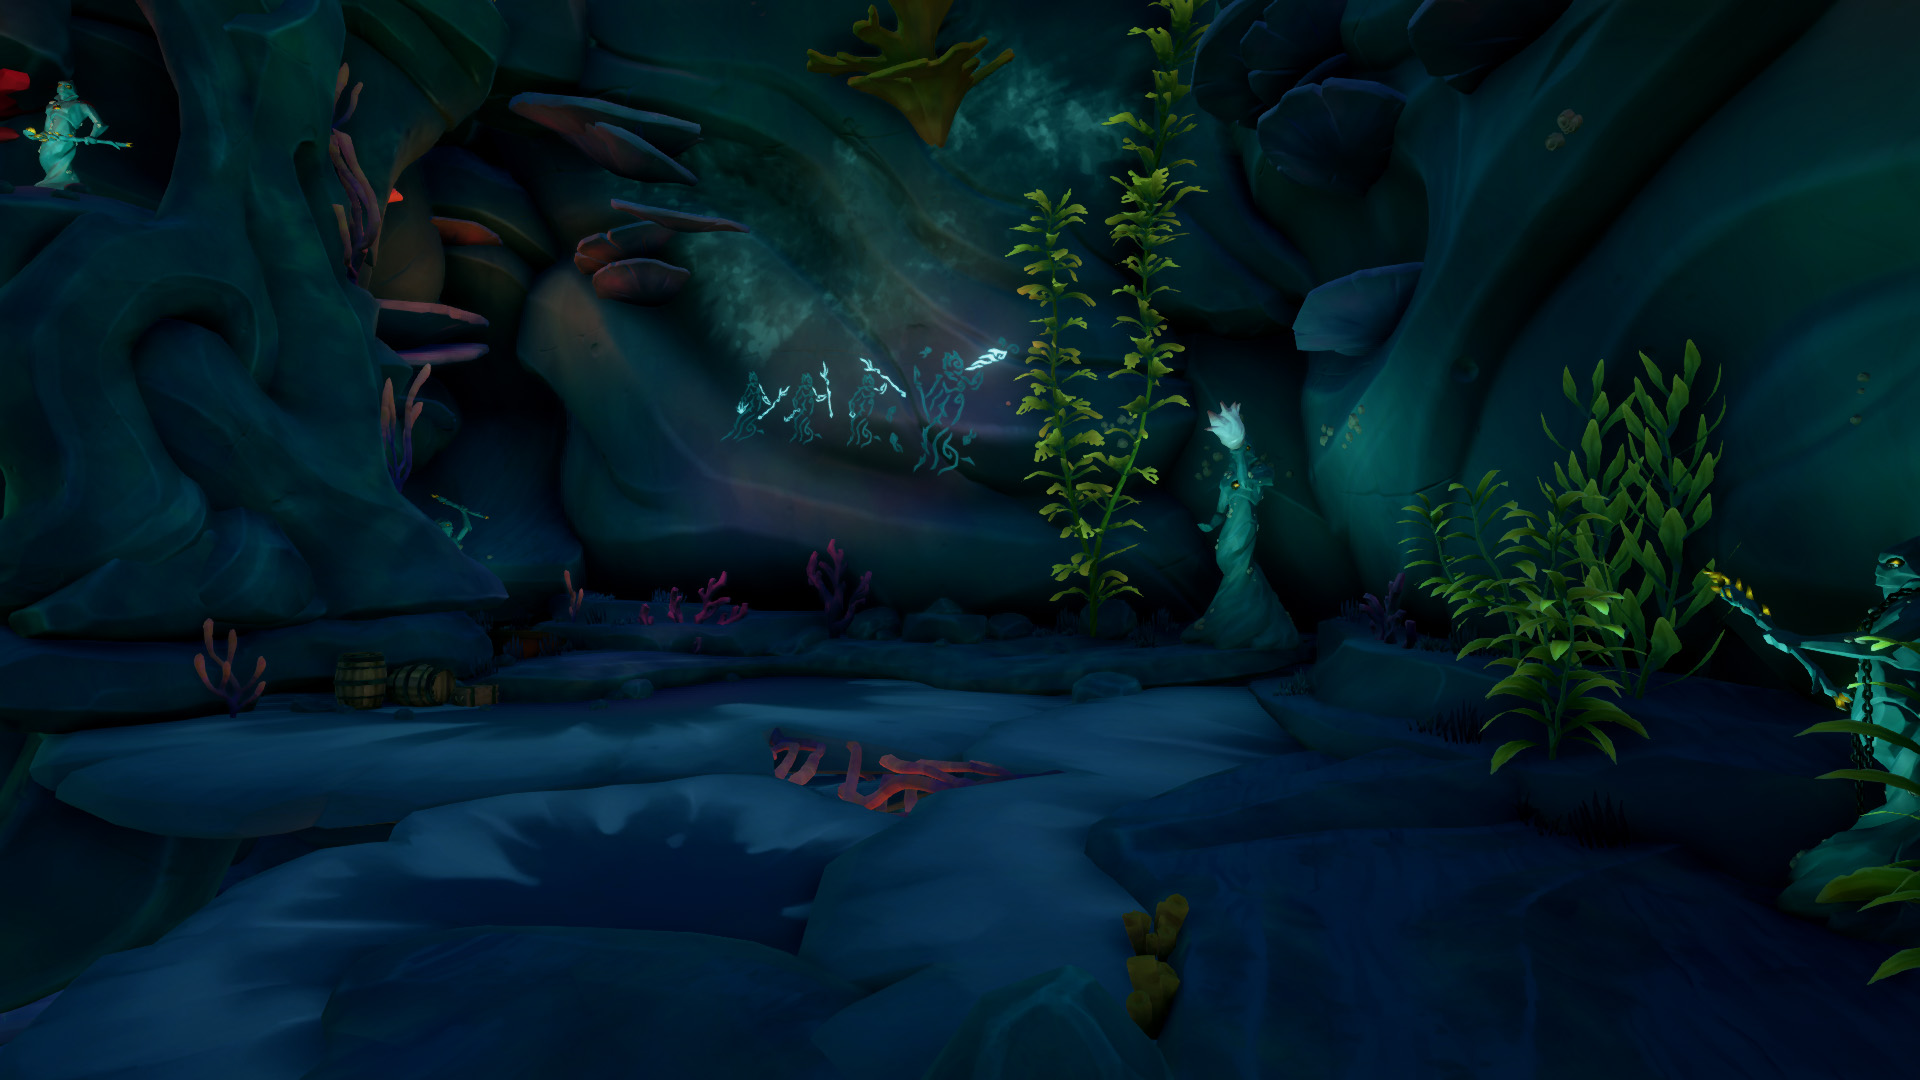
Now its puzzle time! Check the walls and you will see cave paintings depicting the “proper” solution to unlocking the way forward. Make each statue match the painting by slashing or shooting them to move their arm to one of 3 positions. Once all is in order shoot or slash the statue with the trumpet to enter your solution.
The room should start to fill with water, and once full you’ll be faced with another cave painting to solve. Dive down to the previous statues and adjust them according to new instructions.
With the solution updated hit the trumpet and swim back to the second level where you will find a geyser has been activated. Stand on the geyser and it will launch you up to the third floor.
You will once again be greeted by a group of sea anemones (get it?) and after slashing and smashing them to bits you will get another puzzle to solve. After locating the tricky statue in the top left corner and solving the puzzle the room will once again fill with more water.
Silver Blade Captain's Journal - An Ancient Mystery
Once the room finishes filling you’ll want to swim over towards the “tricky statue” that was hidden, there you will find our second book.
With the second book collected we can now head up the Pirate sized back bone to the observation deck. Up here there will be a few supply bins you’ll want to rummage through along with several Tridents, take one while you’re listening to the dialog.
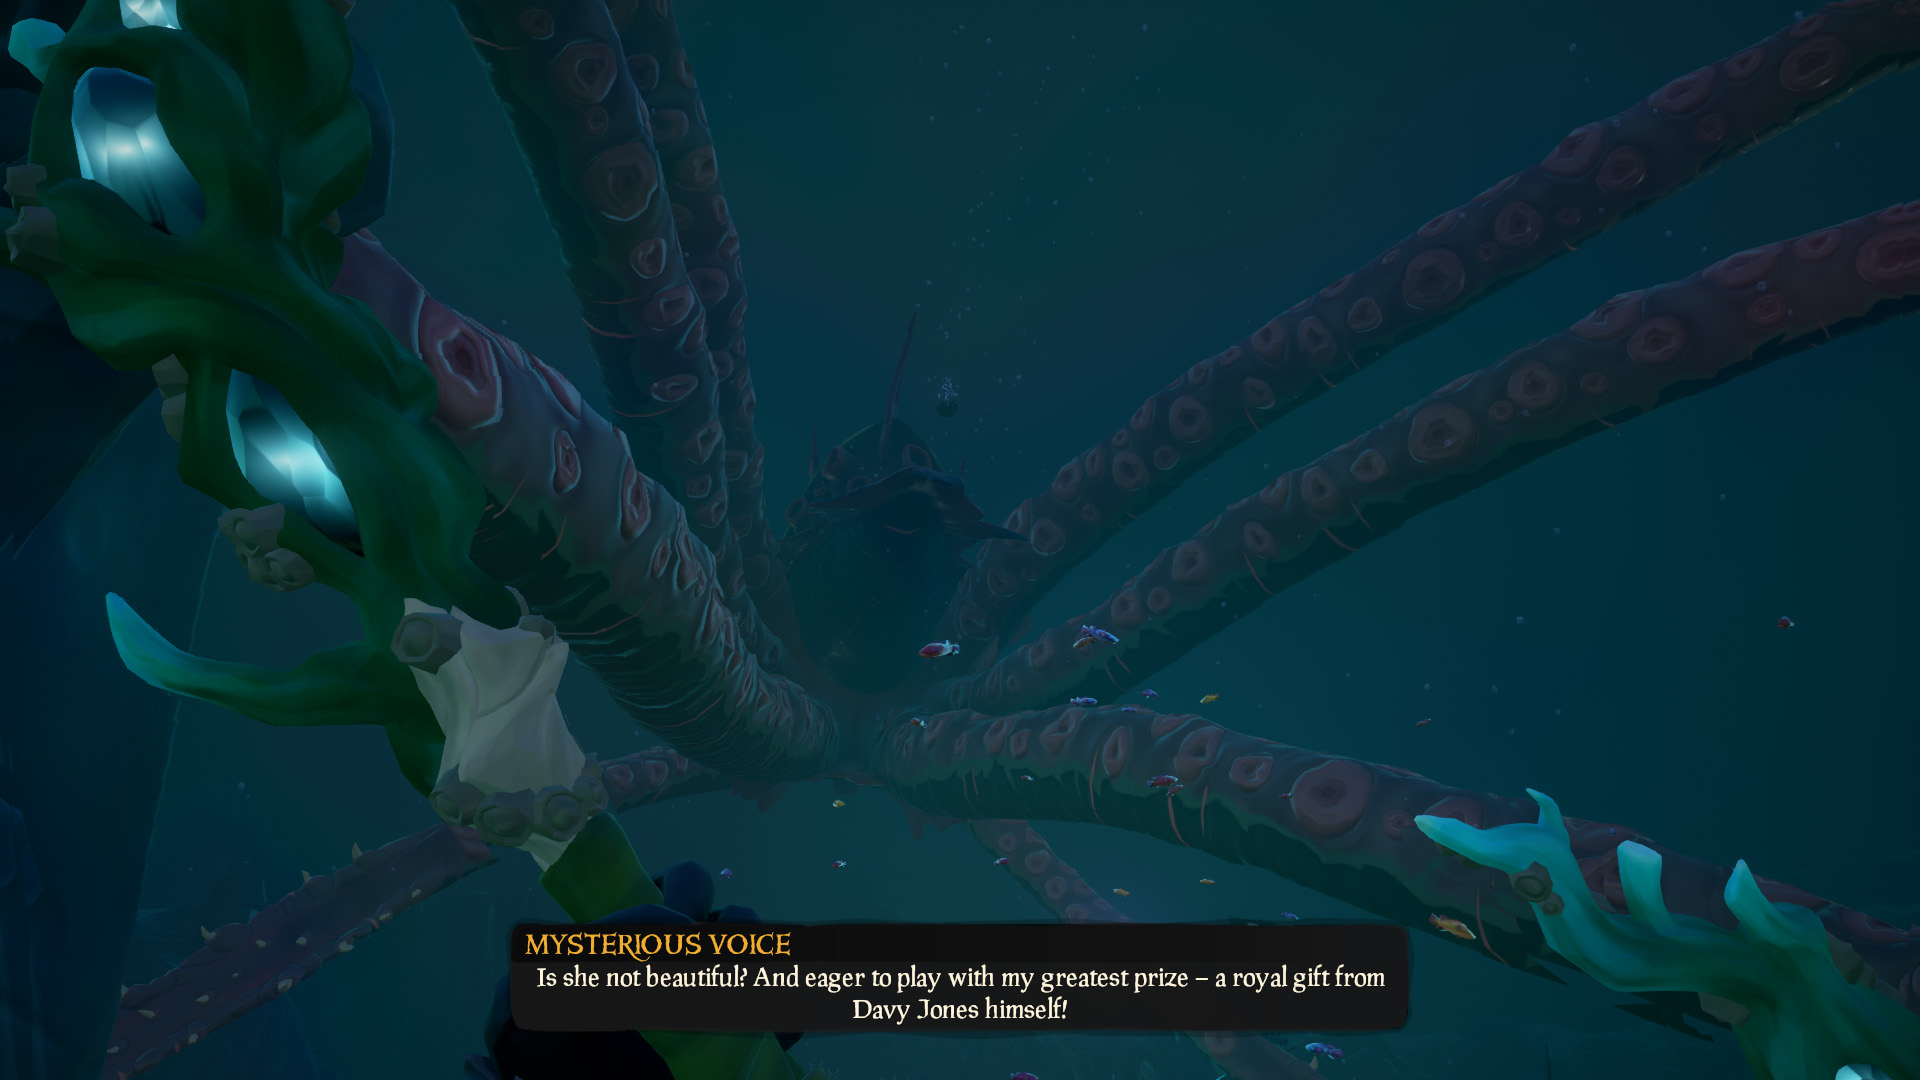
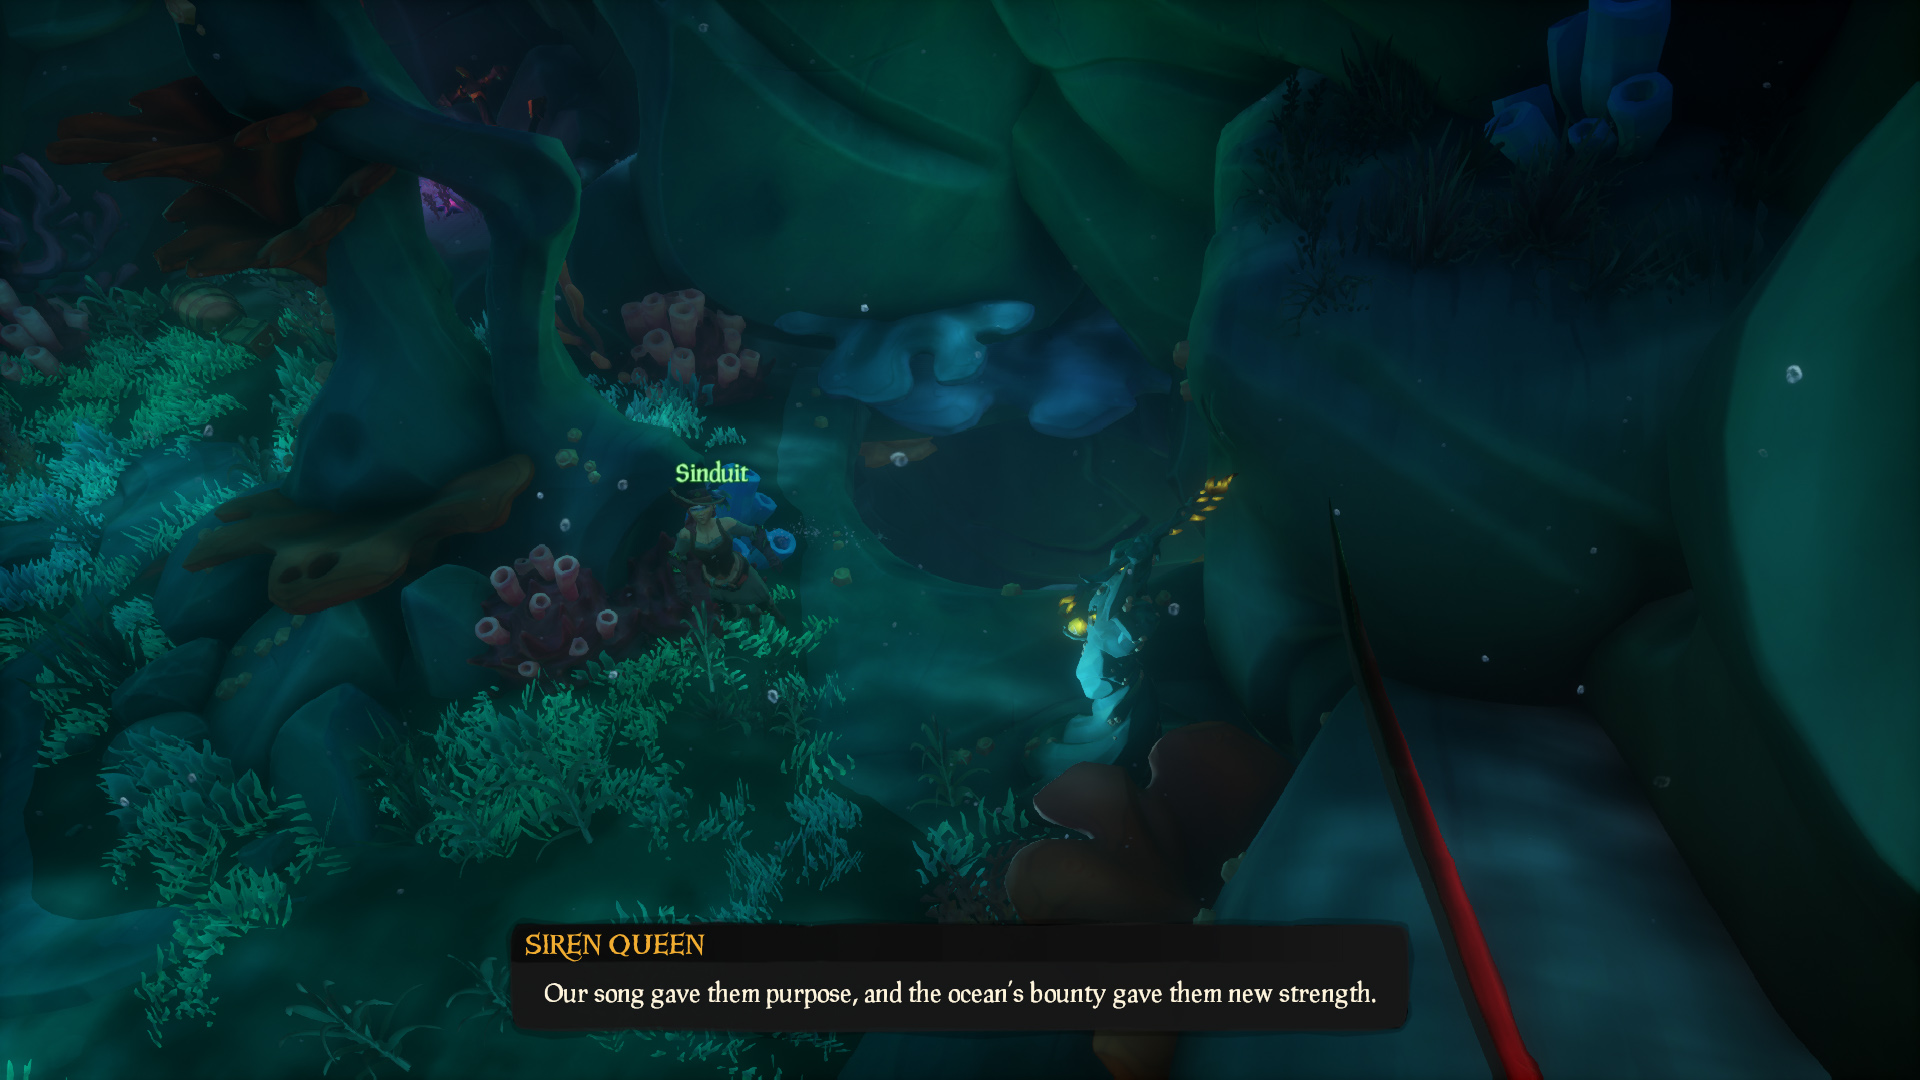
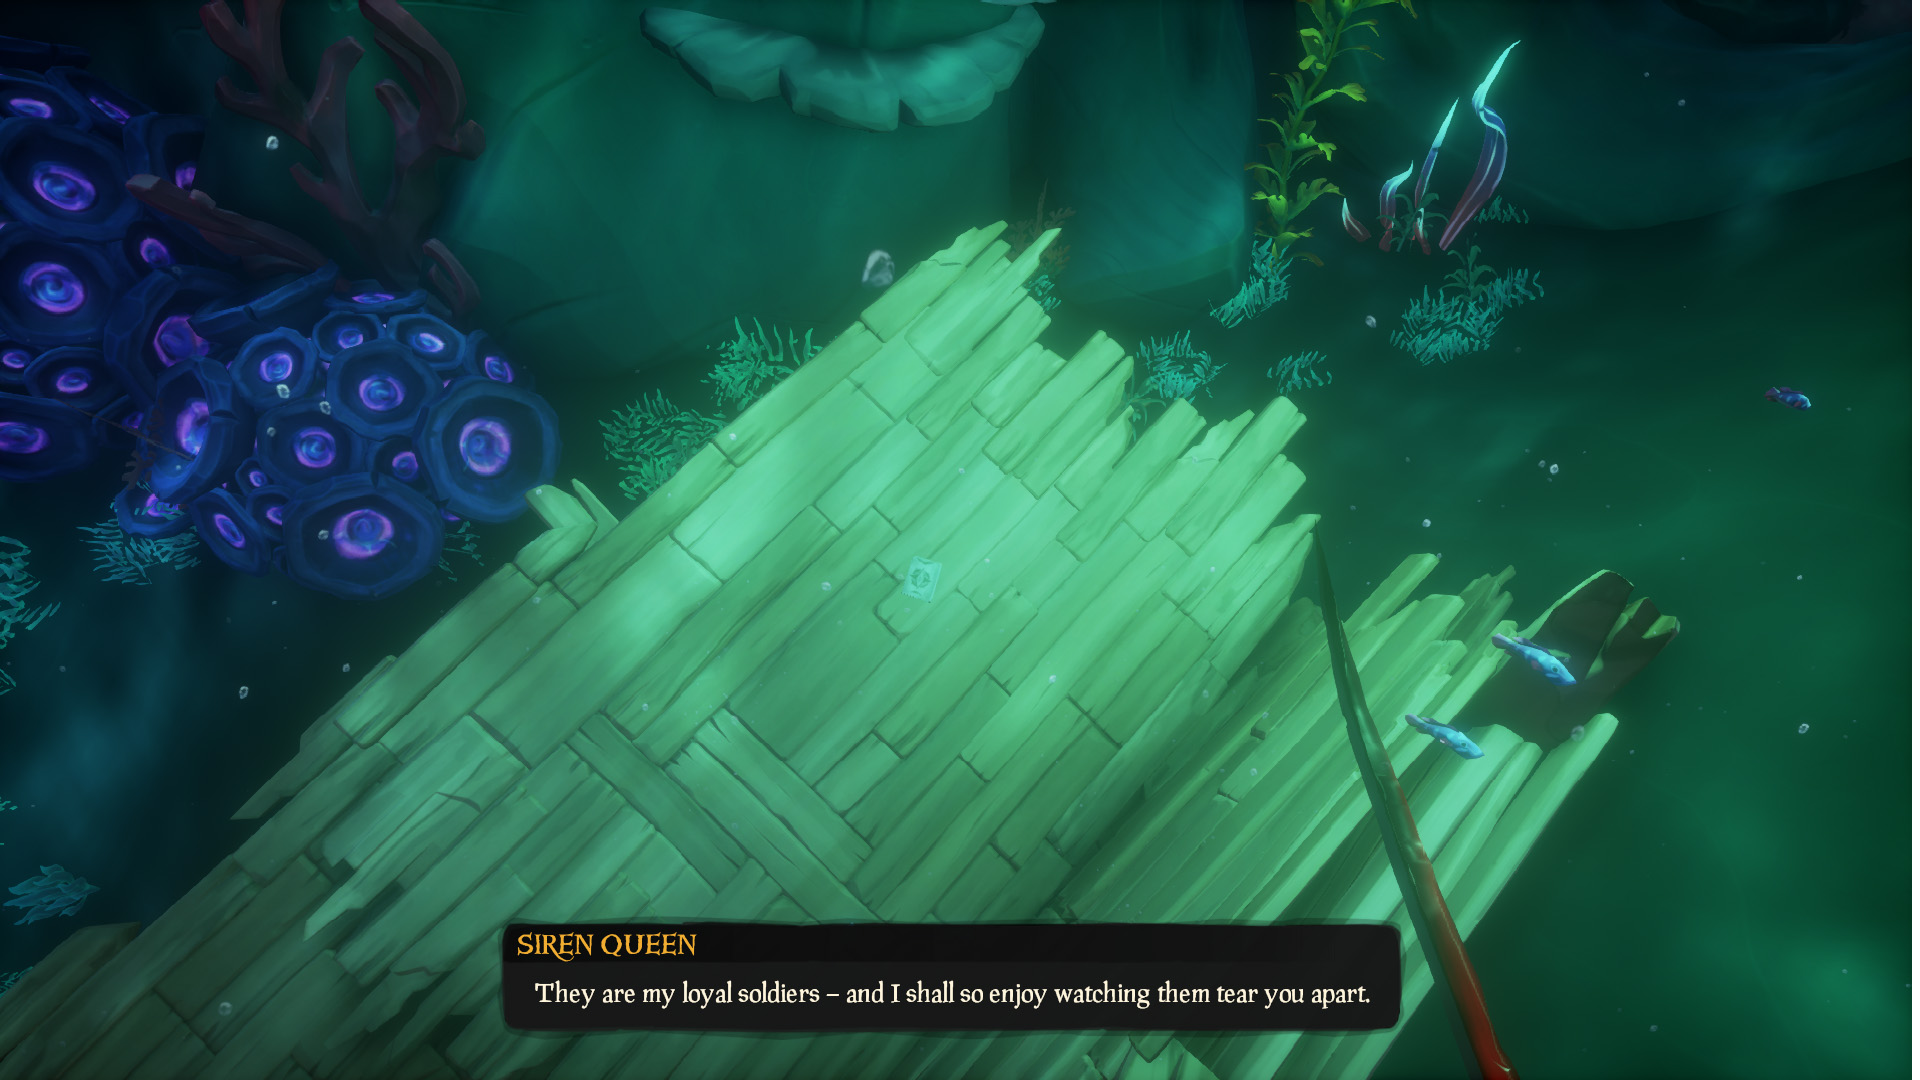
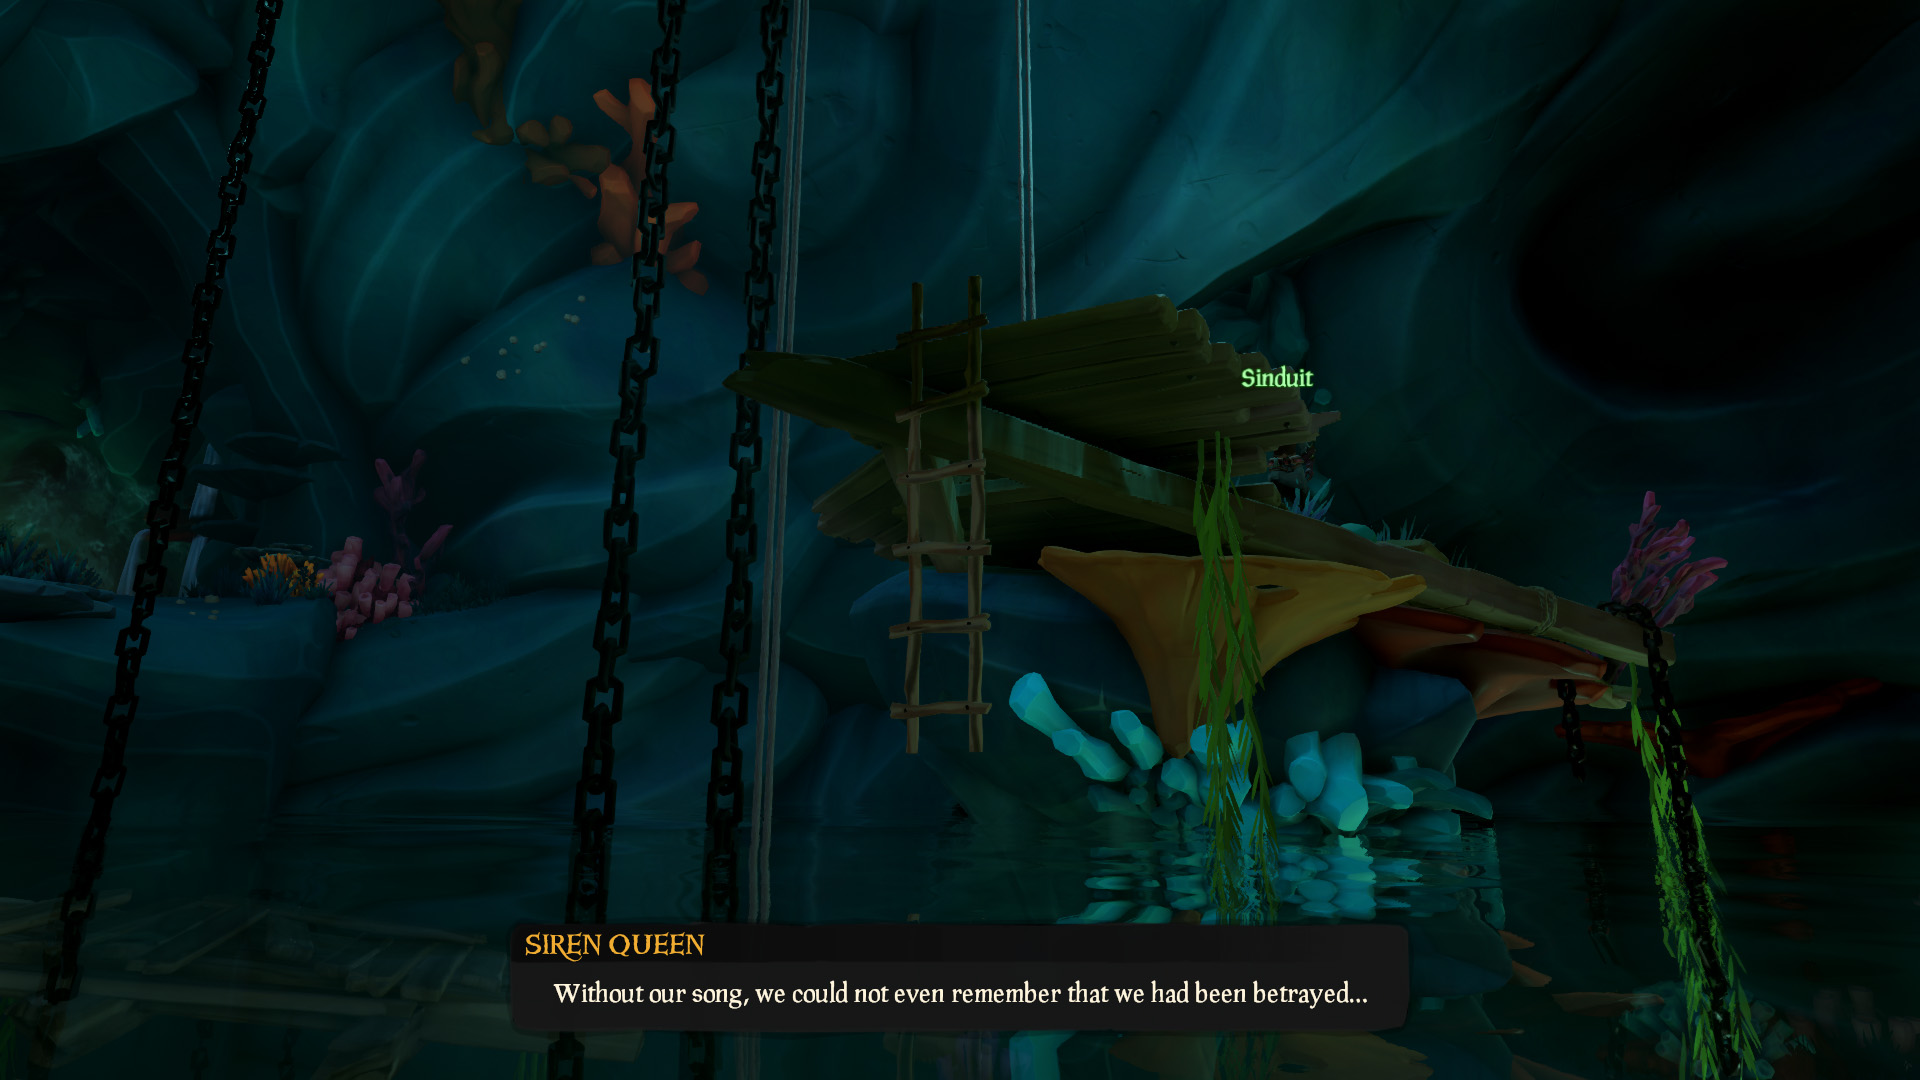
You’ll have to wait around up in the observation area for a while, enjoying the beautiful sound of the Siren Queen’s voice, you can look around and will eventually see every pirates worst nightmare, the Kraken.
The Sunken Pearl - Part 3
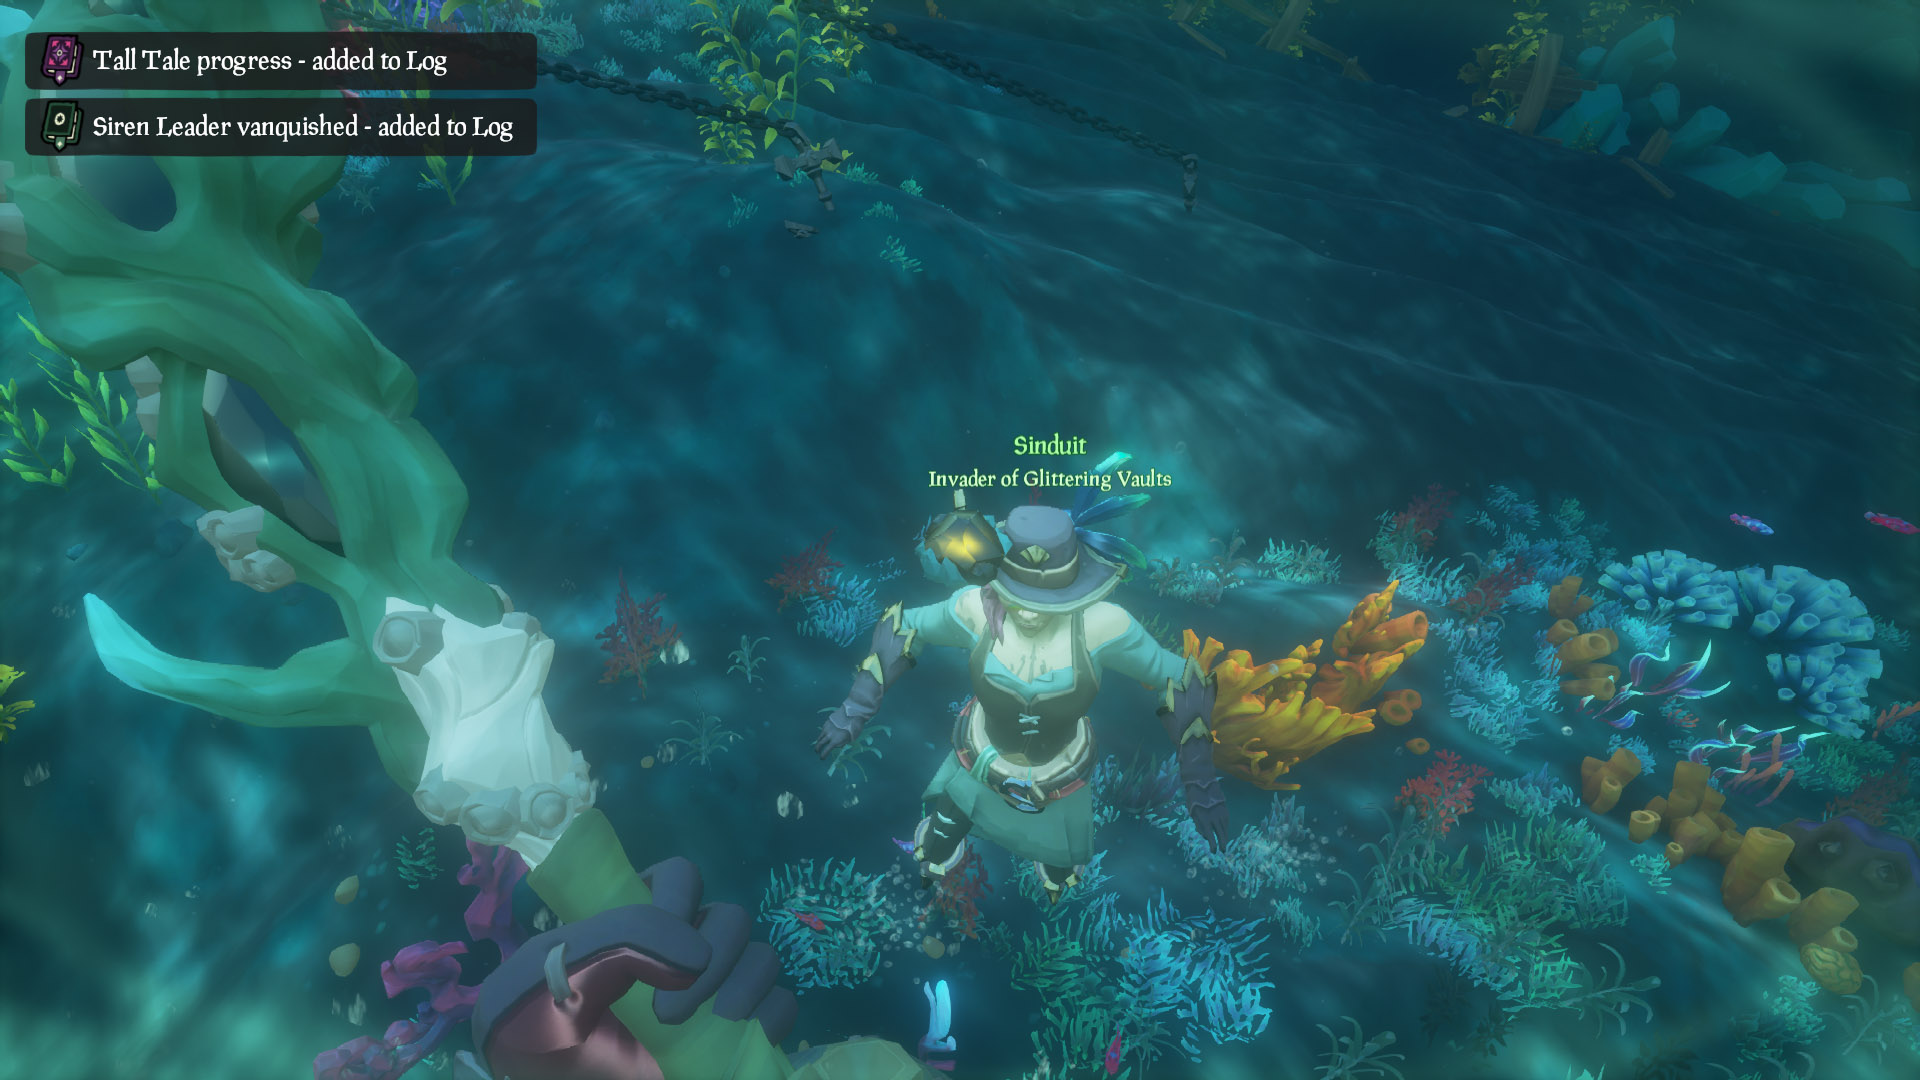
After the Queen’s speech you will be able to exit the observation area through the “windows” and will be attacked by the queen’s loyal minions, the Sirens. These creatures are very fast swimmers, too fast for my camera to capture them, but in time you will slaughter them one by one and the final one will drop another Siren’s Heart.
Now with that heart in hand, we’ll need to find the statue it belongs to. Looking from the front of the Black Pearl you’ll see some drag marks in the sand. Follow them till you get to the door.
Return the heart to the statue on the right and hit them both until their spears are down to match the puzzle. Shoot the trumpet statue and the door will open allowing access to the citadel .
Silver Blade Captain's Journal - An Ancient Mystery
Once inside you’ll be tempted to RUSH through but you’d be wrong to do so. Check the wreckage here to find our 3rd book.
Now Swim into the passage way to the far left and up the narrow channel to the next room. This room has NO air bubbles, instead you can swim all the way to the top of the room to catch your breath if needed.
You’ll be greeted with another puzzle in this room, but what’s really important is what lies BELOW this area. Swim down the hole by the statue holding a pearl to enter the room.
Silver Blade Captain's Journal - From Bad to Worse
Laying on top of the wreckage is yet another book, bringing our total to four.
Now that our brain is warmed up from reading, it’s time to solve the puzzle. Swim back up the hole you came through, take a breath from the top if needed, and put in the statue solutions.
After you’ve entered your solution you’ll need to swim back to the top and peak through the vine roof until you locate the trumpet statue. Shoot it to drain the water you’re swimming in.
With the water drained the queen will send another wave of crabby enemies you’re way for you to defeat, be sure to snag one of the tridents from the floor to make quick work of them.
With the last creature killed the next stage of puzzles begin, head to the pulley and pull “down” on the pulley by pressing the UP input key. (I know, its super backwards and may take a few tries for the gate to open.)
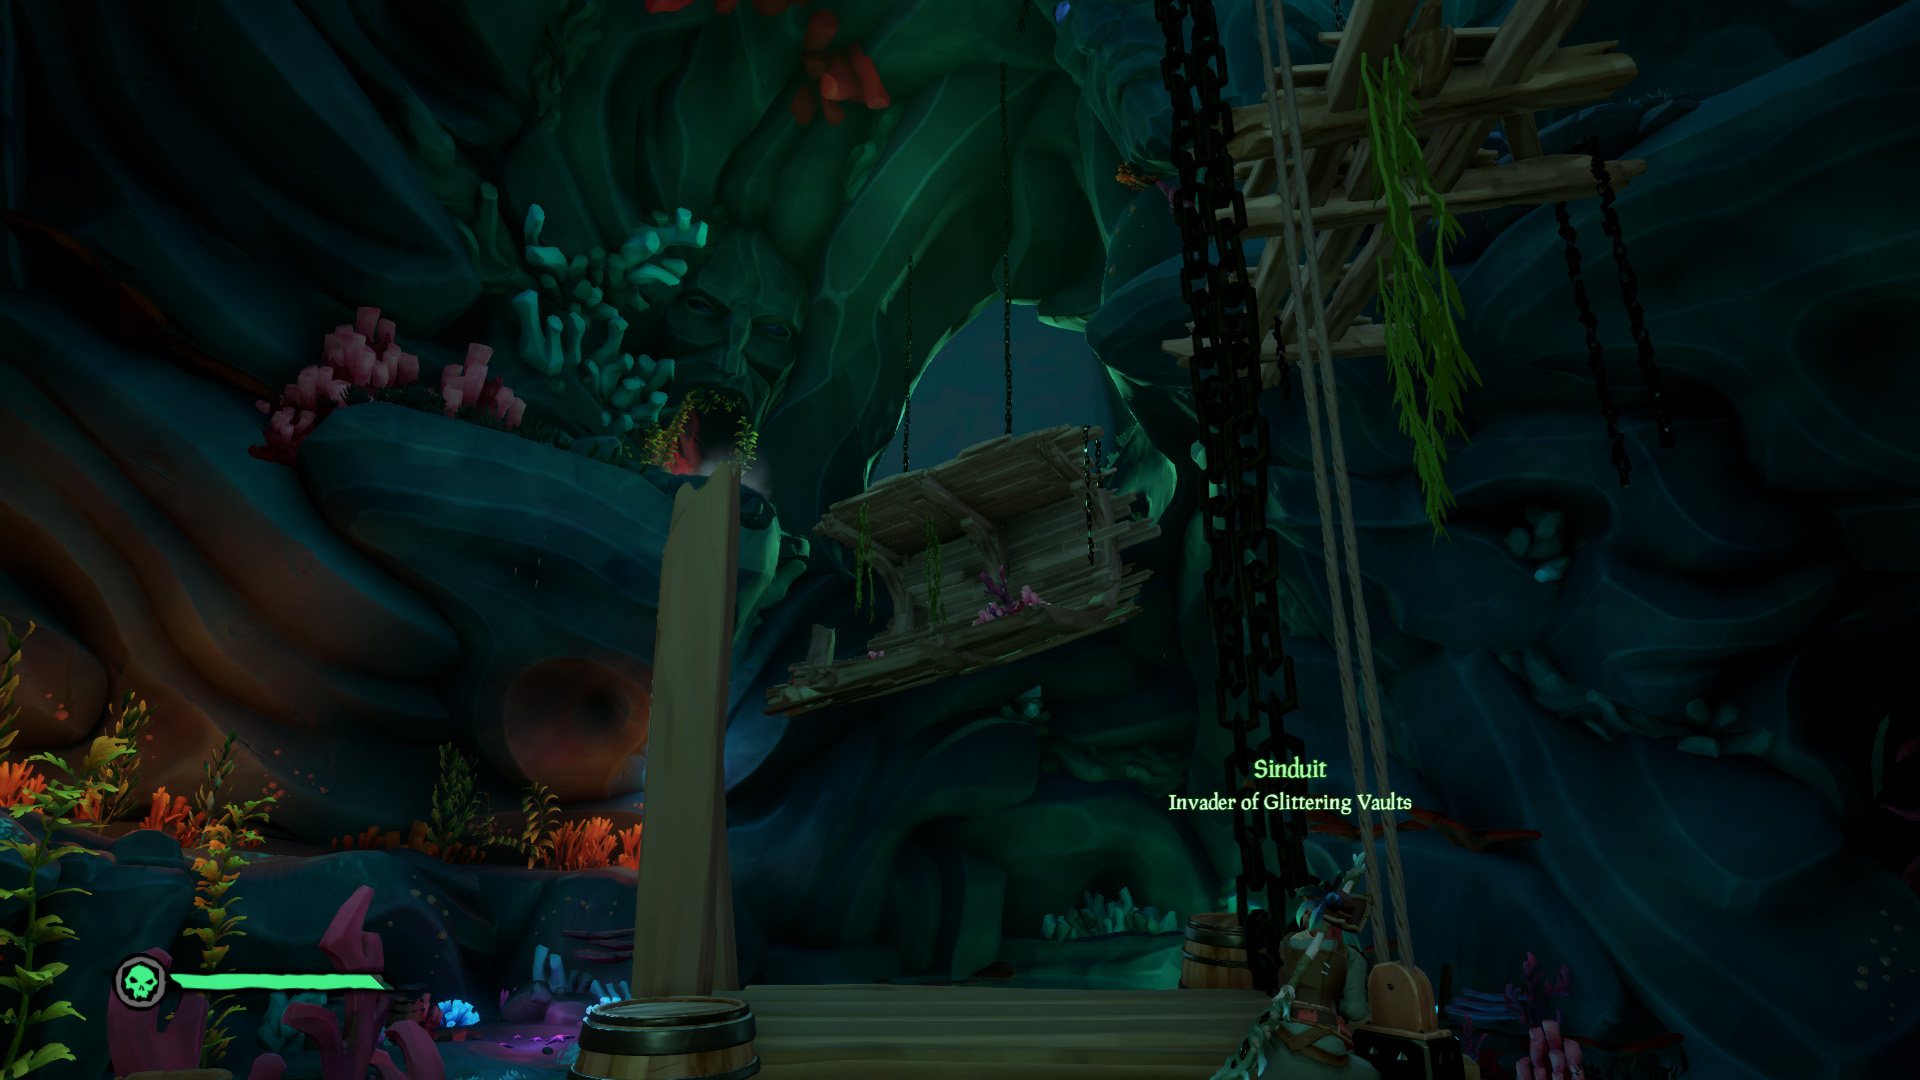
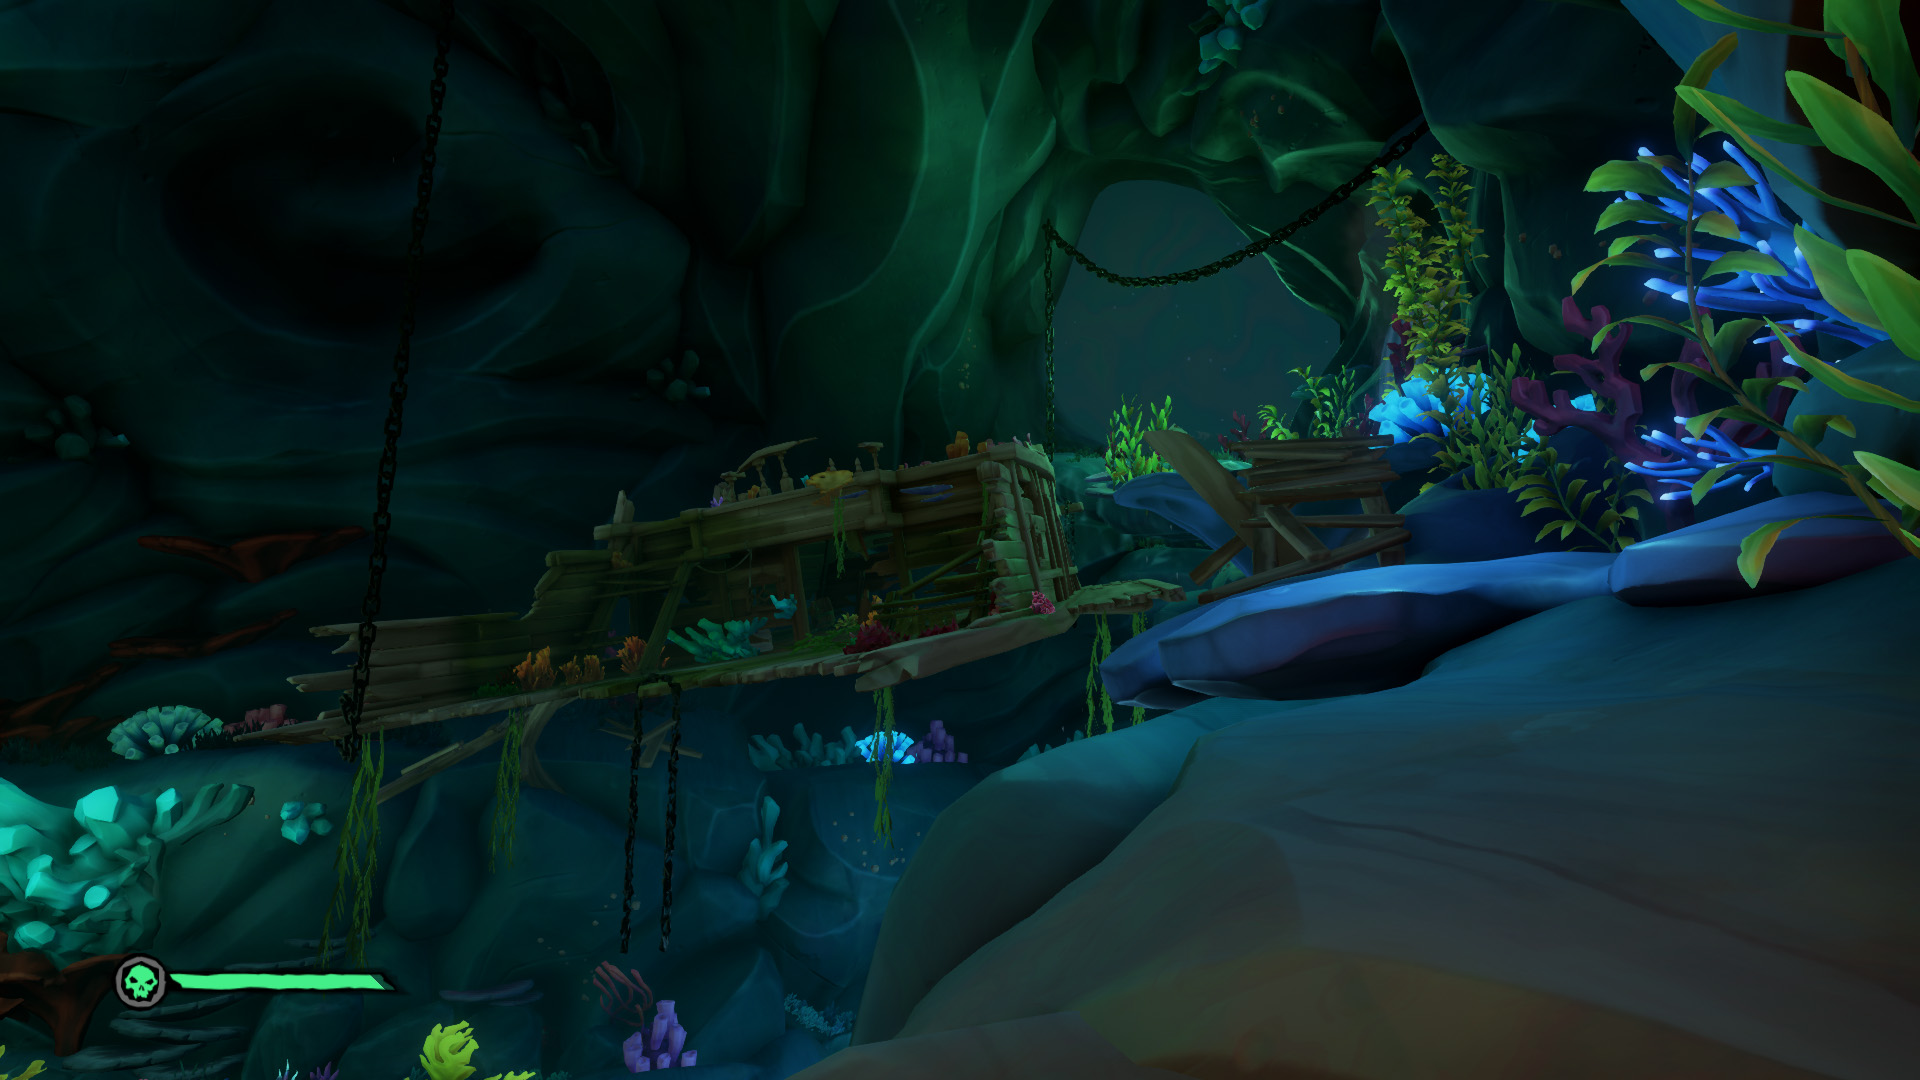
Make your way through that door and you’ll find a large room with more shipwrecked pieces laying about. Use the pulley to lower the ship hull and jump inside the hull before it starts to raise up.
From inside the ship hull, you’ll want to hop down to the ledge to the left as it ascends. Then make your way along the cliff to the ship’s cabin. Hop on top of the deck and then descend into the hole in the floor.
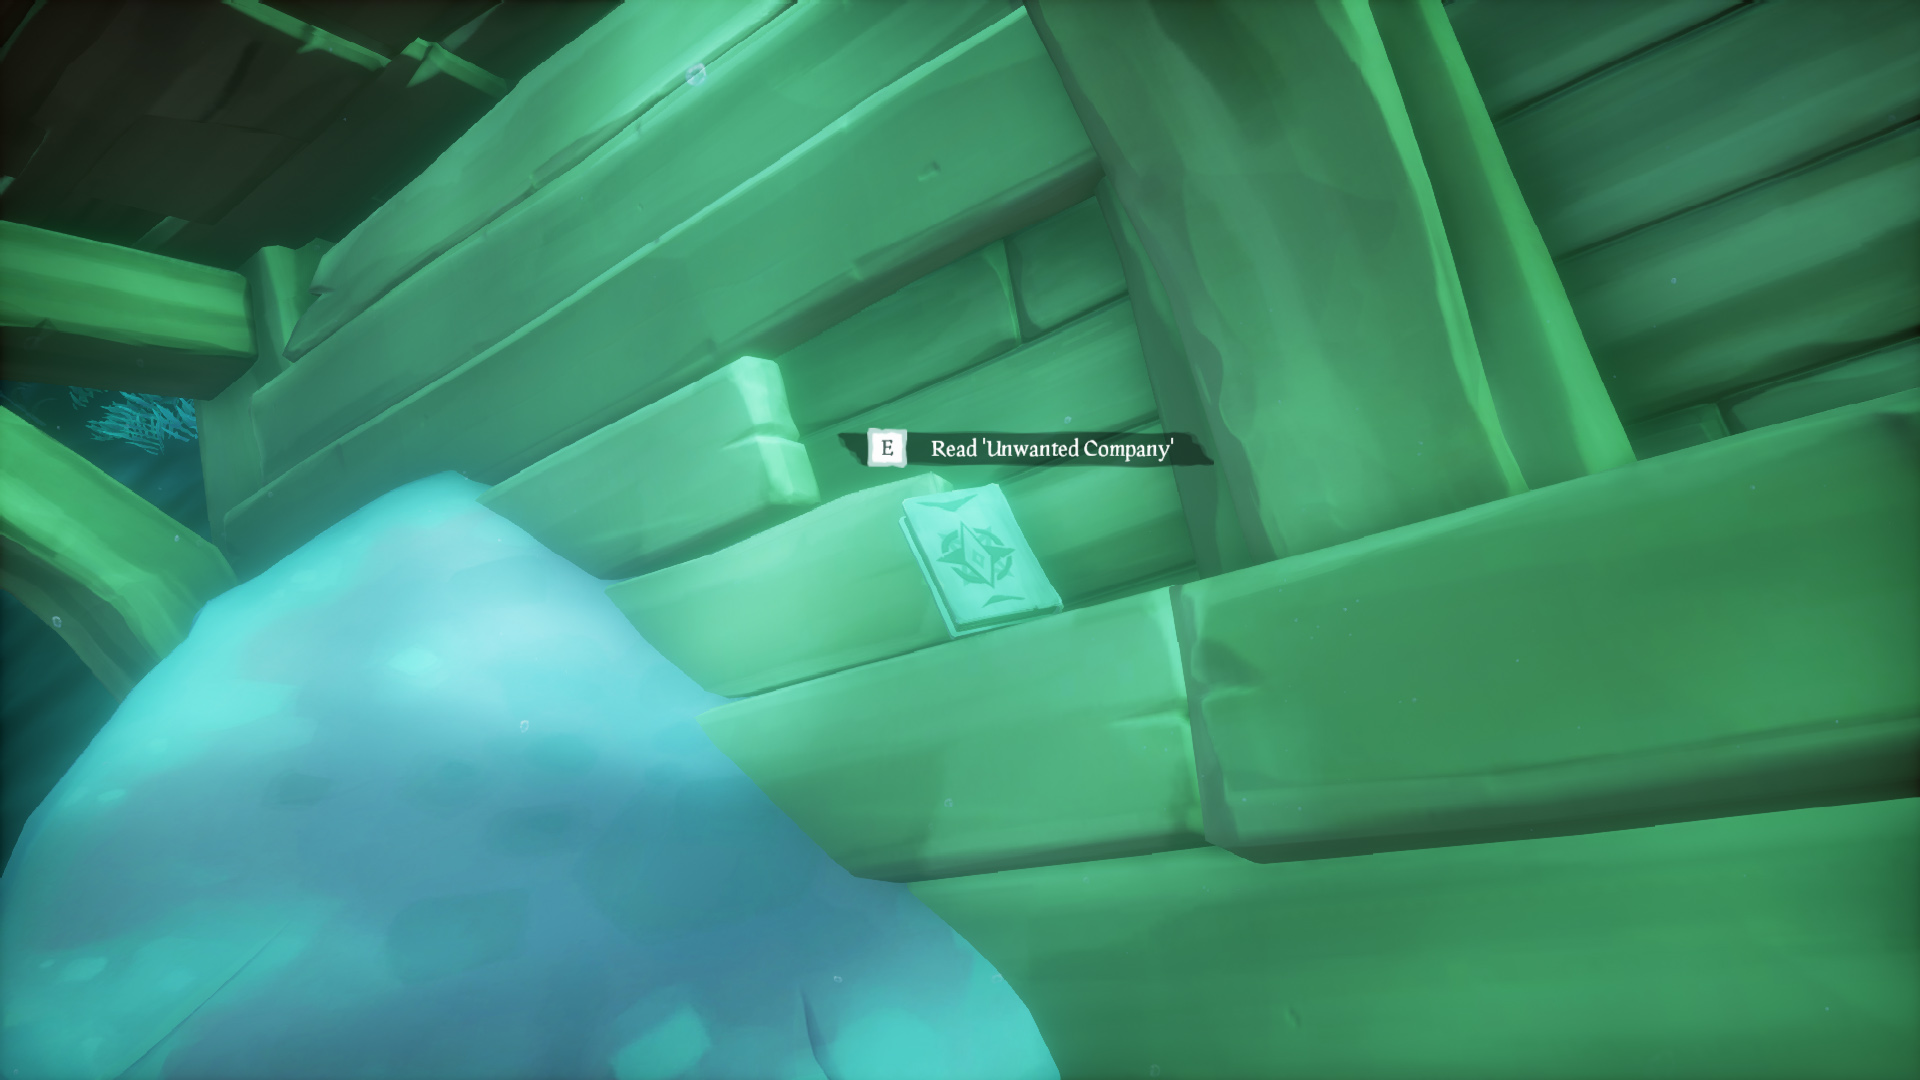
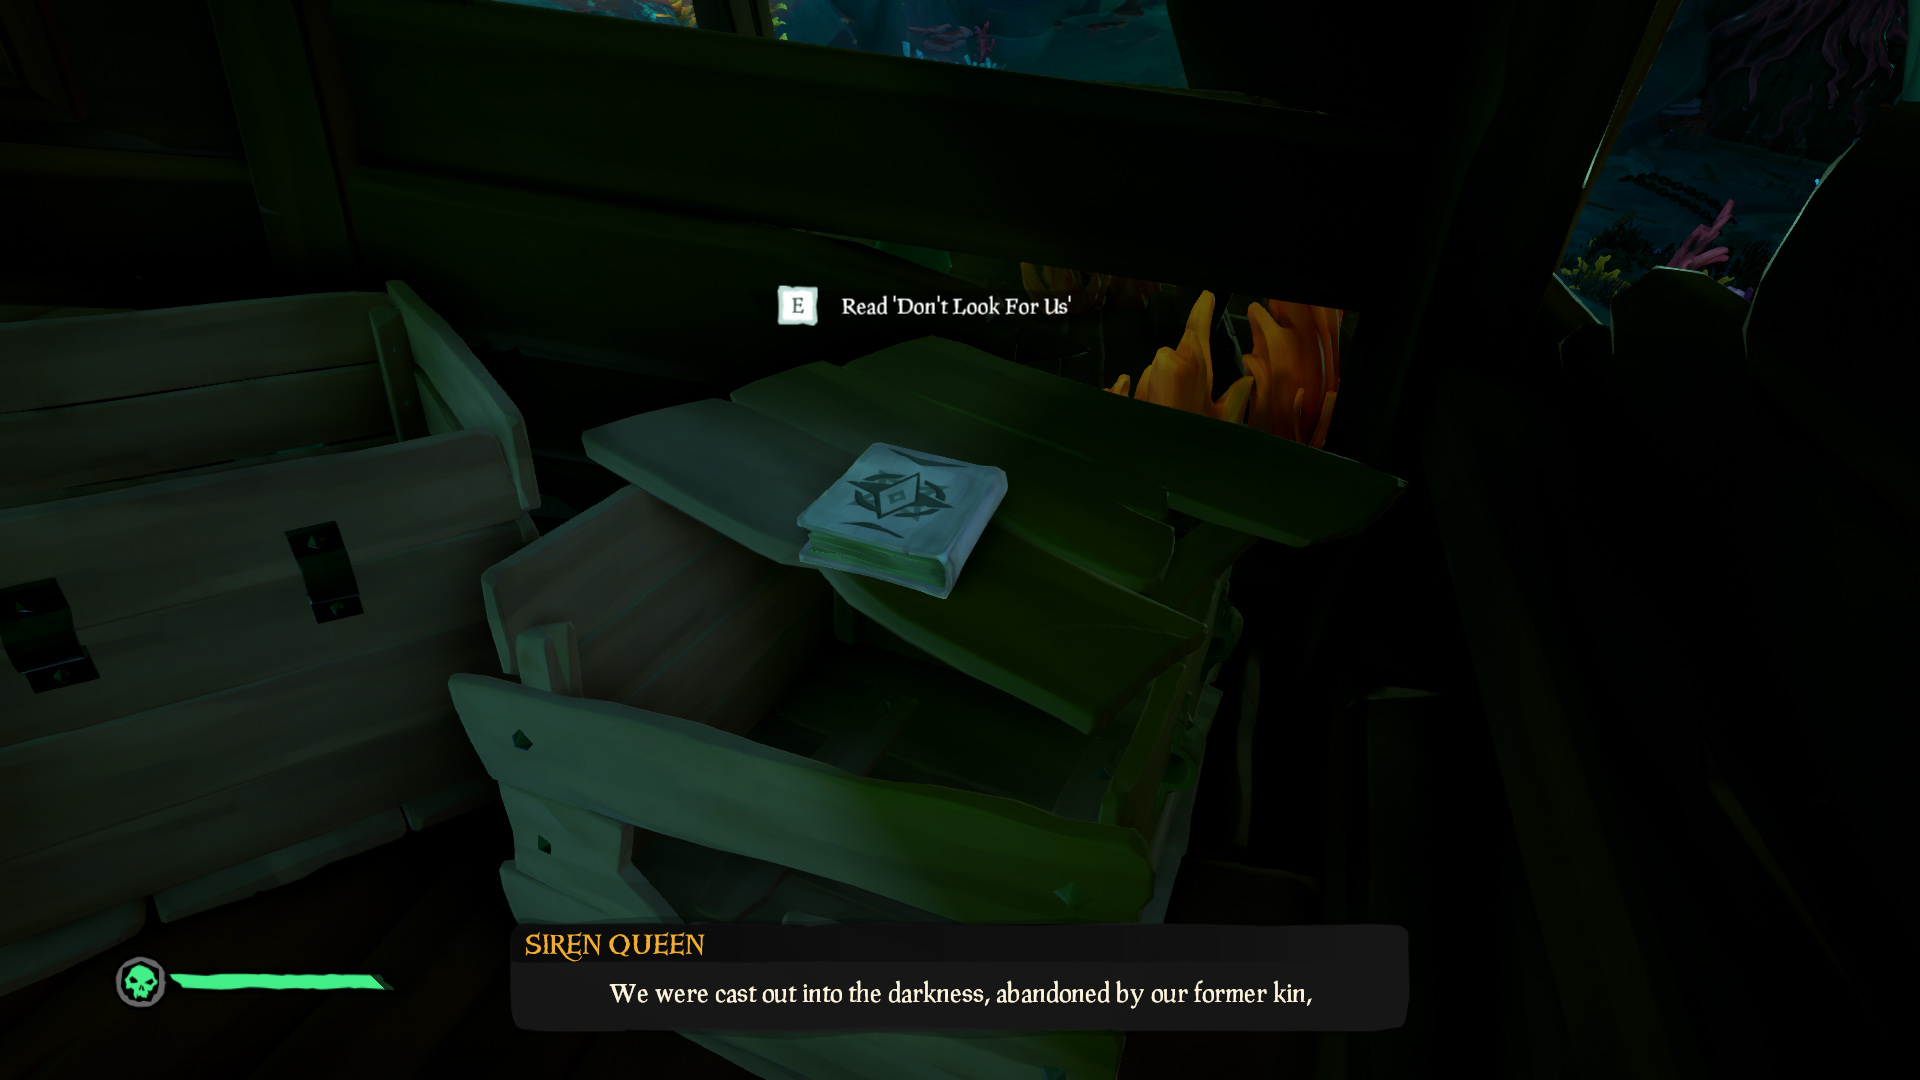
Silver Blade Captain's Journal - Don't Look For Us
Once inside the ship you’ll find the final book on a crate.
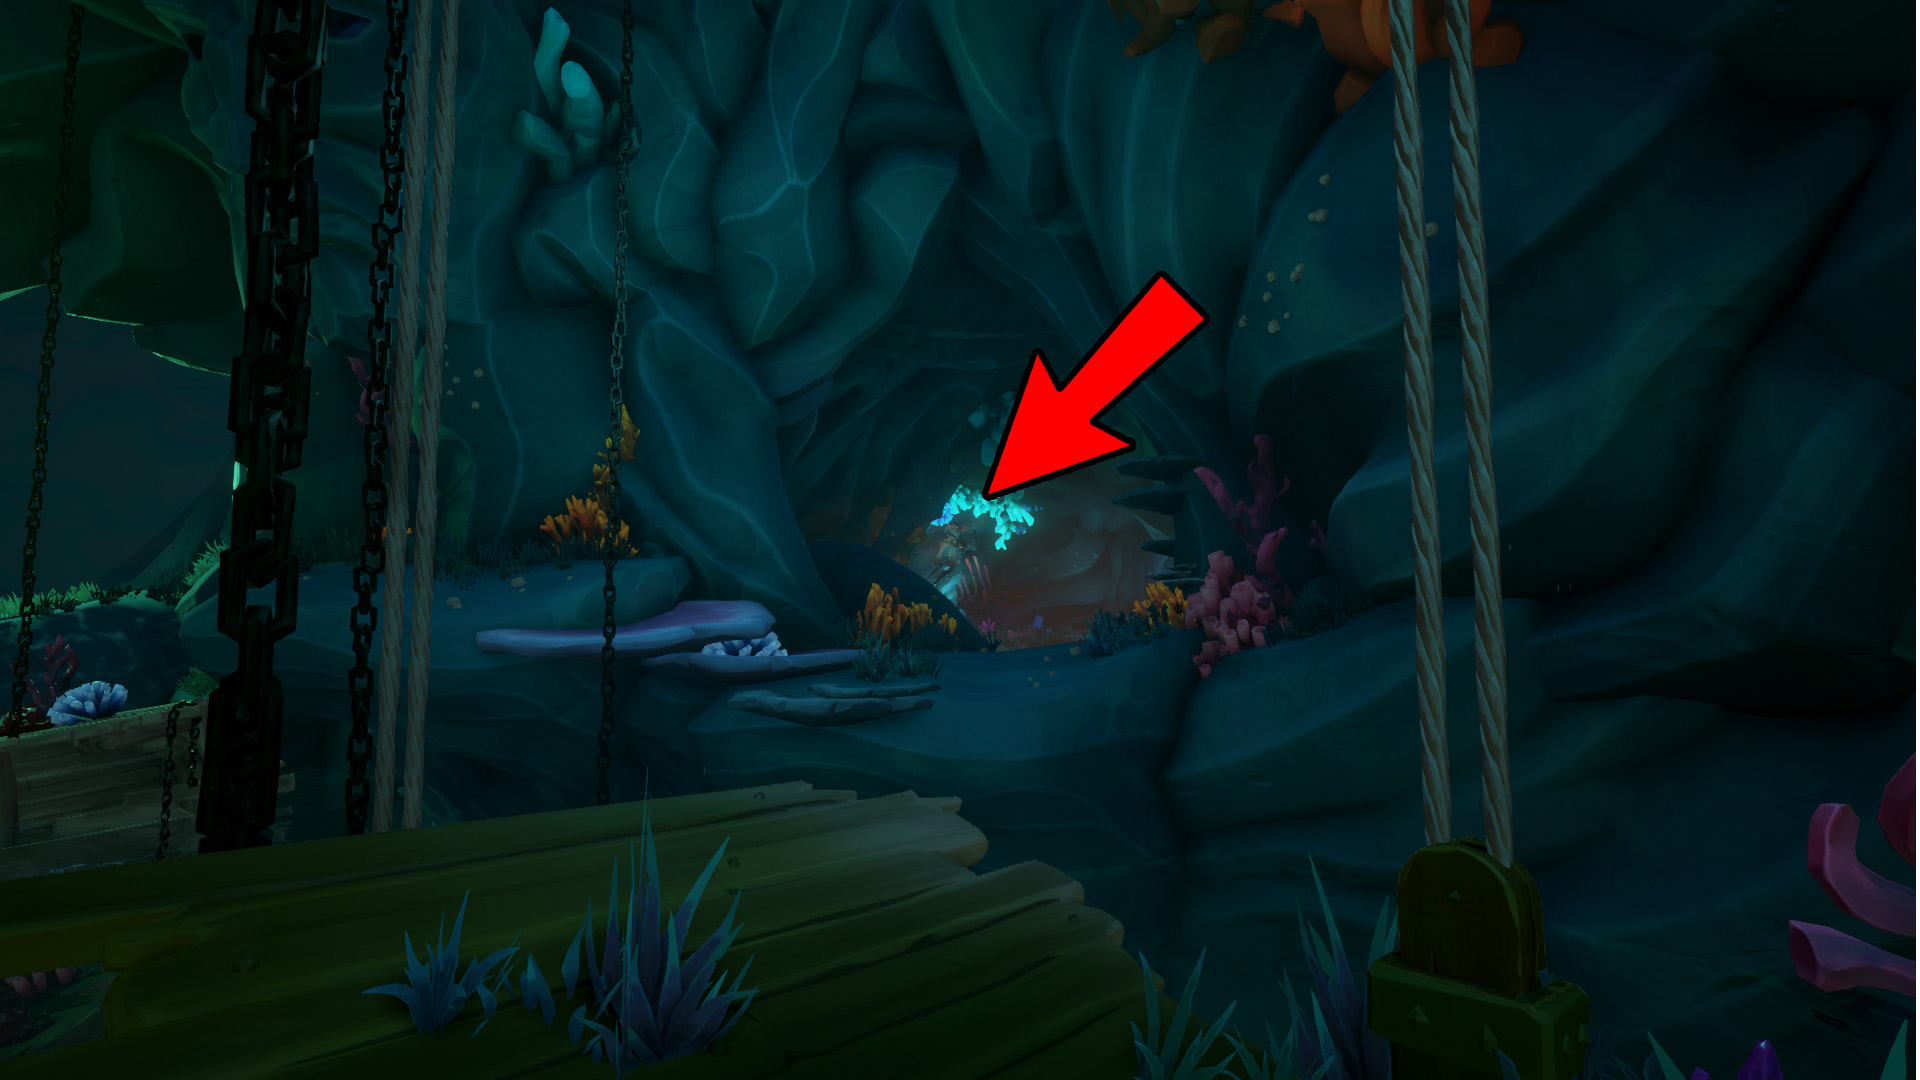
With that final book read, head out of the door and make your way back to the top of the ships deck. From here you’ll want to look off the right side of the ship where another ledge will lead you to the next puzzle.
At the end of the path you’ll have to shoot through the vines to enter in the next solution, then head back to the top of the ships deck and shoot the trumpet statue from there. Sniper rifle is recommended but not required.
That trumpet will fill the room back up with water and allow you to move forward. Once filled hop into the water and use the ladder to climb up to the platform.
Once on top you’ll need to use the pulley to lift up the platform to get to the other side. Just as before this is backwards so pull DOWN to make the platform go up.
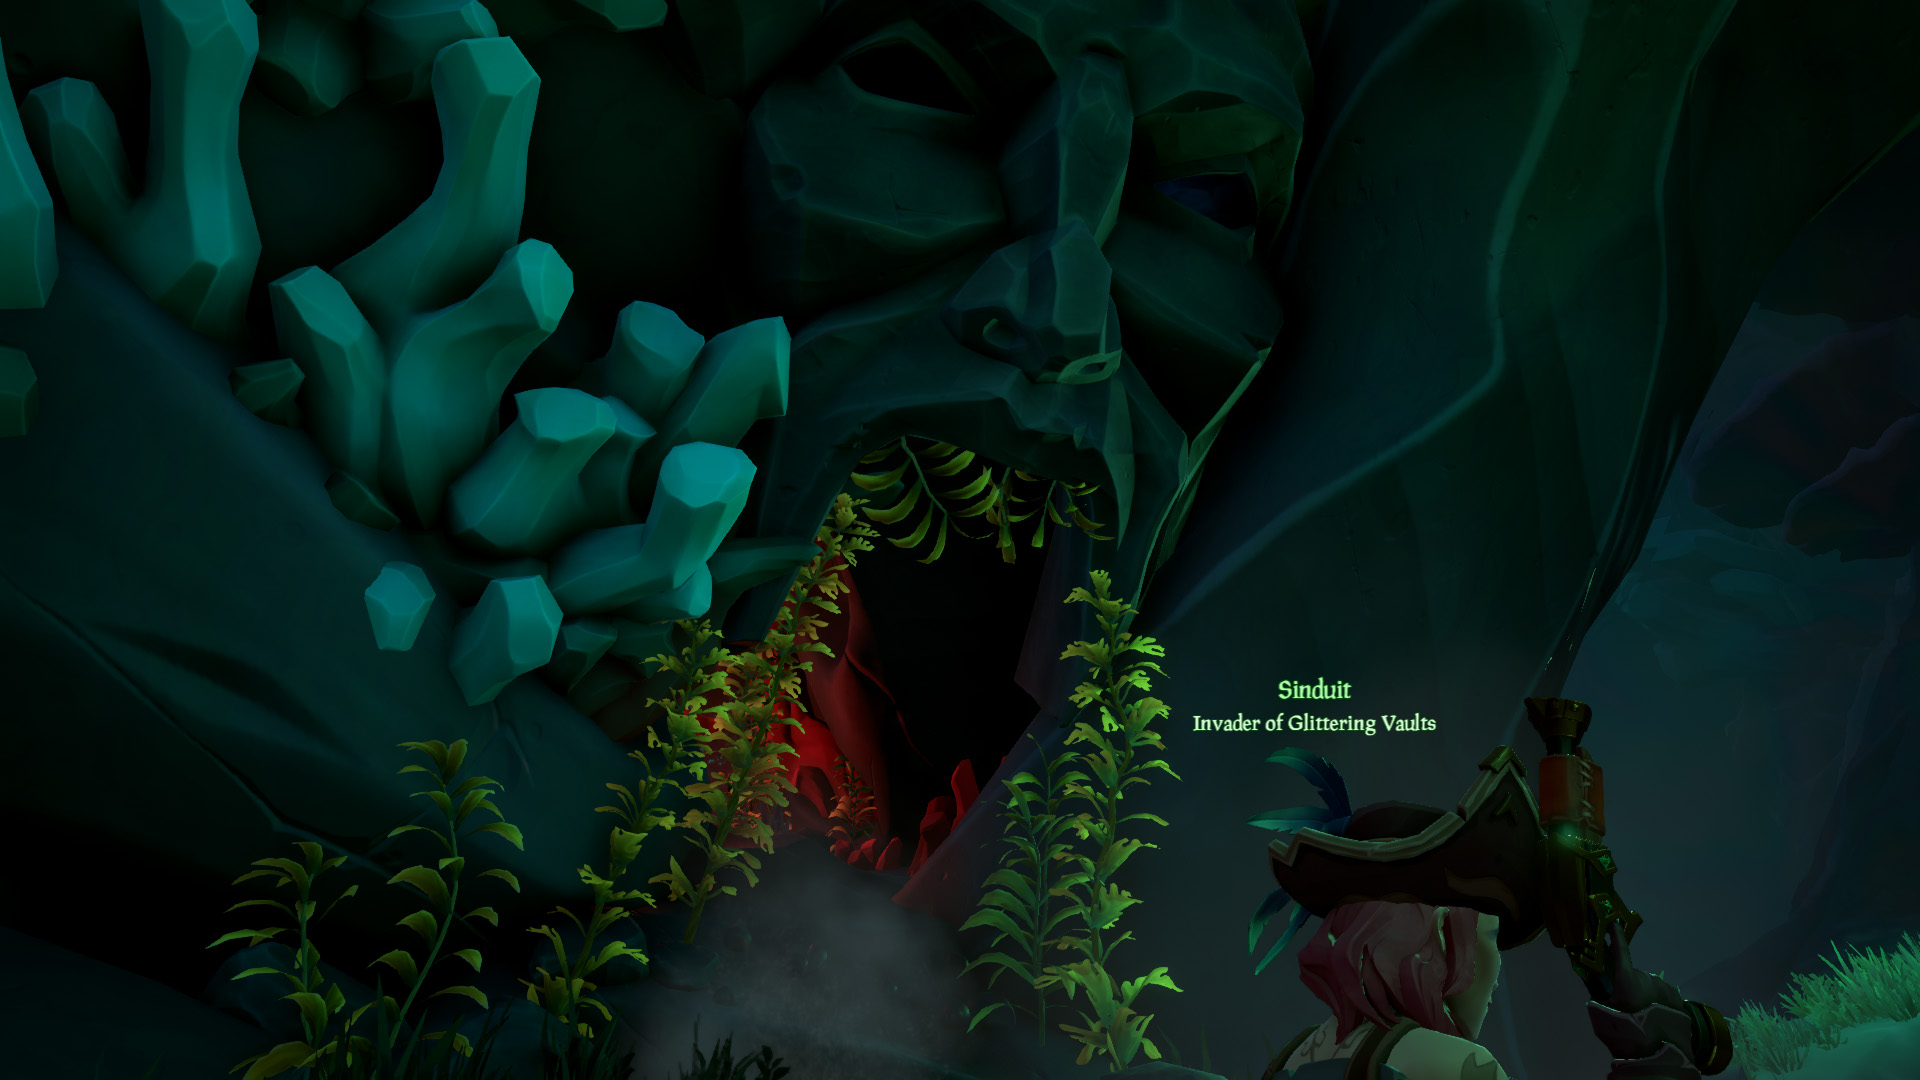
Now to get FULL commendations you will need to make your way across the plant and then into the giant mouth to the left.
Take the key from the platform and head back to the ladder and pull the plank back up and head to the cave on the right.
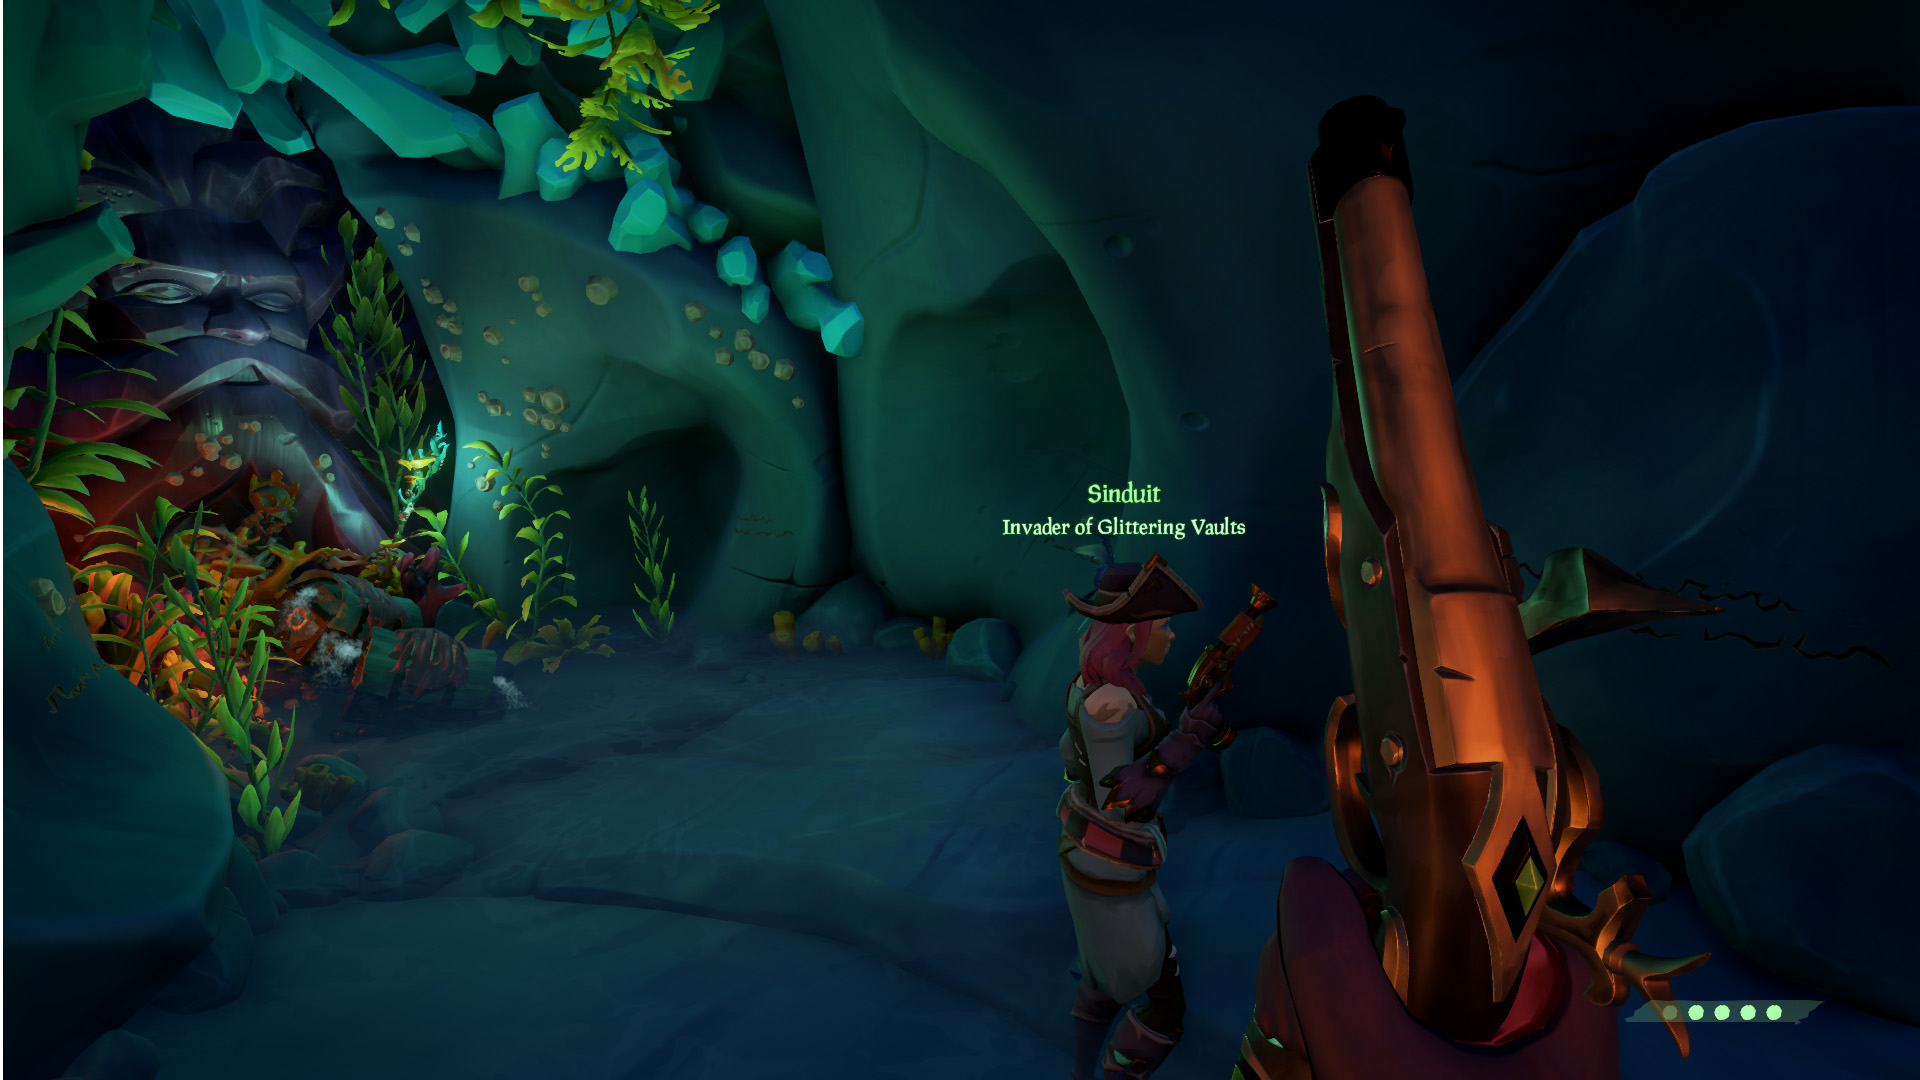
Now here’s where most people run into, IF another crew is in the tall tale with you, you will have to wait (I know, painful word) until they finish before you can enter the next stage. Once it’s your turn, shoot the doorknob and enter the arena, just don’t forget to bring your key with you!
The Sunken Pearl - Part 4
Now here’s probably my favorite part of this quest. You get to go face to face with the daughter of the ocean, The Kraken.
As soon as you enter the area the Siren Queen will begin her lecture, now you can either listen or just move ahead and walk up the ramp to the left and get onto the boat.
Doing this will make her really mad and she’ll sick what seems to be an endless hoard of her minions after you. Ignore them for now and open the cabin door.
Inside you will find an important key to the mission, well, it comes in handy later that’s for sure. Leave the chest laying there in its never ending sorrow and head back outside to deal with new threat.
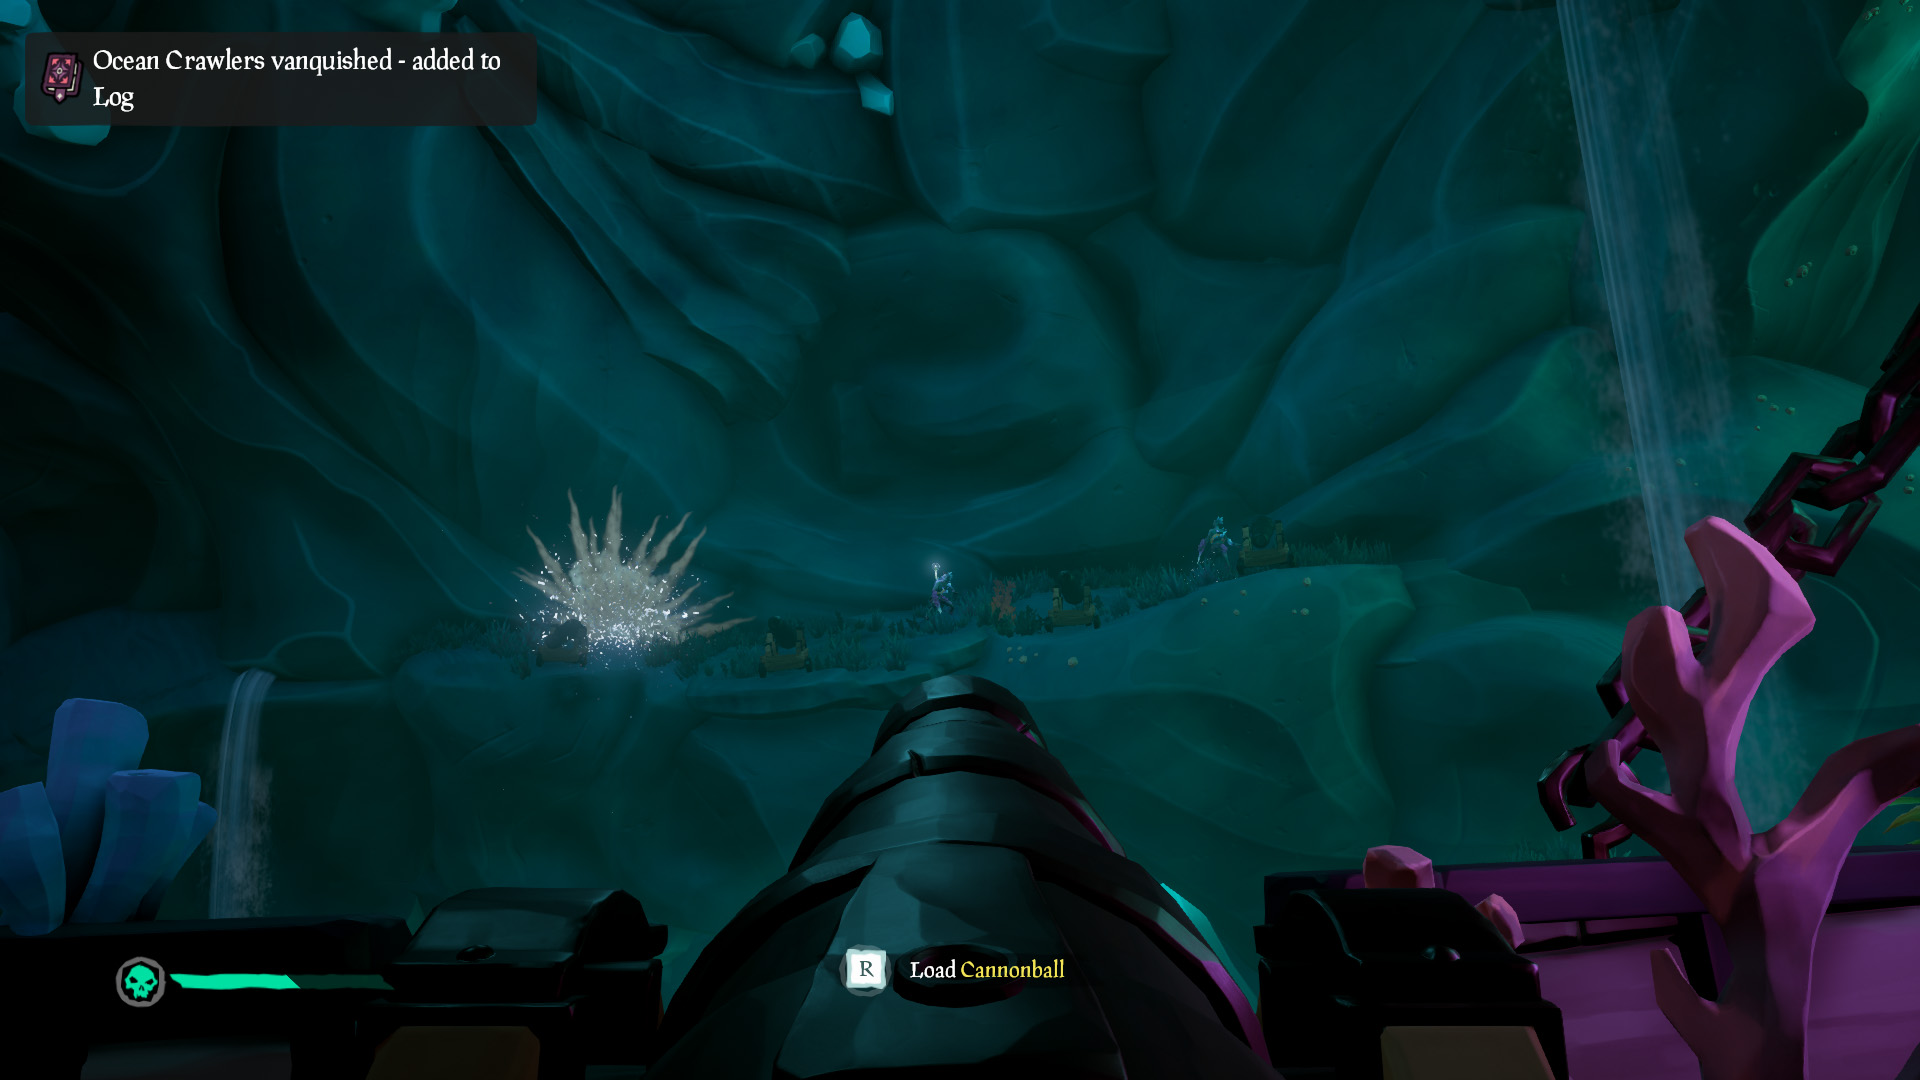
You will find some enemies spawned on the boat but most of them will be on the cliffside across from you. Clear out the boarders and then use the cannons to destroy the others until they no longer spawn.
Once you’ve destroyed all the enemies, use the capstan to raise the ship up to the next level, rinse and repeat until the Kraken spawns and takes ahold of the ship. Avoid her tentacles and EAT when needed, this fight tends to drag out.
Now all you need to do is focus all fire on the Kraken, any part of it in fact. There are a few strategies you can use here, my suggestion is with two players have one focus on ONLY reloading the cannons and the other going down the line to fire them.
Once you’ve killed her (more like scared her off) you’ll want to grab your chest of sorrows and head up the mast and make your way through the tunnel above.
Once you reach the large room there is a door on the right, this will only open if you have the chest of sorrows with you. Go inside and there are 5 scribbles on the wall, read them all for a commendation.
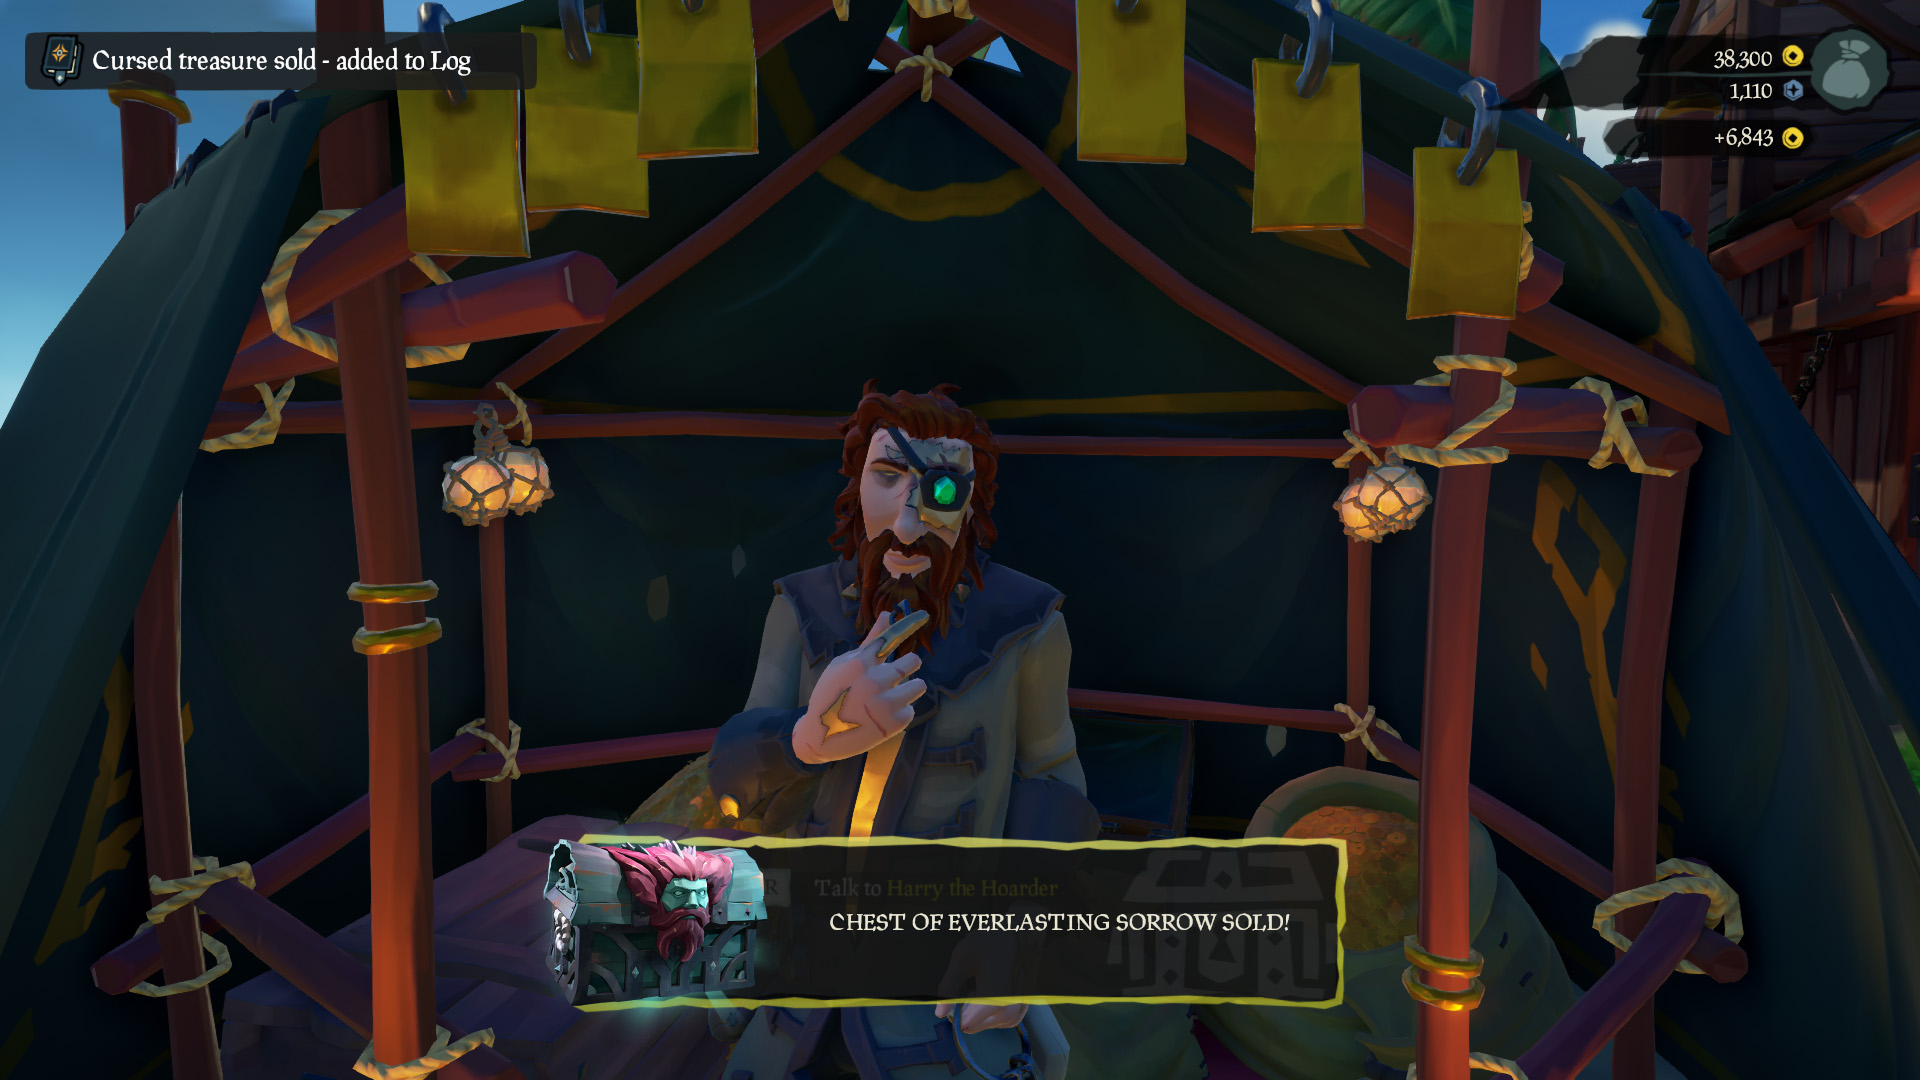
Its up to you if you want to continue to haul this chest through the rest of the mission or just leave it here at the Siren Kings room. I’ll explain my experience to help you decide.
I managed to get mine back to an outpost and it sold for a whopping 7K gold, BUT this payday was not without its trials. I DIED swimming the chest back to the surface as I ran out of air swimming so slowly, so I had to go back down to get it.
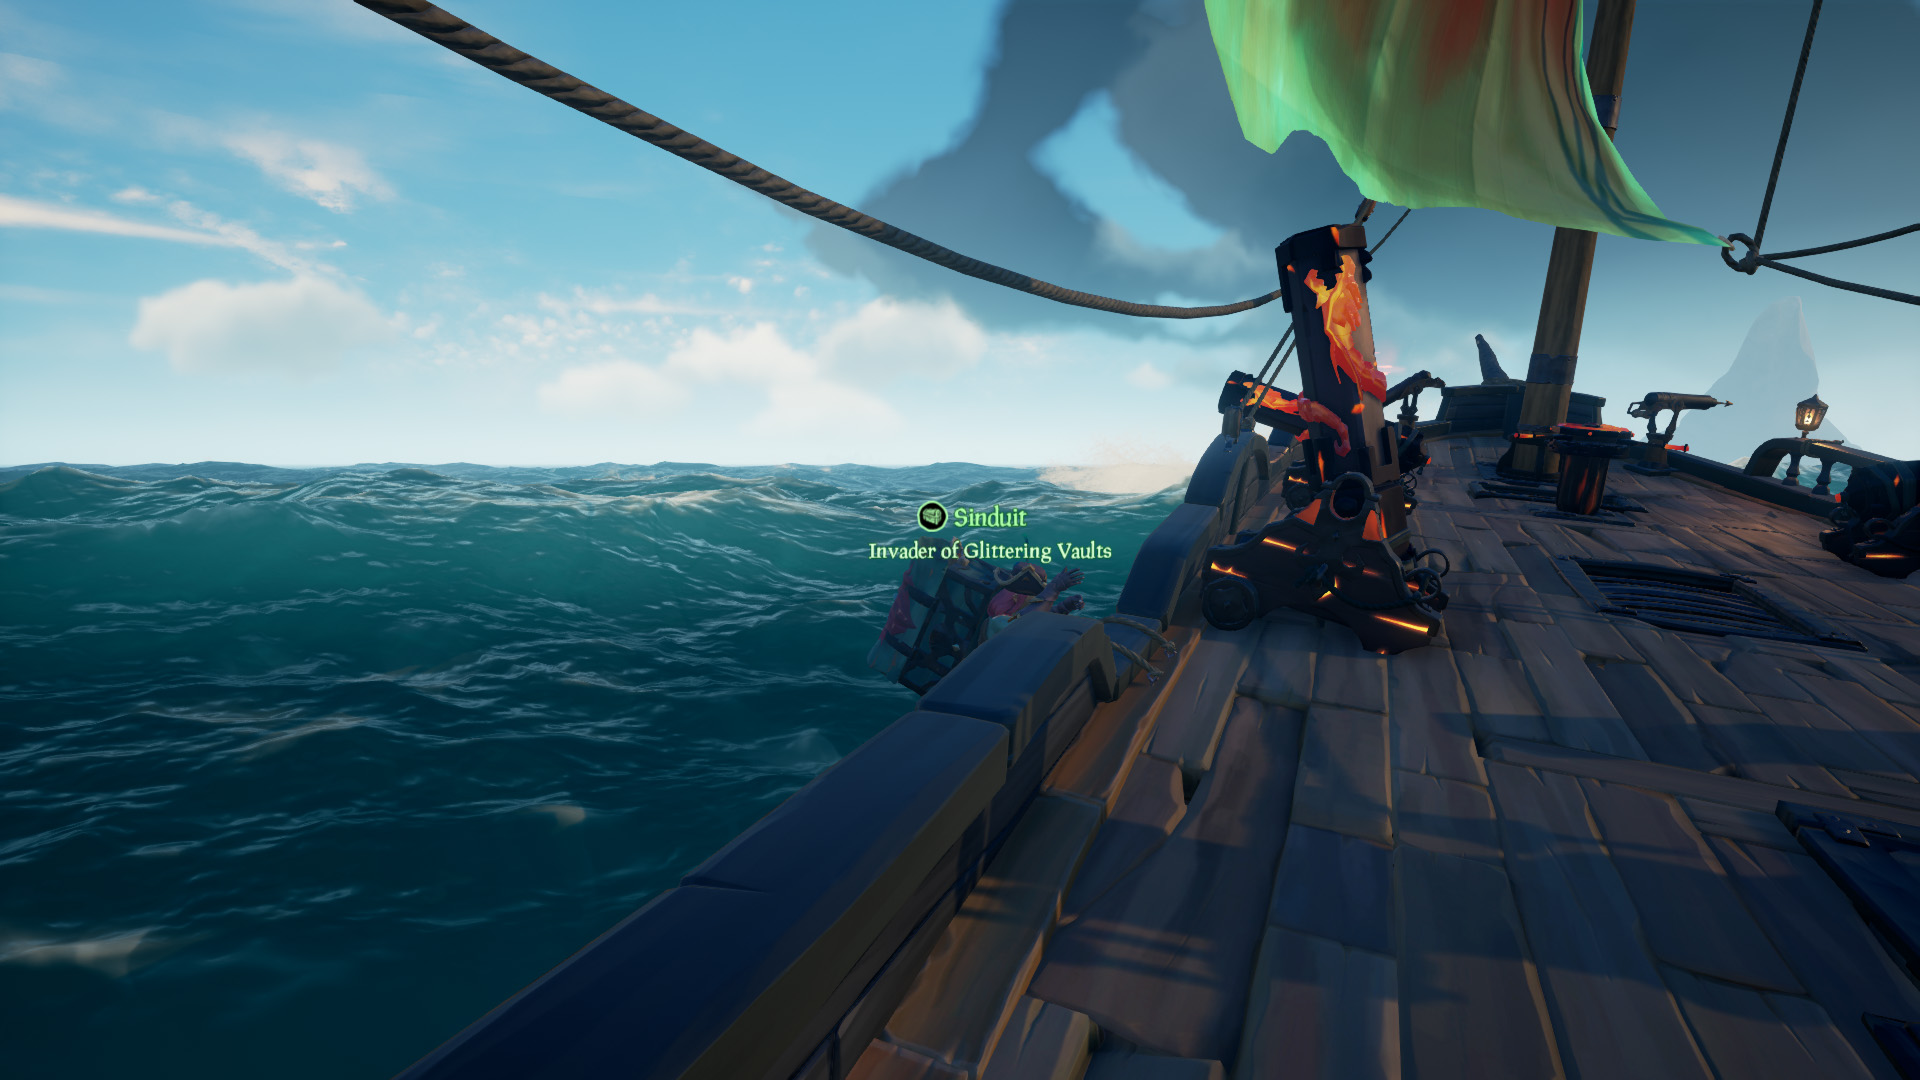
Once on my ship, the chest cried the entire time I was sailing it back and flooding my ship. You can have a friend (if you have one) hold it on the ladder of the ship to prevent flooding but it’s still a bit of a pain and may not be worth it.
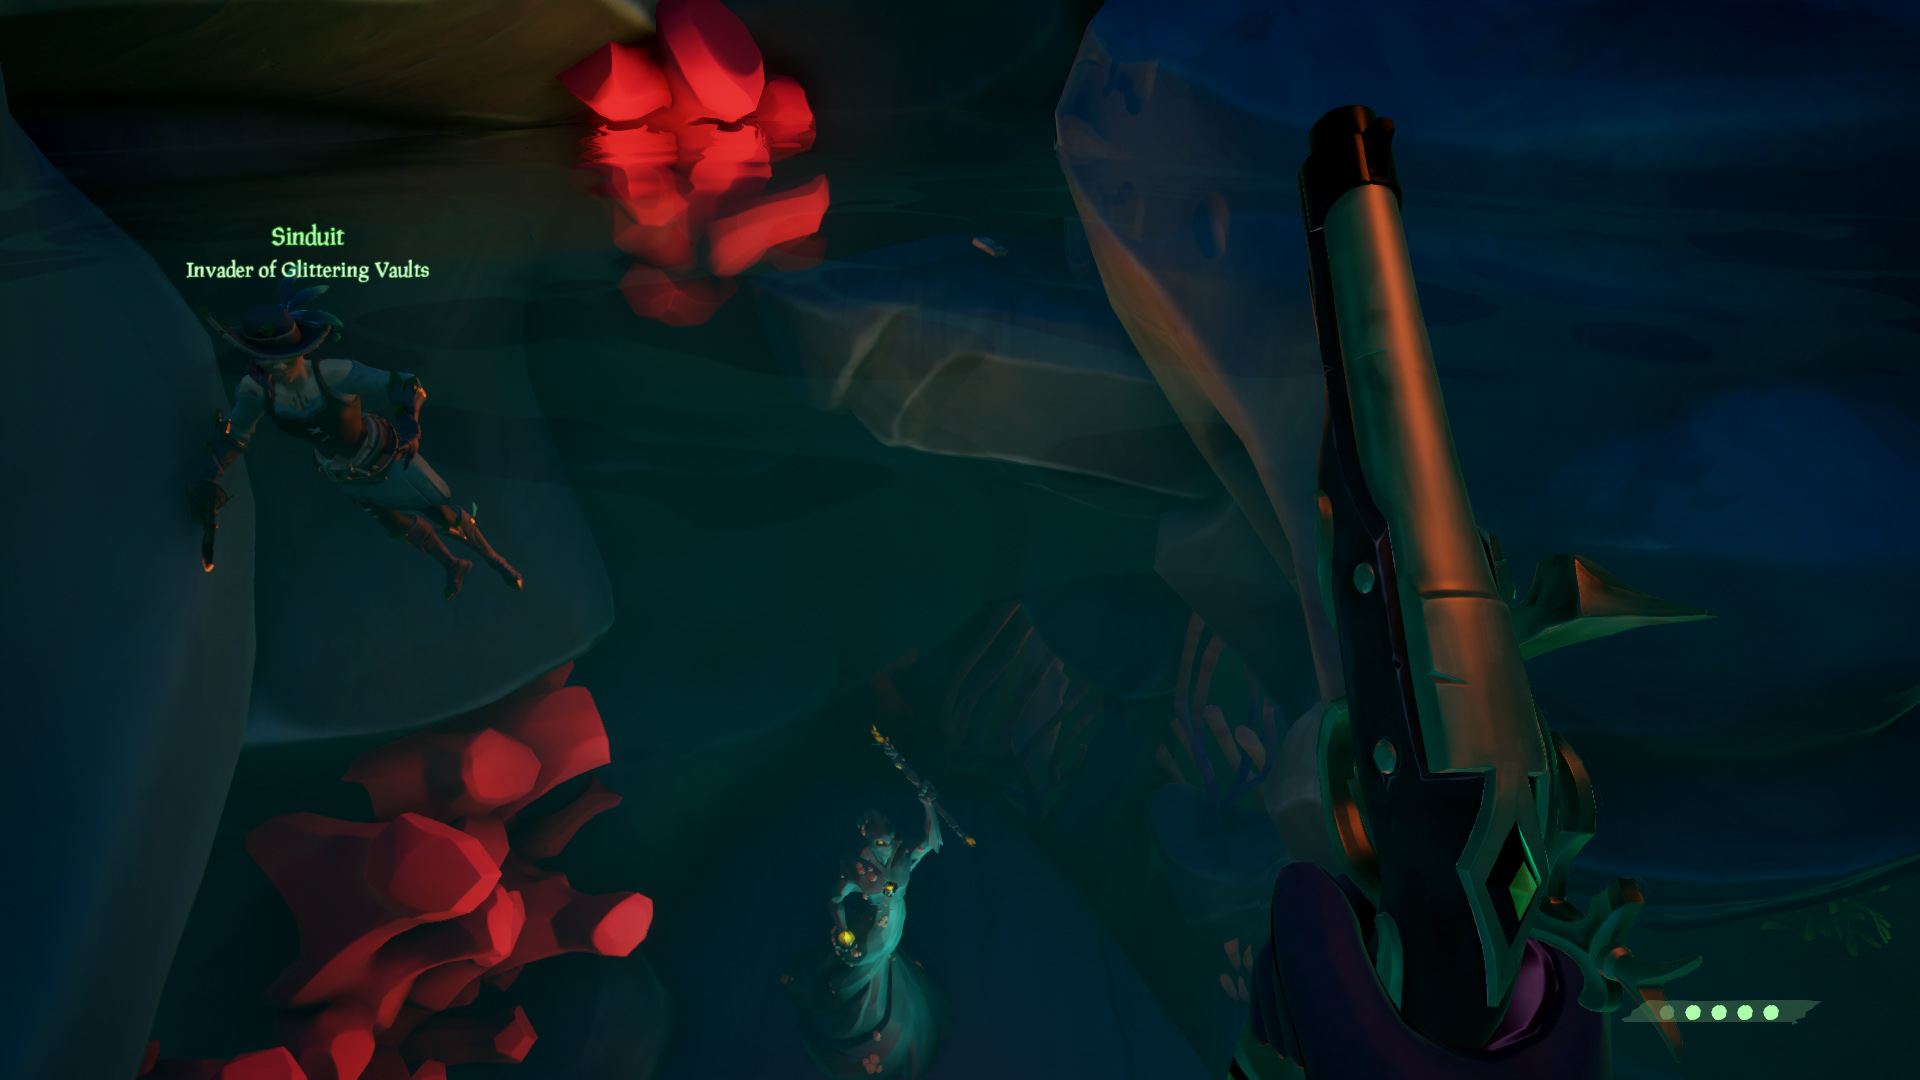
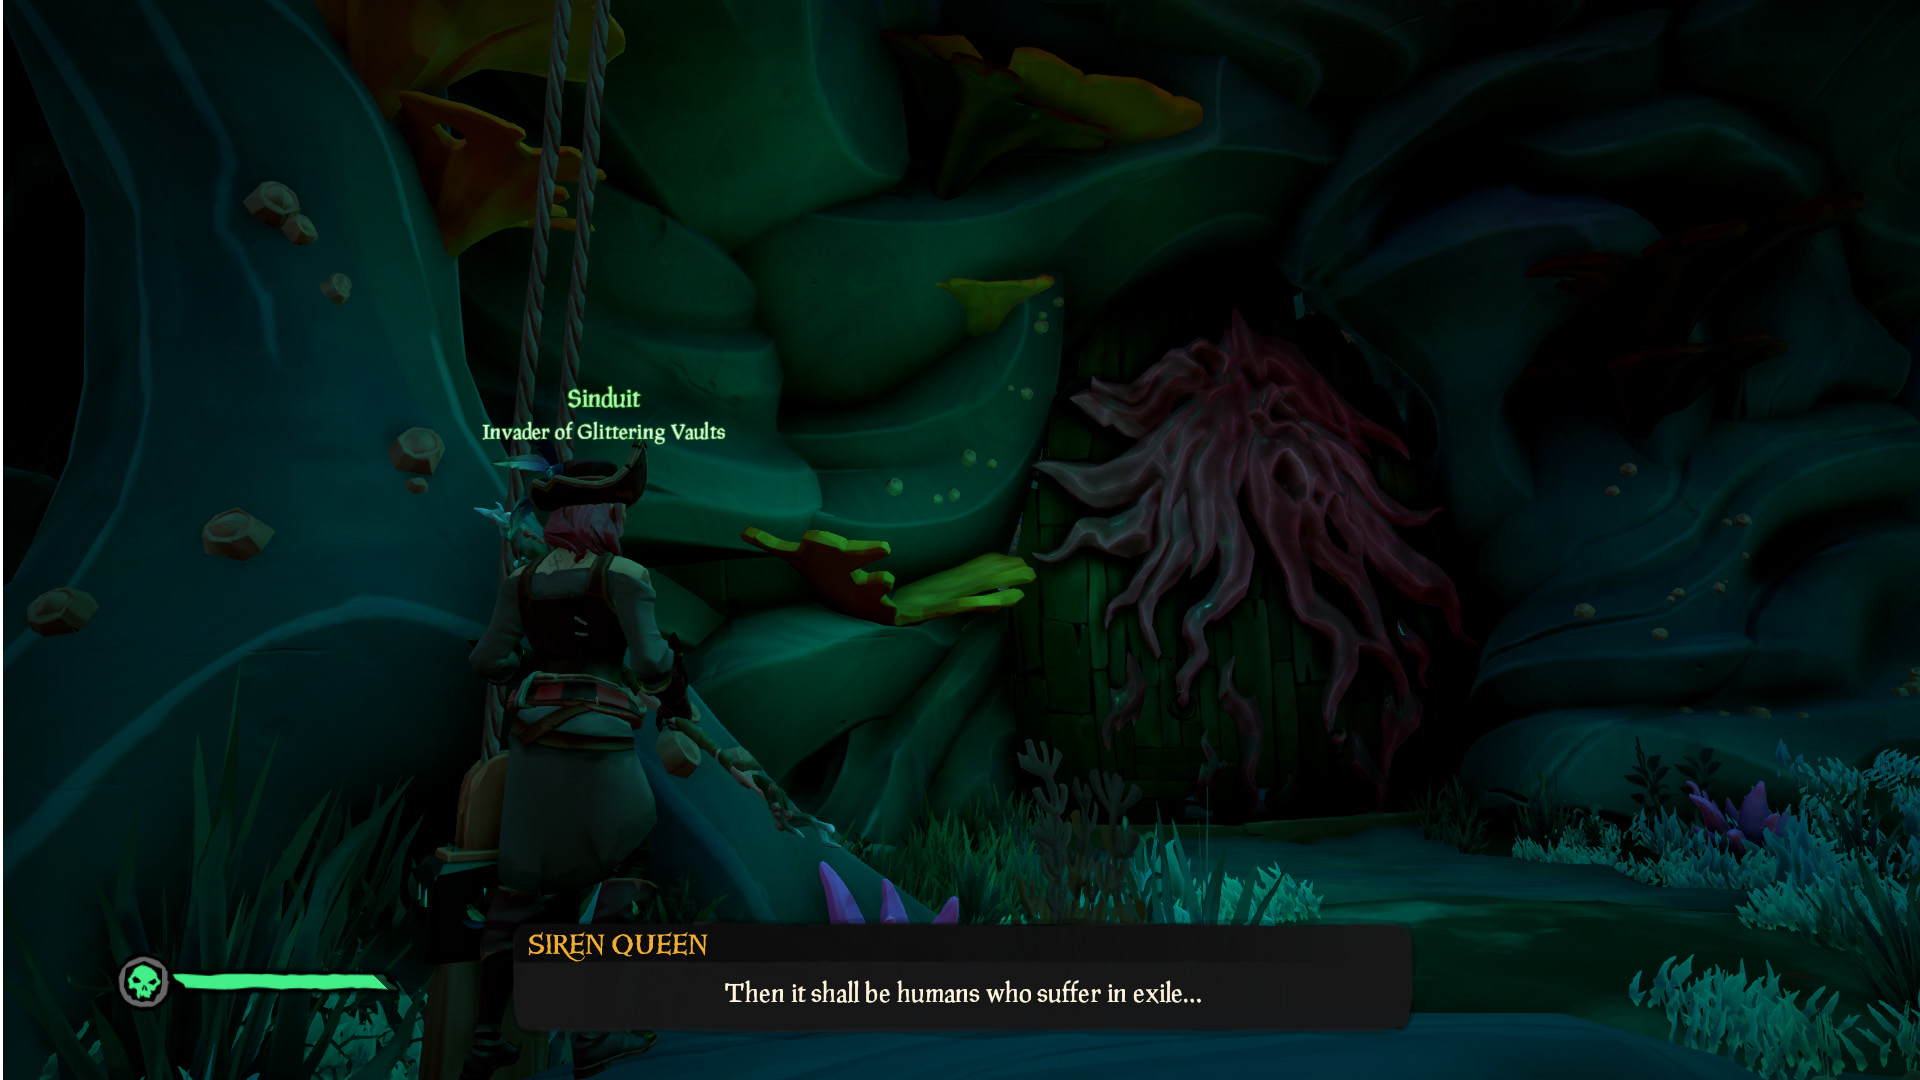
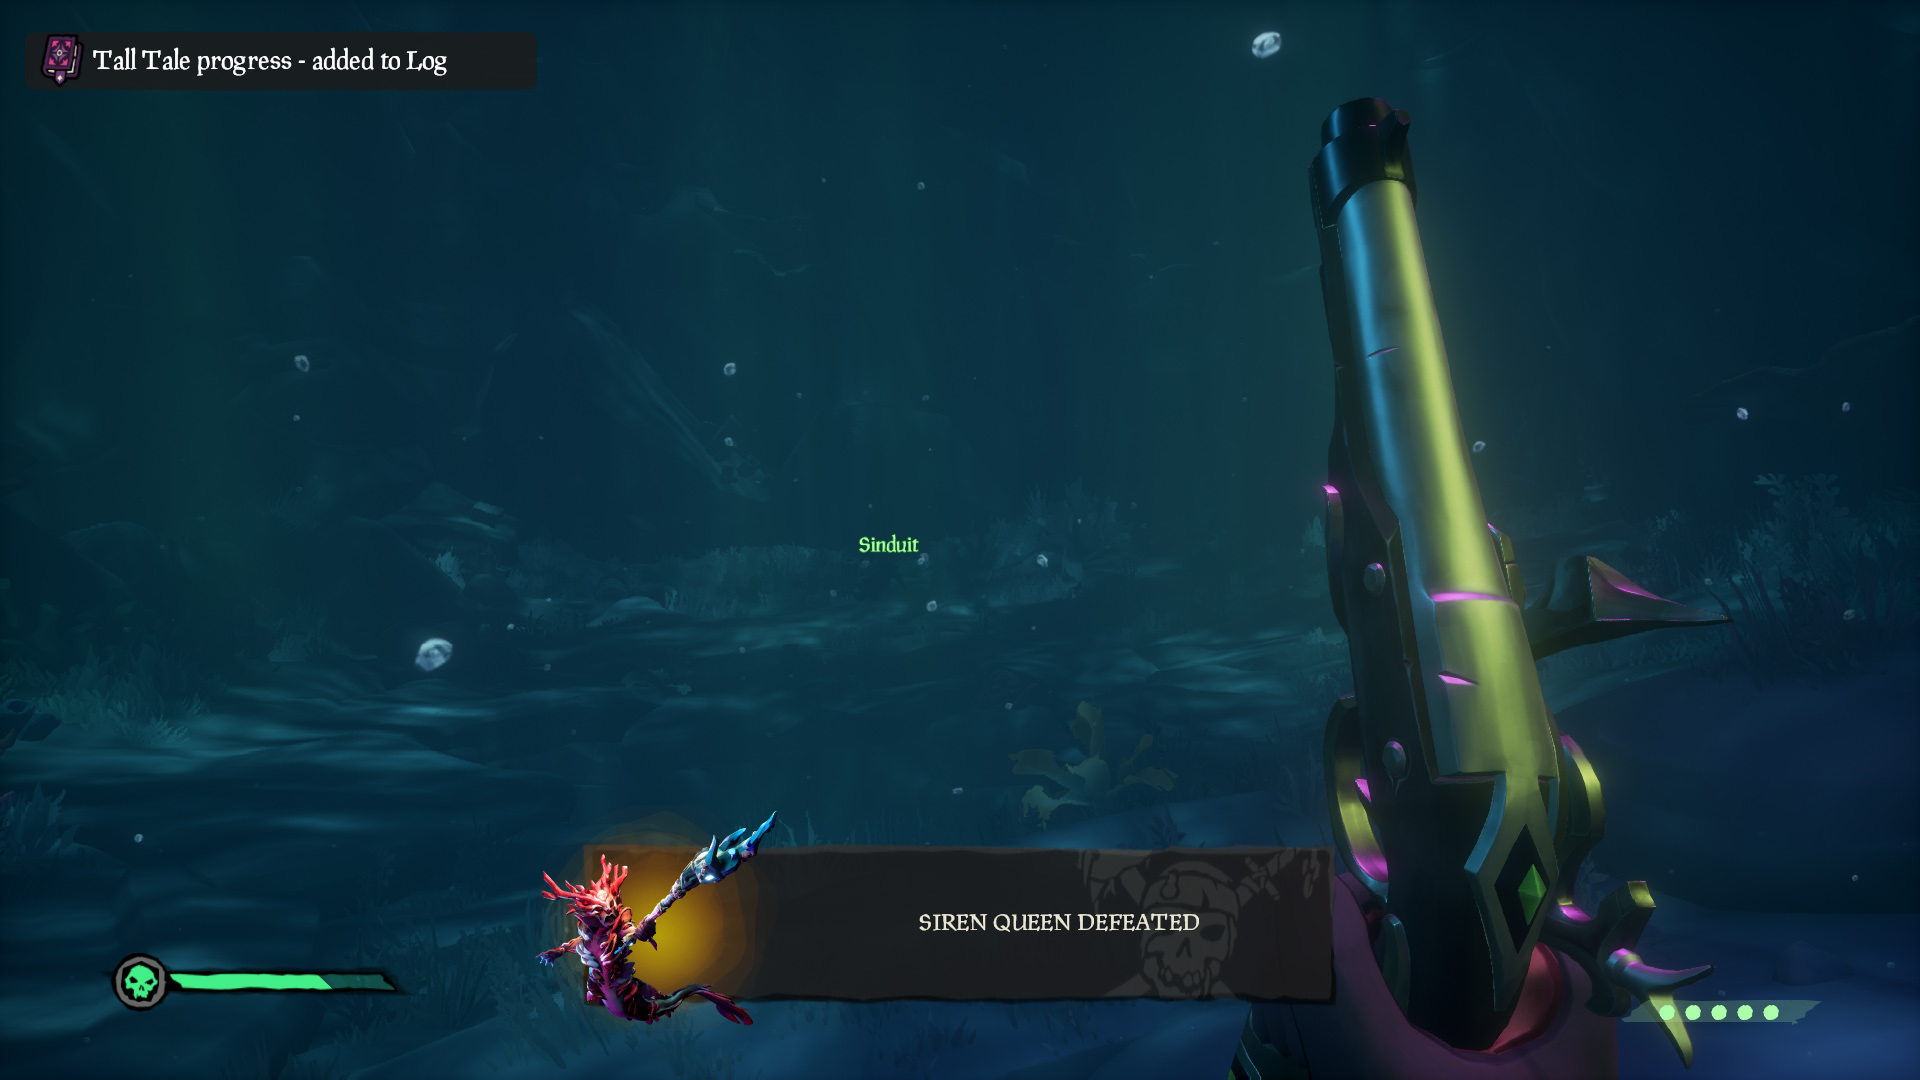
Now if one boss fight wasn’t enough, it’s time for a second boss fight, this time, underwater. Head through the bubble door and face off with the Siren Queen. This fight is pretty simple as you really only need to focus on shooting her, swimming up for air and eating food to regain health. Every 25% health or so she’ll run away and a few puny Sirens will attack you, but as they say, “To the persistent pirate is presented the prize” or something like that.
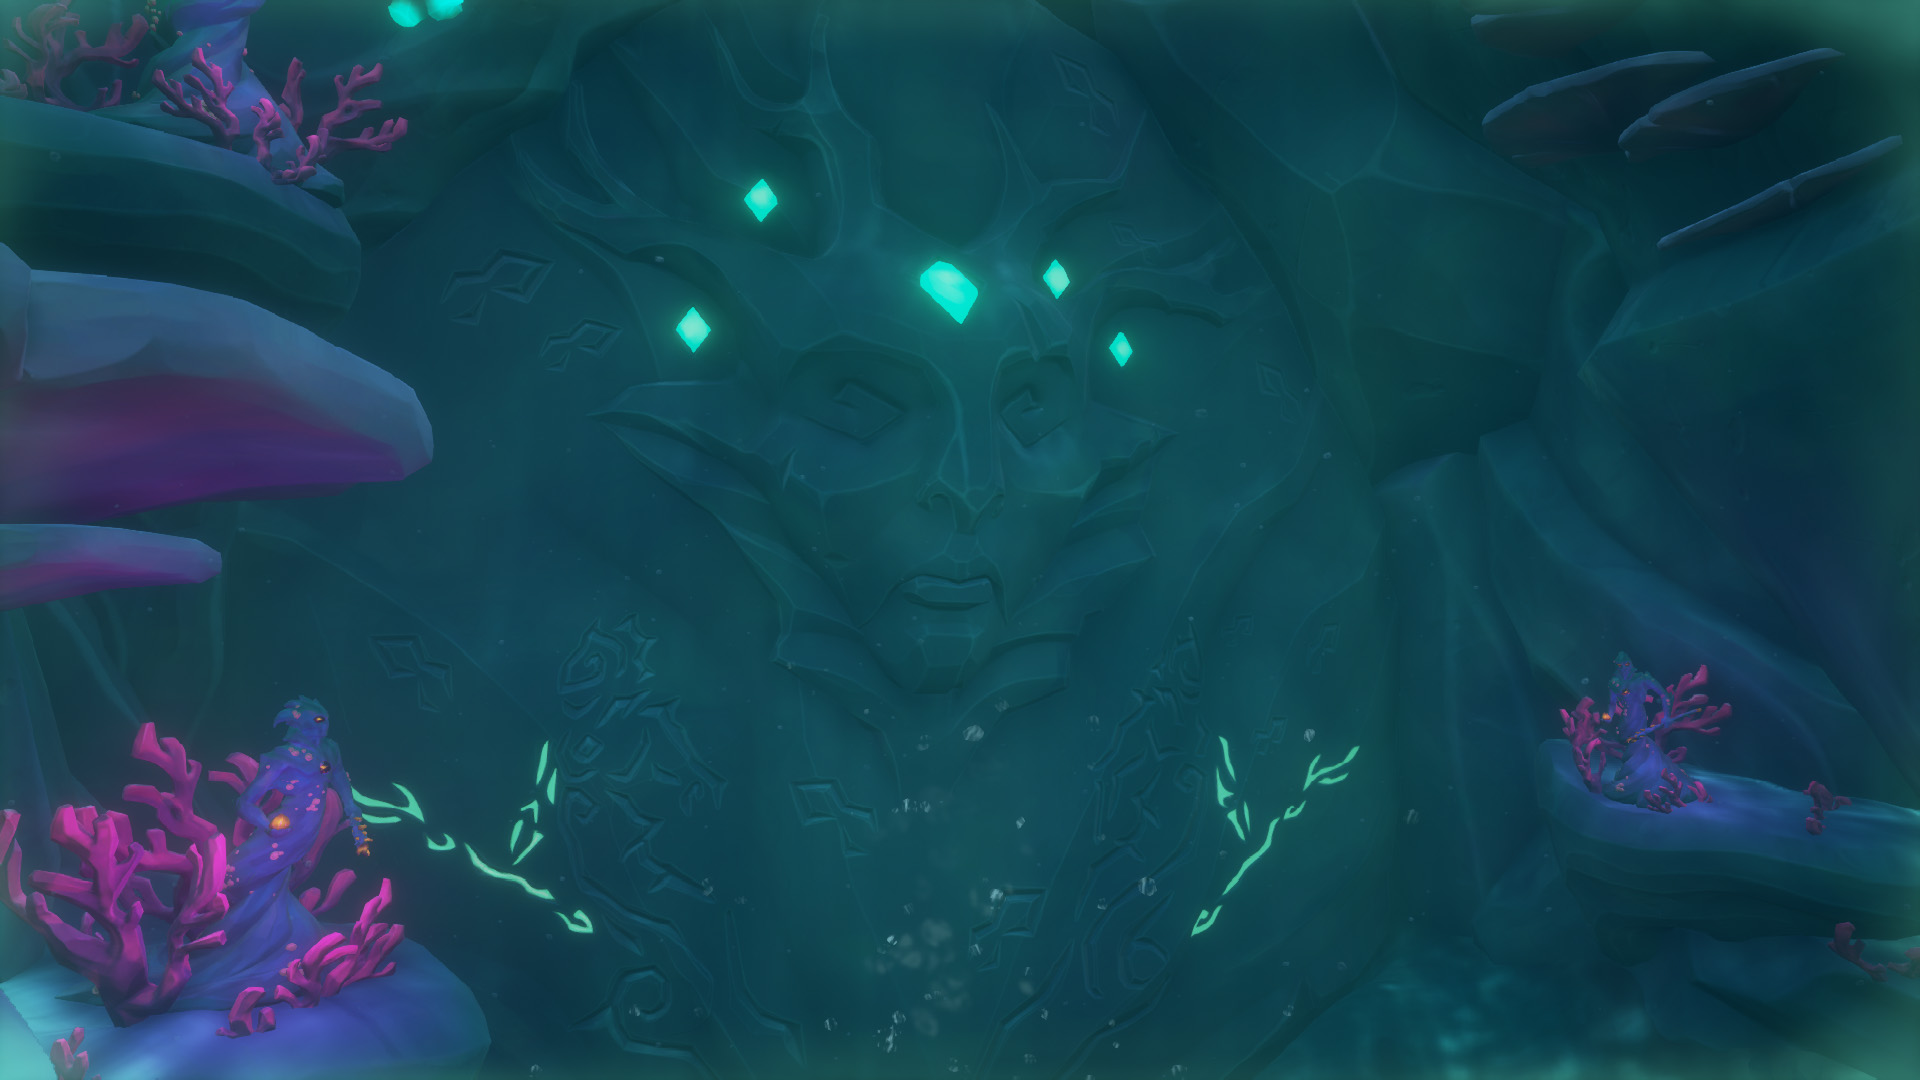
After killing the Siren Queen you’ll want to swim down through the tunnel and find your way into the treasury. Three Mermaid statues await you there, Don’t shout at them, but shoot them to break them open.
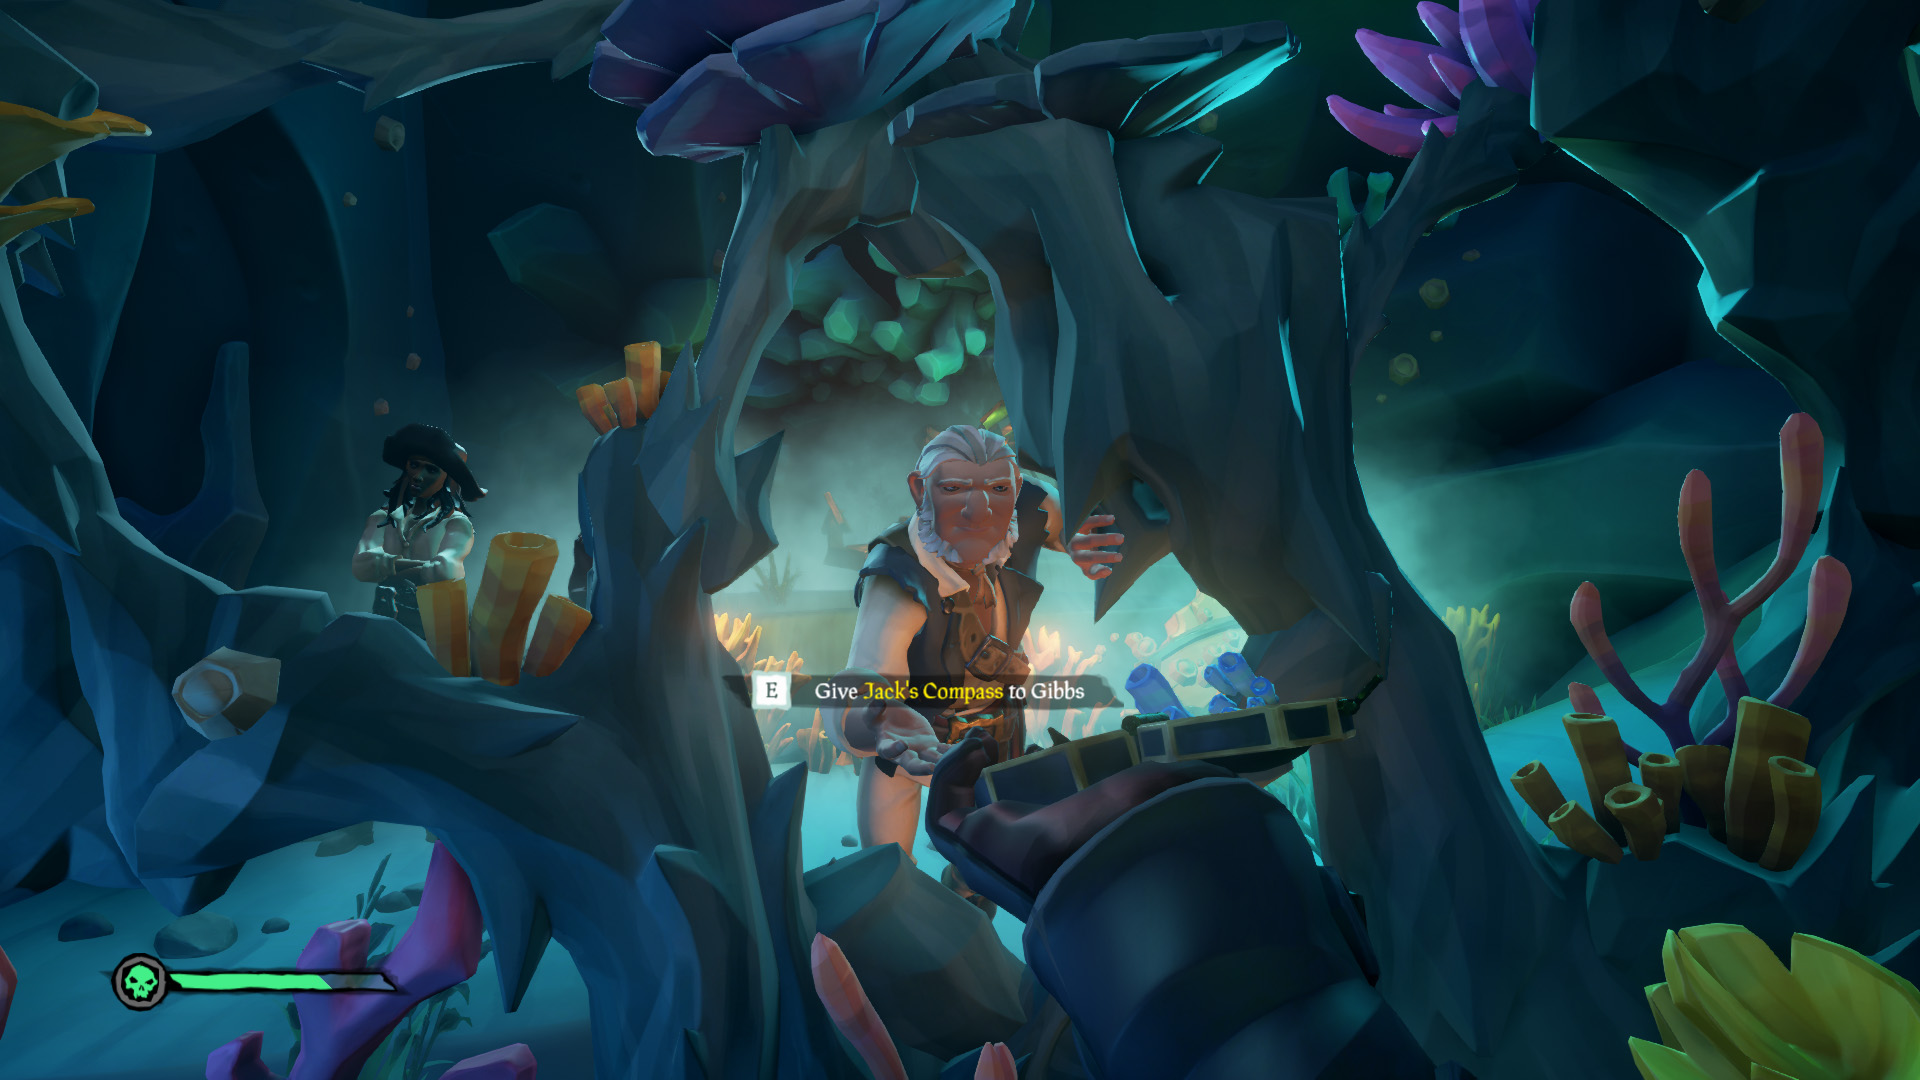
Inside you’ll find Captain Jack’s crew, and after listening to them you’ll be forced to surrender the compass. Make your way out of the Citadel through the window and your tall tale will be complete.
If you followed this guide you should find yourself will a FULLY completed commendations list and now be able to equip both the Revenge of The Silver Blade Cutlass and the Revenge of The Silver Blade Capstan.